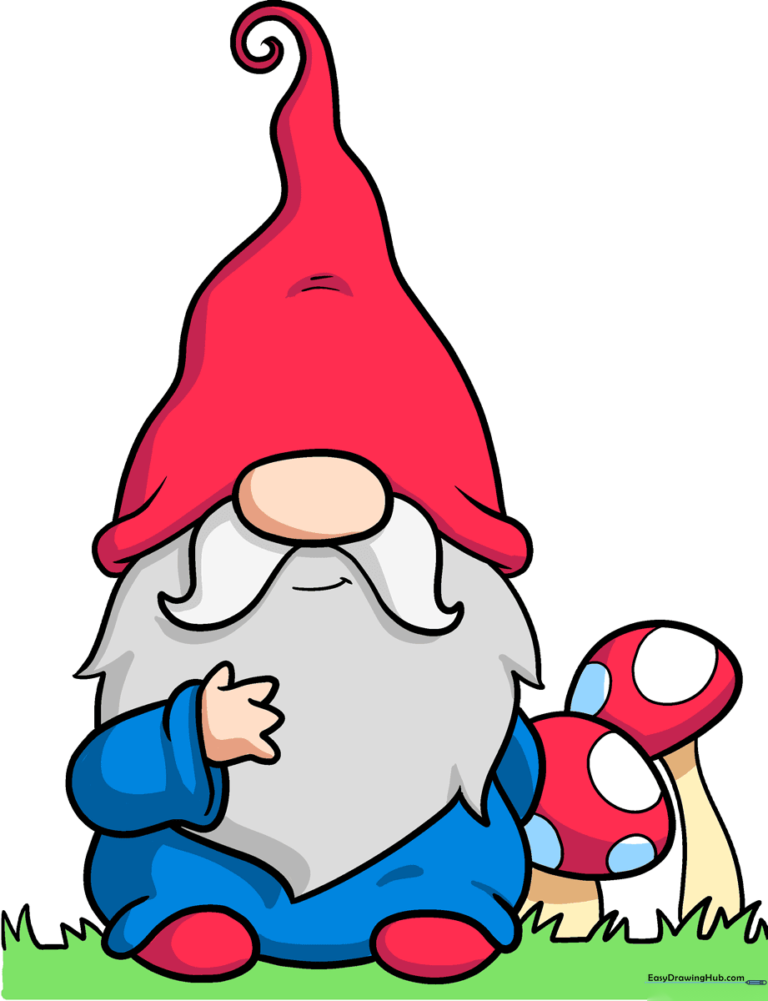
How to Draw a Garden Gnome: Easy 9-Step Guide
Bring a touch of magic to your sketchbook with this friendly garden gnome! Designed for young artists ages 5 and up, this project uses basic shapes to build confidence. Grab a pencil, an eraser, and your favorite markers to get started on your own whimsical forest friend.
🎯 Final Result
Step-by-Step Instructions
Step 1: Sketching the Face

Start with a large oval for the nose. Below it, draw two triangular shapes for the mustache, meeting at a point. Add a small curved line for the mouth. Teacher's Tip: Keep the nose centered so your gnome looks balanced!
Step 2: Shaping the Hat and Beard
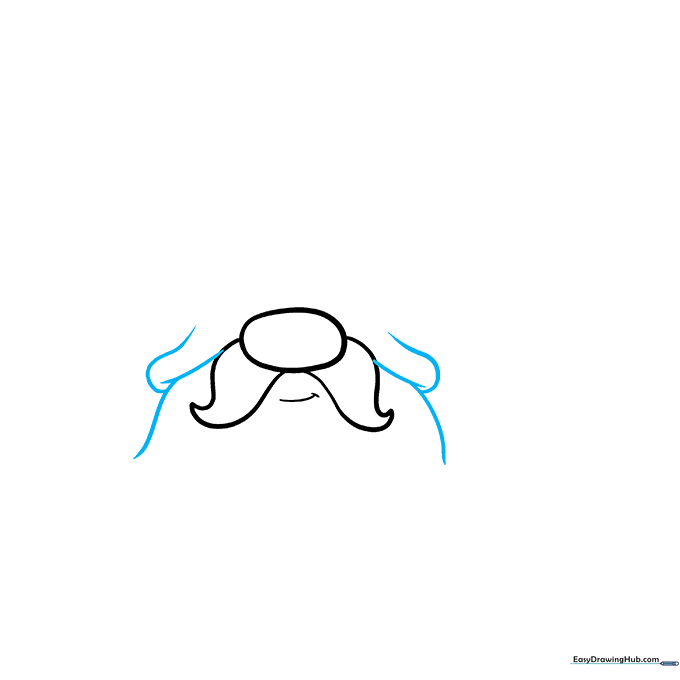
Use overlapping curved lines to outline the sides of the hat and the fluffy beard. Teacher's Tip: Use loose, flowing strokes to make the beard look soft and full.
Step 3: Creating the Tall Hat
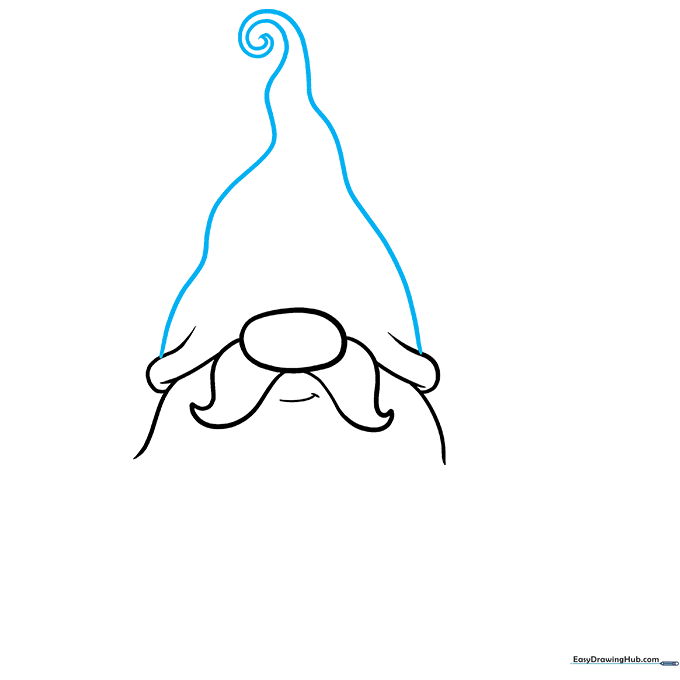
Extend long, curved lines upward to form the pointed hat. Let the lines spiral slightly at the very top. Teacher's Tip: A slightly crooked tip gives your gnome a lot of personality!
Step 4: Detailing the Beard
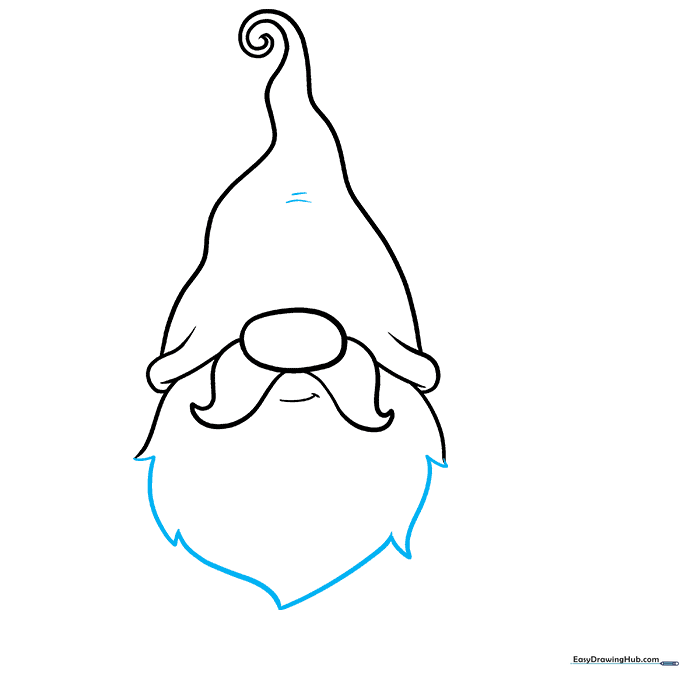
Define the bottom of the beard with jagged, uneven lines. Add a few short curves on the hat to show fabric folds. Teacher's Tip: Varying the length of your lines makes the beard look more realistic.
Step 5: Drawing the Body
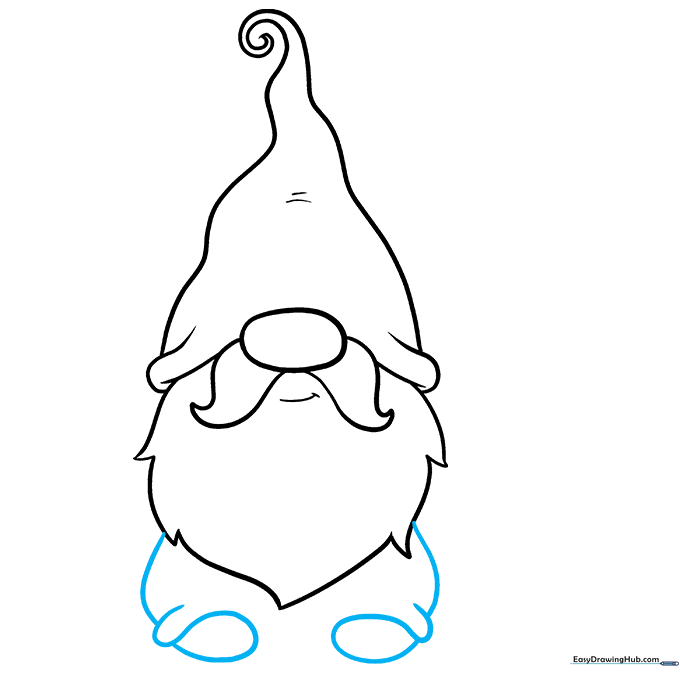
Draw the torso using overlapping curves and add two teardrop shapes at the bottom for the feet. Teacher's Tip: Keep the feet small to make the gnome look cute and sturdy.
Step 6: Adding the Arms

Draw a baggy sleeve and hand on one side. Erase any overlapping lines inside the arm. Teacher's Tip: Use a 'C' shape for the hand to keep it simple.
Step 7: Completing the Silhouette
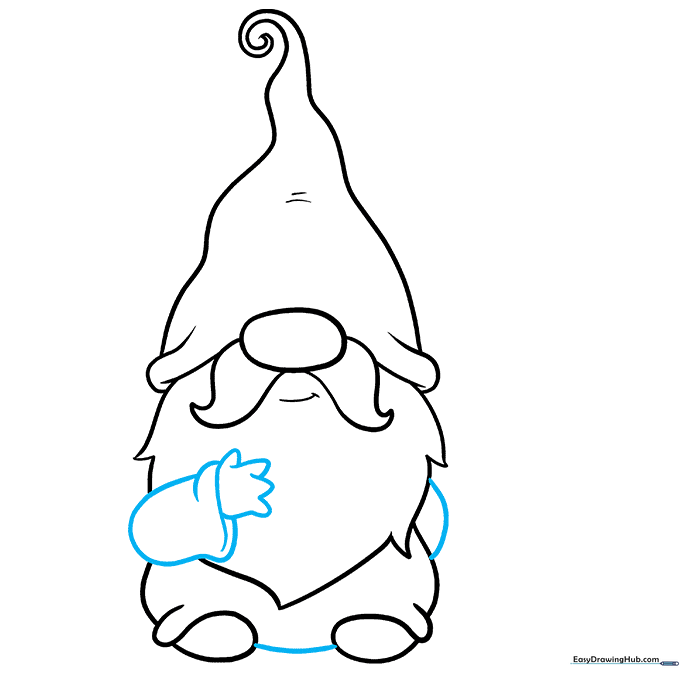
Add the second arm peeking out from behind the body and connect the feet with a smooth curve. Teacher's Tip: This helps ground your character on the page.
Step 8: Adding Garden Grass
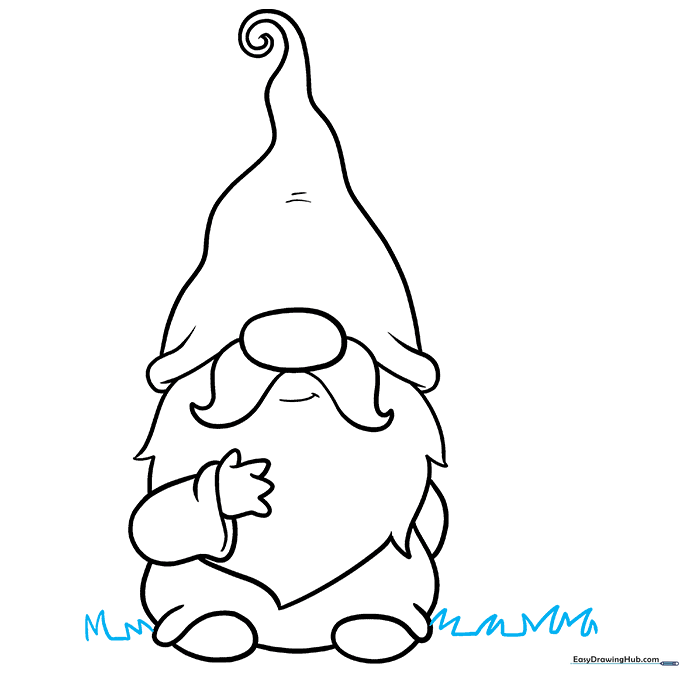
Draw short, jagged blades of grass around the gnome's feet. Teacher's Tip: Vary the height of the grass to make it look natural.
Step 9: Adding Toadstools
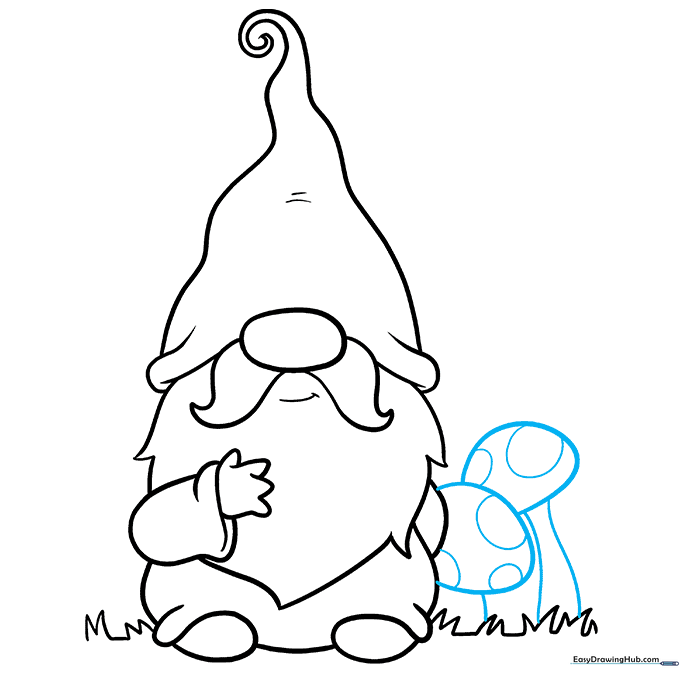
Draw two mushrooms next to your gnome with rounded caps and spots. Teacher's Tip: Mushrooms are great for practicing simple geometric shapes like circles and cylinders.
Step 10: Coloring Your Gnome
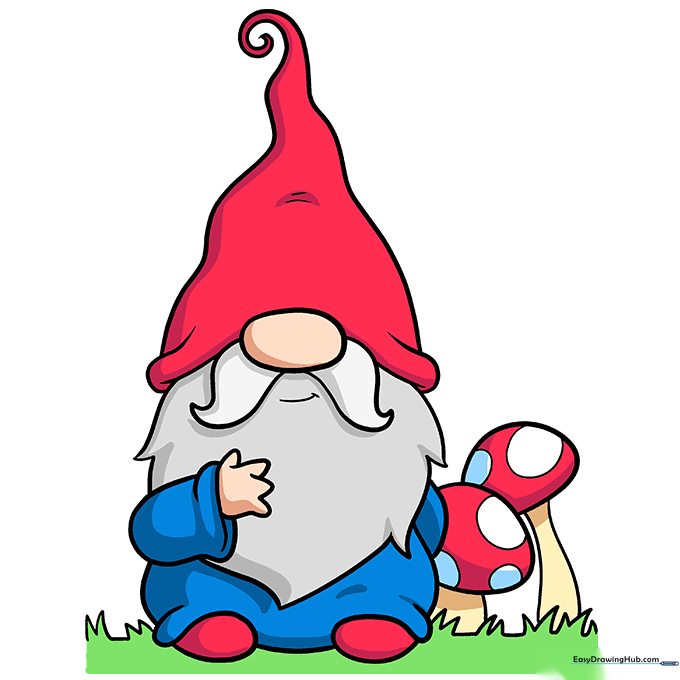
Time to bring your drawing to life! Use classic red for the hat and cream for the mushroom stems. Teacher's Tip: Use light pressure with your pencils to create soft shading.
More Tutorials


