How to Draw a Funny Face: Easy Cartoon Tutorial for Kids
Ready to create a character with personality? This tutorial is perfect for ages 5 and up, requiring only a pencil, paper, and an eraser. Follow these steps to master basic facial proportions and bring your own funny cartoon character to life.
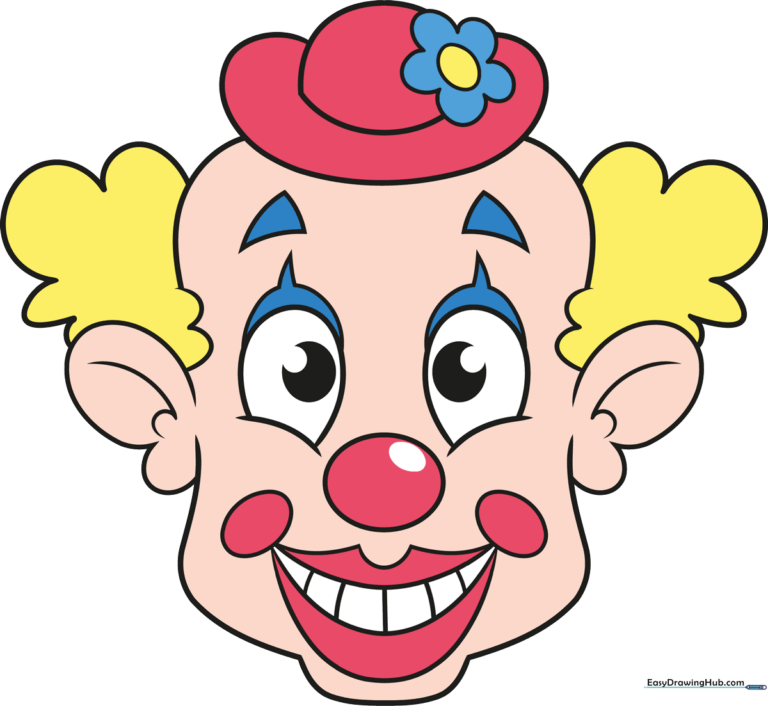
🎯 Final Result
Step-by-Step Instructions
Step 1: Sketching the Jawline
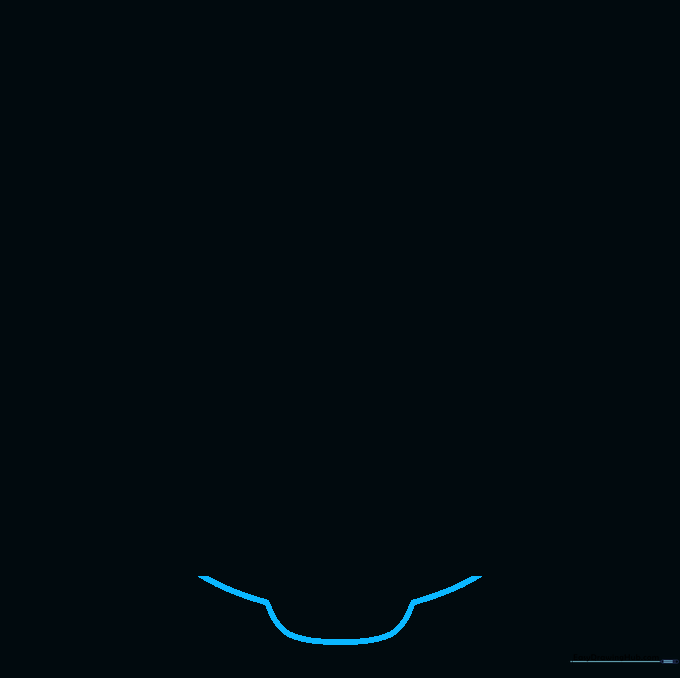
Near the bottom of your page, draw a rounded rectangular shape for the chin. Add two short lines pointing outward from the top. Tip: Keep your pencil pressure light so you can easily adjust the shape later.
Step 2: Defining the Head Shape
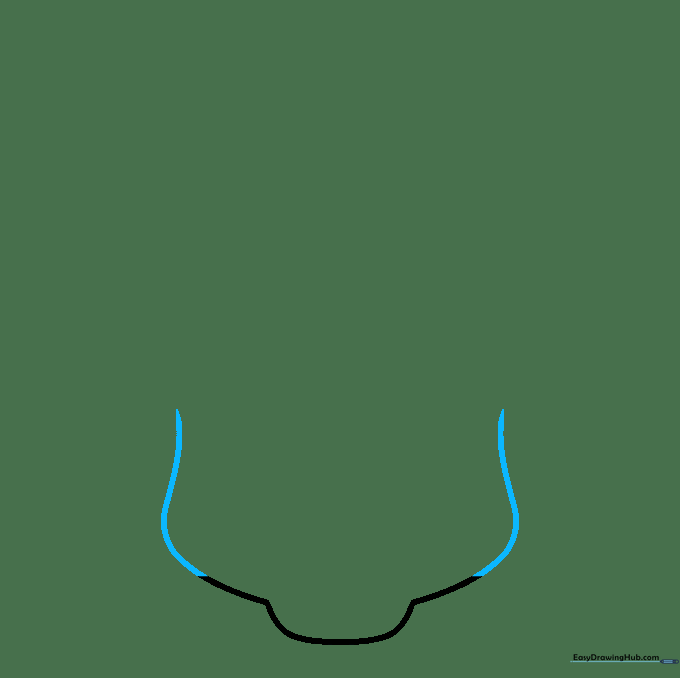
Connect the jawline by drawing identical curved lines on either side, creating a vase-like silhouette. Tip: Try to mirror the curves on both sides to keep the face symmetrical.
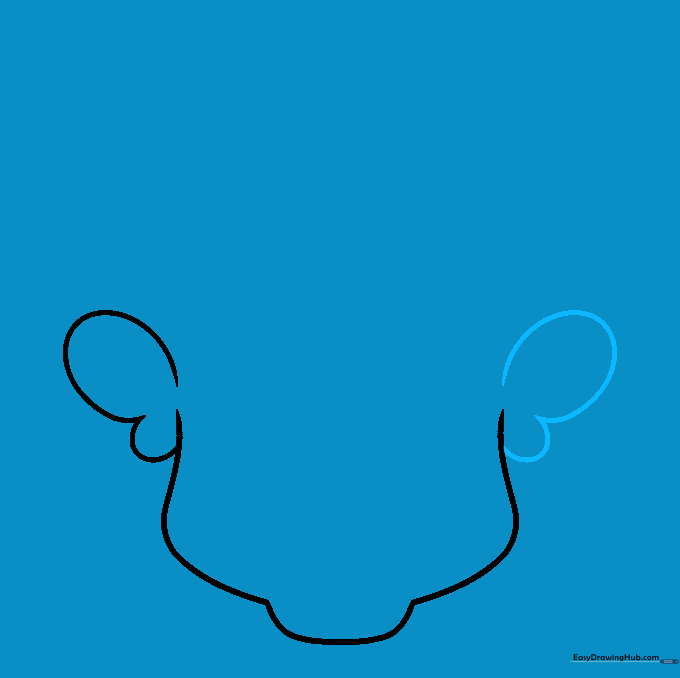
Step 3: Adding Ear Shapes
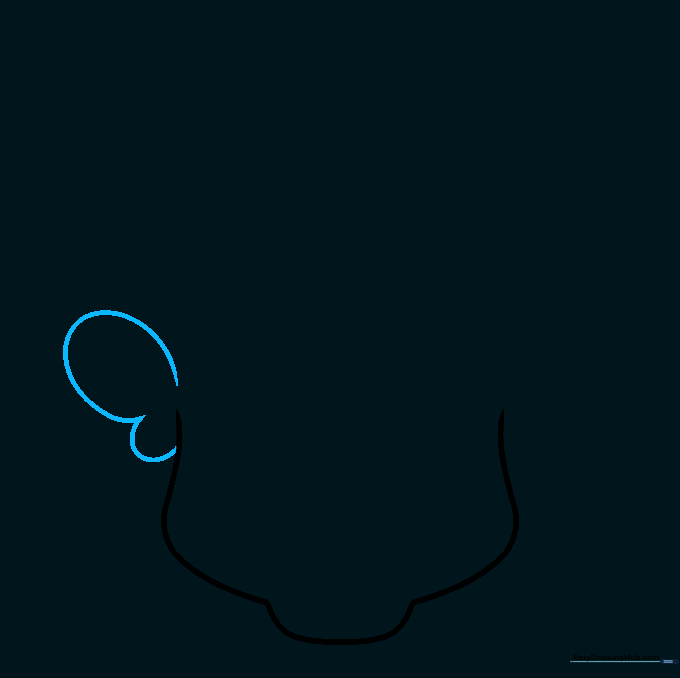
Draw two loops on the left side of the head, similar to butterfly wings. Tip: These will become the ears, so make sure they are positioned about halfway down the head shape.
Step 4: Balancing the Ears
Repeat the previous step on the right side of the head. Tip: Check that your ears are level with each other so your character doesn't look lopsided!
Step 5: Detailing the Ears
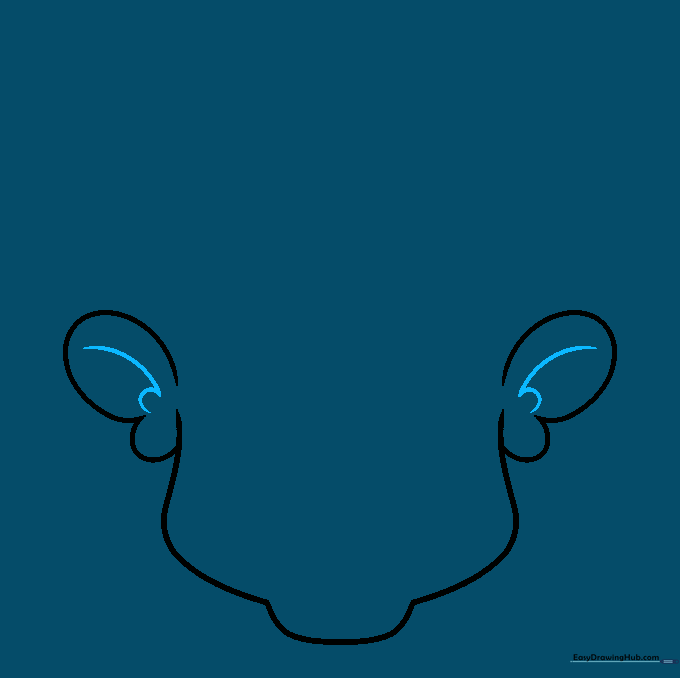
Inside each ear shape, draw a curved line with a small hook at the end. Tip: This simple detail adds depth and makes the ears look more realistic.
Step 6: Drawing Expressive Eyes
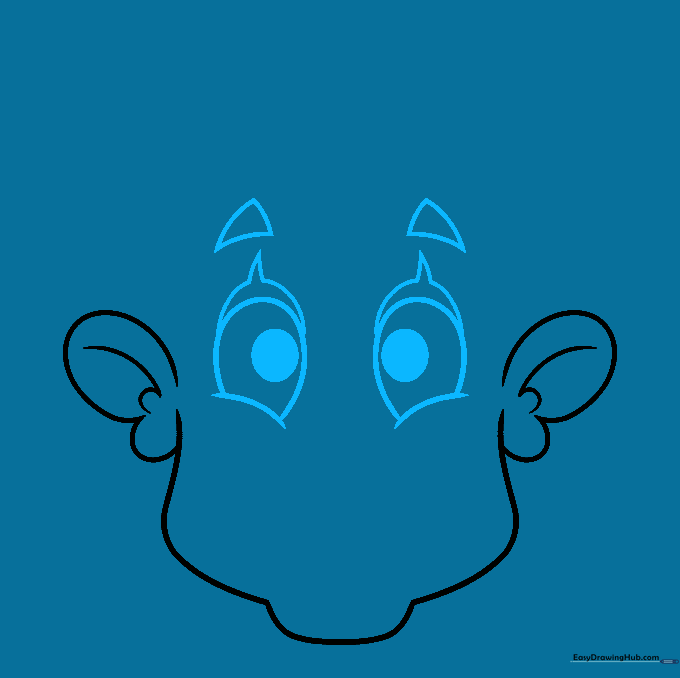
Draw two large ovals in the center of the face. Add pupils, curved eyelids, and triangles for eyebrows. Tip: The shape of the eyebrows can change the character's mood—try angling them down for a grumpy look or up for a surprised one!
Step 7: Sketching the Nose
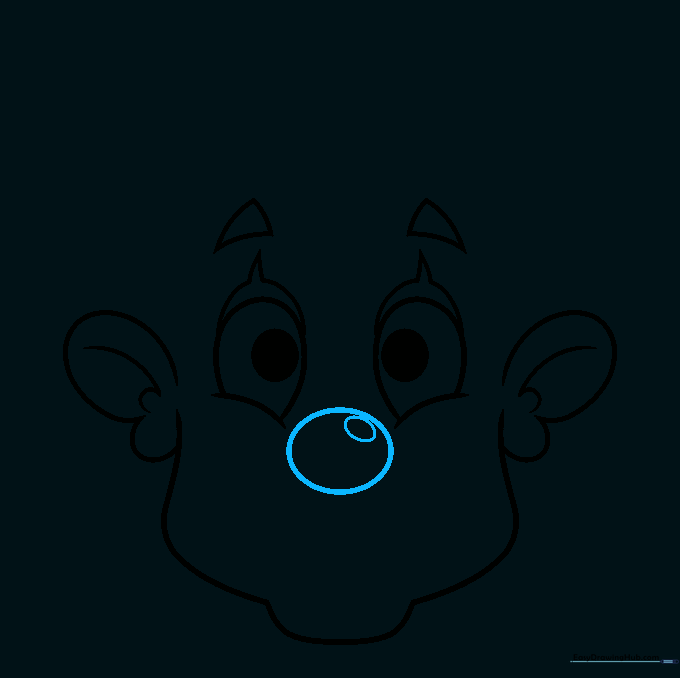
Sketch an oval in the center of the face with a small circle inside, like an olive. Tip: Keep the nose small so it doesn't distract from the character's expressive eyes.
Step 8: Adding a Grinning Mouth
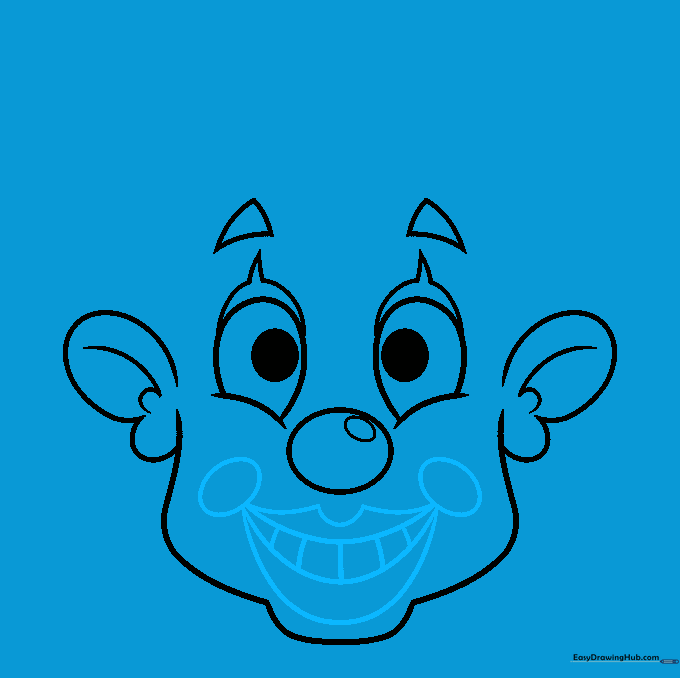
Draw a banana-shaped curve for the mouth, adding lines to represent teeth. Include ovals for cheeks. Tip: Adding the cheeks gives the face a friendly, chubby appearance.
Step 9: Adding Hair and Accessories
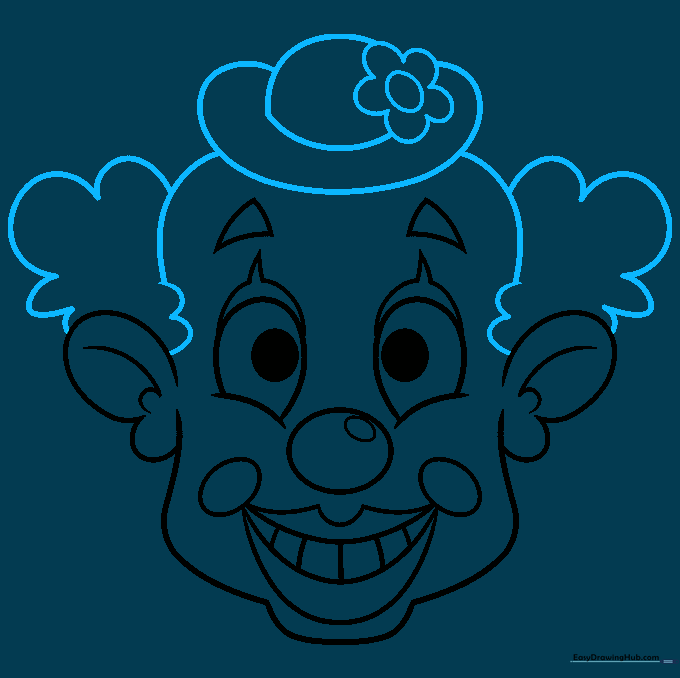
Use fluffy, cloud-like lines for hair and add a hat on top with a small flower detail. Tip: Don't worry about making the hair perfect; messy, cloud-like shapes look great on cartoons!
Step 10: Final Touches and Color
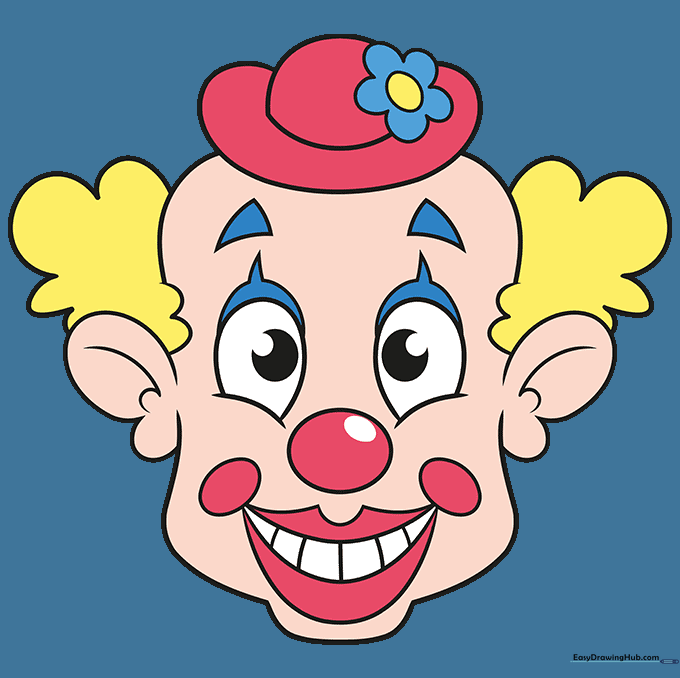
Outline your drawing with a marker and erase your pencil lines. Color the hair yellow, the flower blue, and the hat pink. Tip: Use a skin-tone marker or pencil to fill in the face for a polished finish.
More Tutorials


