How to Draw a Funny Cat in a Box: Easy 10-Step Guide
Perfect for young artists ages 5 and up, this drawing lesson turns a simple box into a playful feline friend. All you need is a pencil, an eraser, and a piece of paper to get started. Follow these steps to build confidence in your sketching while creating a charming cartoon character.
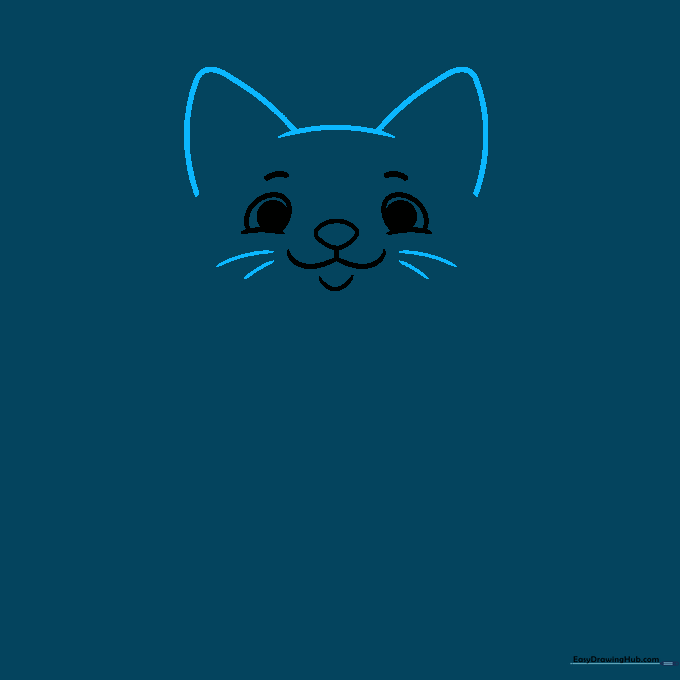
🎯 Final Result

Step-by-Step Instructions
Step 1: Sketching the Eyes and Nose

Draw two light egg shapes for the eyes, then sketch a small, rounded triangle between them for the nose. Teacher's Tip: Keep your pencil pressure very light here so you can easily adjust the spacing if the eyes look too far apart.
Step 2: Defining the Mouth

Add two gentle curves extending downward from the nose to form the mouth, connected by a short straight line. Tip: Think of this as a tiny 'w' shape to give your cat a friendly, curious expression.
Step 3: Adding Ears and Whiskers
Sketch two large, rounded triangles on top of the head for ears and connect them with a soft curve. Add three quick, flicking lines on each cheek for whiskers. Tip: Make the whiskers quick, confident strokes to keep them looking sharp.
Step 4: Shaping the Head

Draw an 'L' shape inside each ear for depth, then connect the sides of the face with smooth curves to complete the oval head shape. Tip: Use a continuous motion to make the head look soft and fluffy.
Step 5: Drawing the Paws

Sketch two loops that look like fish hooks resting on a horizontal line. These will be your cat's front paws. Tip: Keep the paws close together to make the cat look cozy inside its box.
Step 6: Constructing the Box

Use light, angled lines to create the sides of the box. Add small, short lines on the paws to represent toes. Tip: Don't worry about perfect straight lines; a slightly wobbly box adds to the 'funny' cartoon character style.
Step 7: Completing the Box Shape

Draw a triangle on the left and a box shape on the right to give the container depth. Tip: Imagine the box is made of cardboard—it doesn't need to be perfectly symmetrical to look great.
Step 8: Adding the Tail and Base

Add a wavy loop behind the cat for a playful tail, and finish the box by sketching vertical and horizontal lines underneath. Tip: A curved tail suggests the cat is happy and relaxed!
Step 9: Adding Stripes

Draw small, soft loops on the cat's body to create stripes. Tip: Vary the size of the stripes to make the cat look more natural and textured.
Step 10: Final Outline and Coloring

Outline your drawing with a black pen, then gently erase your pencil guidelines. For coloring, try bright orange for the fur, white for the ears and paws, and a warm brown for the box. Tip: Use light pink for the nose to make it pop!
More Tutorials


