How to Draw a Cute Cartoon Frog: Easy 9-Step Guide
Ready to bring a friendly frog to life? This tutorial is perfect for artists ages 5 and up, requiring only a pencil, paper, and an eraser. By following these simple shapes, you will develop your hand-eye coordination while creating a charming character ready for any pond scene.
🎯 Final Result

Step-by-Step Instructions
Step 1: Sketching the Head and Body

Start by drawing two soft, overlapping curved lines to create the frog's head. Extend two more curved lines downward to form the torso. Teacher's Tip: Keep these lines rounded and smooth to give your frog a friendly, approachable look.
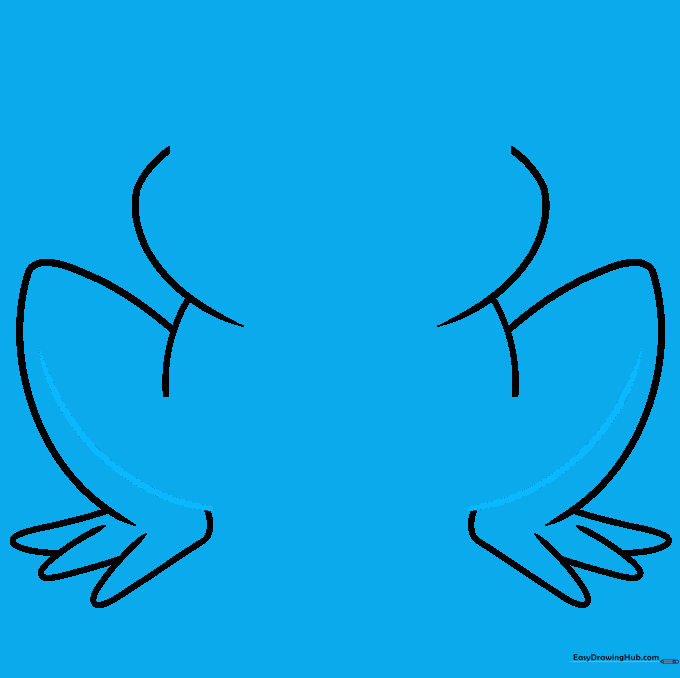
Step 2: Adding the Back Legs

Sketch the frog's powerful back legs by extending a curved line from the body and doubling it back to a gentle point. Repeat this on the other side. Teacher's Tip: Think of these as 'Z' shapes with rounded corners.
Step 3: Defining the Rear Feet

At the base of each back leg, draw a 'V' shaped line to start the feet. Add another overlapping 'V' to create the toes. Teacher's Tip: Don't worry about making them perfect; frogs have wiggly, webbed feet!
Step 4: Completing the Toes
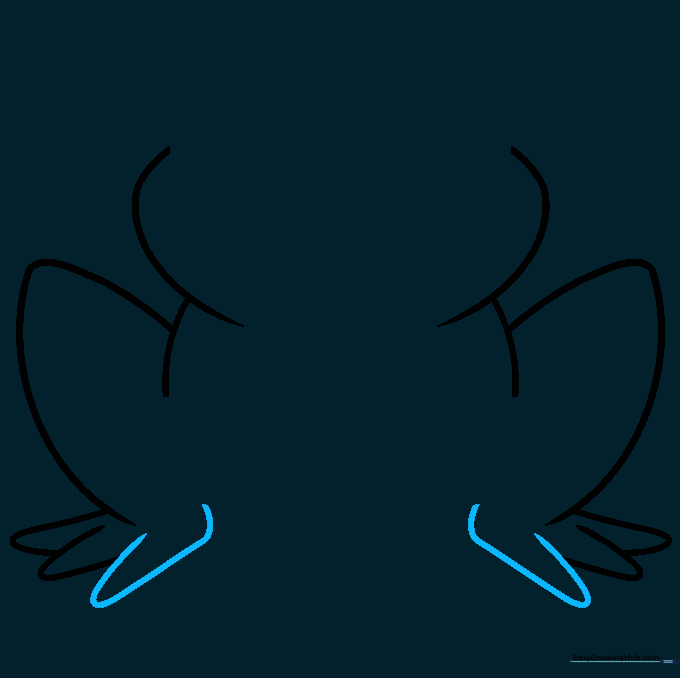
Add one more 'V' shape to each foot to form the third toe. Let the line travel upward to connect back to the leg. Teacher's Tip: This creates a natural, flowing transition from the foot to the leg.
Step 5: Adding Knee Detail
Draw a small curved line across each back leg to indicate the knee joint. Teacher's Tip: This simple detail adds depth and makes your frog look like it's ready to jump!
Step 6: Drawing the Eyes
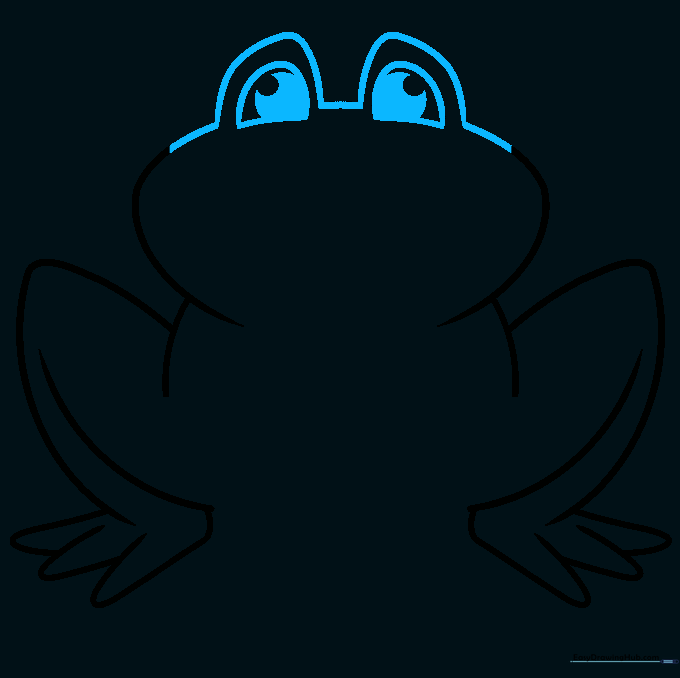
Extend the head lines upward to form eye ridges. Draw two half-circles for the eyes, then add smaller circles inside for pupils. Shade the pupils dark. Teacher's Tip: Large, expressive eyes make the frog look much cuter!
Step 7: Creating the Smile

Draw a long, gentle curve for the mouth, adding small upward curves at the corners. Teacher's Tip: A wide smile gives your frog a happy personality.
Step 8: Adding Front Legs

Draw two pairs of curved lines for the front arms, using 'U' shapes for the toes. Connect them with a line across the torso. Teacher's Tip: Keep the arms slightly smaller than the back legs to maintain proportion.
Step 9: Adding Spots and Finishing Touches
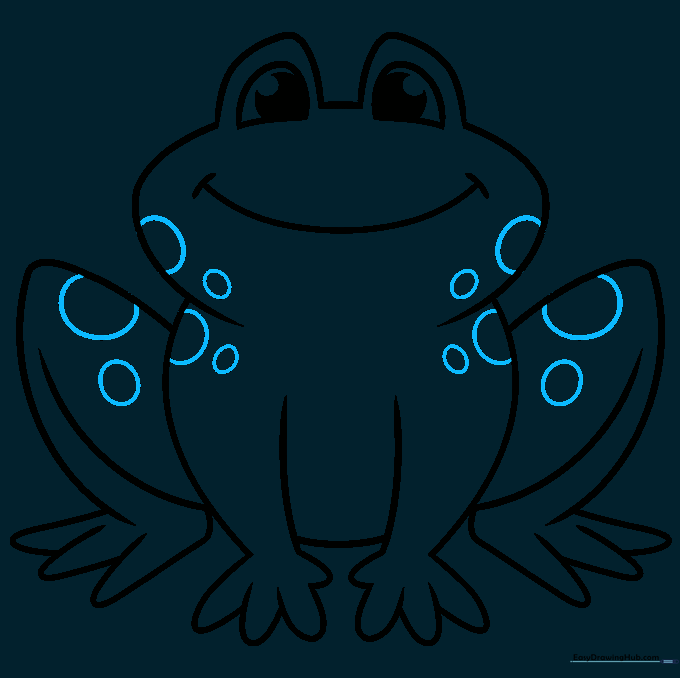
Add small circles across the legs and face to give your frog some character. Teacher's Tip: Vary the size of the spots to make them look more natural.
Step 10: Color Your Frog

Bring your frog to life with color! We used classic green, but feel free to experiment with bright reds, yellows, or blues. Teacher's Tip: Use a lighter green for the belly to create a nice contrast.
More Tutorials


