How to Draw a French Bulldog: Easy 10-Step Guide
Capture the charm of a French Bulldog with this step-by-step drawing tutorial designed for young artists and beginners. You will need a pencil, an eraser, and a sheet of paper to bring this iconic pup to life. Follow along to master basic shapes and proportions while building your confidence as an illustrator.
🎯 Final Result

Step-by-Step Instructions
Step 1: Sketching the Head

Draw a light circle to serve as the base for the head. Teacher's Tip: Keep this circle roughly the size of a coin; drawing it lightly ensures you can easily adjust the shape later.
Step 2: Defining the Jowls

Erase the bottom of your circle and replace it with two curved lines to create the signature sagging jowls. Teacher's Tip: Use short, soft strokes to give the jowls a natural, fleshy appearance.
Step 3: Adding the Nose

Draw a rounded, inverted triangle for the nose, adding small spirals inside for nostrils. Add a soft curve above the nose to define the muzzle. Teacher's Tip: Keep the nostrils small to maintain the 'cute' factor.
Step 4: Sketching the Eyes

Draw two large circles for the eyes, adding 'C' shapes inside for depth. Add a curved line above each eye for the brow. Teacher's Tip: Make the eyes look expressive by leaving a tiny white dot inside for a 'glint' of light.
Step 5: Drawing the Ears

Draw the iconic 'bat ears' by sketching long, curved lines that double back on themselves. Teacher's Tip: Frenchie ears are wide at the base and rounded at the top—don't make them too pointy!
Step 6: Outlining the Body
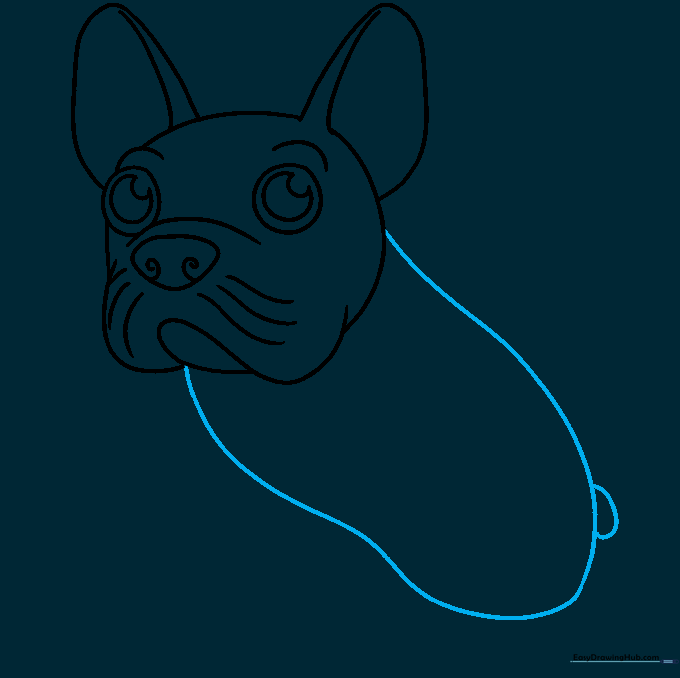
Draw a long, curved line from the head to form the back and body, finishing with a small, stubby tail. Teacher's Tip: Keep the body compact—French Bulldogs are known for their sturdy, muscular build.
Step 7: Drawing the Rear Legs
Outline the rear legs with long, smooth curves and add small lines at the bottom for toes. Teacher's Tip: Ensure the legs look thick and strong to match the breed's anatomy.
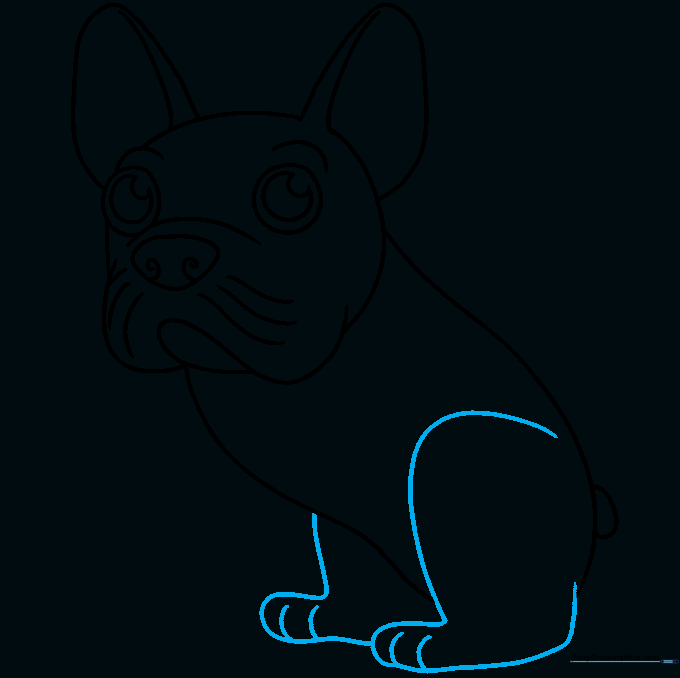
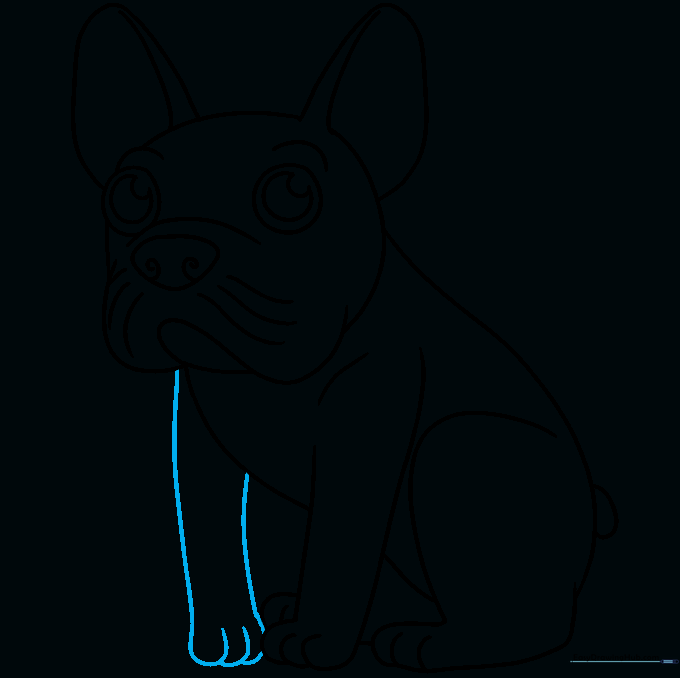
Step 8: Adding the Forelegs

Draw the front legs using two curved lines and add 'U' shapes for the toes. Contour the shoulder area to show muscle. Teacher's Tip: Use overlapping lines to make the toes look distinct.
Step 9: Finalizing the Outline
Draw the remaining foreleg to complete the stance. Ensure all lines connect smoothly. Teacher's Tip: Now is the time to go over your drawing with a darker pencil or pen to define the final shape.
Step 10: Adding Color

Bring your Frenchie to life with color! Use shades of cream, tan, brown, or black. Teacher's Tip: If you want a brindle look, use short, light strokes of a darker color over a lighter base.
More Tutorials


