How to Draw a Fox: Easy 10-Step Guide for Kids
Bring a clever woodland friend to life with this easy-to-follow fox drawing tutorial. Designed for young artists and beginners, this activity requires only a pencil, paper, and an eraser. Follow along to build confidence in your sketching skills and create a charming character from scratch.
🎯 Final Result

Step-by-Step Instructions
Step 1: Sketching the Expressive Eyes

Draw two curved, double-pointed shapes for the eyes. Tip: Make sure the top lines extend slightly further than the bottom to give the fox a friendly, alert expression. Add two small circles inside each for pupils and shade the space between them.
Step 2: Defining the Furry Cheeks
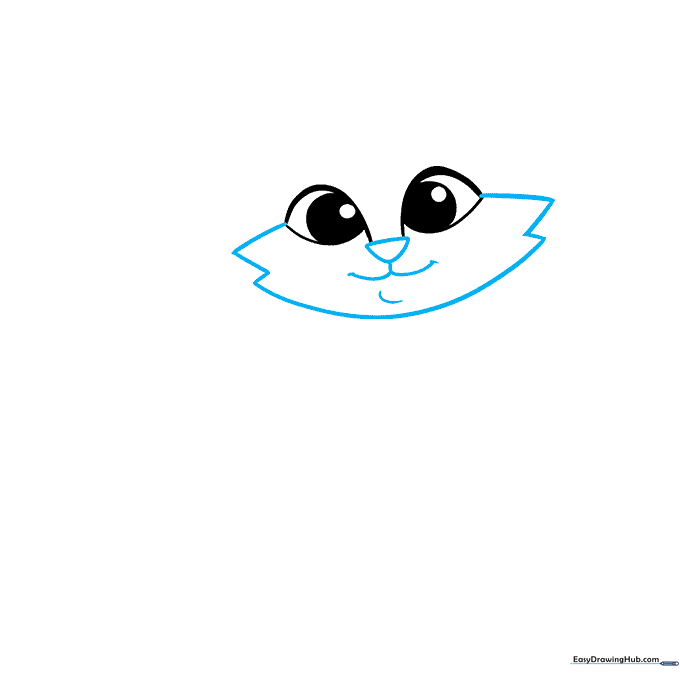
Create the fox's signature cheeks using a zigzag pattern on either side of the face. Connect these with a long, smooth curve. Add an inverted triangle for the nose and a small, curved mouth beneath it. Tip: Keep your zigzag strokes short and rhythmic to mimic soft fur.
Step 3: Adding Facial Features
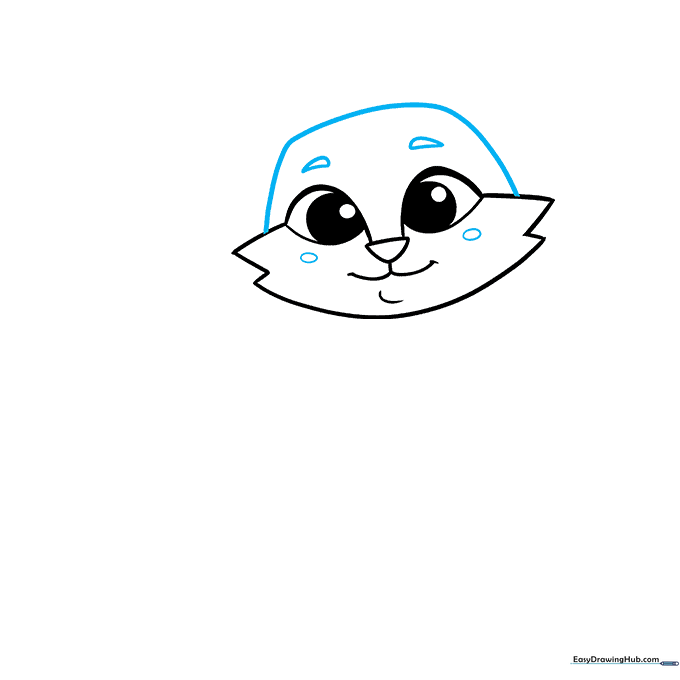
Draw a smooth, rounded line to cap the top of the head. Add two teardrop shapes above the eyes for eyebrows and small ovals on the cheeks for a rosy, blushing effect. Tip: Use a light touch for the blush ovals so they look soft and subtle.
Step 4: Drawing the Ears
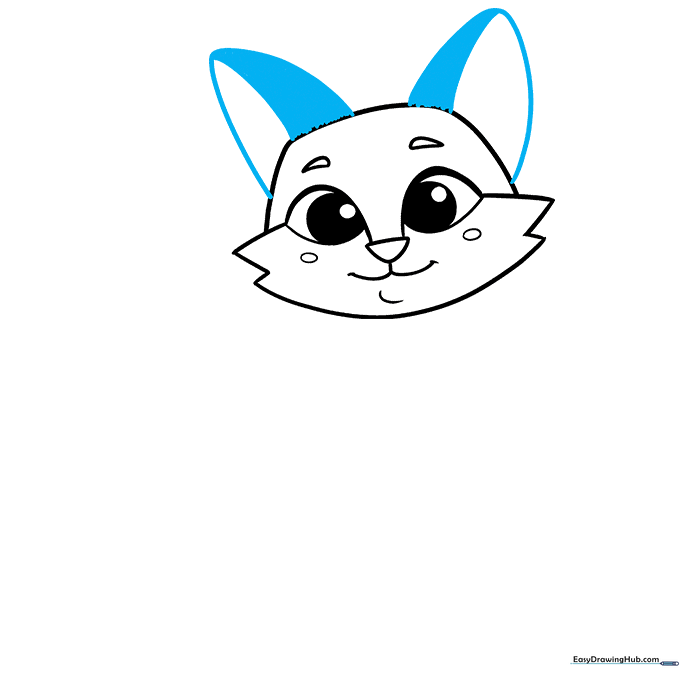
Sketch two large, rounded triangles on top of the head. Add a curved line inside each ear to create depth. Tip: Shade the area above this line to represent the darker inner ear, which adds a professional touch to your cartoon character.
Step 5: Outlining the Chest
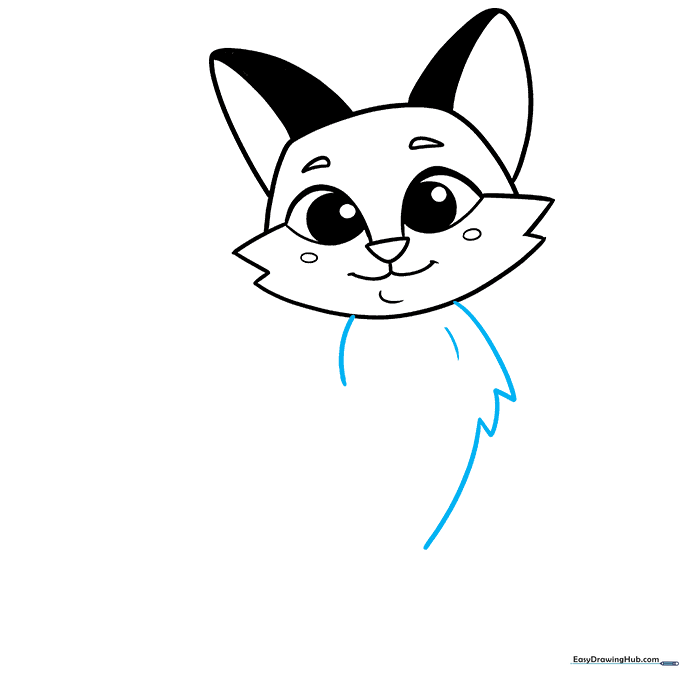
Use curved lines that meet at jagged points to form the fox's chest. Tip: Think of this as drawing a fluffy collar; the jagged points help create the texture of thick fur.
Step 6: Drawing the First Leg
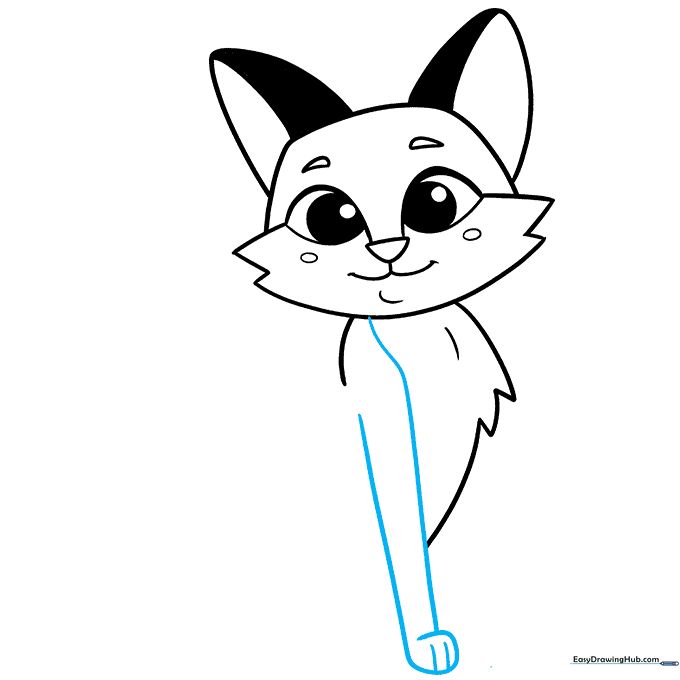
Draw two long, curved lines for the leg, allowing one to overlap the other to define the paw. Add two small lines at the bottom to represent toes. Tip: Ensure the leg curves slightly to give the fox a natural, standing posture.
Step 7: Adding the Second Leg
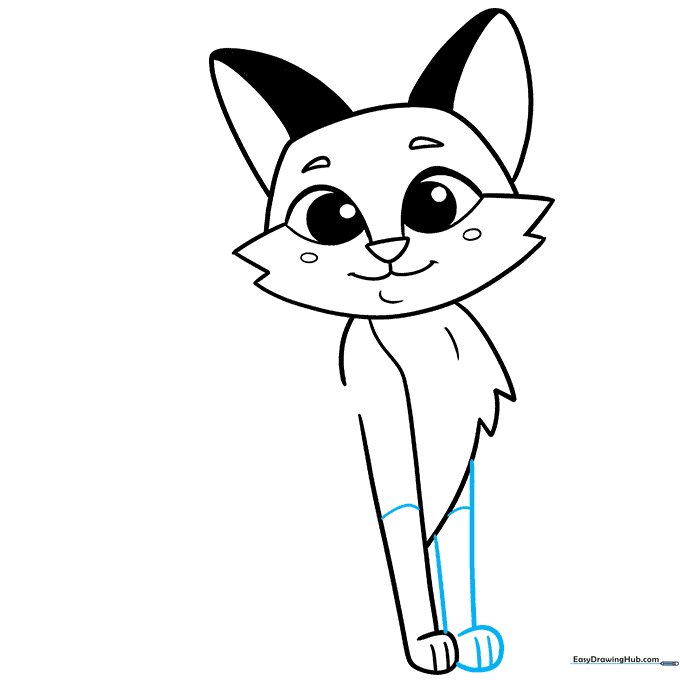
Repeat the process for the second leg, mirroring the shape of the first. Add a curved band at the top of both legs to distinguish the 'socks' of the fox. Tip: Keep the legs parallel to maintain balance in your drawing.
Step 8: Shaping the Back and Belly
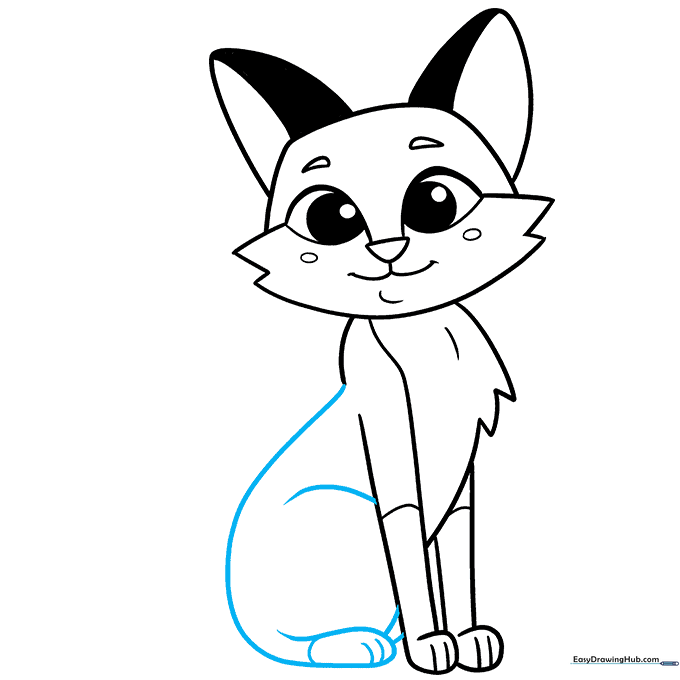
Extend the back line down to form the rear foot, using the same overlapping technique as the front legs. Add curved lines for the hip and belly. Tip: A gentle curve for the belly makes the fox look more rounded and friendly.
Step 9: The Fluffy Tail
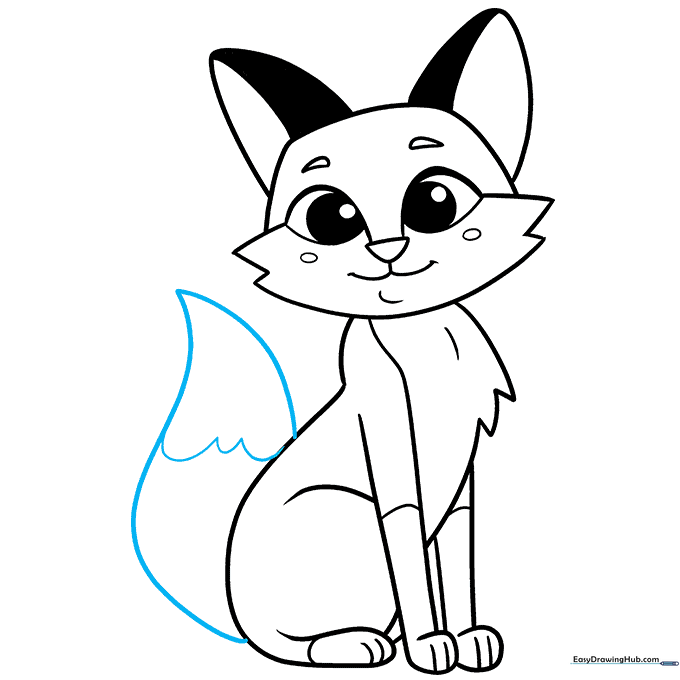
Draw a large, sweeping tail using two long curved lines that meet at a point. Add a series of 'U' shaped lines at the tip to create the appearance of a white, fluffy end. Tip: Make the tail large—it's the most iconic part of a fox!
Step 10: Adding Color

Your outline is ready! Use a bright reddish-orange for the main body, black for the ears and feet, and white for the tail tip and chest. Tip: Use light, circular motions when coloring to keep the texture smooth and even.
More Tutorials


