How to Draw a Cute Fox: Easy 9-Step Guide for Kids
This fox drawing tutorial is perfect for young artists ages 5 and up. You only need a pencil, an eraser, and a piece of paper to get started. Follow these simple steps to build your confidence and create a charming woodland friend.
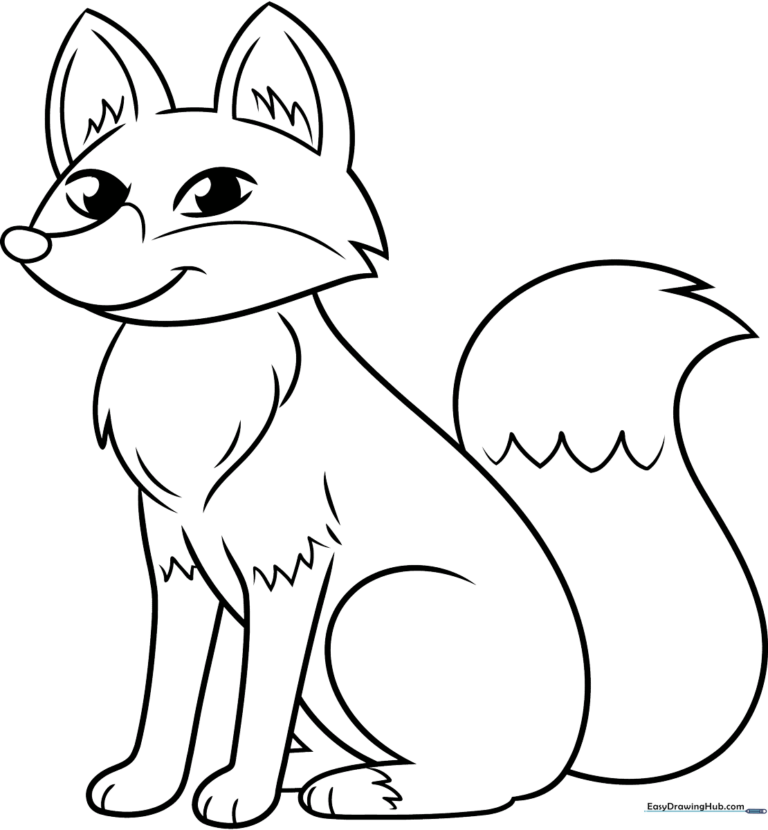
🎯 Final Result
Step-by-Step Instructions
Step 1: Sketching the Eyes and Snout

Start by drawing two curved lines for the eyes. Inside, add two small circles and shade them in. Add an oval nose between them, extending two curved lines downward to form the snout. Teacher's Tip: Keep the nose small to make the fox look extra cute!
Step 2: Defining the Jawline
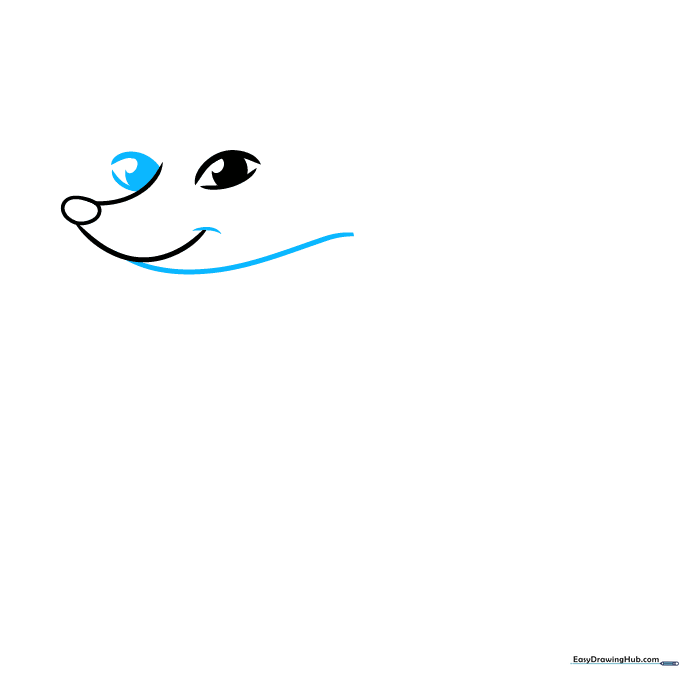
Draw the second eye to match the first. Add a small curved line at the corner of the mouth, then draw a long, sweeping curve to create the neck and lower jaw. Teacher's Tip: Use a light touch for the neck line so it blends smoothly into the body later.
Step 3: Adding the Ears
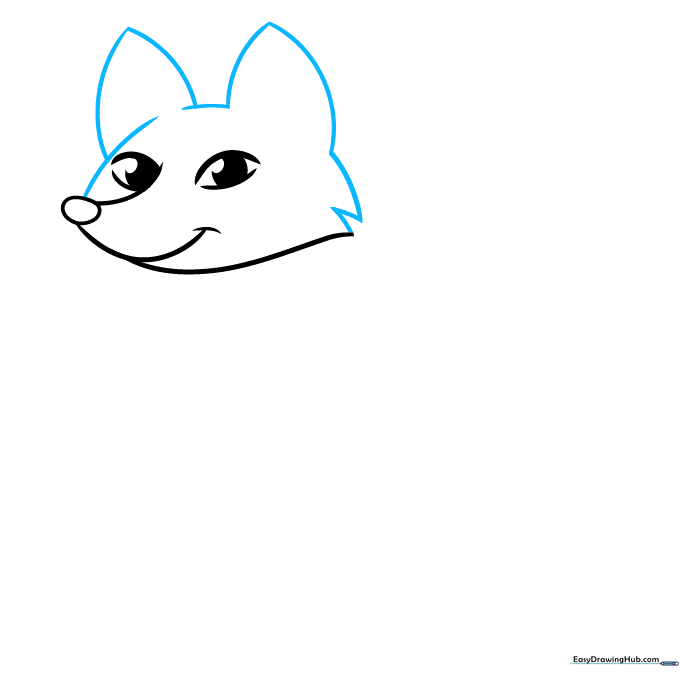
Sketch two large, pointed triangles for the ears. Use jagged, short lines along the sides of the head to represent soft fur. Teacher's Tip: Jagged lines are the secret to making your drawing look fuzzy and realistic!
Step 4: Ear Details and Fur Tufts

Draw a smaller curved line inside each ear to add depth. Add more jagged tufts of fur around the cheeks. Teacher's Tip: Vary the length of your jagged lines to make the fur look natural and wild.
Step 5: The Chest and Front Leg

Use overlapping curved lines to draw the fluffy chest and the first front leg. Teacher's Tip: Think of the chest fur as a soft, rounded cloud shape.
Step 6: Belly and Rear Leg
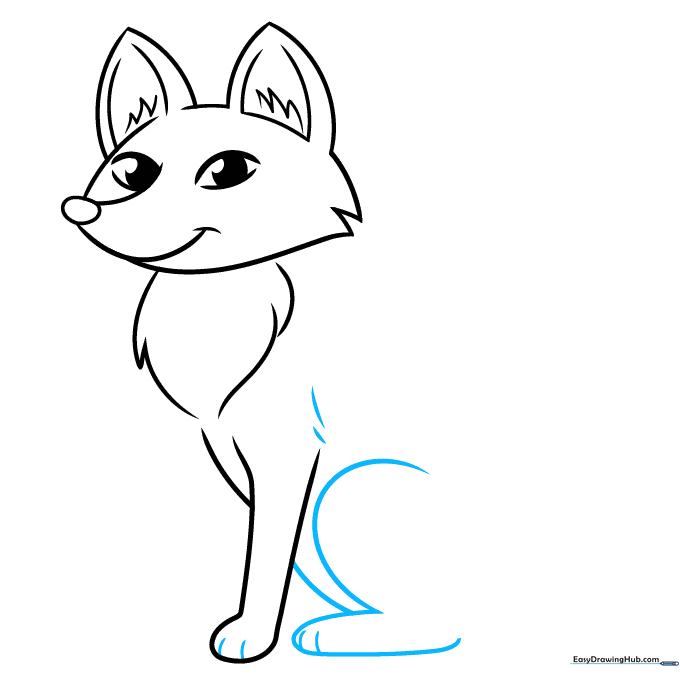
Draw a curved line for the belly and add the sitting rear leg. Add small lines at the bottom for the toes. Teacher's Tip: Keep the leg lines rounded to show the fox is sitting comfortably.
Step 7: Completing the Legs
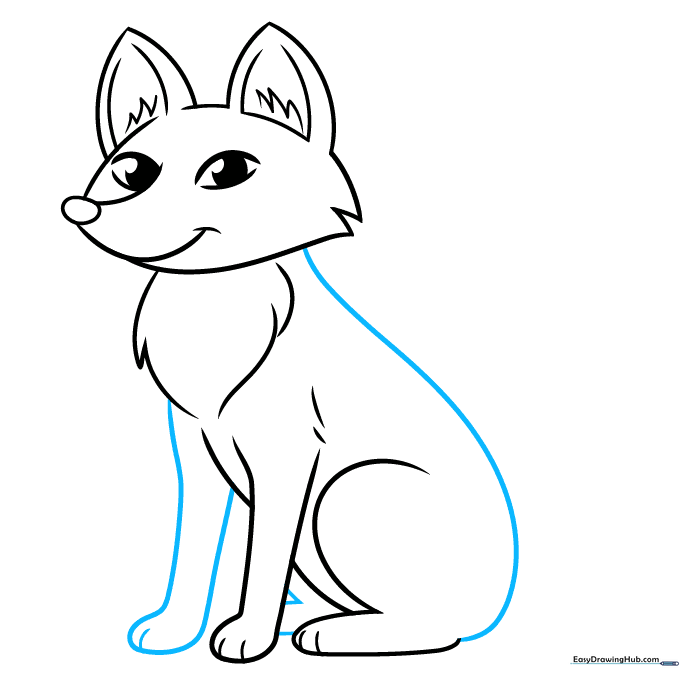
Draw the remaining front leg and the back line. Add small lines for the hidden rear paw. Teacher's Tip: Drawing the legs slightly overlapping creates a sense of depth.
Step 8: The Bushy Tail
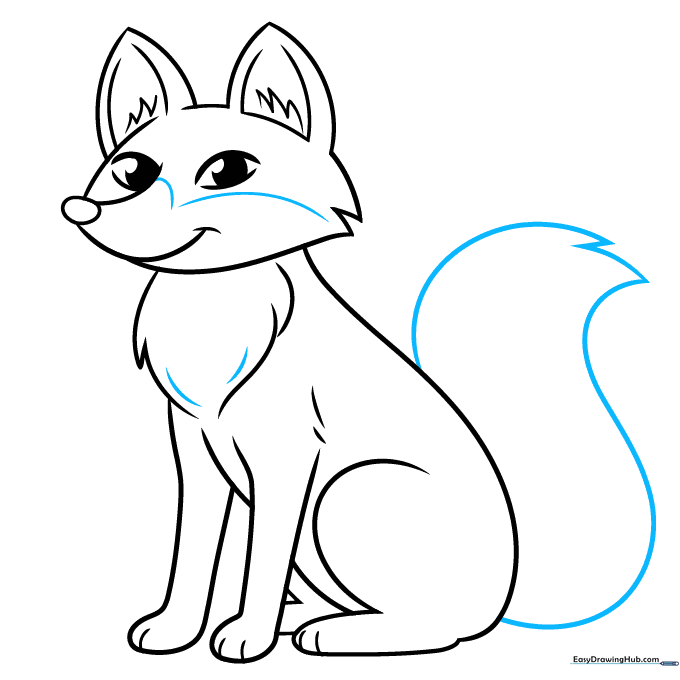
Add markings to the face and draw a large, bushy tail using two long curved lines connected by jagged fur lines. Teacher's Tip: Make the tail big and fluffy—it's a fox's best feature!
Step 9: Final Details
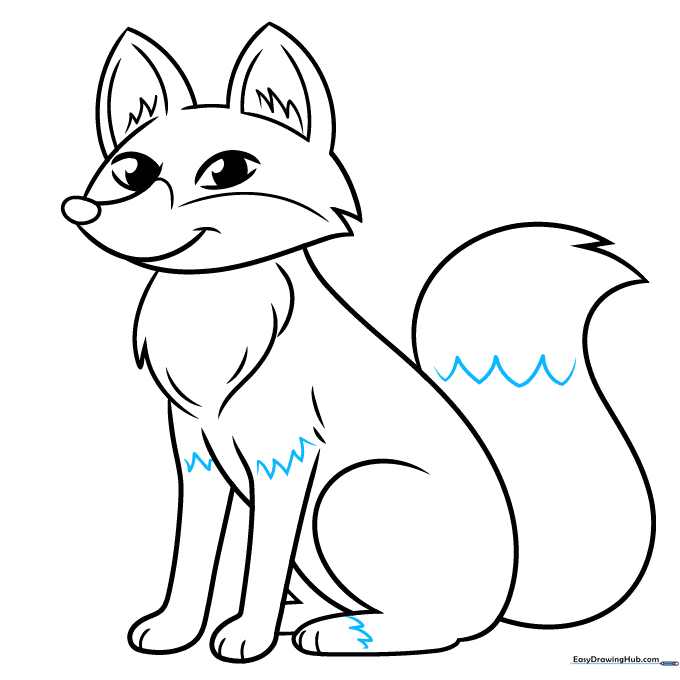
Add zigzag lines across the paws and the tip of the tail to show color changes. Teacher's Tip: These zigzags are perfect guides for where to color later!
Step 10: Time to Color!
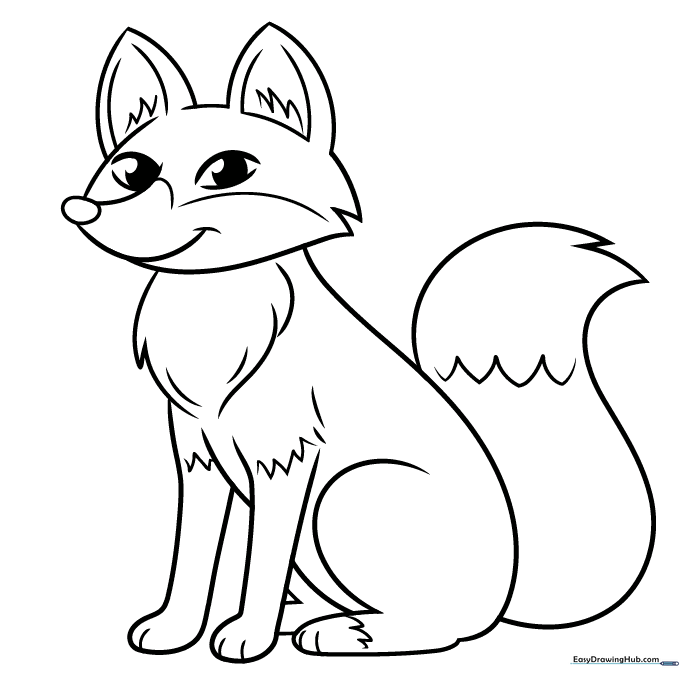
Your outline is ready! Use bright reddish-orange for the body, and white for the chest and tail tip. Teacher's Tip: Use light, circular motions with your crayons for a smooth, even look.
More Tutorials


