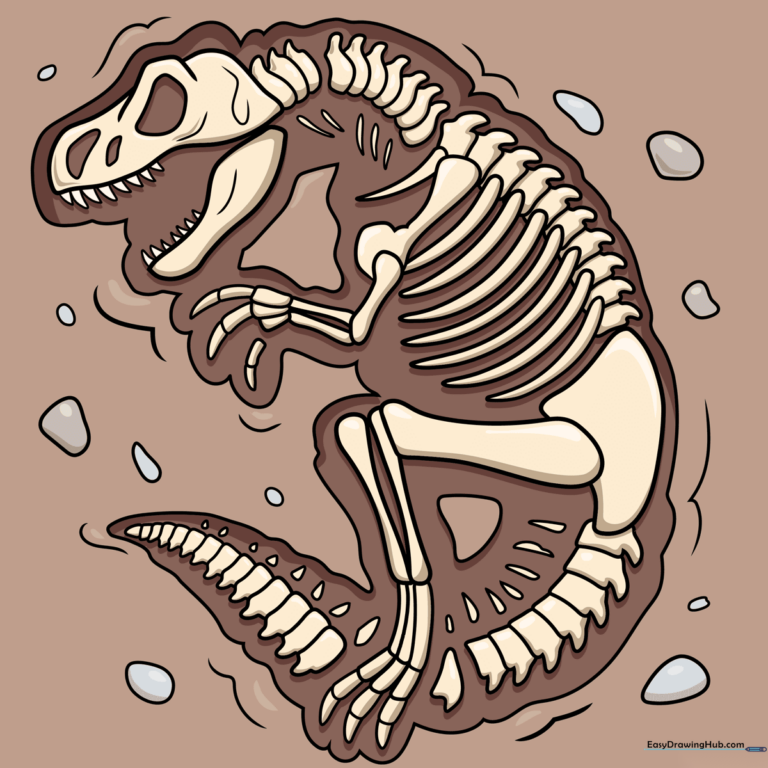
How to Draw a Fossil: Easy 9-Step Dinosaur Guide
Bring history to life with this fun, screen-free drawing activity perfect for budding paleontologists ages 6 and up. You will only need a pencil, an eraser, and a sheet of paper to create your own prehistoric discovery. Follow these steps to master the structure of a dinosaur skeleton while developing your hand-eye coordination.
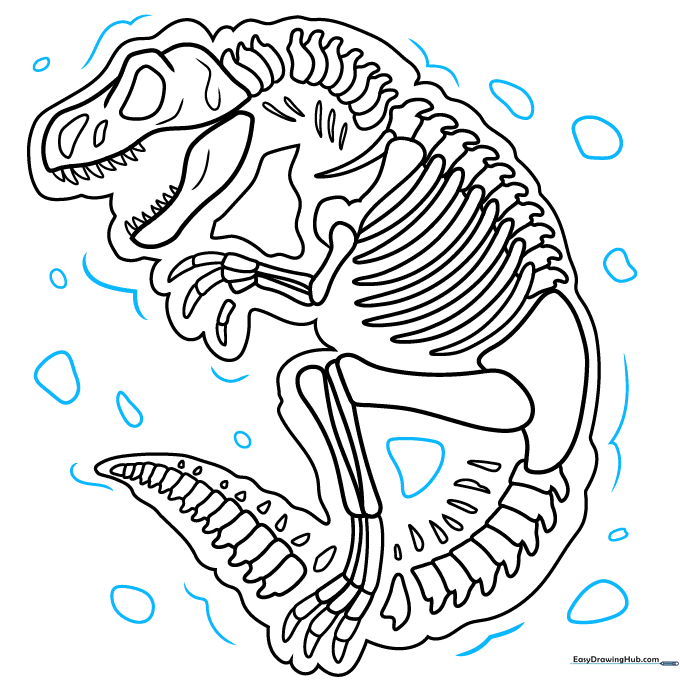
🎯 Final Result
Step-by-Step Instructions
Step 1: Sketching the Skull
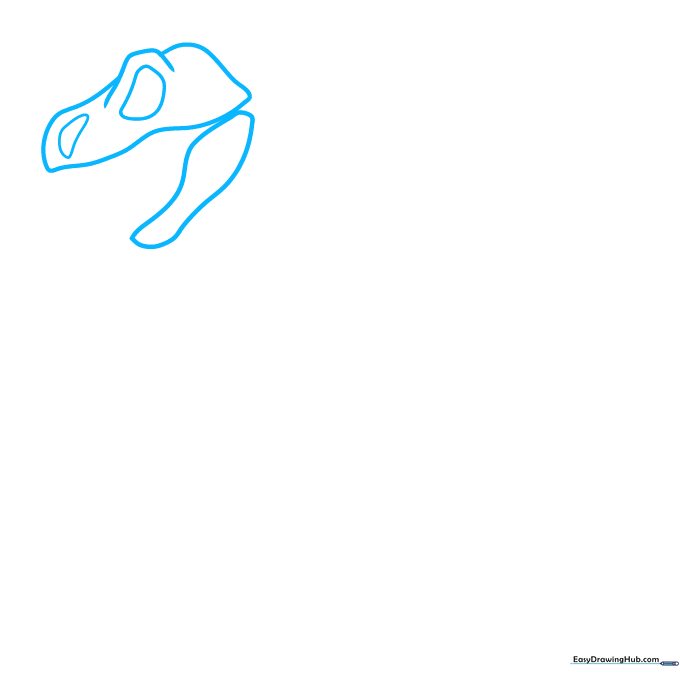
Start by drawing the dinosaur's skull. Use a curved line for the top of the eye socket and another for the upper skull. Teacher's Tip: Keep your lines loose and light; think of this as a rough map for your fossil.
Step 2: Adding Teeth and Neck Bones
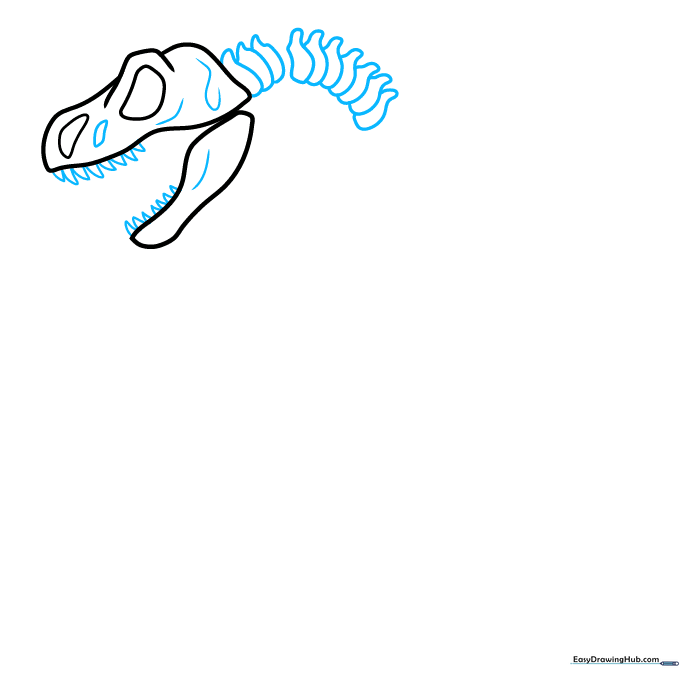
Draw sharp, triangular teeth along the jaws. Then, add a series of overlapping teardrop shapes for the neck vertebrae. Teacher's Tip: Leave a small gap between one or two vertebrae to make it look like an authentic, aged fossil.
Step 3: Drawing the Arm Bones
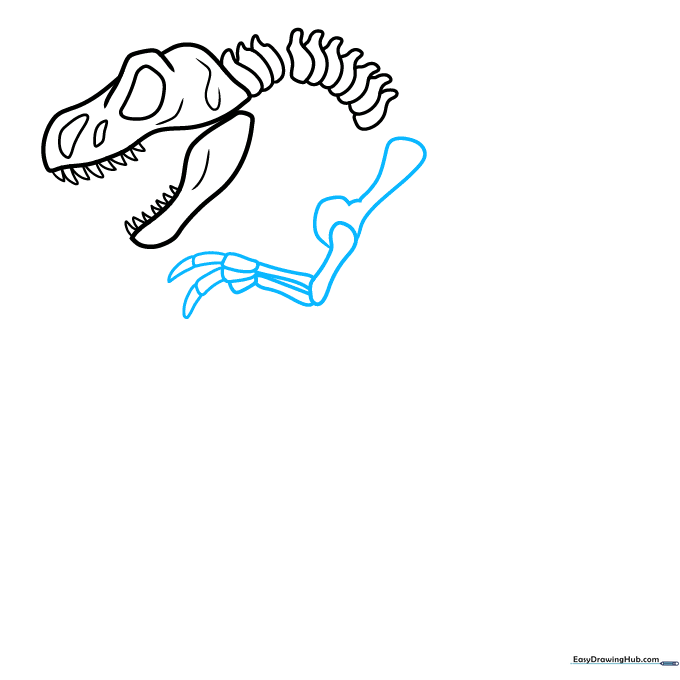
Sketch the shoulder blade, which looks like a musical note, followed by the upper and lower arm bones. Teacher's Tip: Use smooth, rounded ends for the bones to give them a realistic, jointed appearance.
Step 4: Adding Ribs and Vertebrae

Draw the dorsal vertebrae as rectangles with small triangles on top. Use long, curved lines to create the rib cage. Teacher's Tip: Don't worry about perfect symmetry; fossils are often slightly shifted in the ground.
Step 5: The Pelvis and Leg Bones
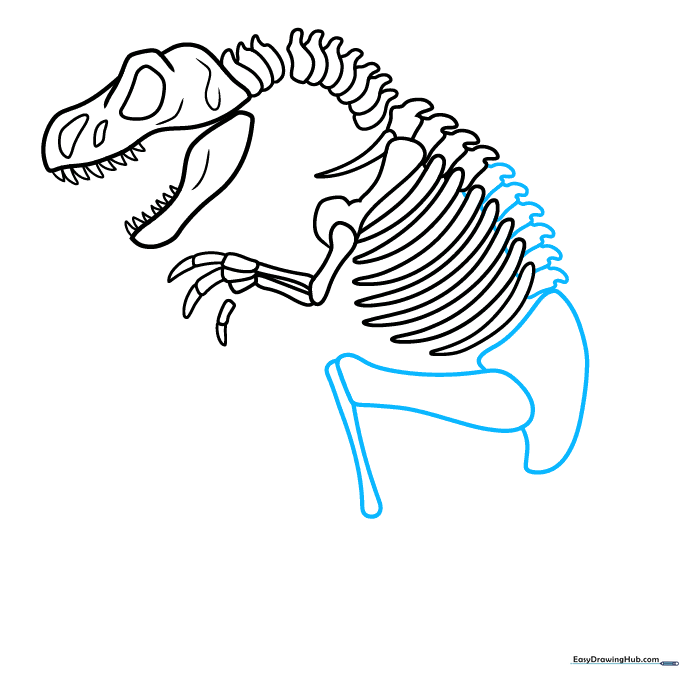
Draw the rounded triangle of the hip bone, then add the long, sturdy femur and fibula. Teacher's Tip: These are the largest bones in the body, so make them look thick and strong compared to the ribs.
Step 6: Feet and Tail Base
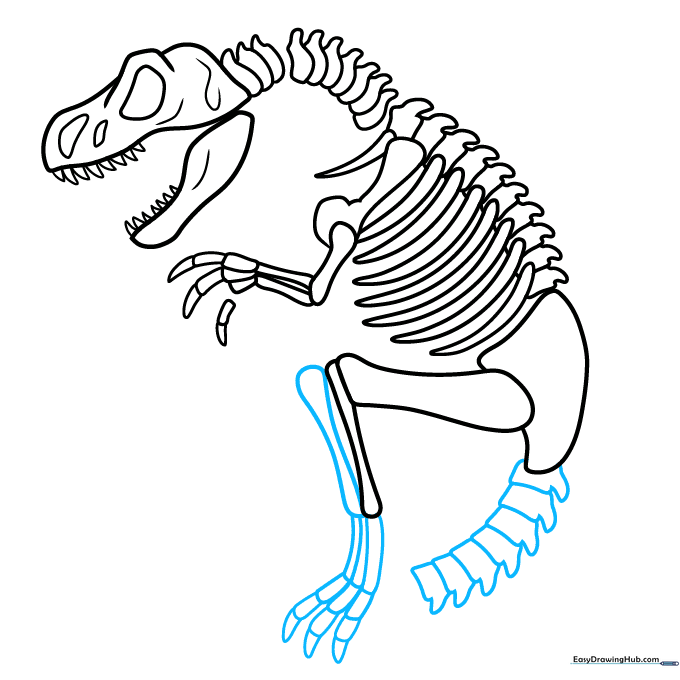
Add the foot bones and toes, then start the tail with a series of rectangular vertebrae. Teacher's Tip: As you move toward the end of the tail, make each rectangle slightly smaller than the last.
Step 7: Refining the Tail
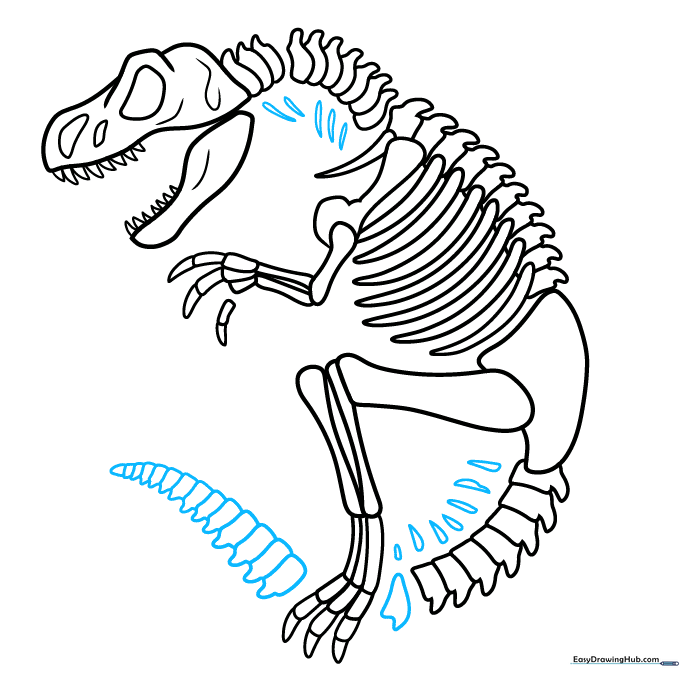
Continue the tail bones to the tip and add small, sharp 'chevron' bones underneath. Add small rib-like structures near the neck. Teacher's Tip: Use short, quick pencil strokes for these smaller bones to keep them looking delicate.
Step 8: Outlining the Fossil
Go over your sketch with a darker line to define the bones. Teacher's Tip: Pressing slightly harder with your pencil here will make the bones pop against the background.
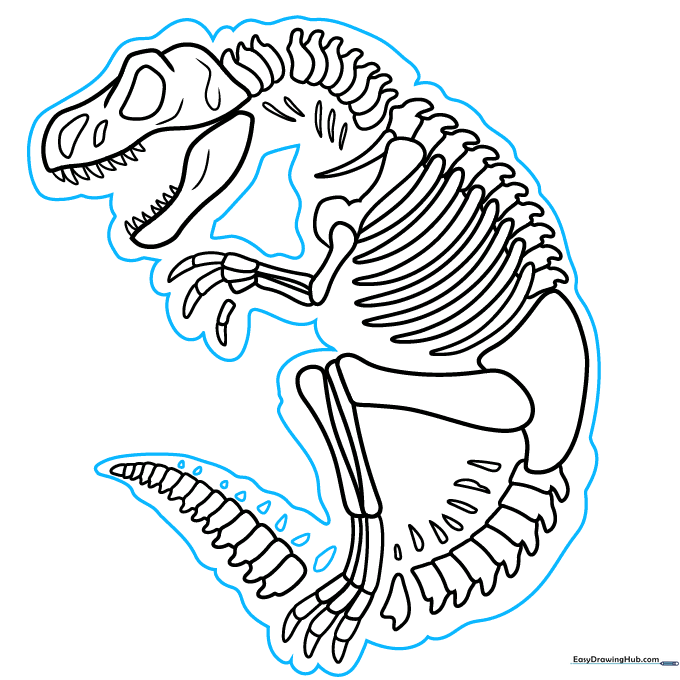
Step 9: Adding the Rock Texture
Draw irregular, jagged shapes around the skeleton to represent the rock and dirt it is buried in. Teacher's Tip: Vary the size of these shapes to create a natural, earthy texture.
Step 10: Coloring Your Discovery

Use creamy whites or light tans for the bones, and earthy browns or grays for the surrounding rock. Teacher's Tip: Use a light touch with your colored pencils to keep the texture looking like stone rather than plastic.
More Tutorials


