How to Draw a Football Player: Easy 10-Step Guide
Ready to hit the field? This tutorial is perfect for young sports fans ages 7+ who want to learn how to draw a football player in action. You will only need a pencil, an eraser, and some paper to get started. Follow these simple steps to build your character from the helmet down to the cleats.
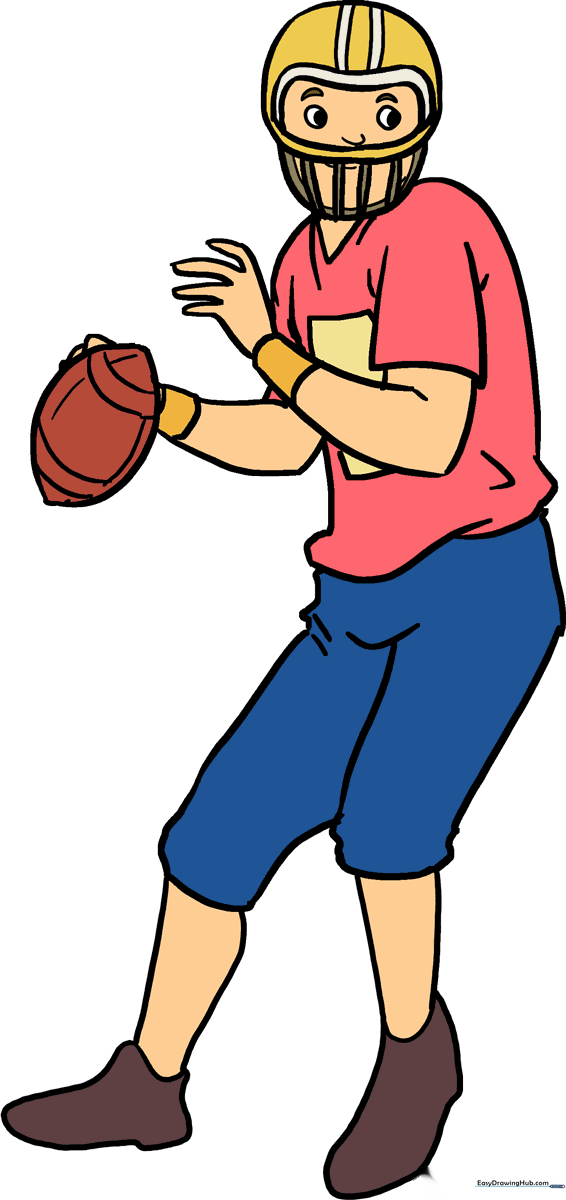
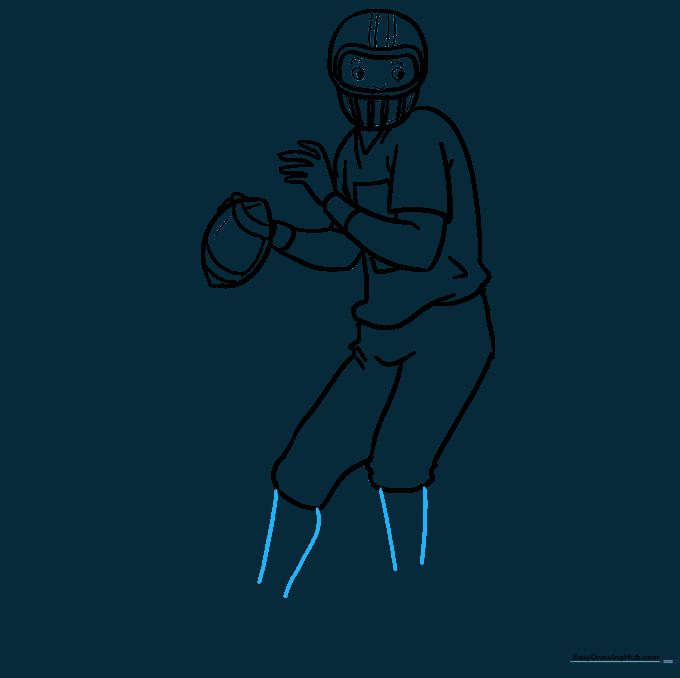
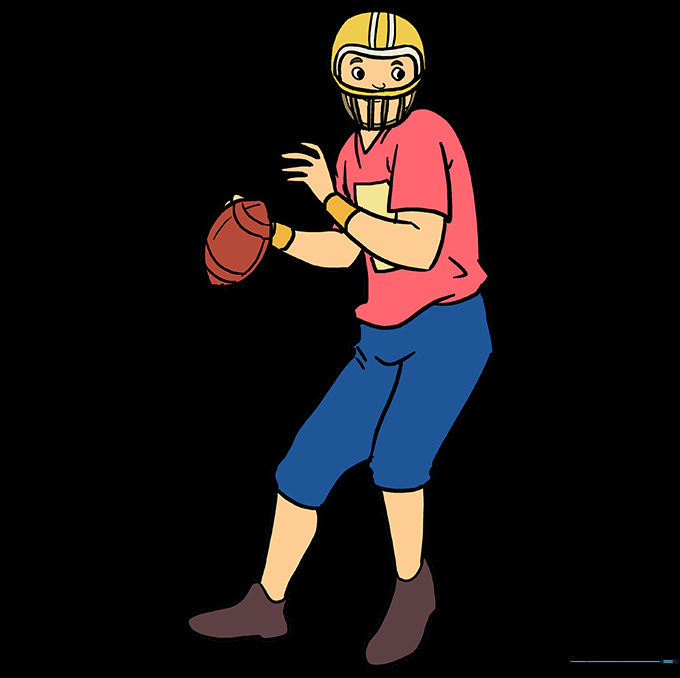
🎯 Final Result
Step-by-Step Instructions
Step 1: Sketching the Helmet Base

Draw a rounded rectangle with slight bulges on the sides to form the helmet opening. Add a curved line across the top and bottom of the opening, then cap it with a half-circle for the shell. Teacher's Tip: Keep your pencil lines very light so you can easily erase the overlap later.
Step 2: Adding the Face Mask

Draw a curved line under the helmet to create the face mask frame. Add several horizontal and vertical lines across the opening to create the grid. Teacher's Tip: Use a ruler if you want the mask bars to look perfectly straight, or keep them freehand for a more organic look.
Step 3: Sketching the Torso and Arm
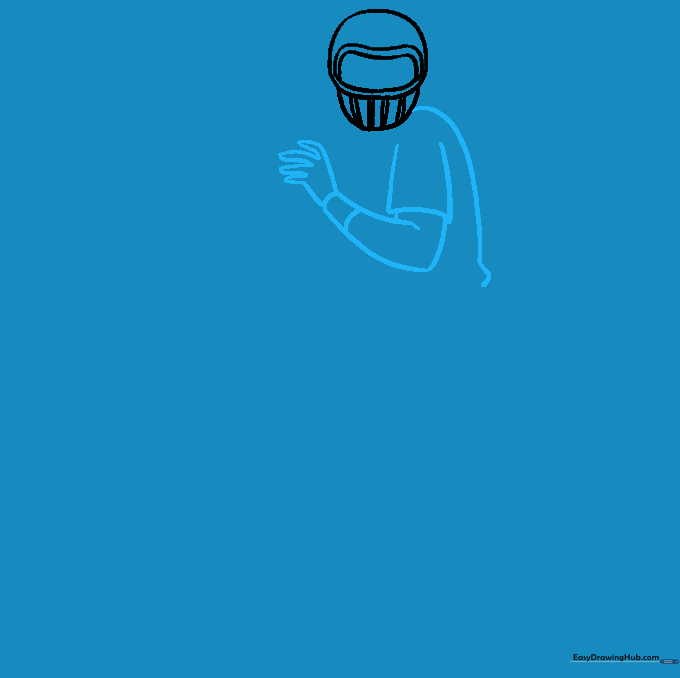
Draw a long, curved line down from the helmet for the back. Use three curved lines for the sleeve and sketch the arm with a clear bend at the elbow. Use small 'U' shapes for the fingers. Teacher's Tip: Focus on the 'bend' at the elbow to give your player a sense of movement.
Step 4: Defining the Jersey
Form the neckline with a 'V' shape and draw a rectangle on the chest for the player's number. Use curved lines to enclose the jersey shape. Teacher's Tip: Add small lines near the armpits to suggest fabric folds and make the uniform look realistic.
Step 5: Drawing the Football
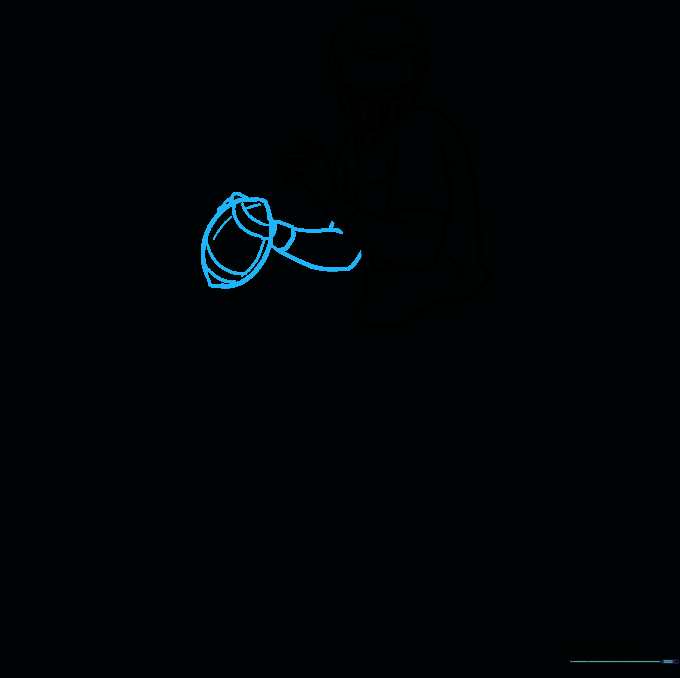
Draw the second arm and add the football using two curved lines that meet at points. Add bands and 'U' shapes for the fingers gripping the ball. Teacher's Tip: Ensure the football looks like it is tucked securely against the body to show action.
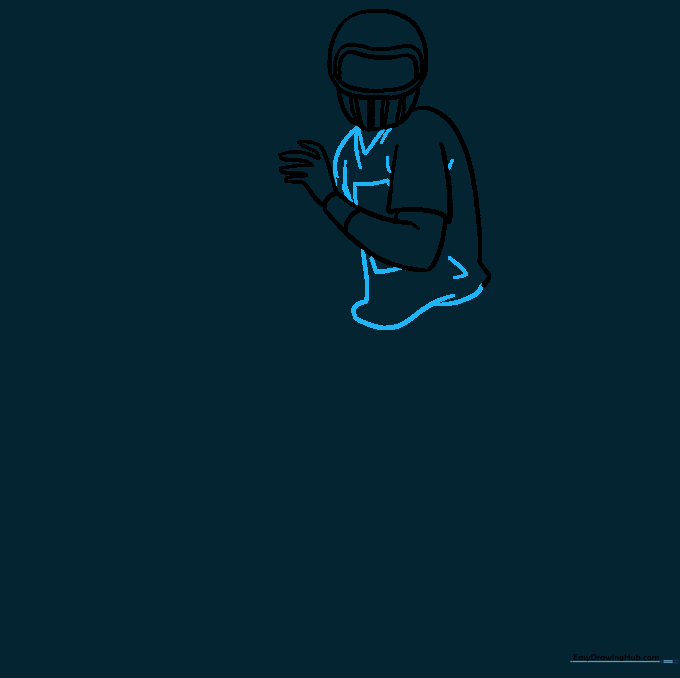
Step 6: Outlining the Pants
Use long, sweeping curved lines to outline the football pants. Add short, quick lines to indicate fabric folds around the hips. Teacher's Tip: Football pants are usually baggy, so don't be afraid to make your lines nice and wide.
Step 7: Adding Facial Features
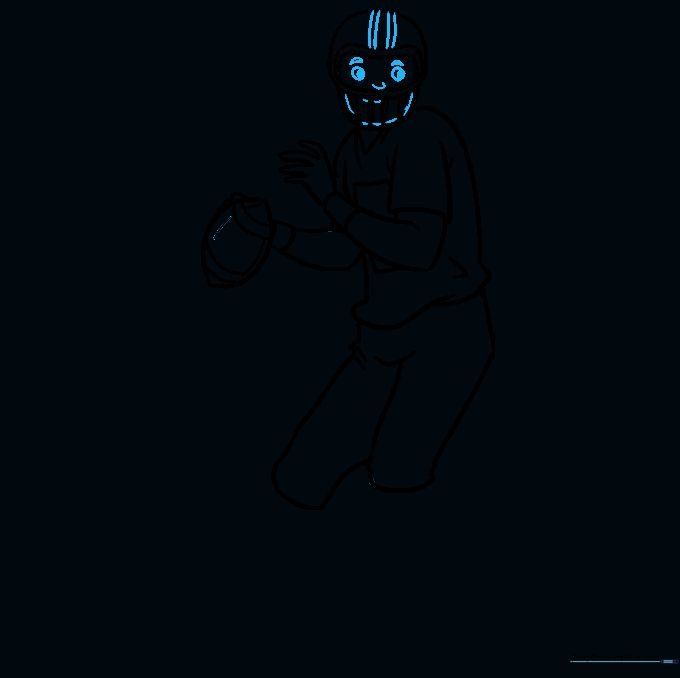
Detail the helmet with stripes. Draw the nose and eyebrows with simple curves, and create the eyes using a shaded circle inside a larger circle. Teacher's Tip: Keep the eyes simple—a small dot or circle is enough to show focus.
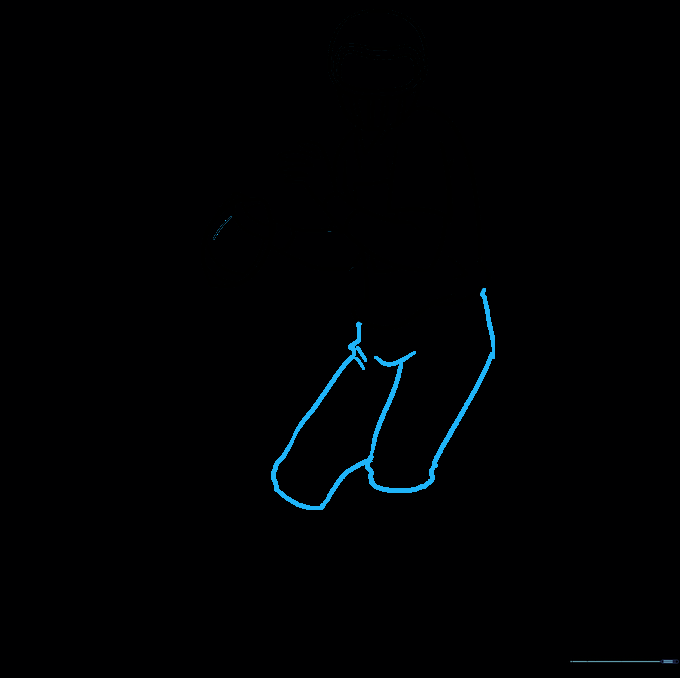
Step 8: Drawing the Legs
Extend two curved lines downward from each pant leg to create the lower legs. Teacher's Tip: Make sure the legs are roughly the same length so your player looks balanced.
Step 9: Adding the Cleats
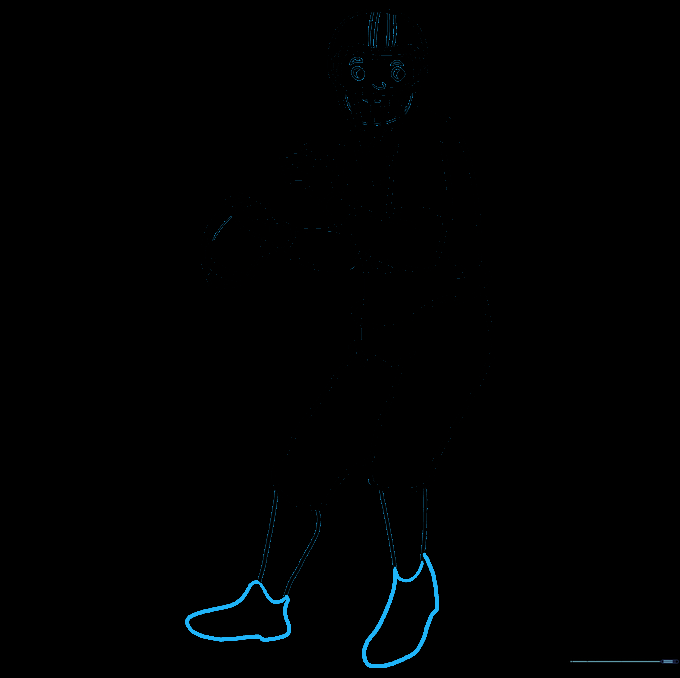
Draw the shoes at the bottom of the legs using irregular, rounded shapes. Teacher's Tip: Add a few small triangles on the bottom of the shoes to represent the cleats for extra detail.
Step 10: Final Coloring
Bring your player to life with color! Use your favorite team's colors for the jersey and helmet. Teacher's Tip: Use colored pencils to add shading to the folds of the uniform to make it pop.
More Tutorials