How to Draw a Football Helmet: Easy 10-Step Guide
Ready to design your own sports gear? This tutorial is perfect for young athletes and artists ages 6+ who want to draw a professional-looking football helmet. All you need is a pencil, an eraser, and a piece of paper to get started. Follow these simple steps to build your confidence and master basic geometric shapes.
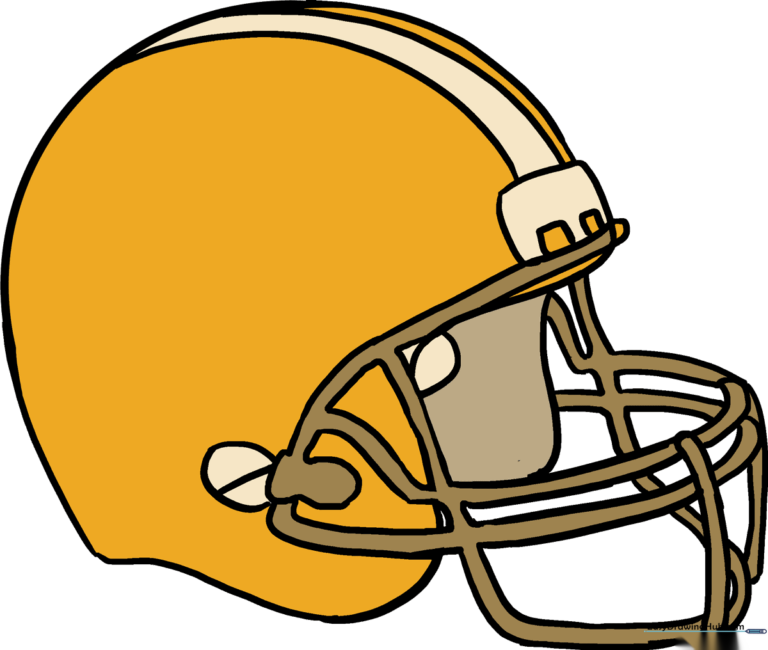
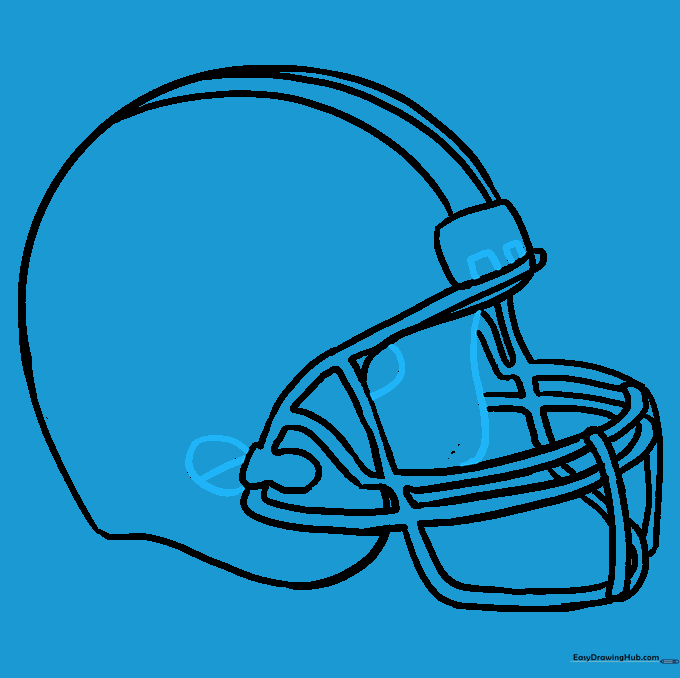
🎯 Final Result
Step-by-Step Instructions
Step 1: Sketching the Base Shape
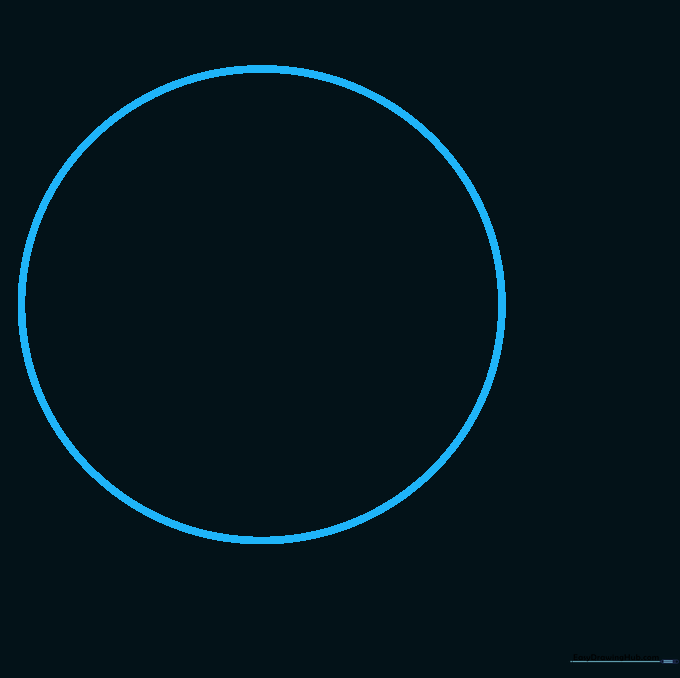
Start by drawing a light circle in the center of your paper. Teacher's Tip: Keep your pencil strokes very faint so you can easily erase this guide later; it acts as the foundation for the helmet's dome.
Step 2: Defining the Helmet Profile
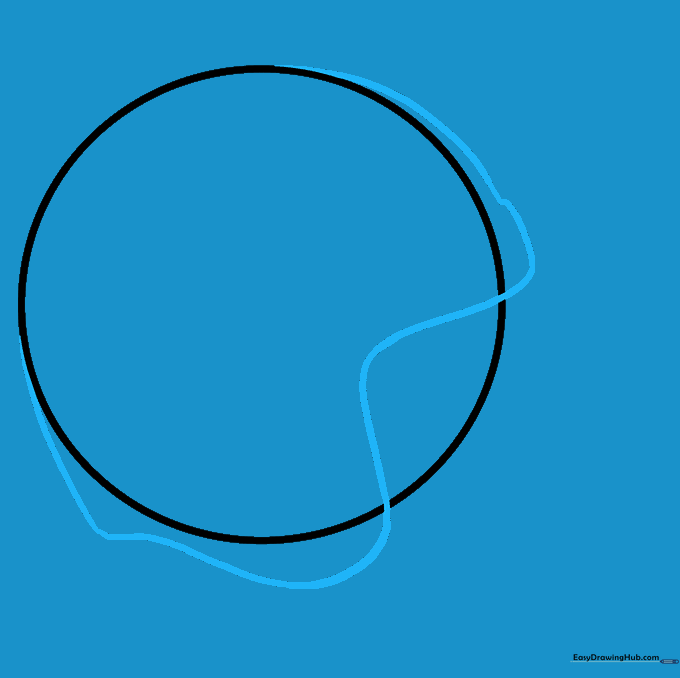
Use a long, curved line to define the outer shell of the helmet. Teacher's Tip: Imagine the shape of a bowl turned upside down; let your line follow the curve of your circle guide to ensure a smooth, rounded look.
Step 3: Cleaning Up Your Guide
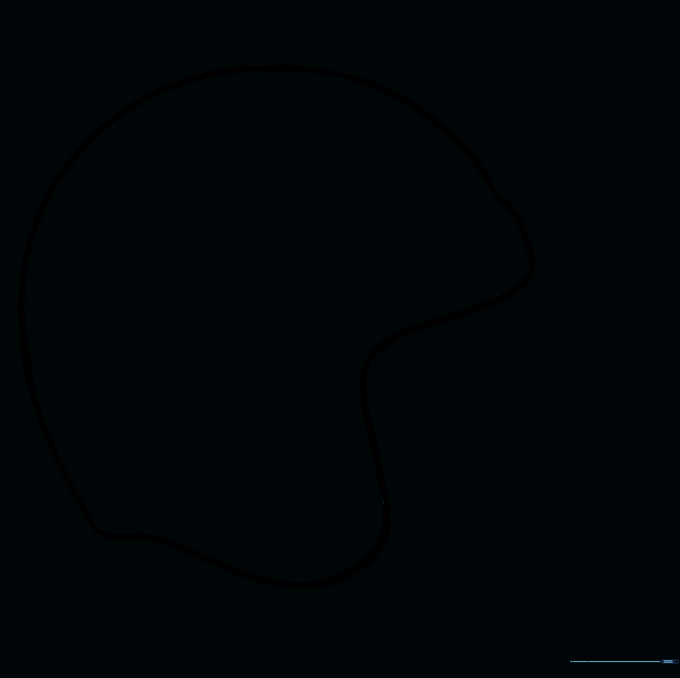
Gently erase the inner circle lines you drew in step one. Teacher's Tip: Use a soft eraser and brush away the crumbs with your hand to keep your paper clean for the finer details.
Step 4: Adding the Face Opening and Stripe
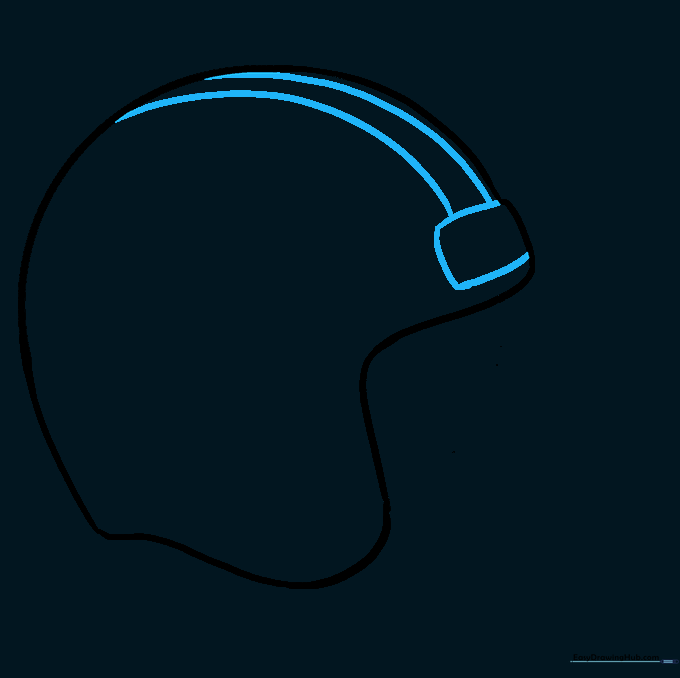
Draw a rounded rectangle at the front for the face opening, then add two curved lines across the top for the helmet stripe. Teacher's Tip: Keep the stripe lines parallel to give it a professional, sporty look.
Step 5: Starting the Face Mask
Sketch the upper bars of the face mask using curved lines. Teacher's Tip: Focus on the connection points where the metal bars meet the helmet shell; make these points slightly thicker to show they are bolted on.
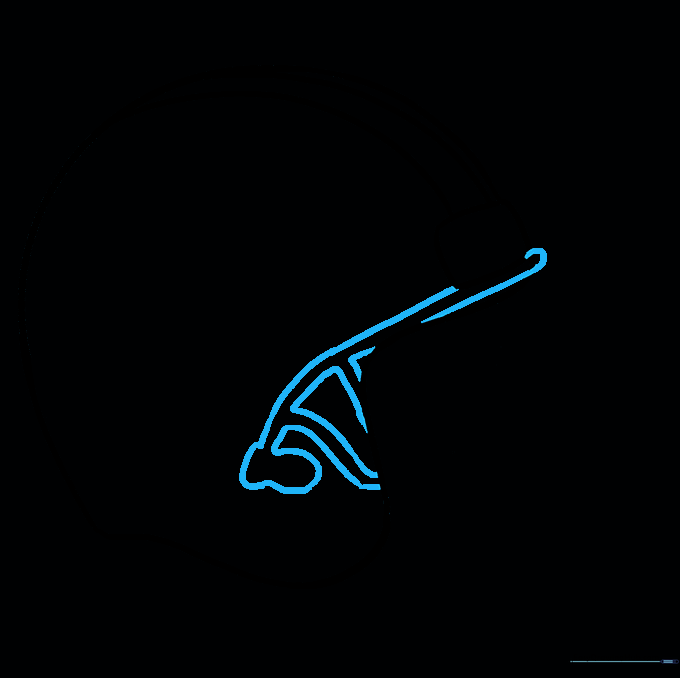
Step 6: Building the Mask Wires
Continue adding pairs of curved lines to form the lower wires of the mask. Teacher's Tip: Keep your lines smooth and fluid; if you make a mistake, just remember that real metal bars are slightly wobbly, so it doesn't have to be perfectly straight!
Step 7: Detailing the Mask
Add more rectangular wire sections to the mask. Teacher's Tip: Notice how the wires overlap; drawing one line slightly behind another creates a sense of depth and 3D space.
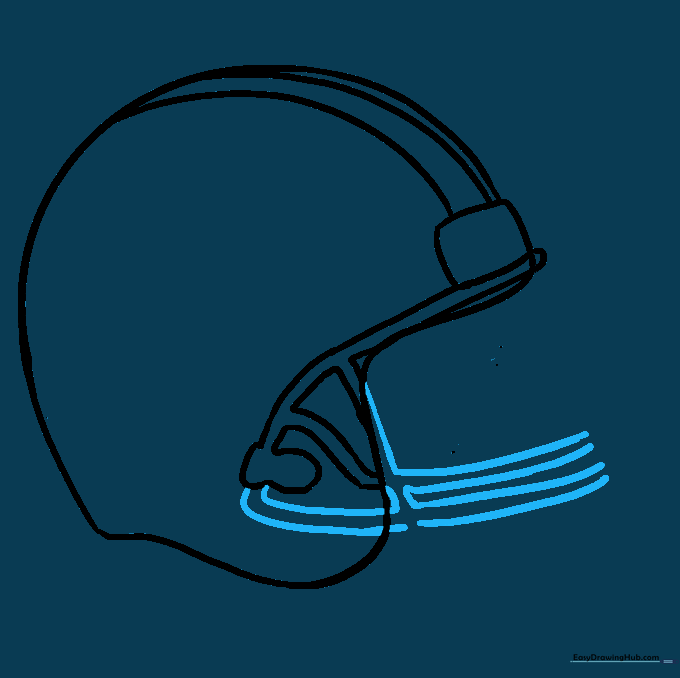
Step 8: Adding Depth to the Mask
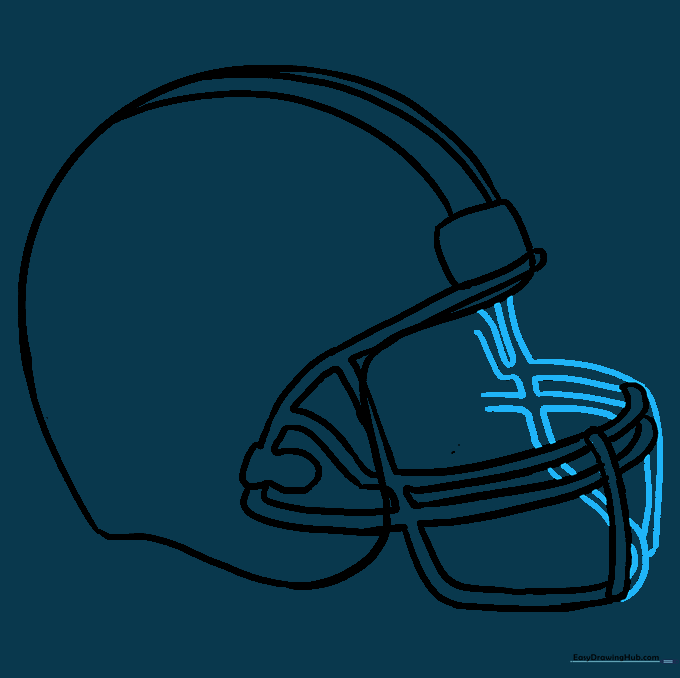
Draw the bars on the far side of the helmet. Teacher's Tip: These lines should be slightly shorter because they are further away from the viewer, which helps your drawing look more realistic.
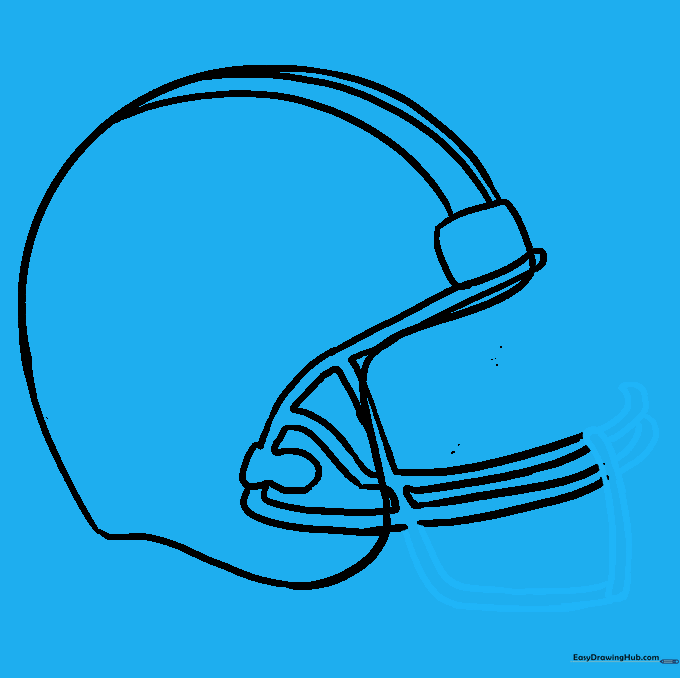
Step 9: Final Touches
Add the small bolts and connectors on the side of the helmet. Teacher's Tip: A simple 'X' or a small square can represent the hardware that holds the mask in place.
Step 10: Bring It to Life with Color
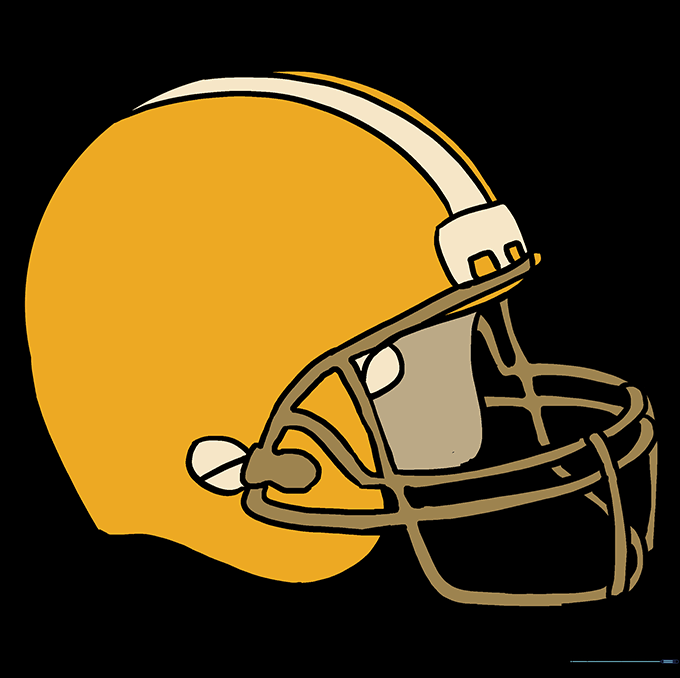
Time to color! Use your favorite team's colors to fill in the shell and stripe. Teacher's Tip: Use a light grey or blue for the metal mask to make it look shiny and metallic.
More Tutorials


