How to Draw a Foo Dog: Easy 10-Step Guide for Kids
Bring this legendary guardian to life with our easy, step-by-step guide designed for young artists. You will only need a pencil, an eraser, and your favorite markers to complete this mythical creature. Follow along to master the unique shapes that give the Foo Dog its powerful, stylized look.
🎯 Final Result
Step-by-Step Instructions
Step 1: Sketching the Face Features

Draw three small, equal-sized hills to form the bridge of the nose. Below, sketch a curly M-shape for the mouth. Teacher's Tip: Keep your pencil pressure light here so you can easily refine these shapes later.
Step 2: Adding the Fangs and Teeth

Add a wide W-shape under the nose and connect it to the mouth. Use small rectangles for teeth and sharp triangles for the fangs. Teacher's Tip: Make the fangs slightly longer than the teeth to give your Foo Dog a fierce, guardian expression.
Step 3: Defining the Head and Ears

Sketch four swirls on top of the head to represent the mane. Add triangles for the ears and a loose W-shape for the jawline. Teacher's Tip: Use a fluid motion for the swirls to make them look like soft, flowing fur.
Step 4: Adding Mane Texture

Add small, rounded hills on top of the head, incorporating swirls and curved lines inside each one. Teacher's Tip: Vary the size of your swirls to create a more natural, textured look for the mane.
Step 5: Shaping the Face
Draw deep curved lines on the sides of the face that end in swirls. Connect the jawline with a single, bold curve. Teacher's Tip: Ensure the swirls are symmetrical to keep the face balanced.
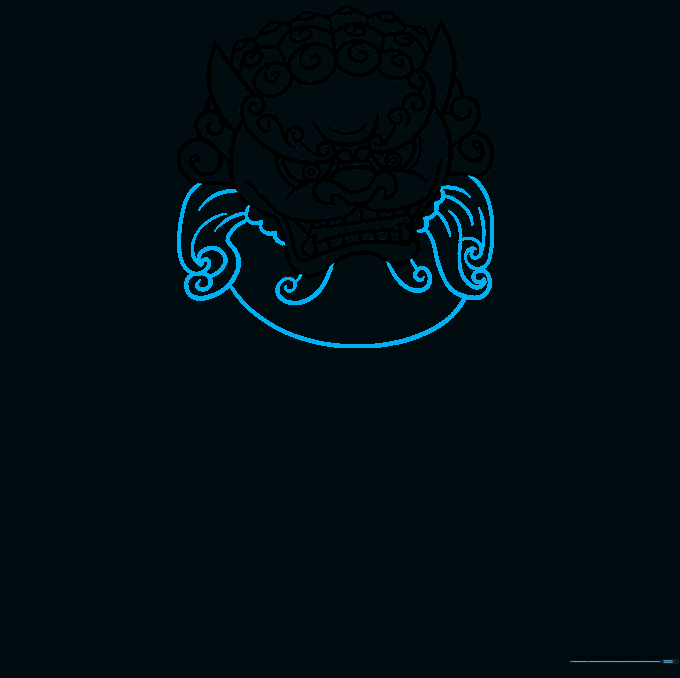
Step 6: Drawing the Chest
Add parallel lines under the jaw to create the chest area. Sketch circular details that overlap these lines. Teacher's Tip: Use a ruler if you struggle with straight parallel lines, or practice freehand for a more organic feel.
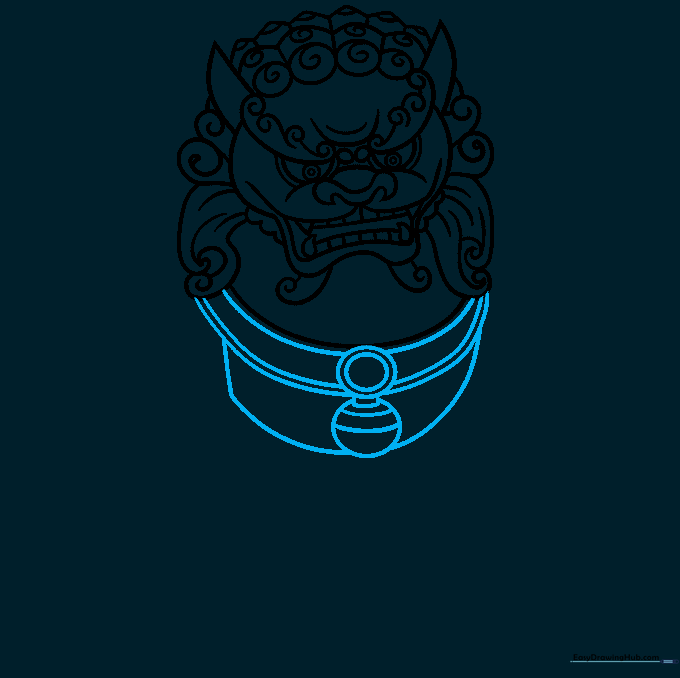
Step 7: Sketching the Front Paw
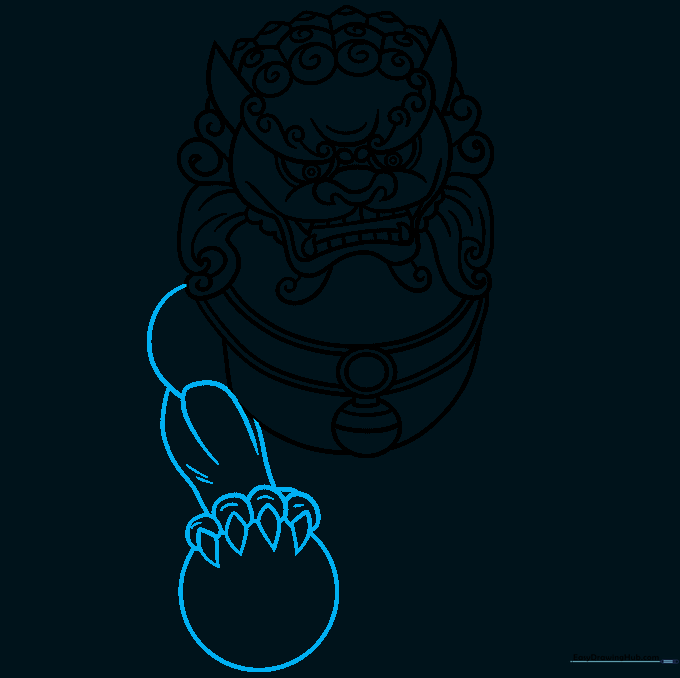
Draw a curved arm with a hook shape in the center. Add round shapes for toes and diamonds for claws. Teacher's Tip: The diamond shape for the claw is key to that classic Foo Dog look—keep them sharp!
Step 8: Adding Leg Texture

Continue the leg with curved lines that end at right angles. Add more toes and claws, and sketch lines inside the leg for muscle texture. Teacher's Tip: Use short, quick strokes to suggest the strength of the leg.
Step 9: Drawing the Back Legs
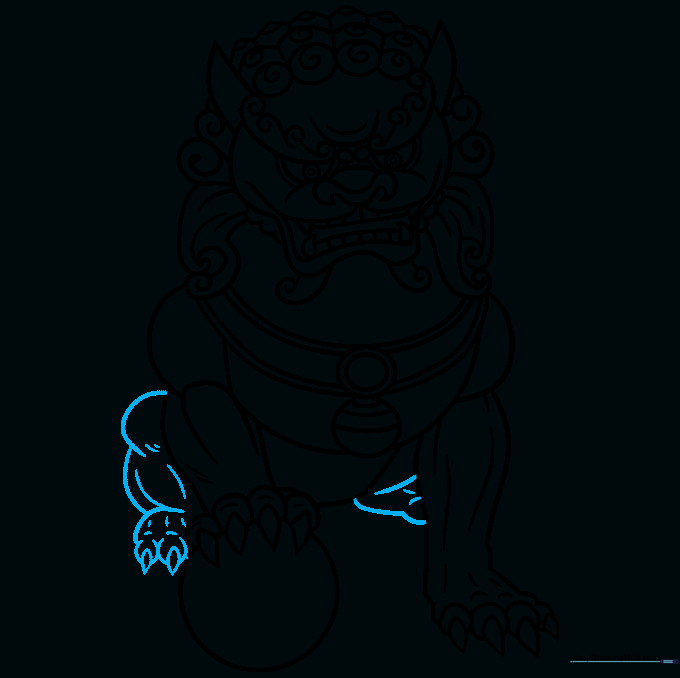
Sketch three overlapping curves for the back leg, adding toes and claws to match the front. Teacher's Tip: Overlapping lines create a sense of depth, making your drawing look more three-dimensional.
Step 10: Final Outline and Coloring
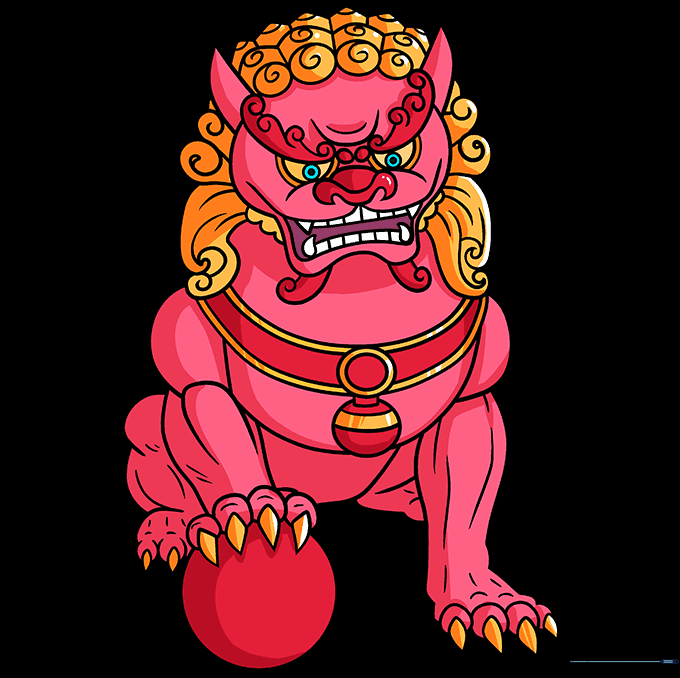
Trace your final lines with a black marker and erase any stray pencil marks. For coloring, use vibrant pinks for the body and oranges for the mane to make your guardian pop! Teacher's Tip: Keep the teeth white to make them stand out against the colored mouth.
More Tutorials


