How to Draw a Flying Dragon: Easy 10-Step Guide
Ready to bring a mythical creature to life? This tutorial is perfect for young artists ages 6+ looking to master fantasy character design. Grab your favorite pencil, an eraser, and a piece of paper to follow along as we build this dragon from simple shapes to a soaring masterpiece.
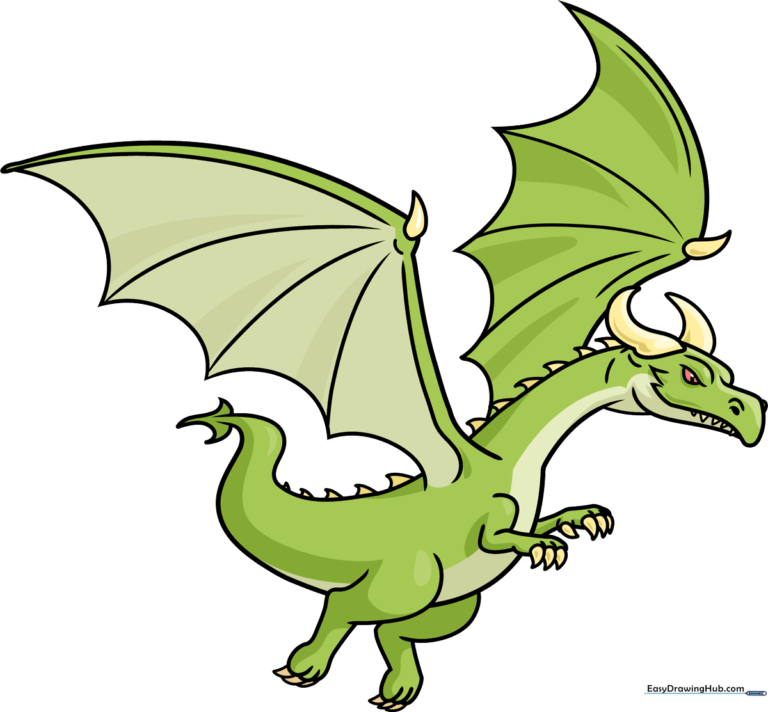
🎯 Final Result
Step-by-Step Instructions
Step 1: Sketching the Head and Eye

Start on the right side of your paper. Draw a smooth, curved line that loops downward to form the snout, then add two small triangles at the tip for the nose. For the eye, draw a half-circle with a gentle S-curve on top. Teacher's Tip: Keep your pencil lines light so you can easily erase any overlapping marks later.
Step 2: Adding Horns and Teeth

Draw two curved triangles on top of the head to create sharp horns. Below the snout, sketch a curved jawline and add small, jagged triangles for the teeth. Teacher's Tip: Make the teeth different sizes to give your dragon a bit of personality!
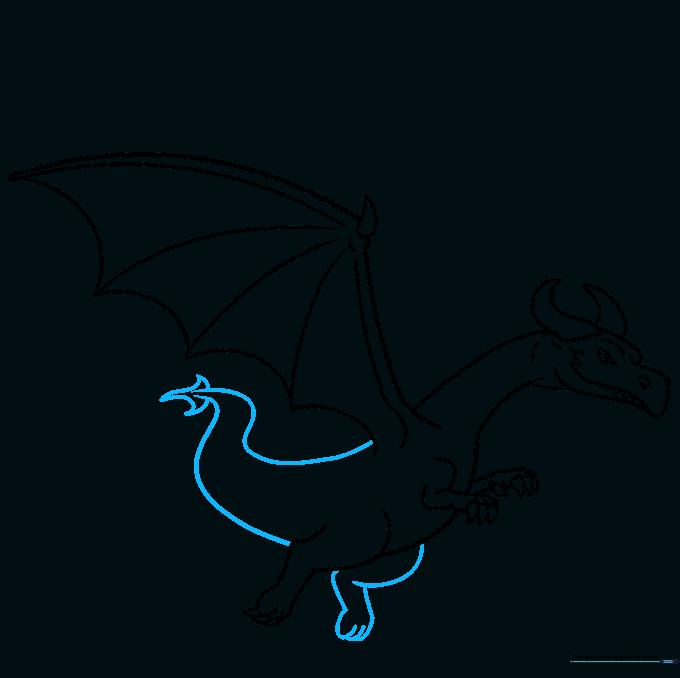
Step 3: Forming the Neck and Wing Base
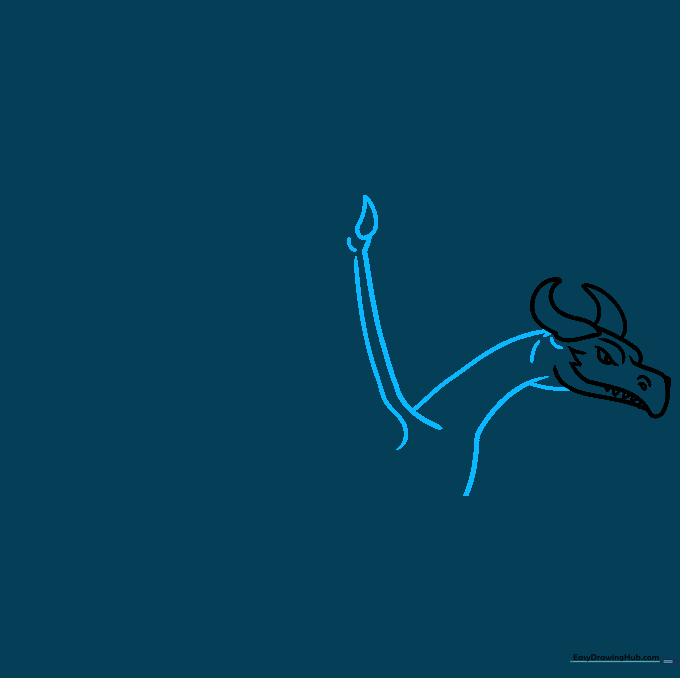
Use long, sweeping lines to connect the head to the body, creating a graceful, curved neck. Start the wing by drawing a narrow, tube-like shape with a teardrop at the top. Teacher's Tip: Use a fluid motion with your wrist to get that smooth, curved neck shape.
Step 4: Constructing the Wing
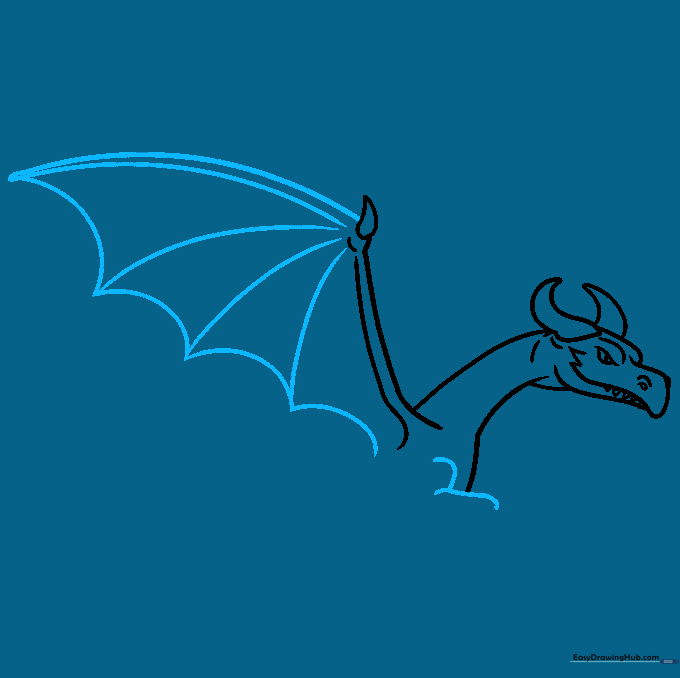
Draw two parallel curved lines for the top of the wing. Add four scalloped curves underneath, similar to the edge of an umbrella, and connect them to the wing's top corner. Sketch a rounded hook for the arm. Teacher's Tip: Think of the wing like a bat's wing—it should look flexible and thin.
Step 5: Drawing the Claws and Leg
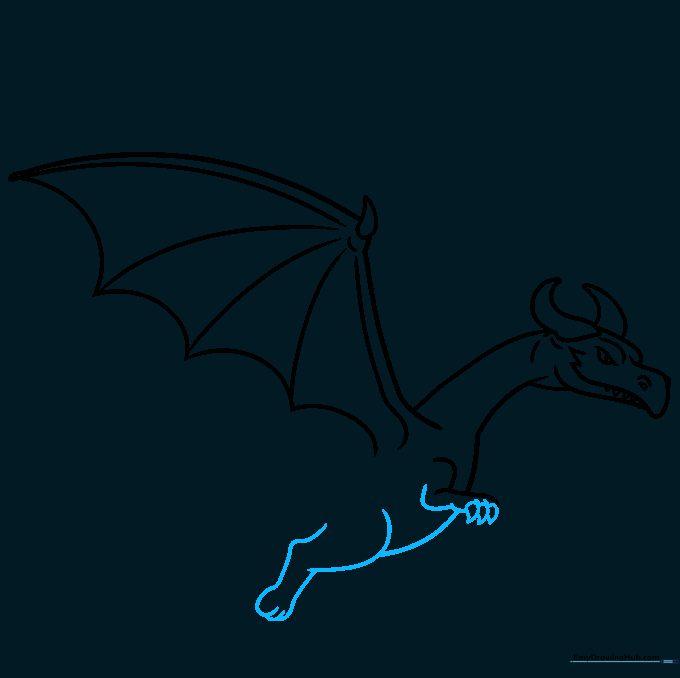
Create loops for the elbow and palm, finishing with rounded triangles for the claws. Sketch a V-shape to start the leg, curving it downward into a foot. Teacher's Tip: Keep your claw triangles small and sharp to make the dragon look more powerful.
Step 6: Defining the Fingers and Claws
Add more detail to the hands by drawing straight lines for the fingers and adding rounded triangles for the claws. Teacher's Tip: If the fingers look too thick, use your eraser to taper the lines toward the tips.
Step 7: Sketching the Tail and Second Leg
Draw a long, backward S-shape for the tail, finishing it with three curved triangles. For the second leg, repeat the process of drawing a curve and a rounded foot. Teacher's Tip: A long, flowing tail helps balance the dragon's pose in your drawing.
Step 8: Adding Back Spikes
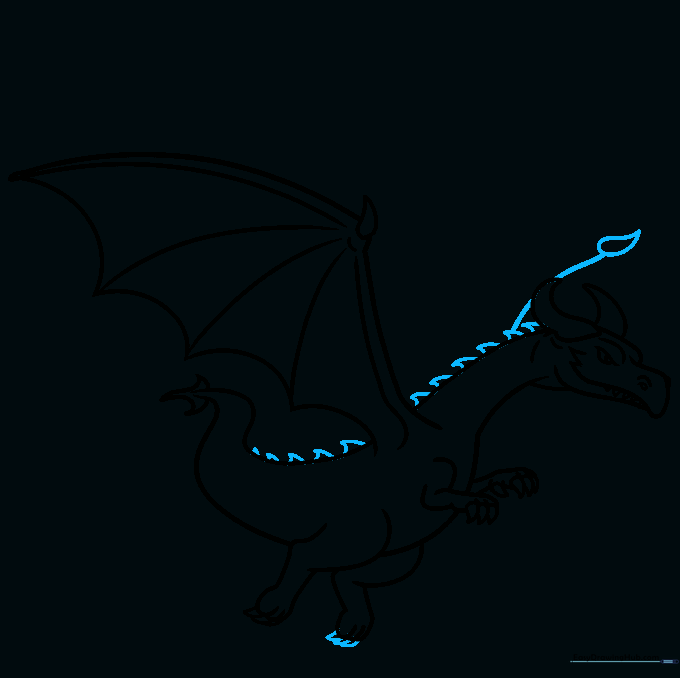
Draw a series of small triangles along the back of the dragon to create spikes. Finish the tail with a teardrop shape. Teacher's Tip: Vary the size of the triangles to make the spikes look more natural and organic.
Step 9: Finalizing the Wing Outline
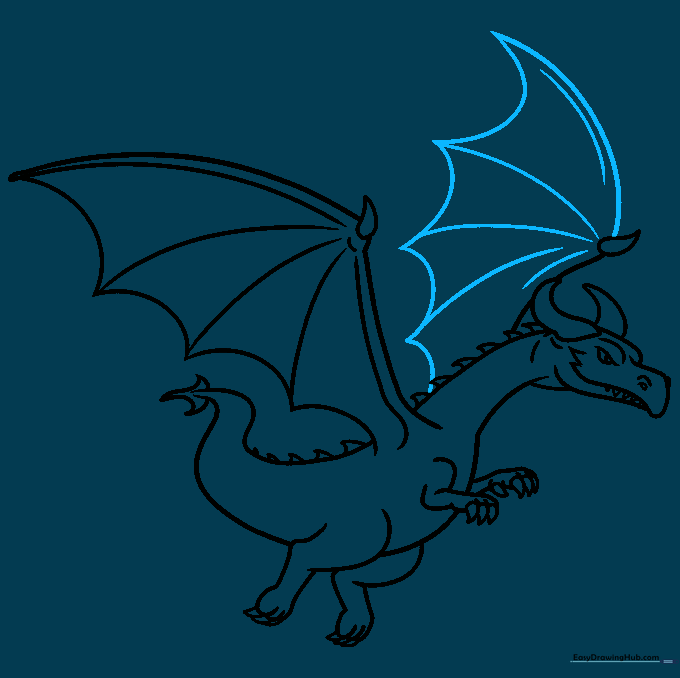
Draw a broad, swooping curve to define the top of the wing, then add scalloped shapes to connect it to the body. Teacher's Tip: Make sure your lines are confident and dark now, as this is the final outline stage.
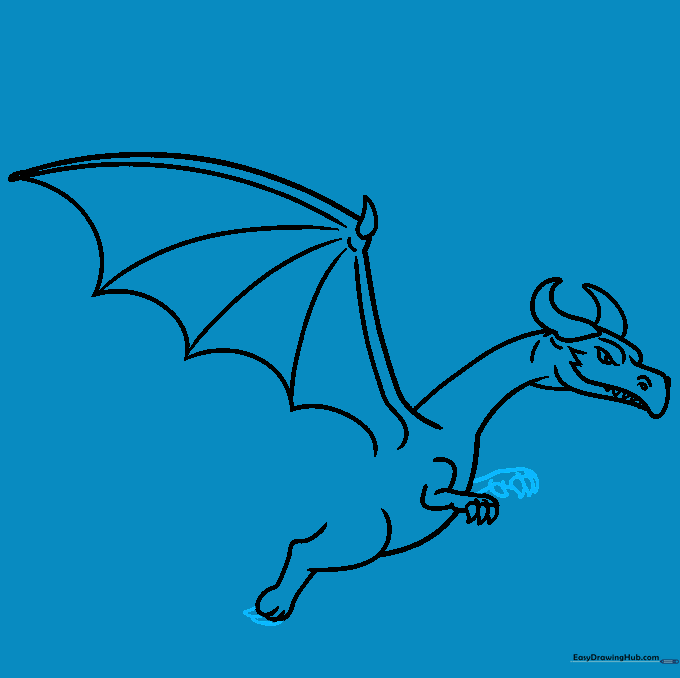
Step 10: Coloring Your Dragon
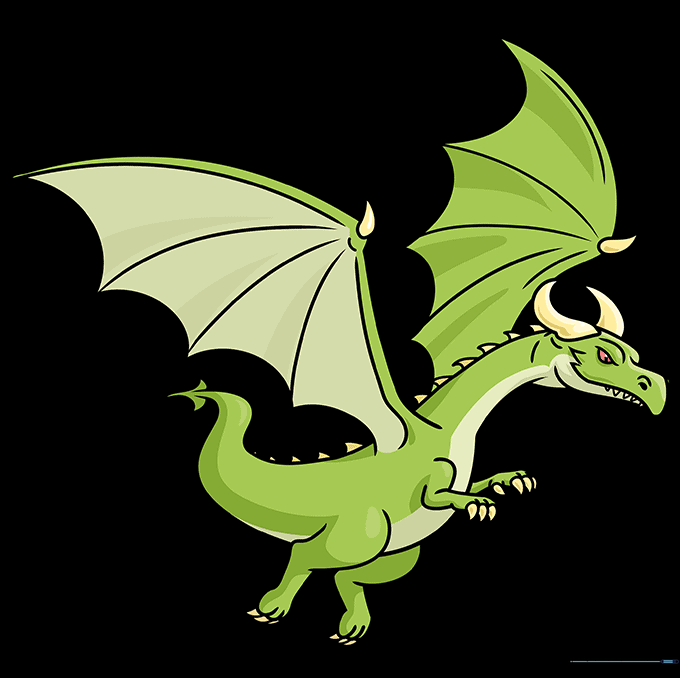
Trace your final lines with a black marker or pen. Use shades of green for the body and wings, and a bright yellow for the horns and claws. Add a touch of red to the eye to make it pop! Teacher's Tip: Try blending two shades of green to give your dragon a textured, scaly look.
More Tutorials


