How to Draw a Fly: Easy 10-Step Guide for Kids
This step-by-step tutorial is perfect for young artists ages 5+ looking to explore insect anatomy through drawing. You only need a pencil, an eraser, and a piece of paper to get started. Follow along to build confidence in your sketching skills while creating a detailed, buzzing friend.
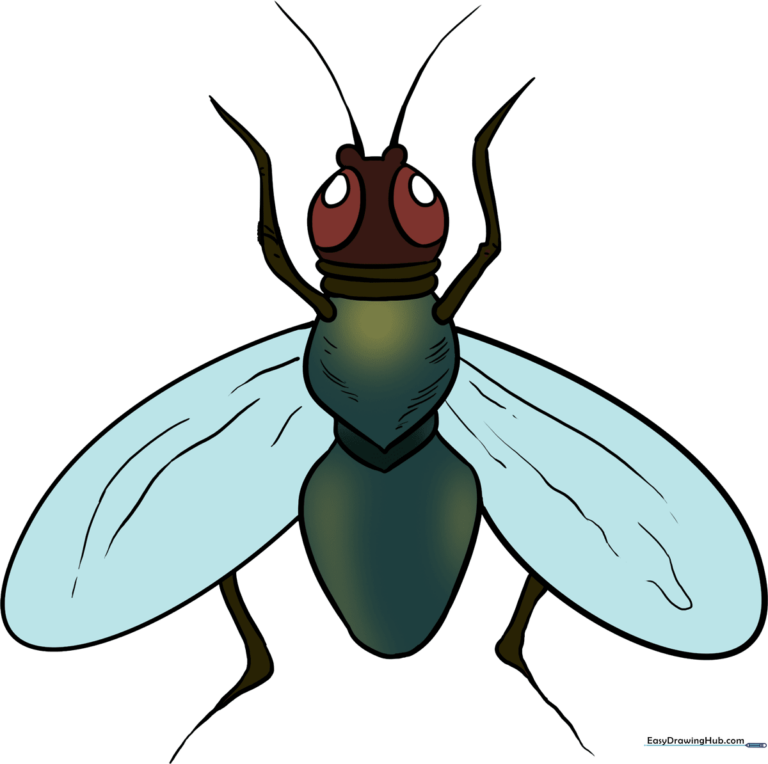
🎯 Final Result
Step-by-Step Instructions
Step 1: Sketching the Head and Eyes

Draw the fly's head using curved lines, keeping the base flat. Add two large ovals for the eyes with smaller ovals inside. Teacher's Tip: Keep your pencil pressure light so you can easily erase any overlapping lines later.
Step 2: Defining the Neck

Use a curved line to enclose an elongated shape at the base of the head, followed by a second line to create the neck structure. Teacher's Tip: Think of this as the 'bridge' between the head and the body.
Step 3: Forming the Thorax

Extend a curved line from each side of the neck, meeting in a sharp point to form the thorax. Teacher's Tip: The thorax is the 'engine room' of the insect, so make this shape nice and sturdy.
Step 4: Adding the Abdomen
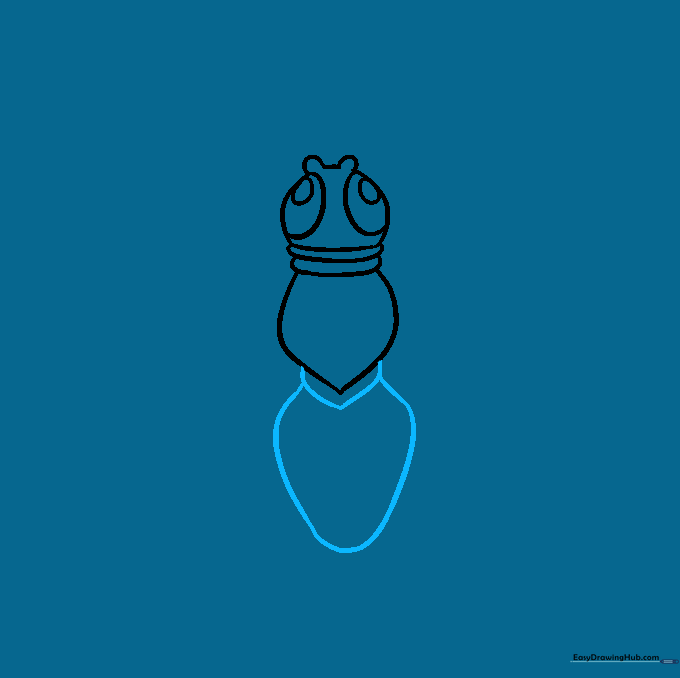
Draw a curved shape following the thorax, then add a long, rounded line to create the abdomen. Teacher's Tip: Ensure the abdomen is slightly larger than the thorax to keep the fly looking proportional.
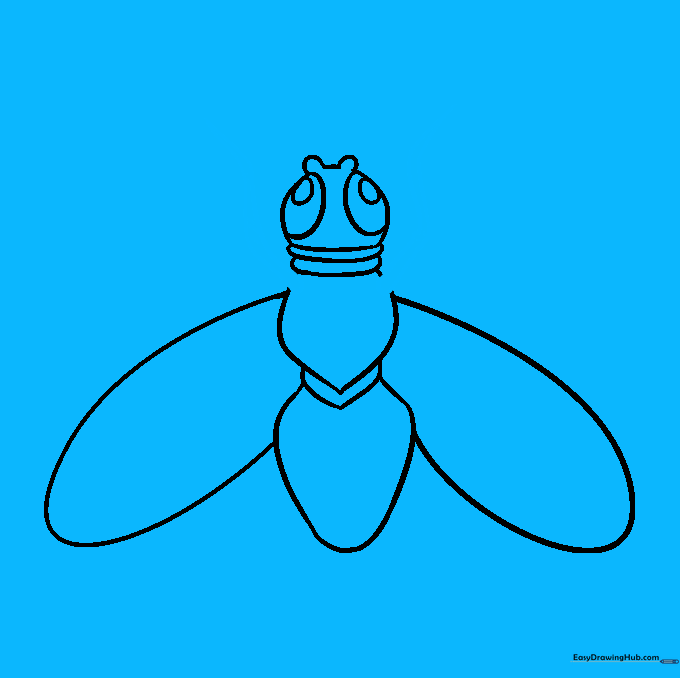
Step 5: Sketching the First Wing

Extend a long, curved line from the thorax and loop it back to the abdomen to create the first wing. Teacher's Tip: Keep the wing shape elongated and oval-like for a realistic look.
Step 6: Drawing the Second Wing

Repeat the process on the other side to draw the second wing. Teacher's Tip: Try to match the size and curve of the first wing to keep your fly balanced.
Step 7: Adding Front Legs
Draw two segmented legs extending from below the neck. Use short lines to add texture. Teacher's Tip: Insects have jointed legs, so adding those small bends makes your drawing look much more lifelike.
Step 8: Antennae and Body Texture
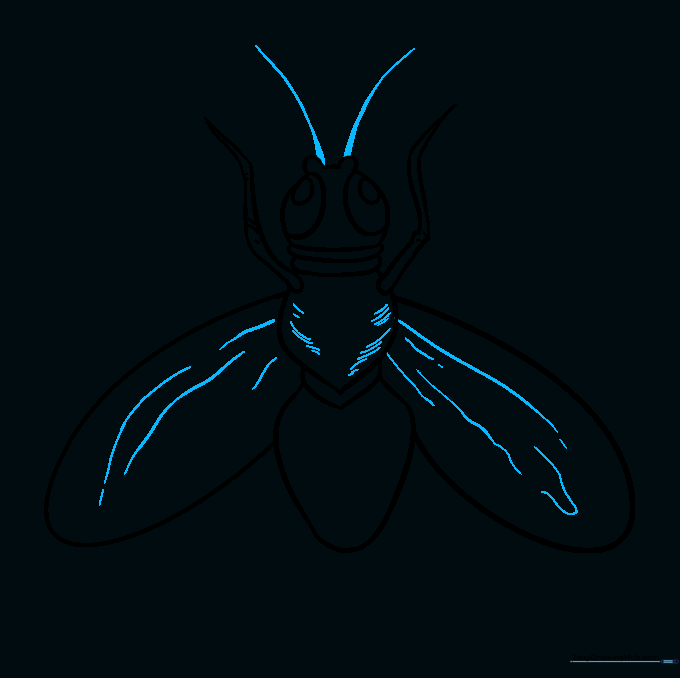
Add two small antennae to the head and use short, curved lines to add texture to the body and wings. Teacher's Tip: Don't overdo the texture; a few light marks go a long way in showing detail.
Step 9: Drawing Rear Legs
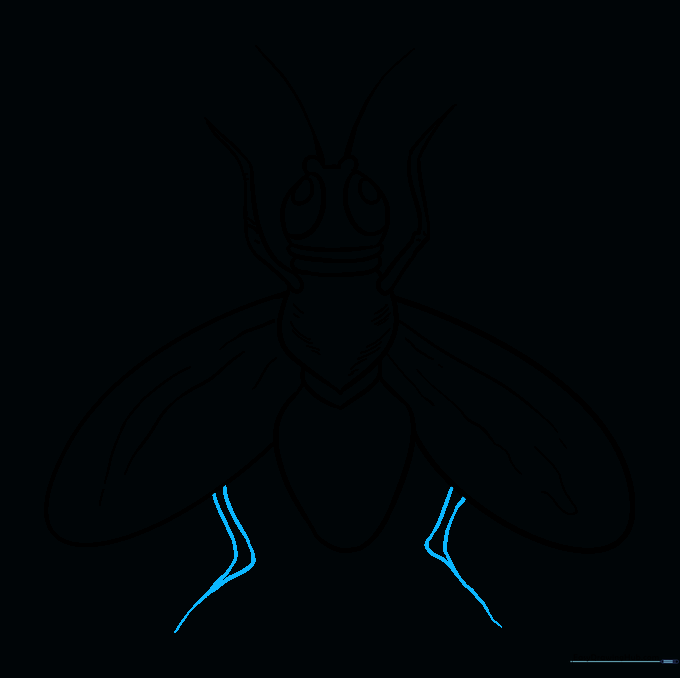
Add the rear legs extending from beneath the wings. Connect them to the body with sharp points. Teacher's Tip: These legs are often longer than the front ones, so give them a bit more reach.
Step 10: Adding Color

Bring your fly to life with color! Use black for a classic housefly, or experiment with metallic greens and blues. Teacher's Tip: Use light, circular strokes when coloring to keep the texture smooth.
More Tutorials


