How to Draw a Flute: Easy 10-Step Guide for Kids
Bring the magic of music to your sketchbook with this simple flute drawing tutorial. Designed for young artists ages 5 and up, this project requires only a pencil, eraser, and paper to build confidence in geometric shapes. Follow along to master the anatomy of a woodwind instrument in just a few minutes.
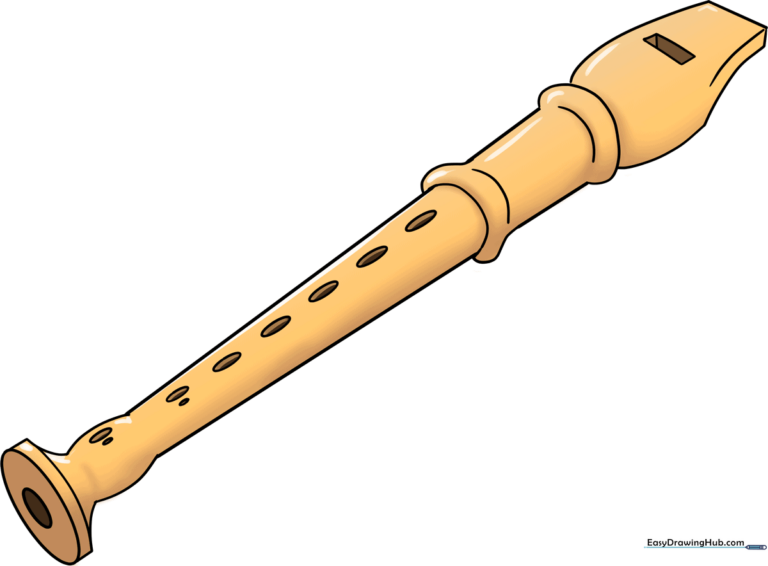
🎯 Final Result
Step-by-Step Instructions
Sketching the Main Body

Draw two long, slightly angled lines that taper inward at the bottom. Teacher's Tip: Use a light touch with your pencil so you can easily adjust the width if the flute looks a bit too wide or thin.
Defining the Head Joint
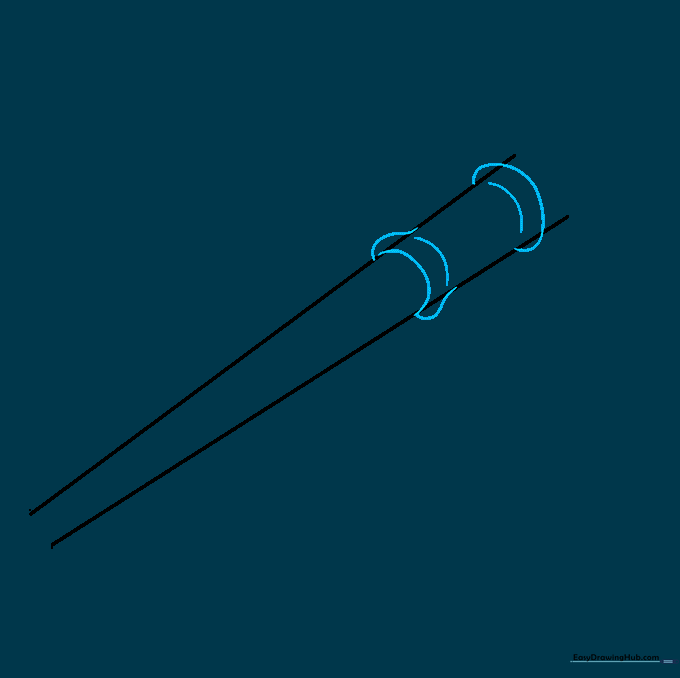
Add curved lines across the top section to create the head joint. Teacher's Tip: Think of these as small 'caps' that sit on top of the tube; keep your curves smooth to make the instrument look polished.
Adding the Mouthpiece
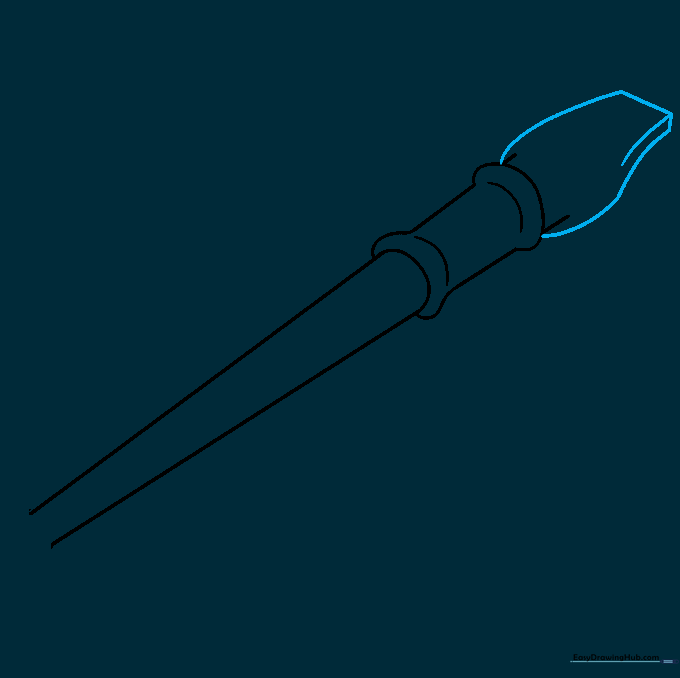
Erase the overlapping guide lines and sketch the mouthpiece extending from the top. Teacher's Tip: Use a ruler if you struggle with straight lines, but freehand drawing helps develop better hand control!
Drawing the Window

Draw a small rectangle on the mouthpiece to represent the 'window' where the air flows. Teacher's Tip: Add a tiny horizontal line inside the rectangle to give it a 3D, realistic depth.
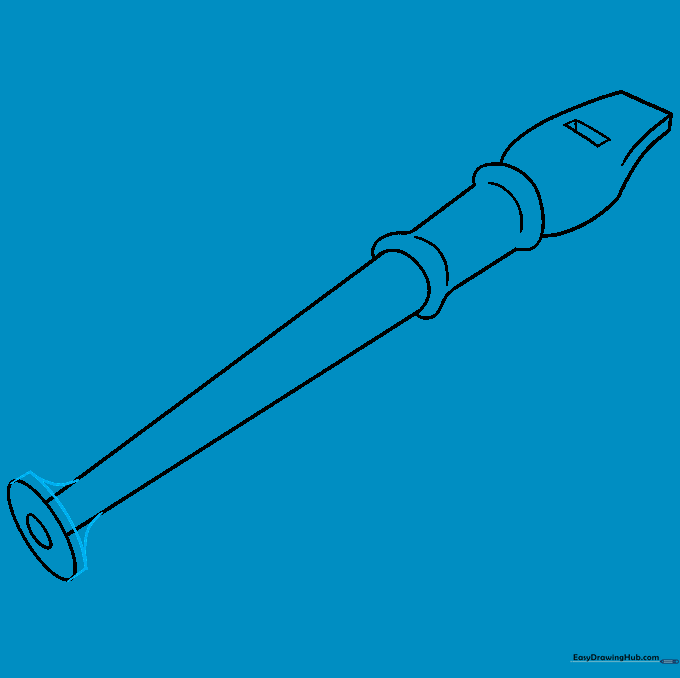
Shaping the Foot Joint
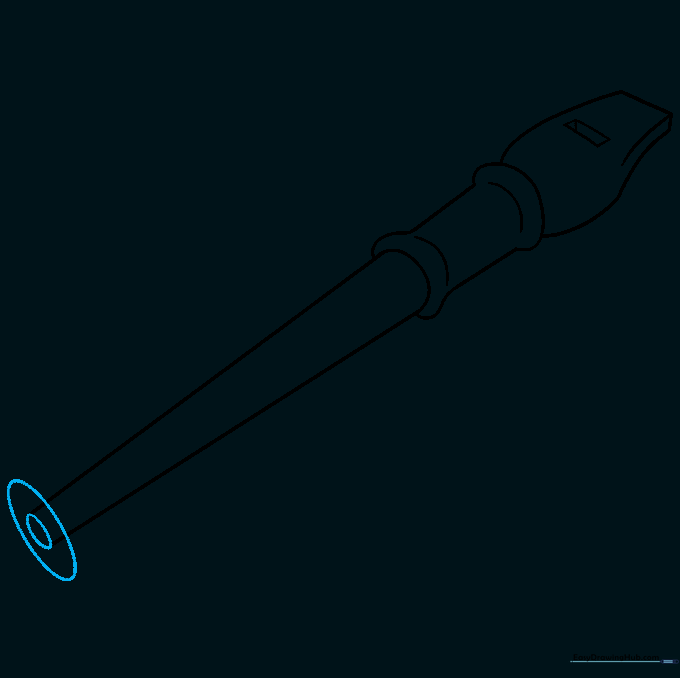
Connect the bottom of the flute with a small oval, then draw a second, slightly larger oval around it. Teacher's Tip: This creates the 'bell' or foot joint, which helps the flute project sound.
Refining the Foot Joint
Add short lines to connect the oval to the main barrel. Teacher's Tip: Ensure your lines are symmetrical so the instrument looks balanced and professional.
Adding Structural Detail
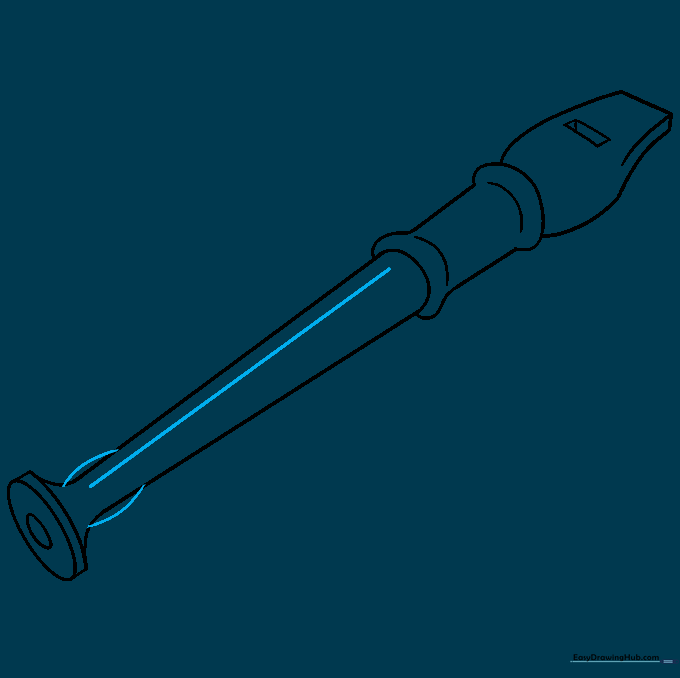
Erase unnecessary guide lines and draw a straight line down the center of the barrel. Teacher's Tip: This line represents the seam of the instrument, adding a touch of realism to your drawing.
Sketching Tone Holes

Draw several small, narrow ovals along the barrel. Teacher's Tip: Space them out evenly—these are the finger holes that change the pitch of the notes!
Finalizing the Details
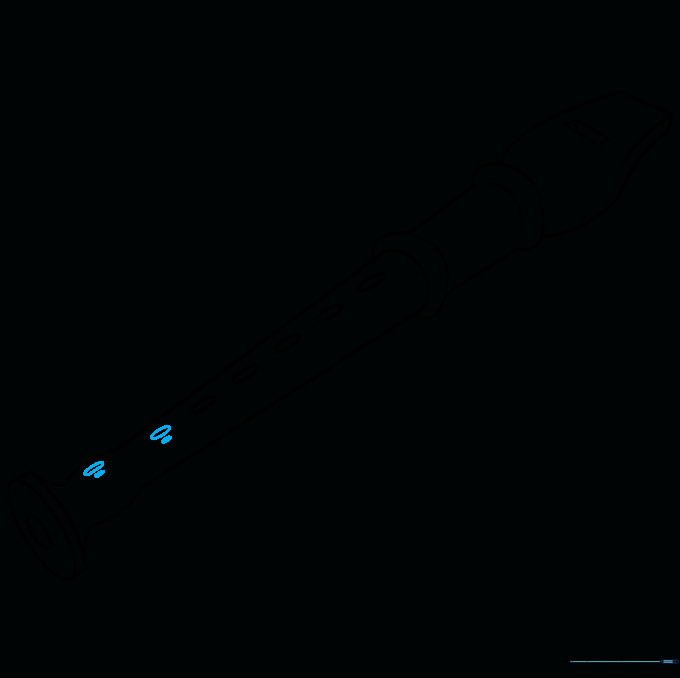
Add a few more ovals for the double holes near the bottom. Teacher's Tip: Check your drawing against a reference photo to ensure the holes look aligned.
Coloring Your Flute
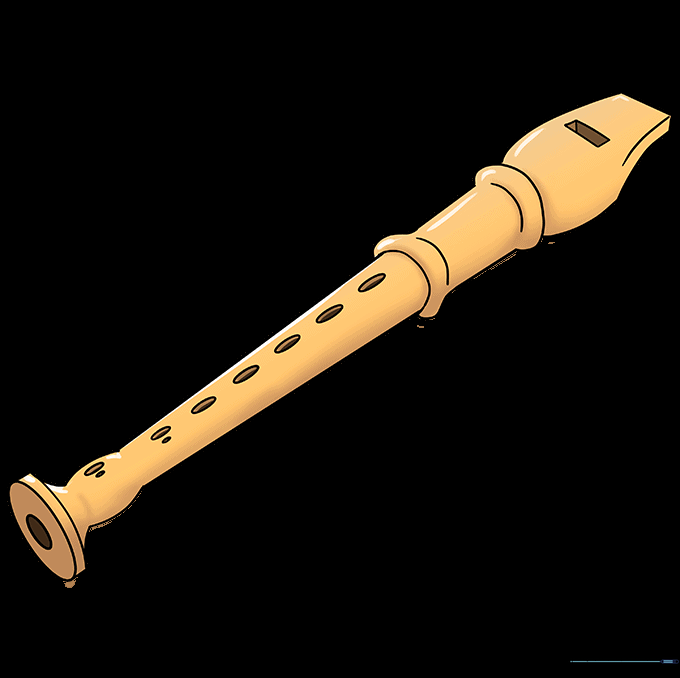
Bring your flute to life with color! Use black or cream for a classic look, or experiment with bright red, purple, or yellow for a fun, stylized cartoon flute.
More Tutorials


