How to Draw a Flower Face: Easy 10-Step Guide for Kids
Bring your garden to life with this charming flower face character! Designed for artists ages 5 and up, this project uses basic shapes to build confidence. All you need is a pencil, an eraser, and your favorite coloring markers to create a masterpiece.
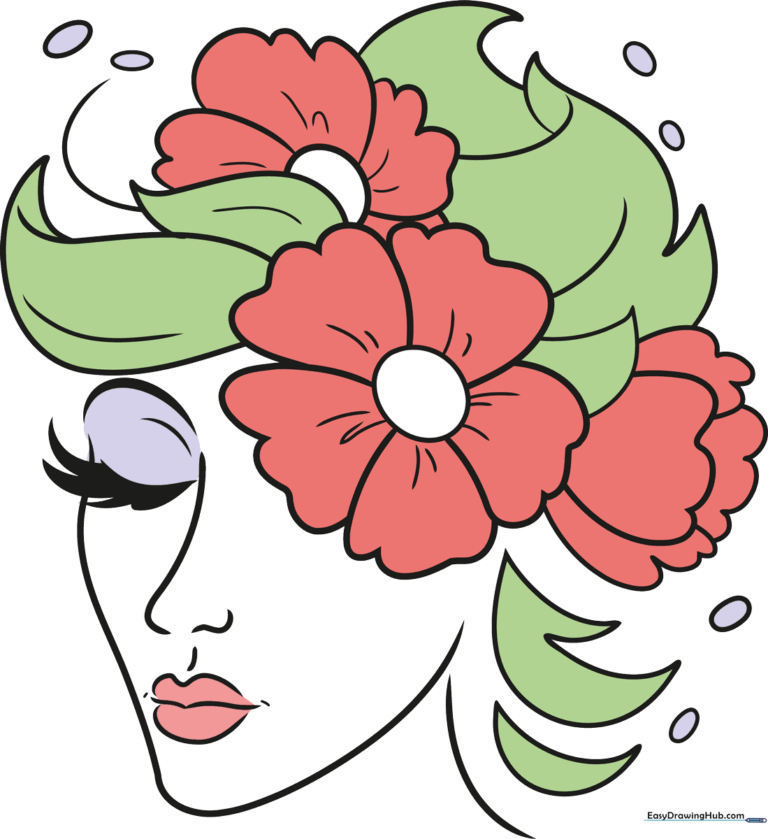
🎯 Final Result
Step-by-Step Instructions
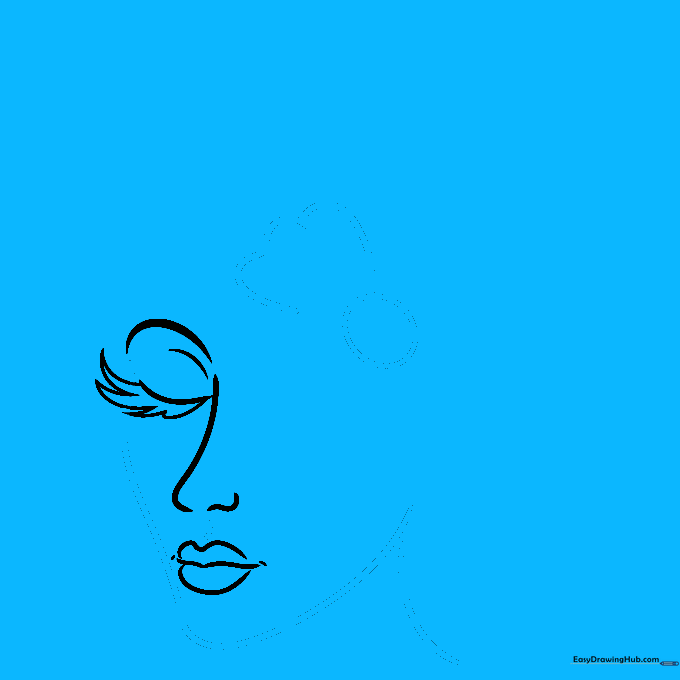
Step 1: Sketching the Eyes

Draw two curved lines to form an open oval shape for the eye. Add a smaller curve inside for the eyelid, then sketch three small triangles for the eyelashes. Teacher's Tip: Keep the lashes sharp and pointed to give your flower a bright, awake expression.
Step 2: Adding the Nose and Mouth

Draw a vertical hook shape for the nose. For the mouth, sketch a flattened 'M' shape, then add a second, larger 'M' above it with a curve underneath to define the lips. Teacher's Tip: Think of the mouth as a gentle smile to give your flower a friendly personality.
Step 3: Outlining the Face and Petal Base
Draw a vertical line that curves down for the chin, then back up to complete the face shape. Add a small circle near the top of the head and surround it with scalloped, wavy lines. Teacher's Tip: Use a light touch; these wavy lines are the foundation for your petals.
Step 4: Creating the Petals
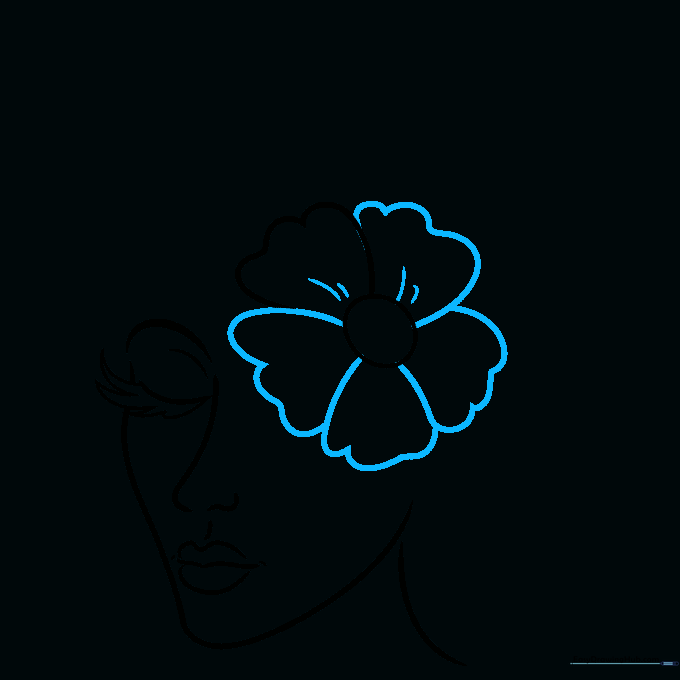
Continue adding loose, uneven hill shapes around the head to create petals. Add small dashes inside two petals for texture. Teacher's Tip: Don't worry about making the petals identical; flowers in nature are beautifully imperfect!
Step 5: Adding Detail and Leaves
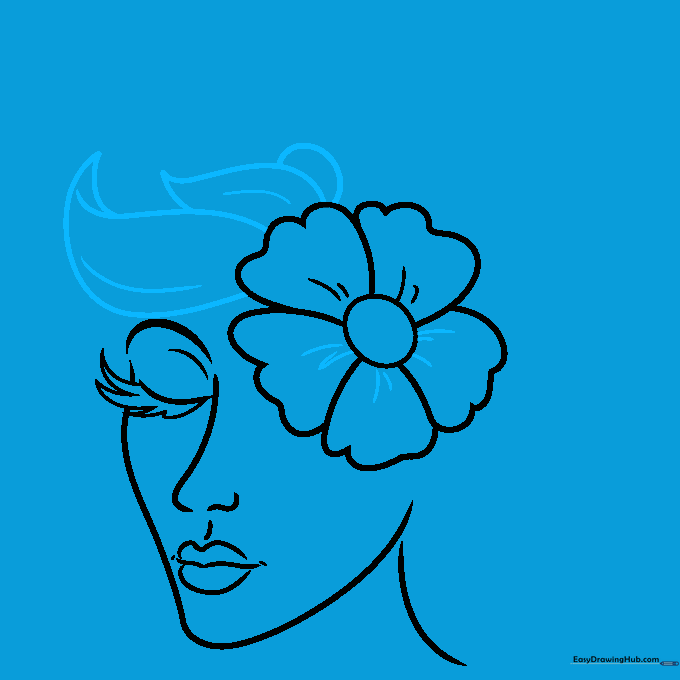
Add dashes to the remaining petals. On the left side, draw a circle and overlapping teardrop shapes to represent leaves. Teacher's Tip: Use long, sweeping strokes for the leaves to make them look organic and flowing.
Step 6: Layering the Background Petals

Draw another set of cartoon petals peeking out from behind the leaves. Teacher's Tip: By drawing these behind the leaves, you create a sense of depth in your drawing.
Step 7: Refining the Leaves
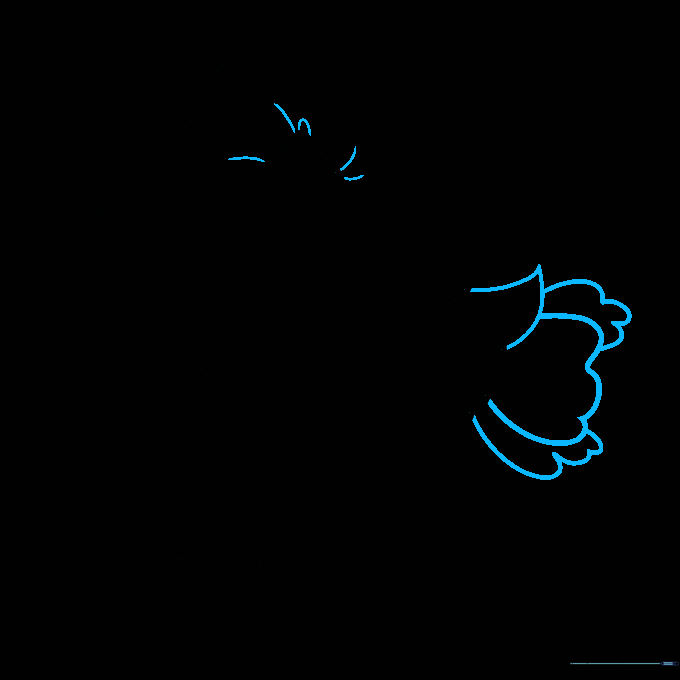
Add more dashes to your petals. On the right side, draw a rounded triangle shape to form a new leaf. Teacher's Tip: Varying the size of your leaves makes the flower look more realistic.
Step 8: Adding Flame-Like Petals
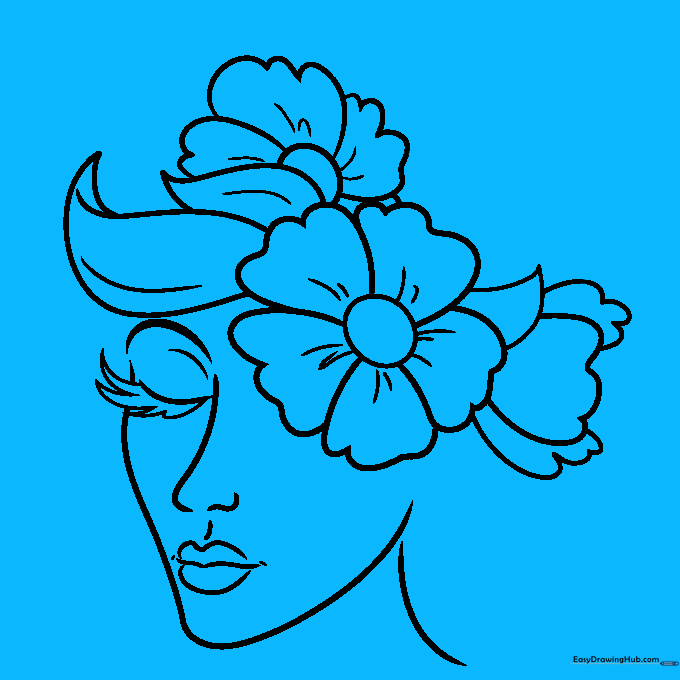
Sketch large, rounded triangles that look like flames around the edges. Add a vein line inside the largest leaf. Teacher's Tip: Use a confident, quick motion for the flame shapes to keep them looking energetic.
Step 9: Finalizing the Outline
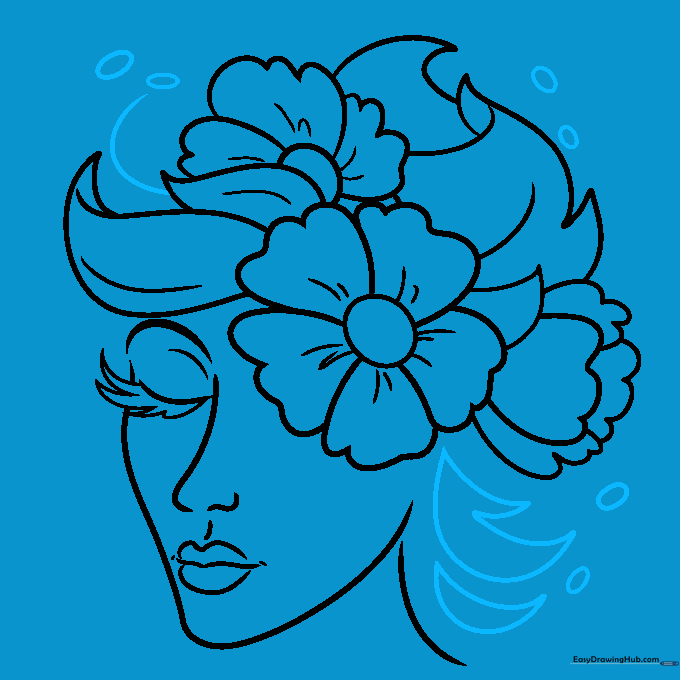
Draw additional curves and triangles near the neck area, including a banana-shaped curve. Add a few ovals around the main line art for decorative detail. Teacher's Tip: These small details add a professional, finished look to your character.
Step 10: Adding Color
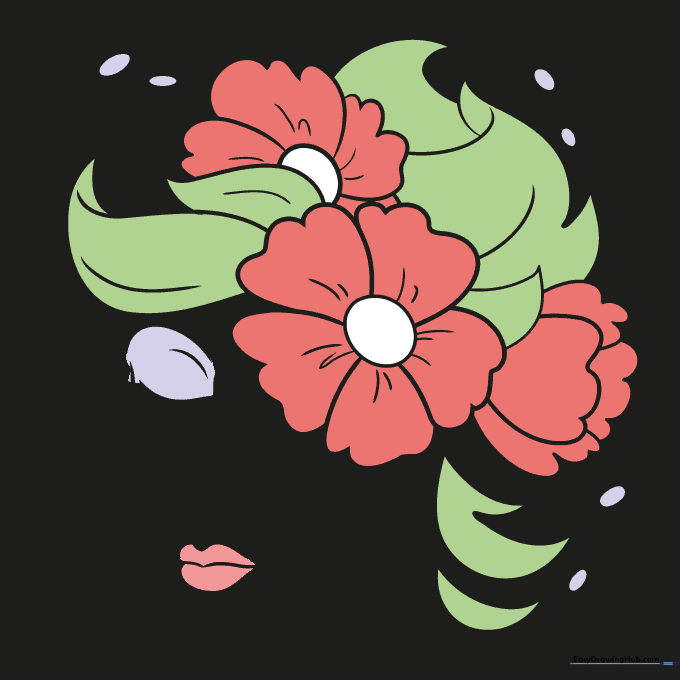
Trace your lines with a black pen. Use reddish-pink for the lips and petals, green for the leaves, and lilac for the decorative ovals. Teacher's Tip: Try shading the edges of the petals with a slightly darker color to give your flower a 3D pop!
More Tutorials


