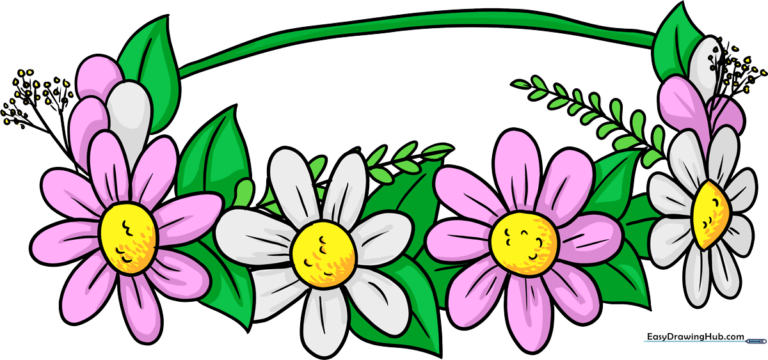
How to Draw a Flower Crown: Easy 10-Step Guide
Bring a touch of nature to your sketchbook with this whimsical flower crown tutorial. Designed for artists ages 5 and up, this project uses basic shapes to build a complex-looking accessory. All you need is a pencil, an eraser, and your favorite coloring supplies to create a masterpiece.
🎯 Final Result
Step-by-Step Instructions
Step 1: Mapping the Flower Centers

Lightly sketch three full circles and one half-circle across your page. These act as the anchor points for your flowers. Teacher's Tip: Keep these shapes small and spaced out to leave room for petals later.
Step 2: Forming the First Daisy

Draw rounded 'U' shapes around your first circle to create petals. Tip: Try to keep your petals uniform in size to give the daisy a balanced, professional look.
Step 3: Adding the Second Flower
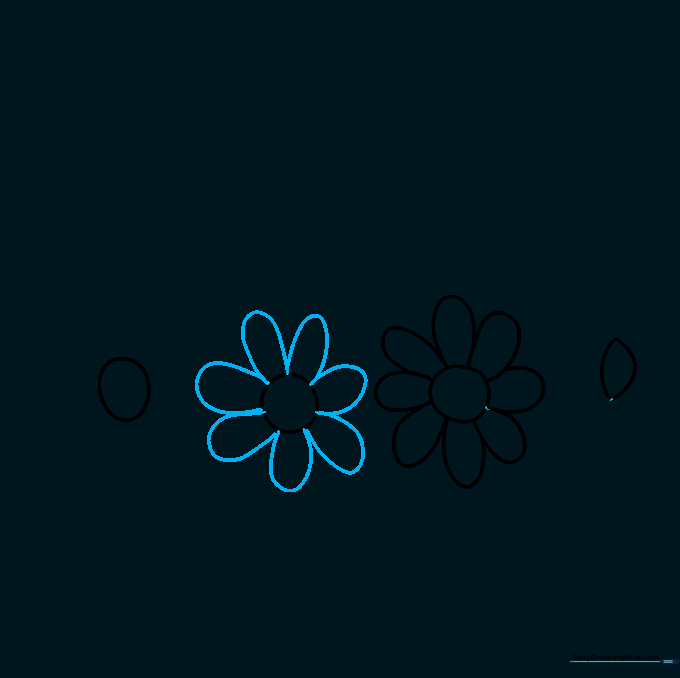
Repeat the petal process for the second circle. Tip: If your petals overlap slightly, that's perfect—it makes the crown look more natural and organic.
Step 4: Completing the Main Blossoms
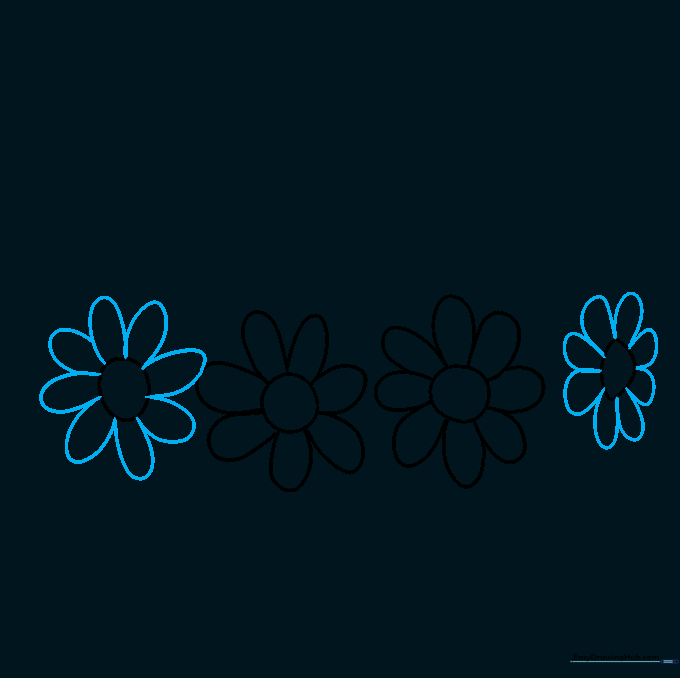
Finish the remaining two flowers with the same 'U' shaped petal technique. Tip: Don't worry if they aren't perfect; real flowers in nature are never identical!
Step 5: Adding Greenery
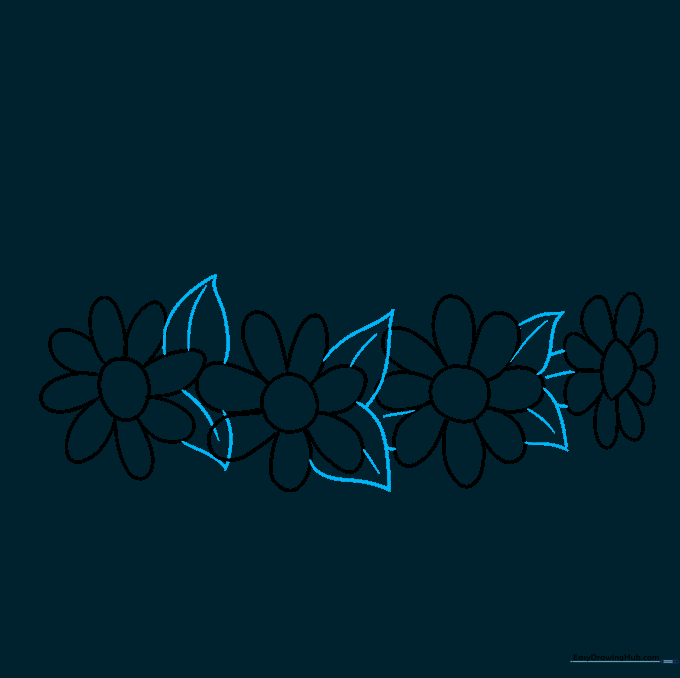
Tuck leaves between the flowers by drawing two curved lines that meet at a point. Add a center vein line to each leaf. Tip: Vary the leaf sizes to add depth to your crown.
Step 6: Extending the Crown

Draw partial flowers and more leaves at the ends of your chain to make it look like a full wreath. Tip: Use these end pieces to help curve the crown into a circular shape.
Step 7: Creating the Base

Connect the ends with two parallel curved lines. This represents the vine or ribbon base of the crown. Tip: Keep these lines smooth to ensure the crown looks comfortable to wear.
Step 8: Adding Texture
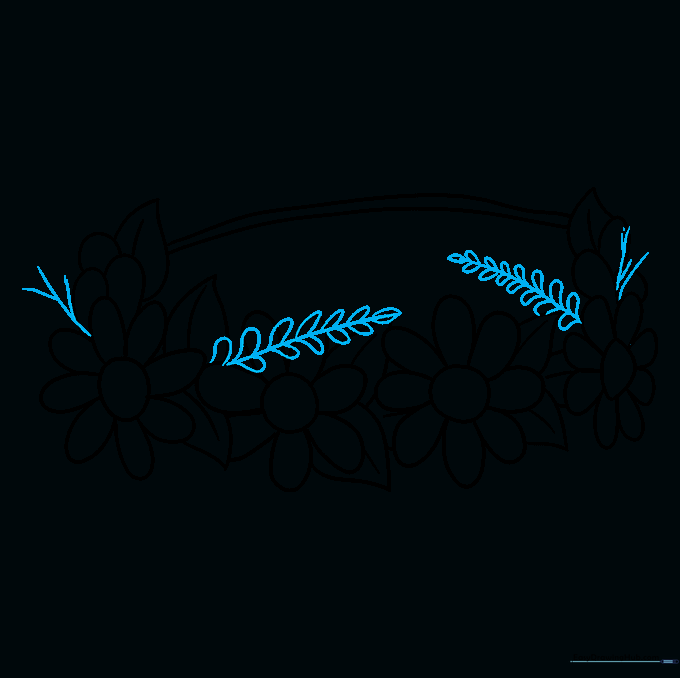
Add fern fronds and thin twigs to fill in the gaps. Draw small 'U' shapes along the stems for the fern leaflets. Tip: Use a lighter touch for these smaller details to keep the drawing from looking too crowded.
Step 9: Final Details
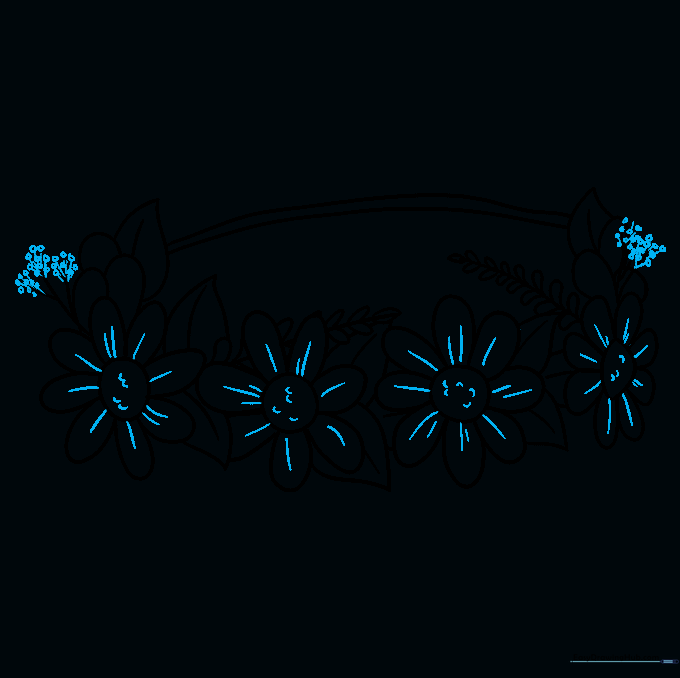
Add tiny flower clusters at the twig tips and texture the daisy centers with small dots or 'U' shapes. Tip: Use a fine-liner pen to make these details pop.
Step 10: Bringing it to Life with Color
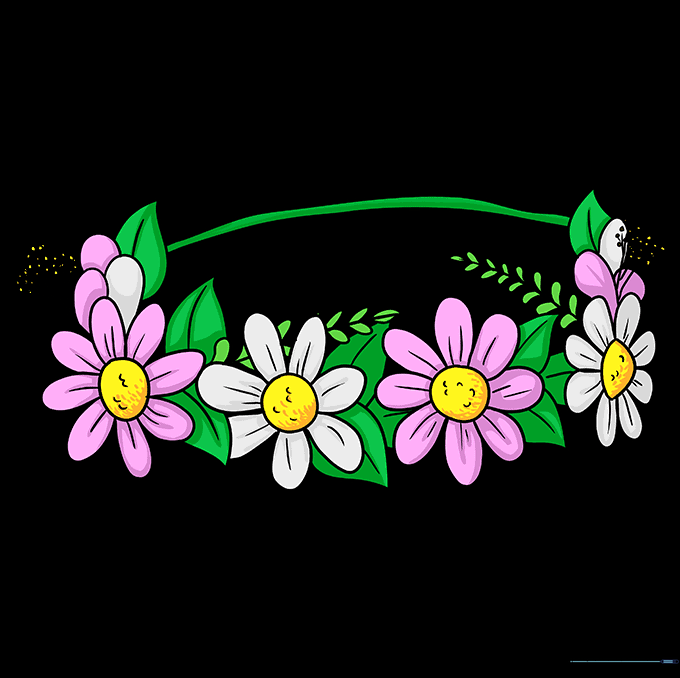
Time to color! Use bright yellows for the centers and soft pastels for the petals. Tip: Use a darker green for the leaves and a lighter green for the stems to create natural contrast.
More Tutorials


