How to Draw a Flood: Easy Step-by-Step Landscape Guide
Capture a dramatic weather scene with this beginner-friendly drawing tutorial. Designed for young artists ages 7+, this project uses basic geometric shapes to build a flooded landscape, helping you practice perspective and storytelling. Grab your pencil, eraser, and paper to get started.
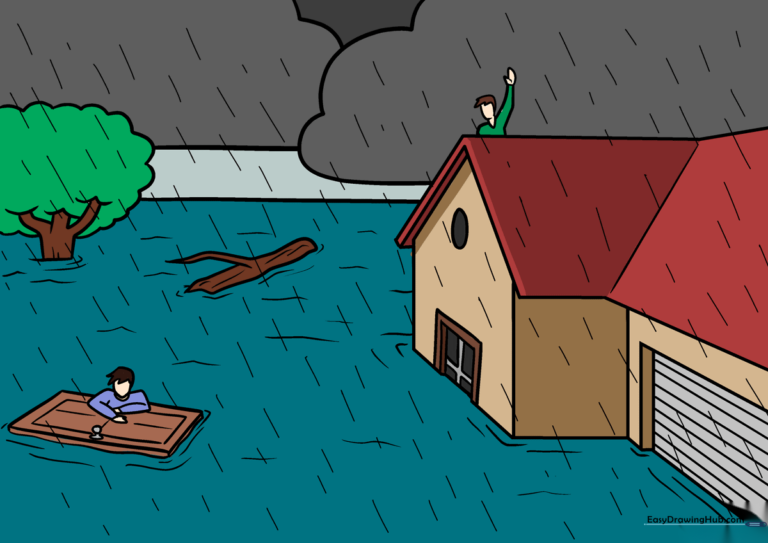
🎯 Final Result
Step-by-Step Instructions
Step 1: Sketching the House Base
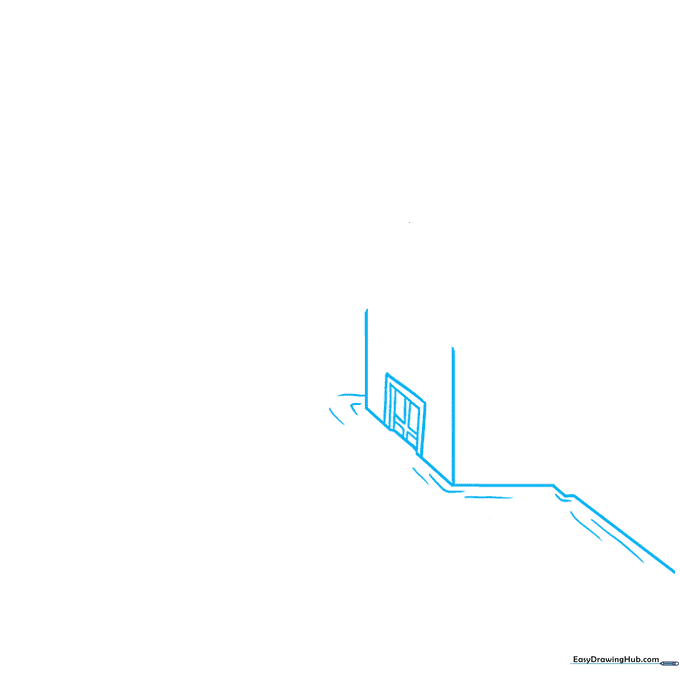
Start by sketching the house using straight vertical lines for the corners and diagonal lines for the waterline. Teacher's Tip: Use a ruler if you struggle with straight lines, but try freehand first to build your hand-eye coordination!
Step 2: Building the Structure
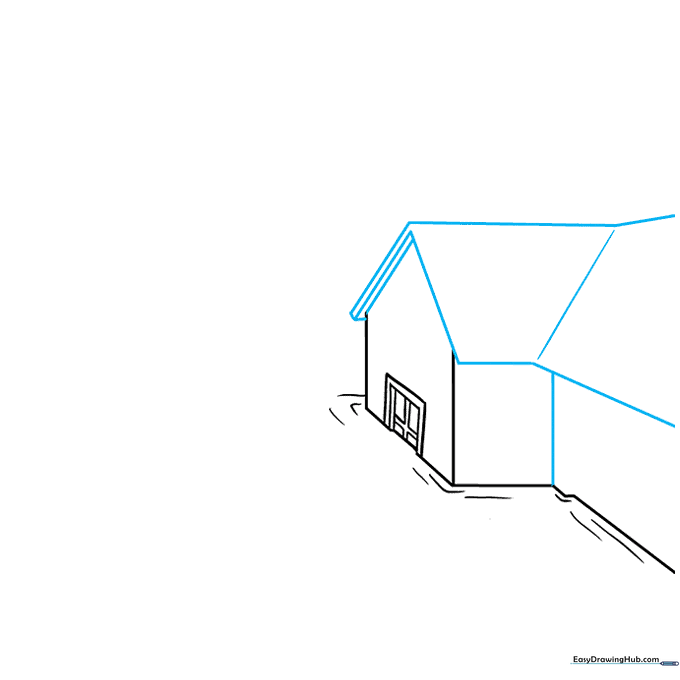
Add depth to your house by drawing the roof and side walls using straight lines. Teacher's Tip: Keep your lines parallel to ensure the house looks solid and three-dimensional.
Step 3: Adding Windows and Garage
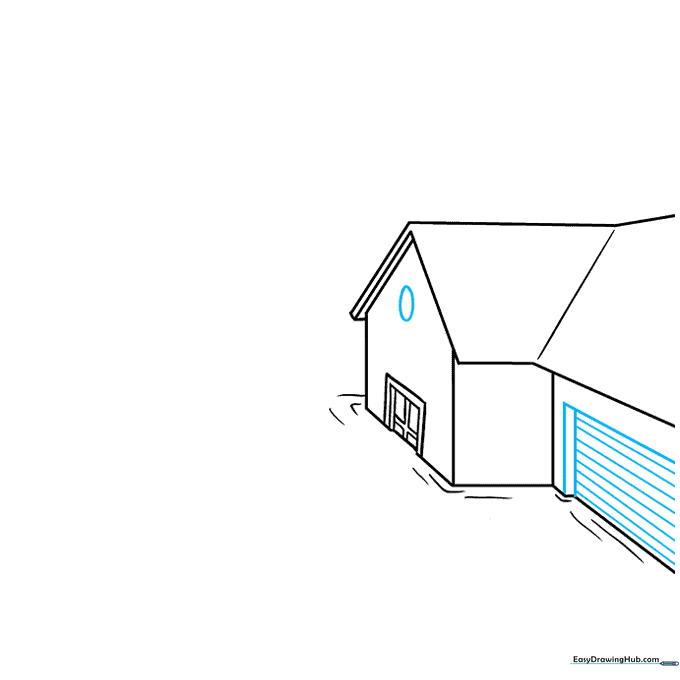
Draw an oval for the attic window and a rectangle for the garage door. Use a grid pattern for the garage door to add texture. Teacher's Tip: Use a light touch for the grid so it doesn't overpower the house.
Step 4: Creating Water Ripples
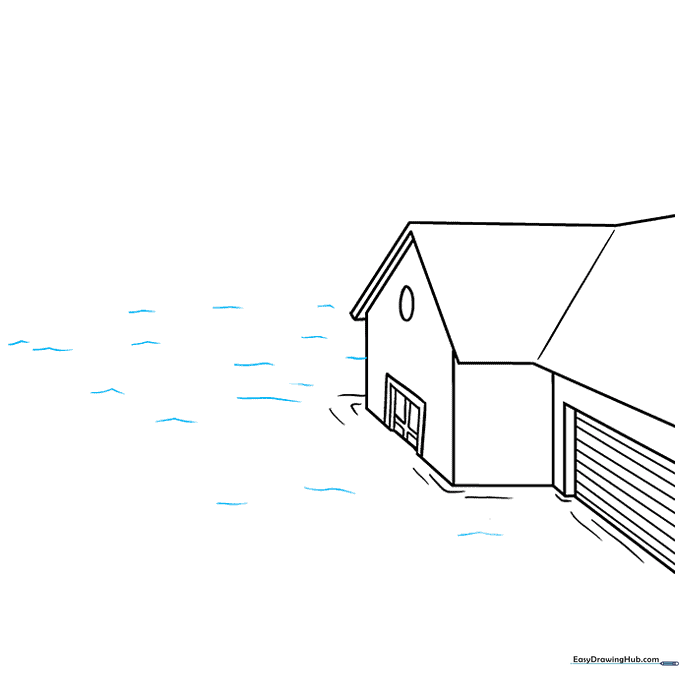
Use loose, 'V' shaped curved lines around the base of the house to represent moving water. Teacher's Tip: Vary the size of your 'V' shapes to make the water look more natural and active.
Step 5: Adding the Horizon and Tree
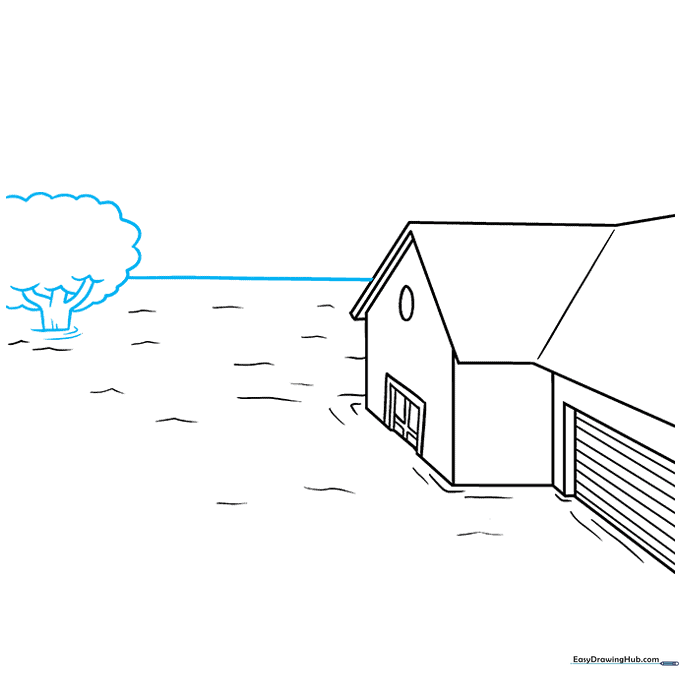
Draw a half-submerged tree in the background and a horizontal line to define the horizon. Teacher's Tip: The horizon line should be perfectly straight to contrast with the chaotic water.
Step 6: Drawing Floating Debris
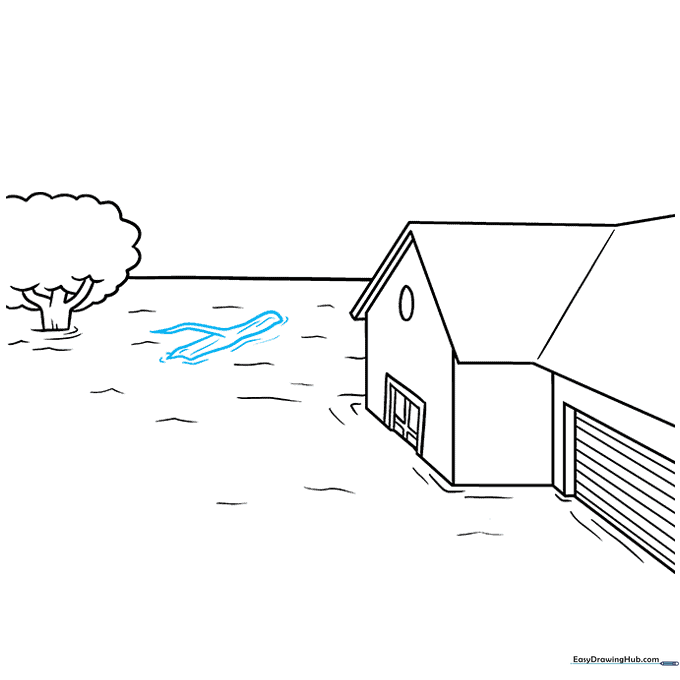
Sketch a floating log using curved, irregular shapes. Add texture lines to the bark. Teacher's Tip: Think of the log as a simple cylinder shape floating on top of your ripples.
Step 7: Adding Characters
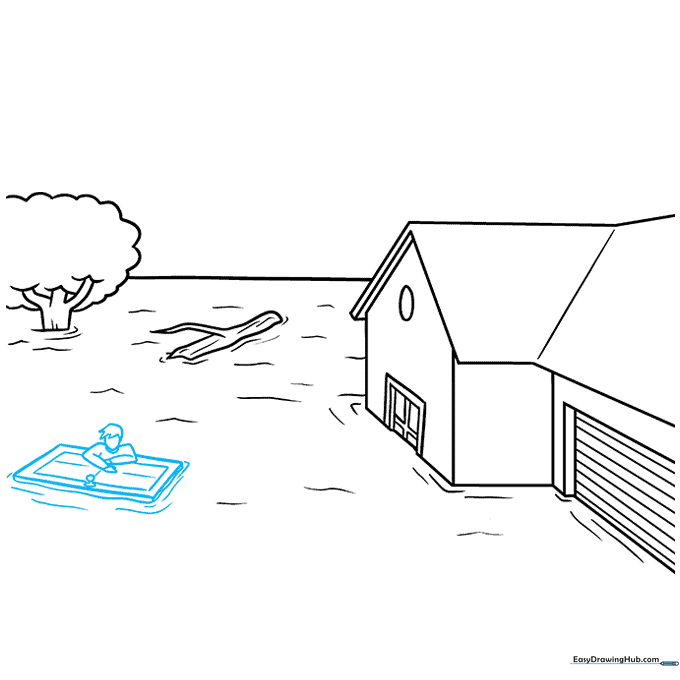
Draw a door floating in the water with a person clinging to it. Use simple stick-figure-like curves for the arms and head. Teacher's Tip: Don't worry about perfect anatomy; focus on the expression of the character.
Step 8: Final Details
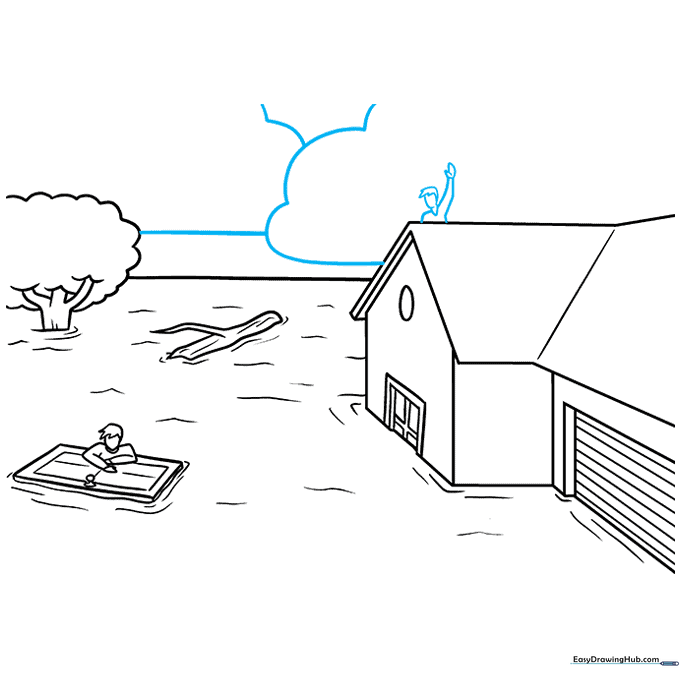
Add a person waving from the house roof and draw large, fluffy clouds in the sky. Teacher's Tip: Use rounded, overlapping circles to make your clouds look soft and voluminous.
Step 9: Adding Rain
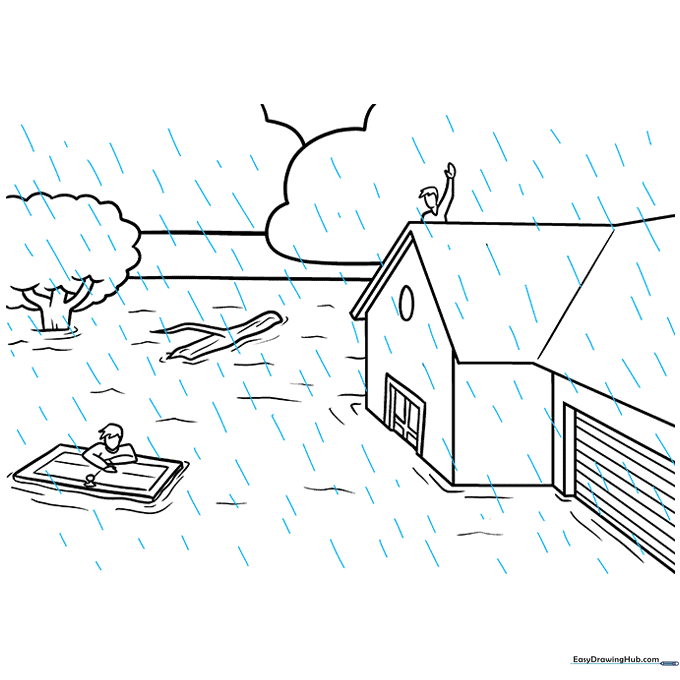
Draw short, diagonal lines across the entire scene to represent falling rain. Teacher's Tip: Keep the lines consistent in angle so the rain looks like it's falling in the same direction.
Step 10: Coloring Your Masterpiece
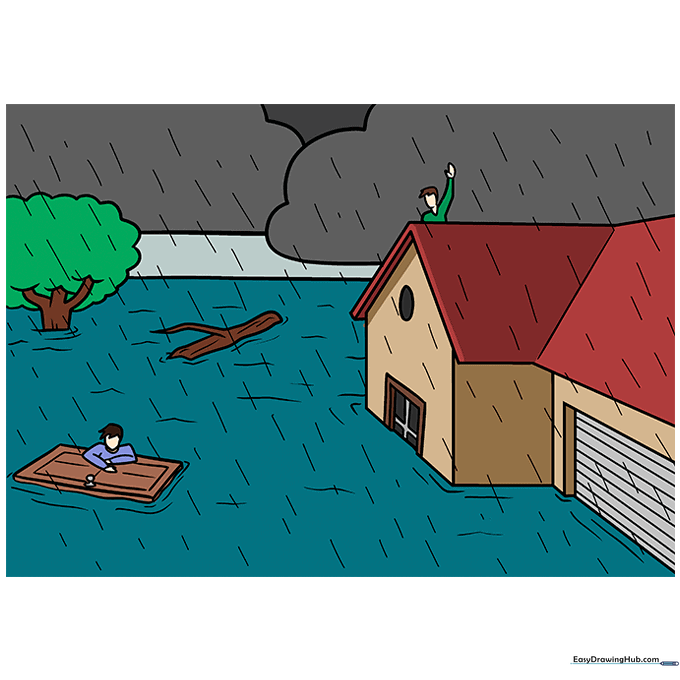
Bring your drawing to life with color! Use grays for the clouds and earthy browns for the flood water to show the mud and debris. Teacher's Tip: Use light pressure with your pencils to blend colors smoothly.
More Tutorials


