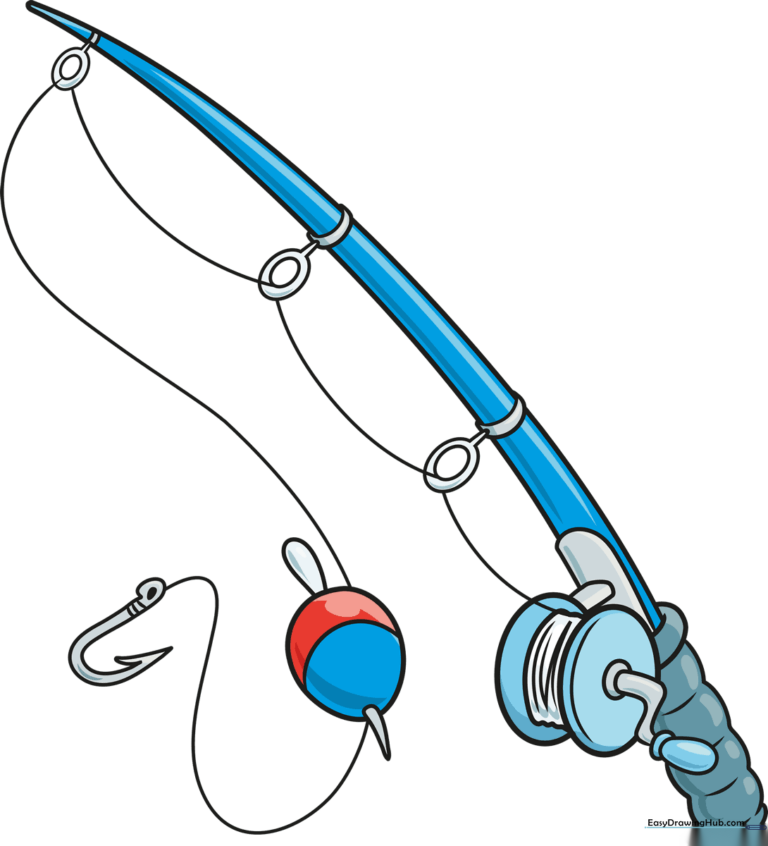
How to Draw a Fishing Pole: Easy 10-Step Guide for Kids
Ready to head to the lake? This tutorial is perfect for young artists ages 5+ who want to draw their own fishing gear. All you need is a pencil, an eraser, and a piece of paper to get started. Follow these simple steps to build your drawing from the rod to the hook, and watch your fishing scene come to life!
🎯 Final Result
Step-by-Step Instructions
Step 1: Sketching the Rod

Draw two long, slightly curved lines that meet at a sharp point at the top. Teacher's Tip: Keep your pencil pressure light here so you can easily adjust the curve if the rod looks too stiff.
Step 2: Outlining the Reel
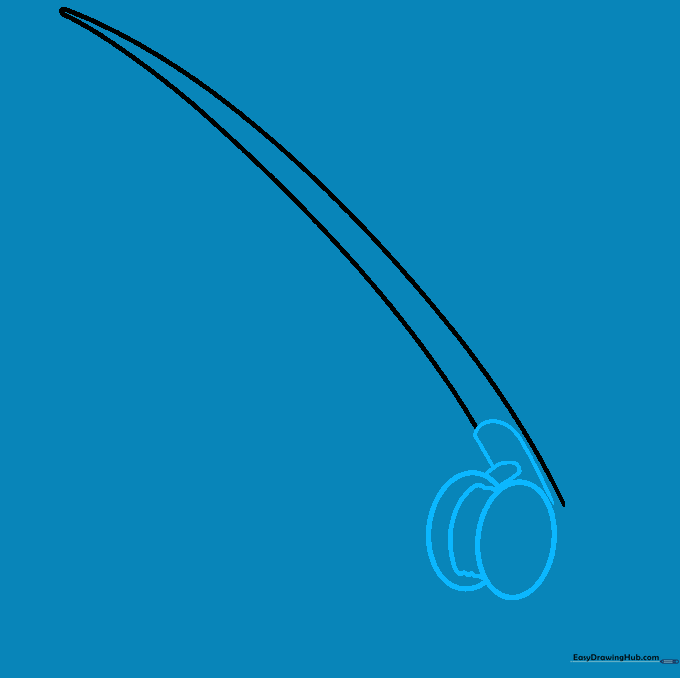
Draw two overlapping ovals near the base of the rod to create the reel. Connect them with wavy lines. Teacher's Tip: Think of the reel as a small box attached to the side; don't worry if it looks messy, we will refine the shape in the next step.
Step 3: Adding Reel Details
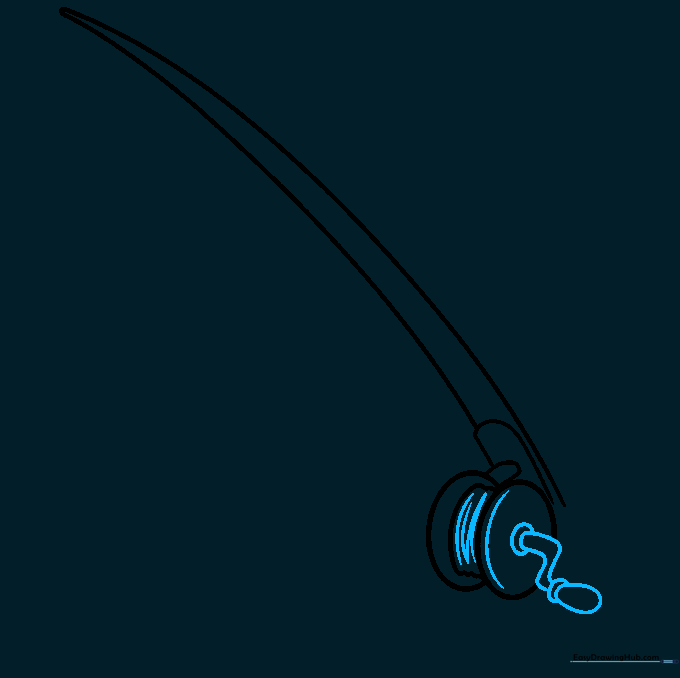
Add curved lines across the reel and draw the handle using a 'C' shape and an egg-shaped knob. Teacher's Tip: Use your eraser to clean up any overlapping lines inside the reel to make it look solid.
Step 4: Drawing the Handle
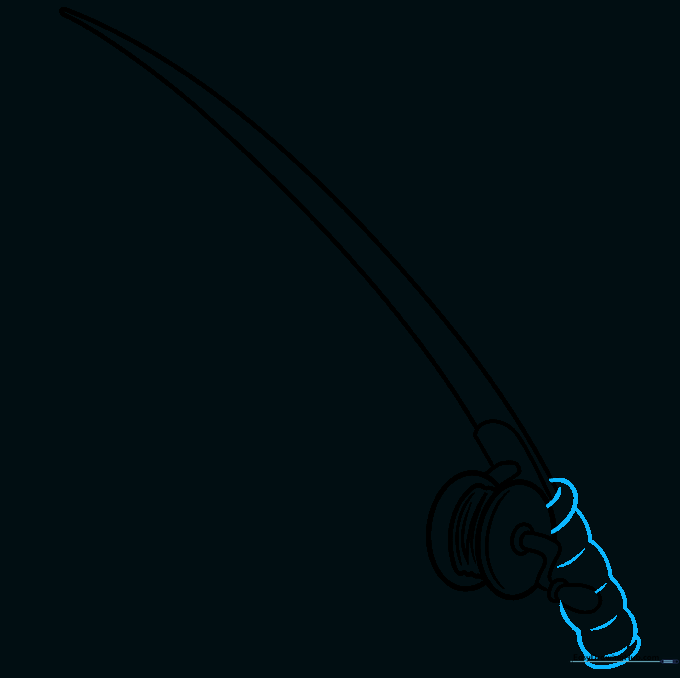
Draw the grip at the base of the pole using scalloped, wavy lines. Teacher's Tip: Imagine you are drawing a bumpy caterpillar shape—this texture helps the handle look like comfortable foam grip.
Step 5: Adding the First Guide
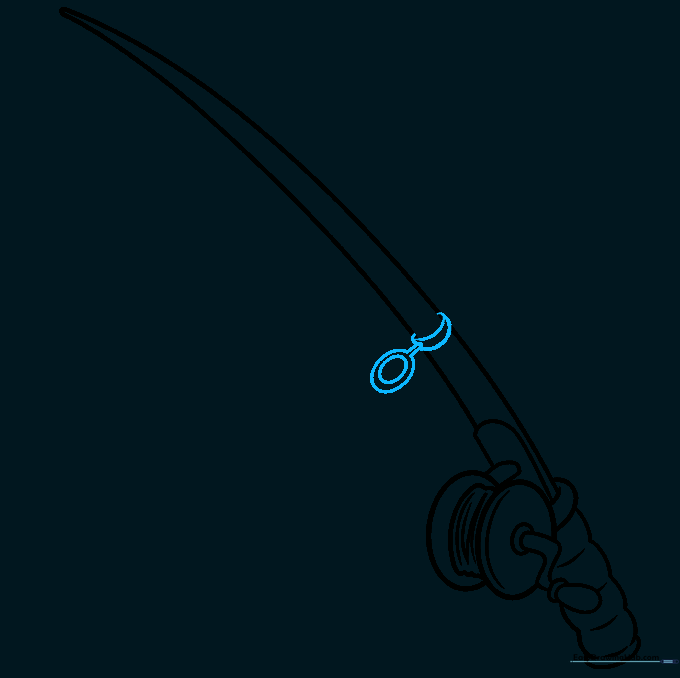
Draw a 'C' shaped bracket on the rod and extend two lines to a circle to create the eyelet. Teacher's Tip: Keep the eyelet circle round and neat; this is where the fishing line will eventually pass through.
Step 6: Adding More Guides
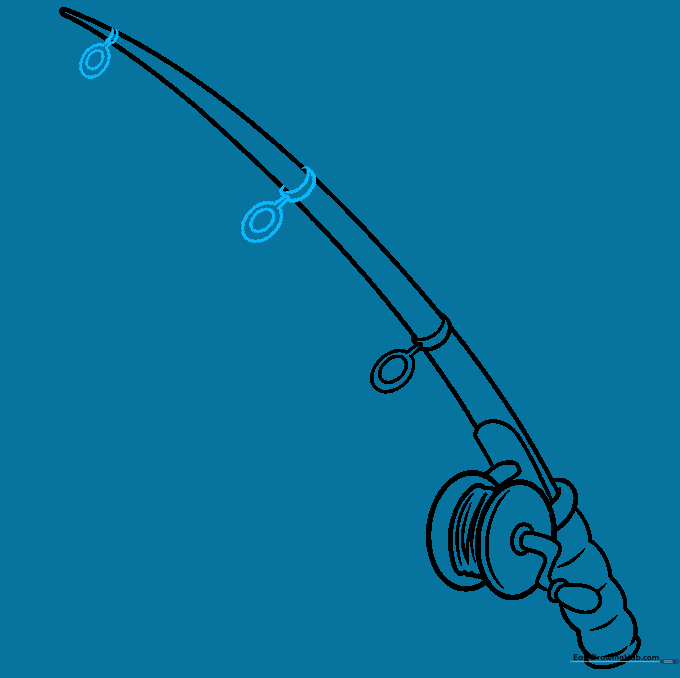
Repeat the process to add two more guides along the length of the rod. Teacher's Tip: Make the guides smaller as you move toward the tip of the pole to show perspective.
Step 7: Drawing the Fishing Line
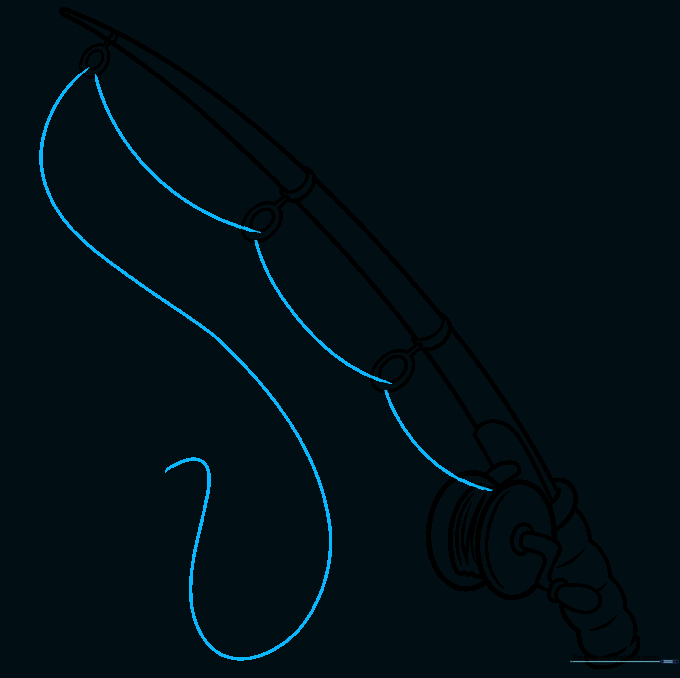
Connect the guides with thin lines and draw a long, curved 'S' shape extending from the tip. Teacher's Tip: Use a very light touch for the line so it looks thin and delicate, just like real fishing line.
Step 8: Adding the Bobber

Draw an egg-shaped bobber on the fishing line. Teacher's Tip: Add a small curved line across the middle to show where the two halves of the bobber meet.
Step 9: Drawing the Hook

Finish the line with a sharp 'U' shaped hook and a small barb. Teacher's Tip: Be careful with the barb—keep it small so it looks sharp and realistic.
Step 10: Adding Color
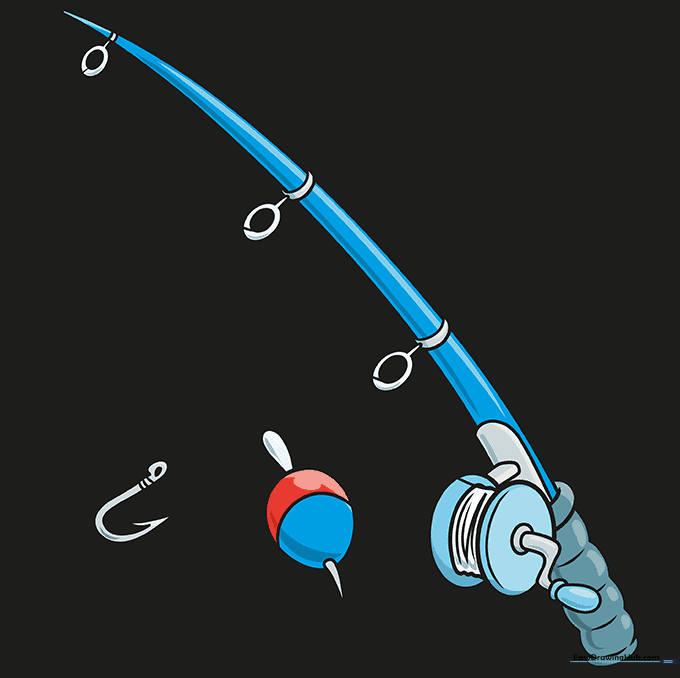
Bring your drawing to life with color! Use bright reds for the bobber and metallic grays or blues for the rod. Teacher's Tip: Try using colored pencils to add a little shading to the rod to make it look round.
More Tutorials


