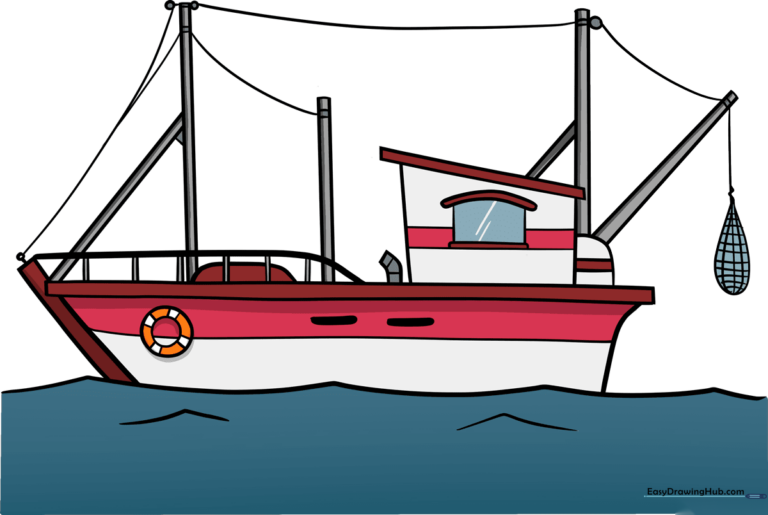
How to Draw a Fishing Boat: Easy 9-Step Guide for Kids
Ready to set sail? This tutorial is perfect for young artists ages 5 and up who want to learn how to draw a classic fishing boat. All you need is a pencil, an eraser, and some paper to bring this nautical scene to life while practicing your geometric shapes.
🎯 Final Result
Step-by-Step Instructions
Step 1: Sketching the Ocean Waves

Start by drawing a long, horizontal line across your page to represent the water. Add small, inverted 'V' shapes along the line to create the look of choppy waves. Teacher's Tip: Keep your pencil strokes light so you can easily adjust the horizon line later if needed.
Step 2: Forming the Hull
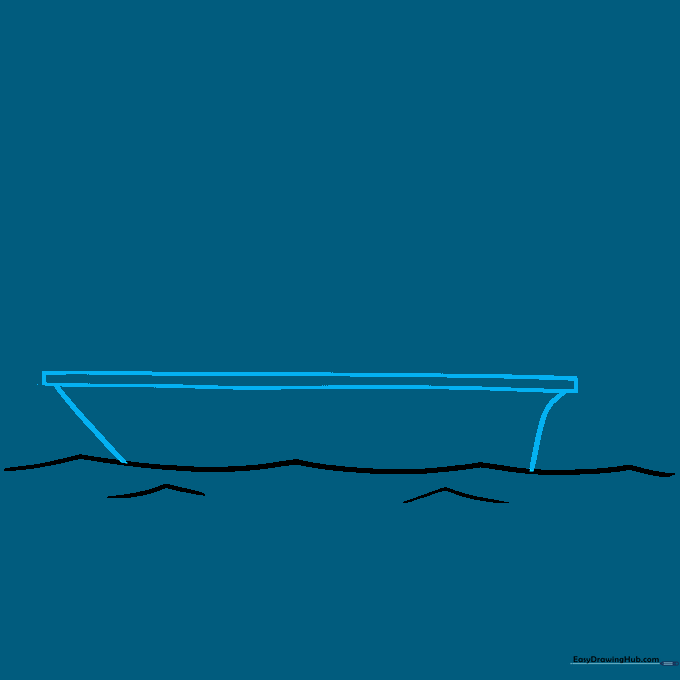
Draw a long, narrow rectangle floating just above your waves. Connect the bottom of the rectangle to the water using one straight line and one curved line to form the boat's hull. Teacher's Tip: Think of this as drawing a tilted box—don't worry if it's not perfectly symmetrical!
Step 3: Adding the Life Preserver
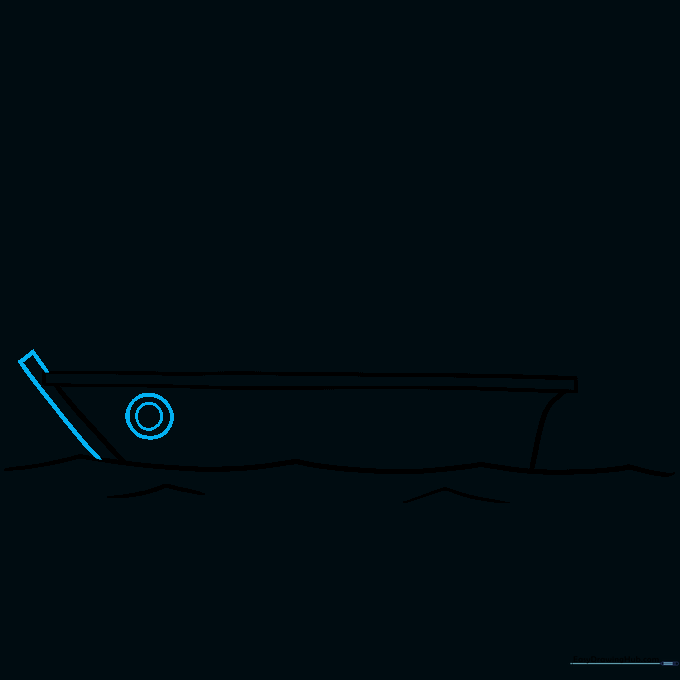
Sketch a small rectangle on the front bow of the boat. On the side, draw a circle inside a larger circle to create a life preserver. Teacher's Tip: Use a small coin as a stencil if you find drawing perfect circles tricky!
Step 4: Detailing the Hull
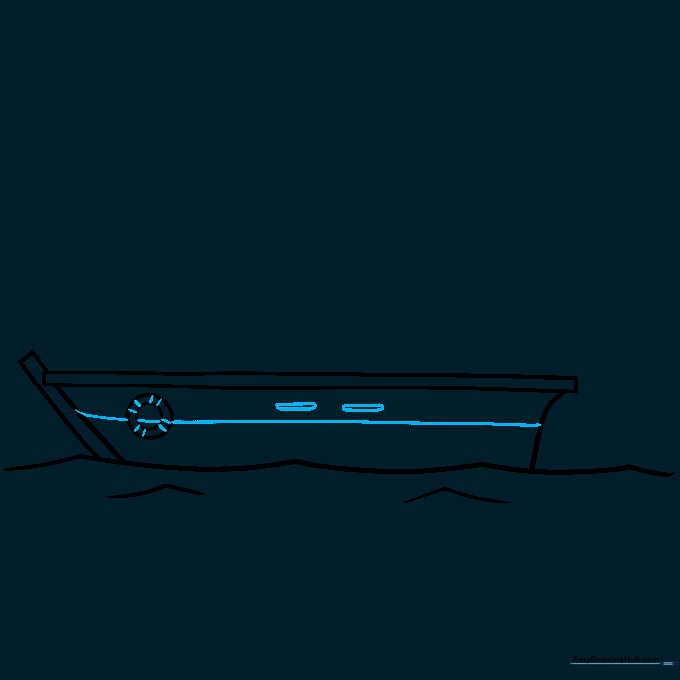
Add four pairs of short lines across the life preserver to create stripes. Draw a horizontal line across the hull, and add two small rounded rectangles above it. Teacher's Tip: These rectangles are the start of your cabin windows, so keep them neat and even.
Step 5: Building the Cabin
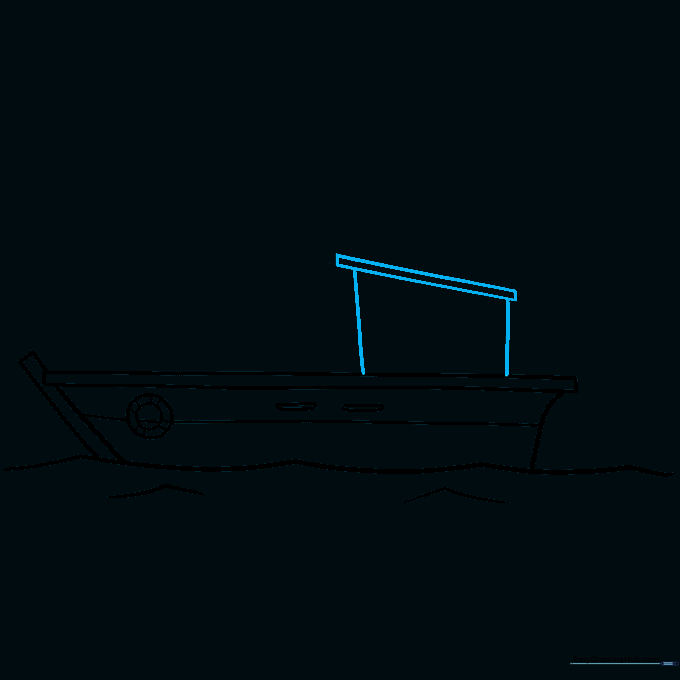
Draw a narrow diagonal rectangle above the deck to serve as the main cabin. Connect it to the deck with straight lines. Teacher's Tip: Imagine this is the 'house' of the boat where the captain stands—make sure it looks sturdy!
Step 6: Cabin Windows and Trim
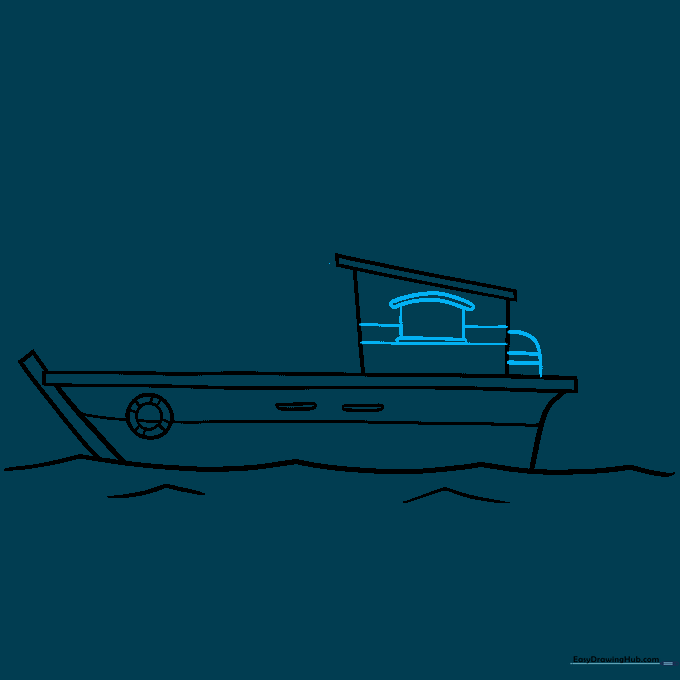
Draw a window on the cabin side using a curved top and a rectangular base. Add horizontal lines across the cabin for texture. Teacher's Tip: Use a ruler if you want your horizontal lines to look extra professional.
Step 7: Adding Handrails
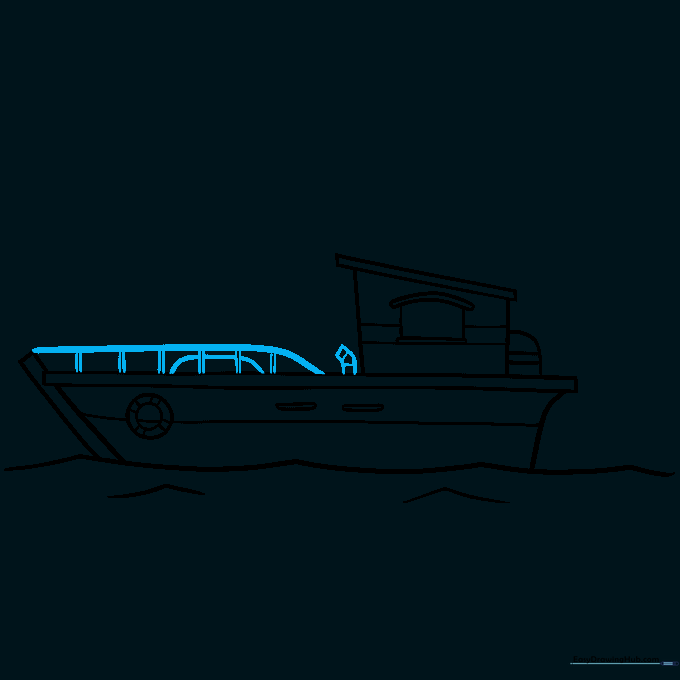
Draw a thick curved line for the handrail from the bow to the middle of the deck. Add vertical lines underneath as supports. Teacher's Tip: These small details make the boat look realistic, so take your time with the spacing.
Step 8: Drawing the Outriggers
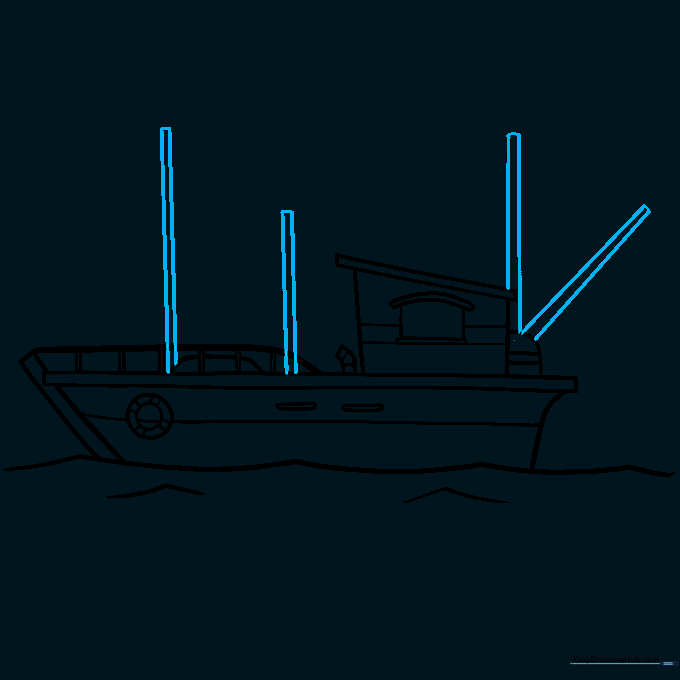
Draw pairs of vertical and diagonal lines extending from the deck. These are the outriggers that hold the fishing nets. Teacher's Tip: Keep these lines straight to show that they are strong metal poles.
Step 9: Final Touches
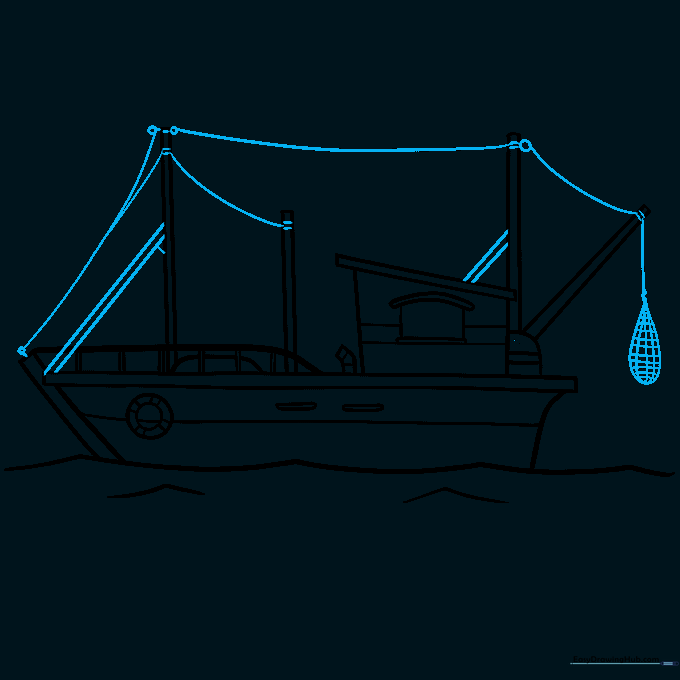
Complete the drawing by adding the net hanging between the poles. Add any final support lines to the outriggers. Teacher's Tip: You've finished the outline! Now, gently erase any overlapping pencil lines before you start coloring.
Step 10: Bring It to Life with Color
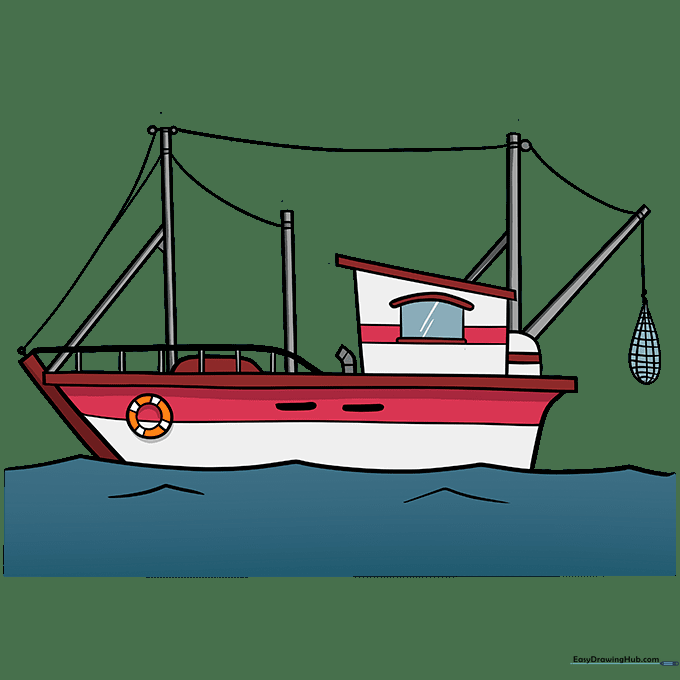
Time to color! We used classic red and white for the hull and bright orange for the life preserver. Teacher's Tip: Try using blue crayons for the water and adding a few white 'splashes' to make the ocean look active.
More Tutorials


