How to Draw a Firetruck: Easy 10-Step Guide for Kids
Ready to save the day? This step-by-step guide is perfect for young artists ages 5 and up. Grab your pencil, eraser, and paper to build your own emergency vehicle while practicing essential geometric shapes and coordination.
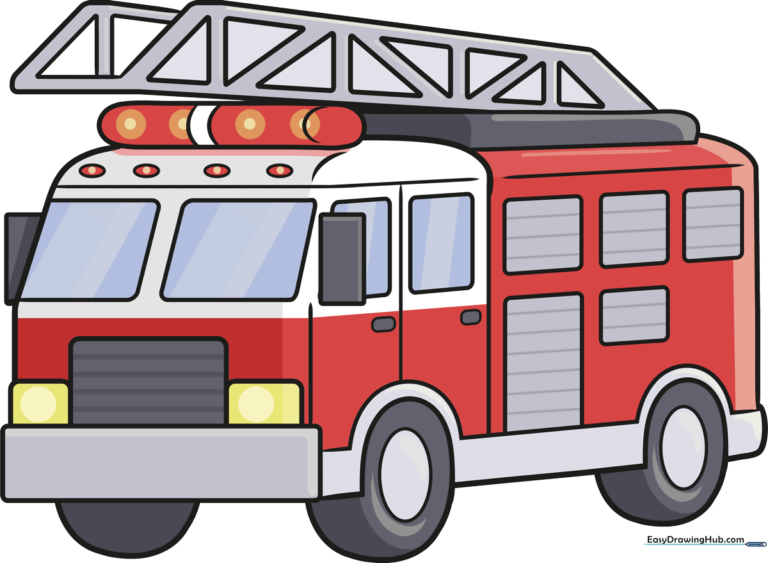
🎯 Final Result
Step-by-Step Instructions
Step 1: Sketching the Front Grill

Start by drawing a horizontal rectangle with rounded corners for the grill. Above it, add three smaller rounded rectangles for the headlights and cab base. Teacher's Tip: Keep your pencil lines light so you can easily adjust the proportions if needed.
Step 2: Adding the Windshield and Mirrors

Draw a vertical line up from the grill to define the cab height. Add two large parallelograms for the windshield and small rectangles on the sides for mirrors. Teacher's Tip: Use a ruler if you want perfectly straight lines, but freehand is great for building steady control!
Step 3: The Emergency Light Bar
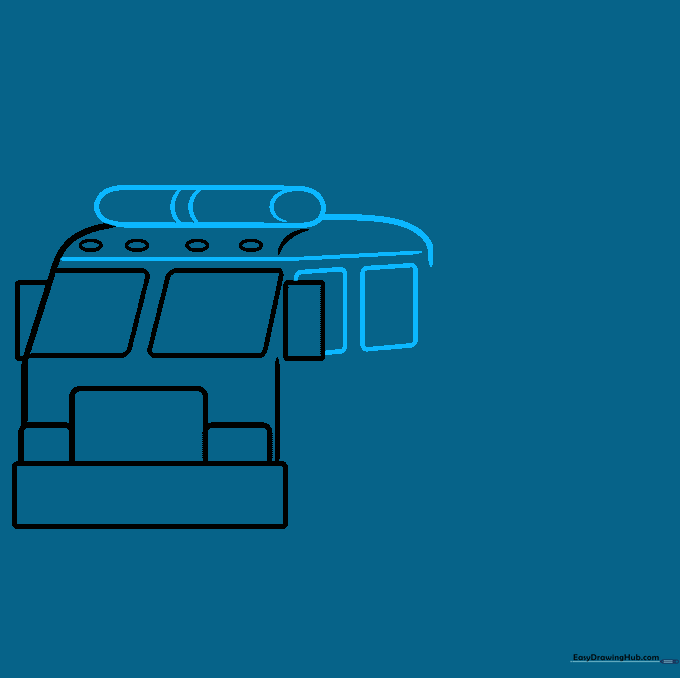
Draw a cylinder on the roof for the light bar and add two curved lines to give it dimension. Sketch the side windows using rounded rectangles. Teacher's Tip: Think of the light bar as a small capsule sitting on top of the roof.
Step 4: Fenders and Doors

Use curved lines to enclose the wheel fender and draw an oval inside for the wheel. Add the door frame and a small rectangle for the handle. Teacher's Tip: Make sure your wheel is centered in the fender for a balanced look.
Step 5: Defining the Body
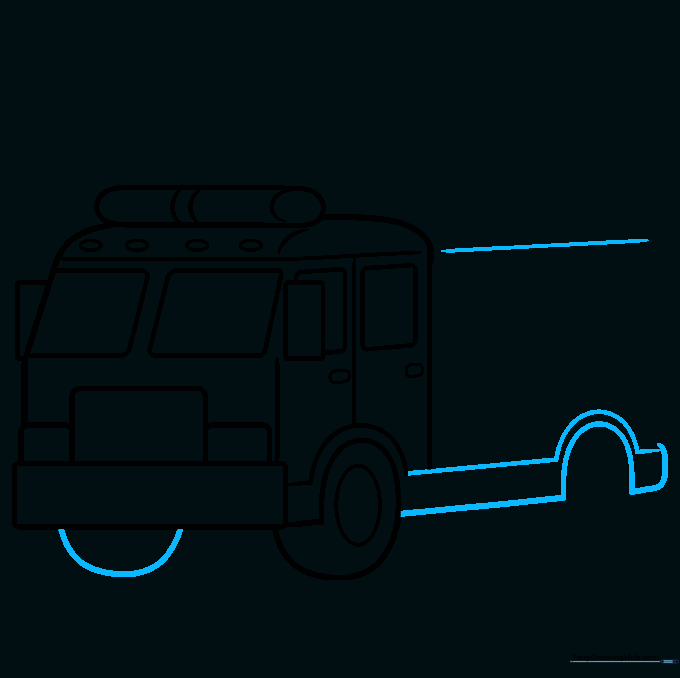
Add a half-circle below the grill for the front wheel on the opposite side. Use straight and curved lines to outline the bottom of the truck and the rear wheel well. Teacher's Tip: This step adds depth to your drawing by showing the truck's chassis.
Step 6: Rear Wheels and Storage
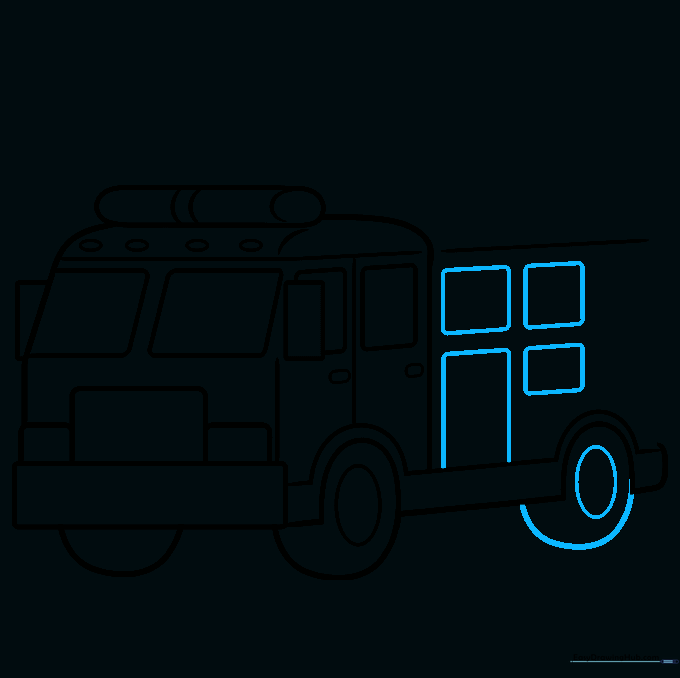
Draw the rear tire with an oval center. Then, sketch various squares and rectangles along the side of the truck to represent equipment compartments. Teacher's Tip: These compartments are where firefighters keep their gear—try drawing them in different sizes!
Step 7: The Ladder Base
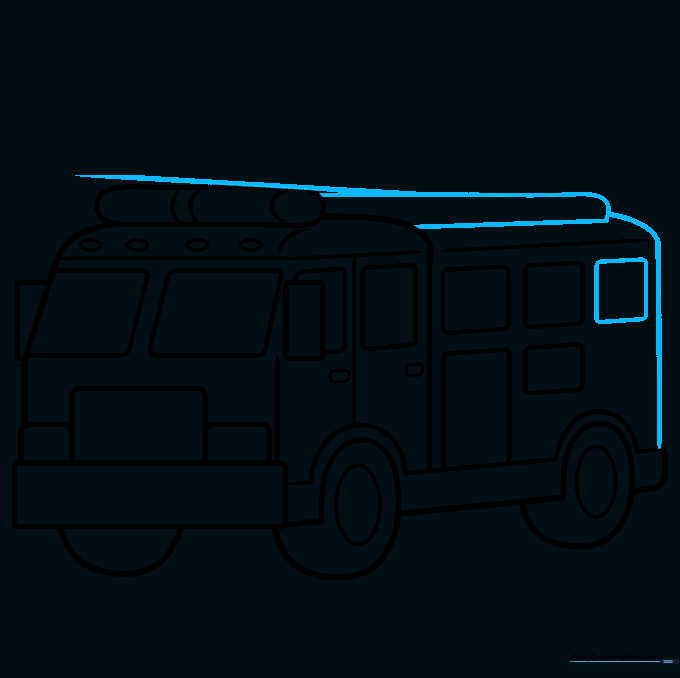
Draw a long horizontal line on top of the truck to create the ladder base, connecting it to the light bar. Finish the back of the truck with a curved line. Teacher's Tip: Keep your lines steady to ensure the ladder base looks flat and sturdy.
Step 8: Constructing the Ladder
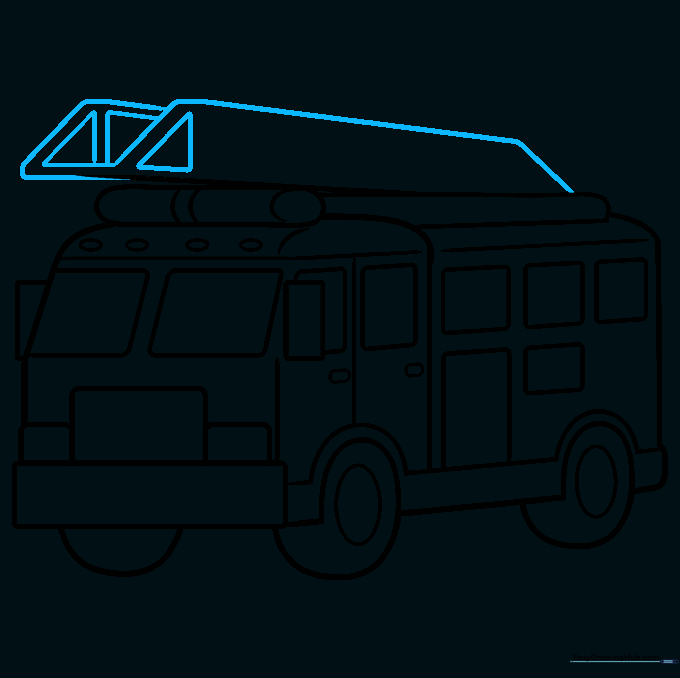
Sketch a long trapezoid extending from the base. Add a smaller trapezoid at the front and begin drawing small triangles inside to create the ladder rungs. Teacher's Tip: Take your time with the triangles; they give the ladder its realistic look.
Step 9: Finalizing the Ladder
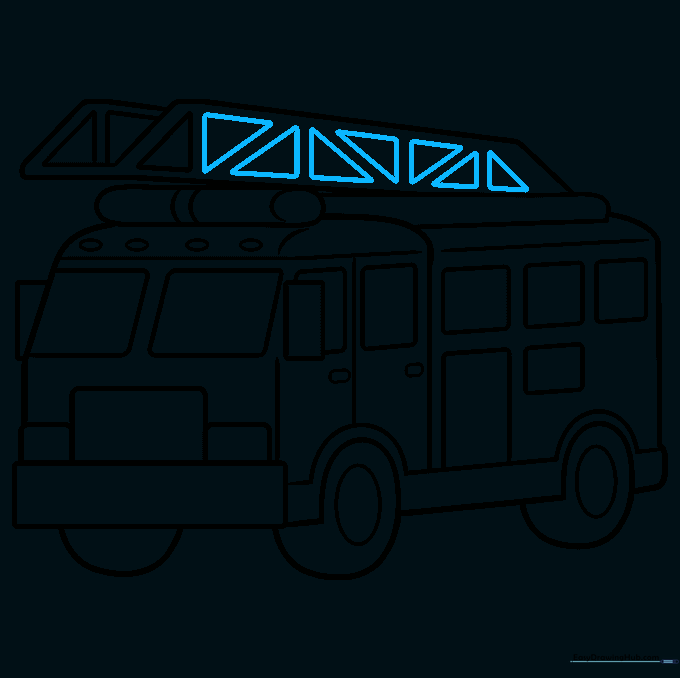
Continue drawing triangles down the length of the ladder until you reach the base. Teacher's Tip: Ensure the triangles are evenly spaced to make the ladder look professional and symmetrical.
Step 10: Adding Color
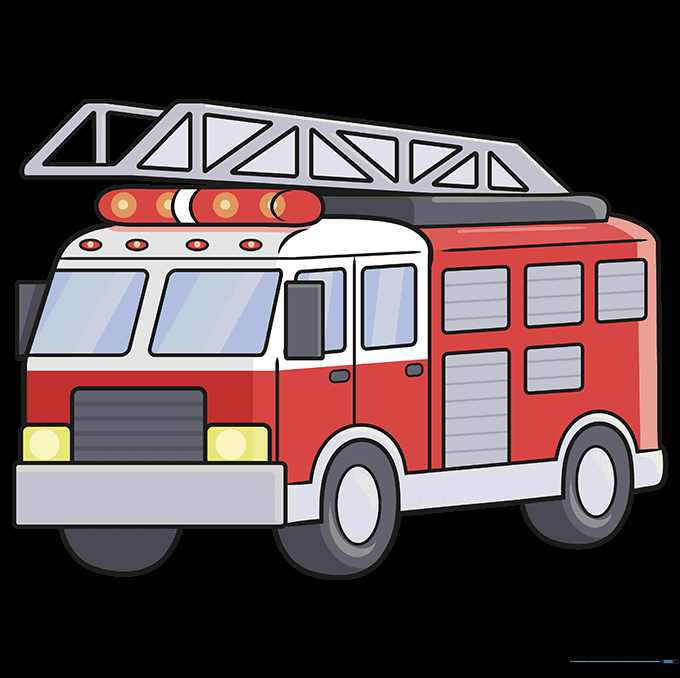
Bring your firetruck to life with color! Use bright red for the body, and don't forget to color the lights and wheels. Teacher's Tip: Try using yellow or white for the ladder to make it pop against the red body.
More Tutorials


