How to Draw a Firefighter Helmet: Easy 10-Step Guide
Ready to gear up? This tutorial is perfect for young artists ages 5 and up who want to draw their own hero gear. All you need is a pencil, an eraser, and some paper to get started. Follow these simple steps to build your helmet from the badge up, developing your spatial awareness and line control as you go.
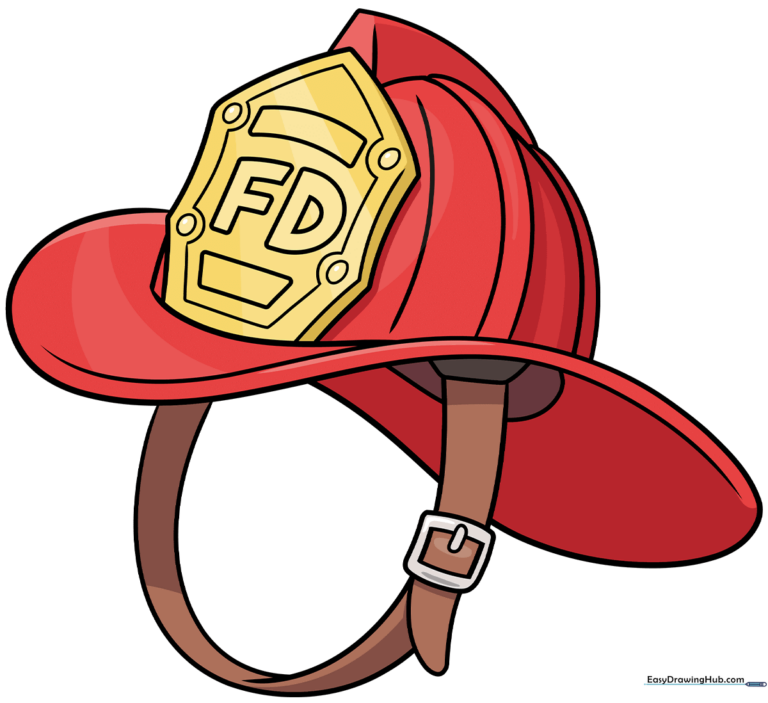
🎯 Final Result
Step-by-Step Instructions
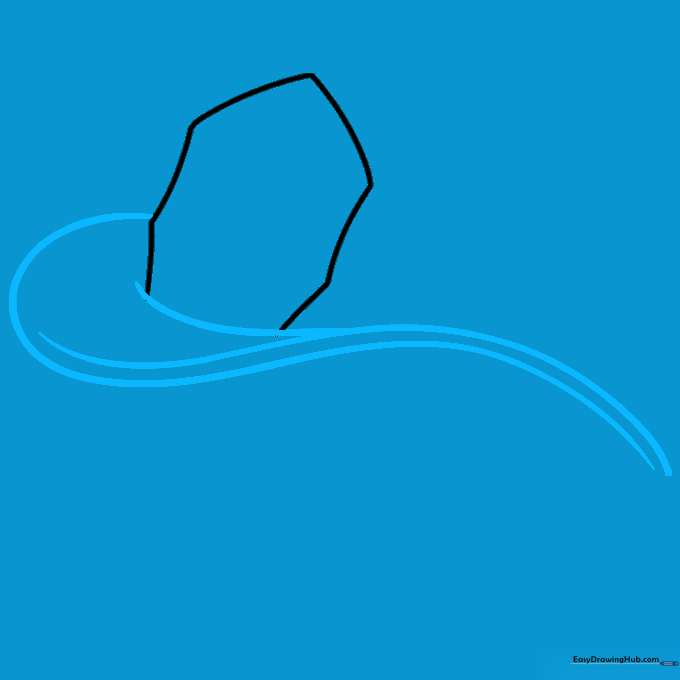
Step 1: Sketching the Front Badge

Start by drawing a series of curved lines to form the front badge. Imagine you are drawing an octagon but leave two sides open at the bottom. Teacher's Tip: Keep your pencil pressure light so you can easily adjust the shape if it looks a bit lopsided.
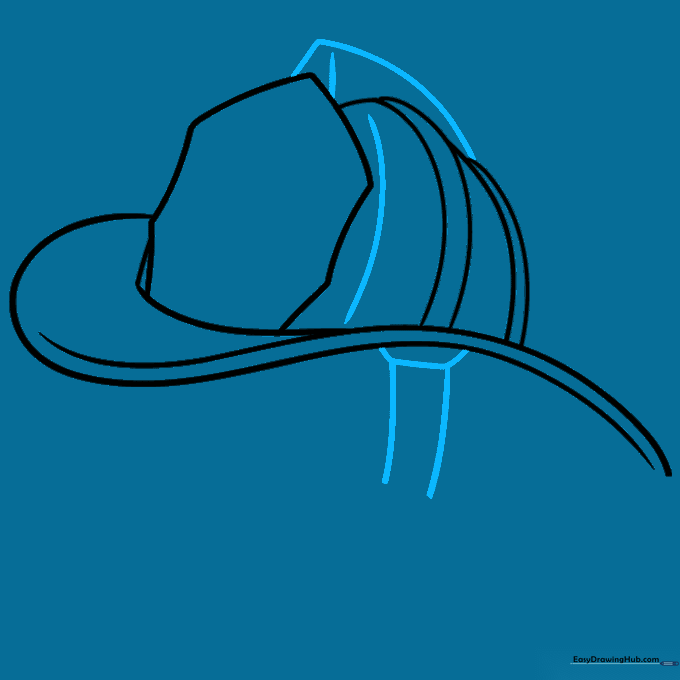
Step 2: Defining the Brim
Draw the brim of the hat using smooth, curved lines extending from the badge. Adding a secondary line along the edge creates a 3D effect. Teacher's Tip: Use a continuous motion for the brim to keep the lines looking fluid and professional.
Step 3: Sketching the Crown

Create the ribbed crown of the hat using connected, curved lines. These lines represent the protective structure of the helmet. Teacher's Tip: Try to space your curves evenly to make the helmet look sturdy and balanced.
Step 4: Adding the Chin Strap
Draw a curved triangle on top of the helmet for detail, then move to the strap. Enclose a trapezoid under the brim and extend two parallel lines downward. Teacher's Tip: Parallel lines are tricky! Take your time to keep them equidistant.
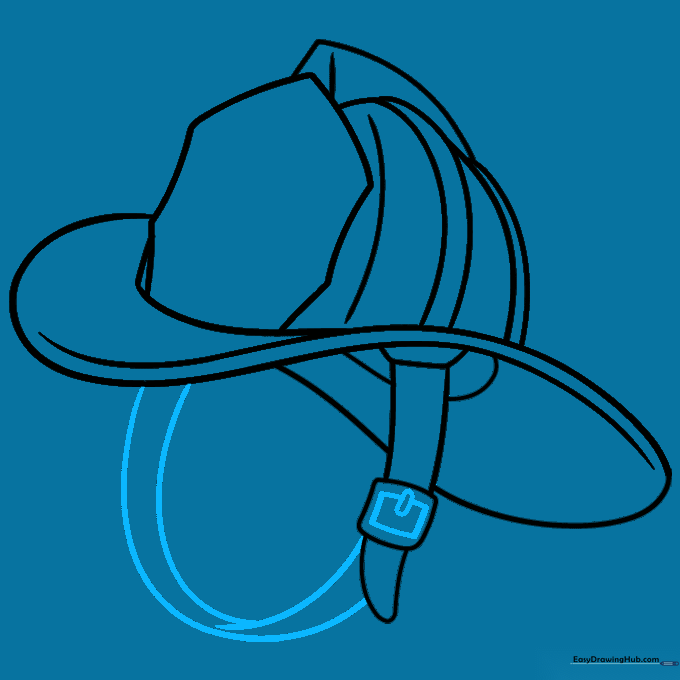
Step 5: Finishing the Strap
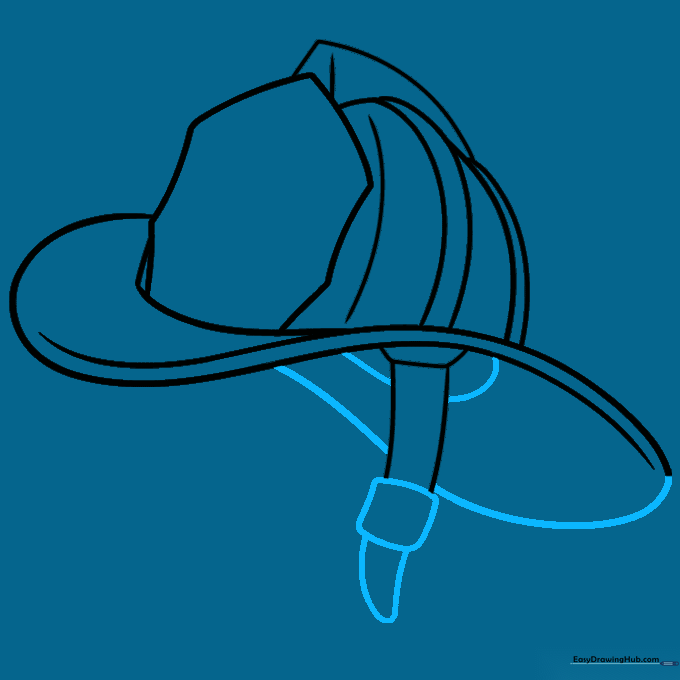
Draw a rounded square at the bottom of the strap to represent the buckle, then loop the line back to complete the strap. Add a curved shape behind the strap to show the inside of the helmet. Teacher's Tip: This depth helps the drawing look realistic rather than flat.
Step 6: Adding Buckle Detail
Add two small rectangles inside the buckle square. Draw parallel curved lines from the strap to the side of the hat to show how it attaches. Teacher's Tip: Overlapping your lines here is the secret to making the strap look like it’s actually wrapping around the helmet.
Step 7: Badge Details
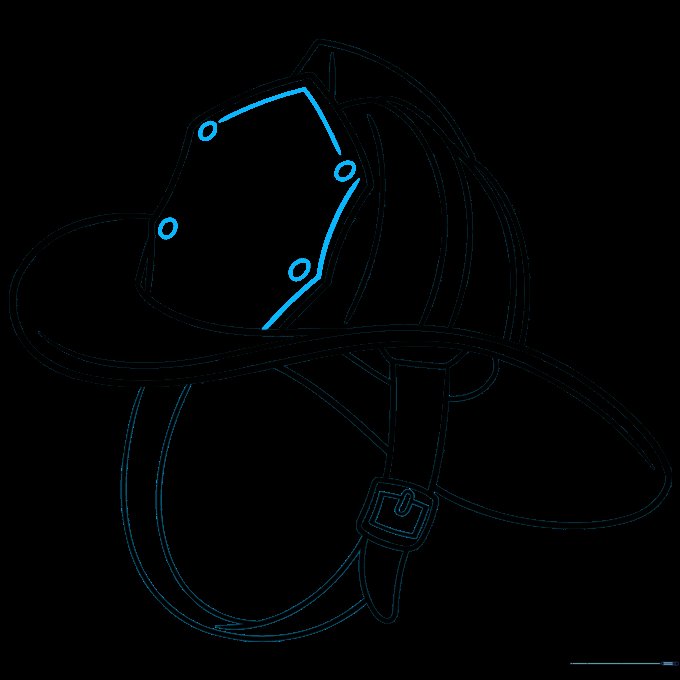
Draw four small ovals inside the badge area. Add lines parallel to the sides of the badge to give it a thick, metallic look. Teacher's Tip: Use a sharp pencil for these small shapes to keep them clean.
Step 8: Refining the Badge
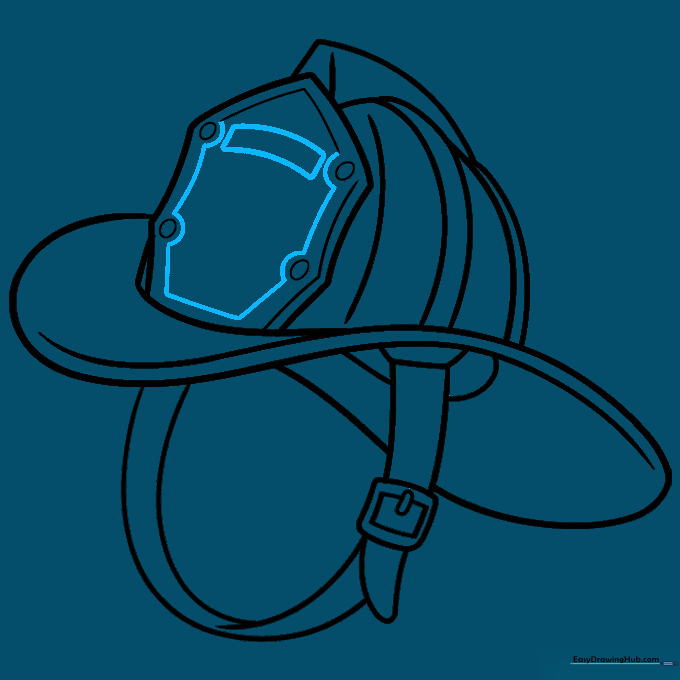
Draw curved lines around the ovals to connect them, creating a frame. Add a curved rectangle between two of the ovals. Teacher's Tip: This is where your badge starts to look like an official emblem!
Step 9: Adding Text
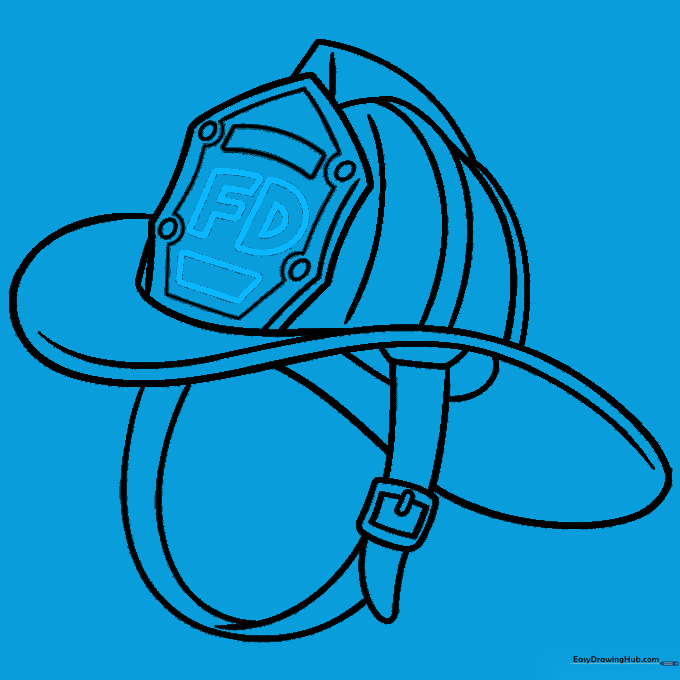
Draw the letters “F” and “D” inside the badge for 'Fire Department,' and add a trapezoid beneath them. Teacher's Tip: Take your time with the lettering—draw them lightly first to ensure they fit perfectly in the space.
Step 10: Bringing it to Life with Color
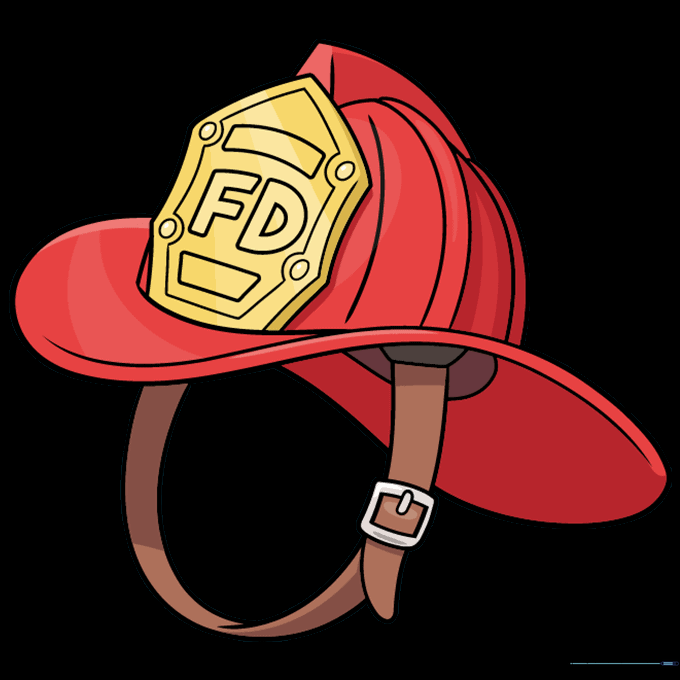
Your outline is complete! Now, add color. Traditional helmets are red, but you can choose white for a chief, or black, yellow, or blue. Teacher's Tip: Use colored pencils to add light and shadow to the brim to make it pop off the page.
More Tutorials


