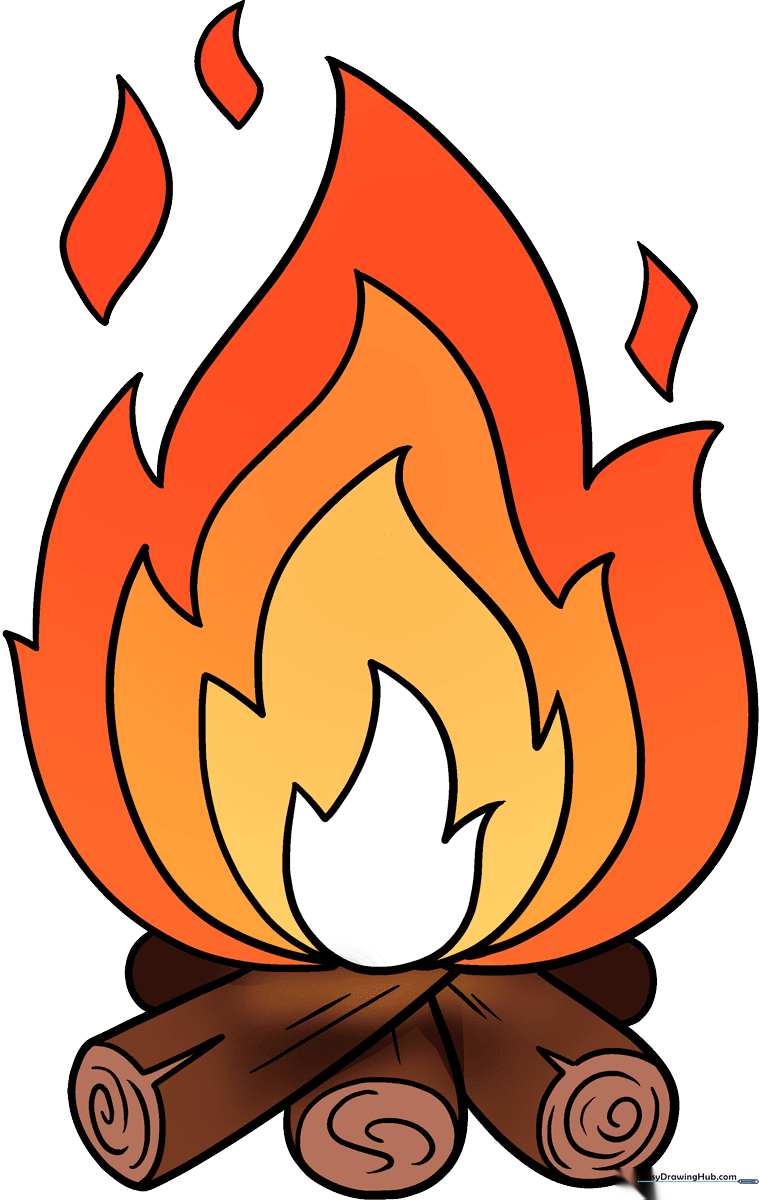
How to Draw a Fire: Easy 10-Step Guide for Kids
Ready to bring some warmth to your sketchbook? This tutorial is perfect for artists ages 5 and up. You will need a pencil, an eraser, and your favorite markers or crayons to capture the dancing movement of flames and the texture of logs.
🎯 Final Result
Step-by-Step Instructions
Sketching the First Flame
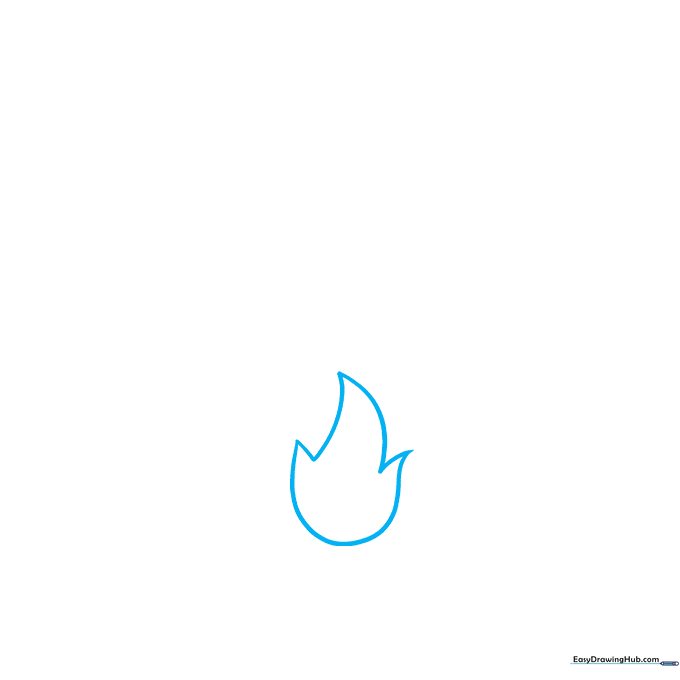
Start by drawing one small flame in the center. Use curved lines that meet at a sharp point. Teacher's Tip: Keep your pencil pressure light so you can easily adjust the shape later.
Layering the Inner Flame
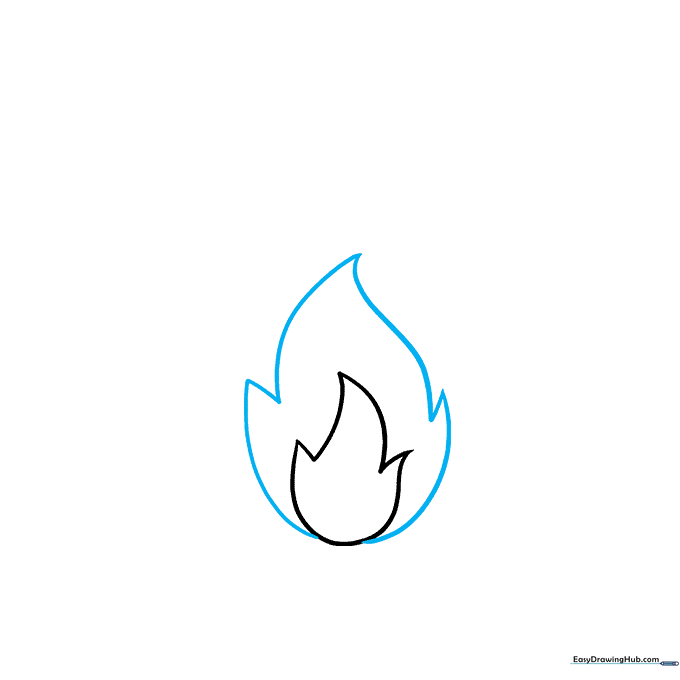
Draw a larger flame shape wrapping around the first one. Use jagged, uneven lines to give it a natural, flickering look. Tip: Don't worry about symmetry; fire is wild and irregular!
Expanding the Flame Base
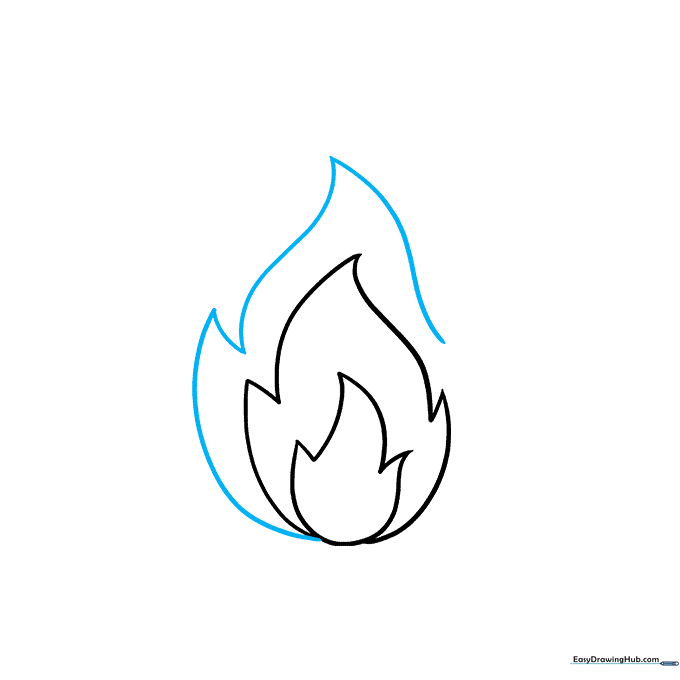
Add an even larger set of curved lines around your previous flames. Make sure the points are sharp to emphasize the heat. Tip: Try to make the curves look like they are swaying in the wind.
Building the Outer Glow
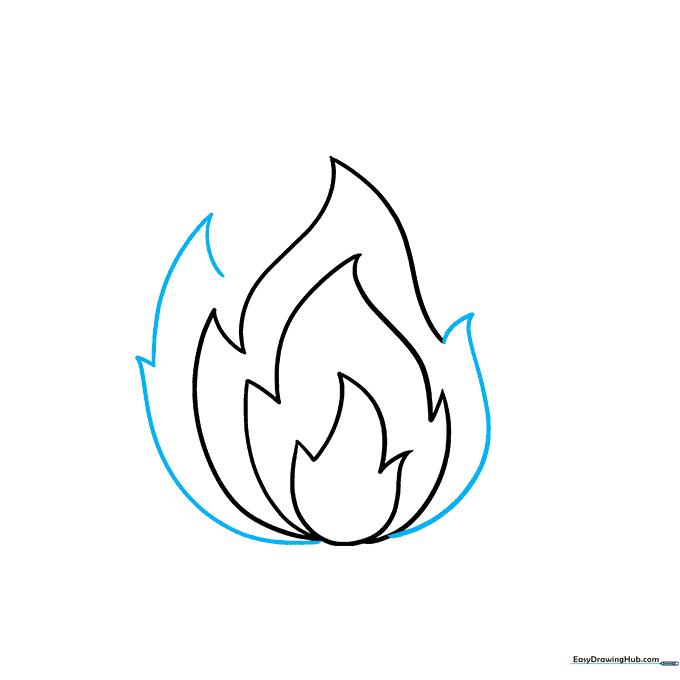
Close the lines from the previous step and begin sketching a final, wide layer of flames. Tip: Use long, sweeping strokes to show the height of the fire.
Completing the Flame Outline
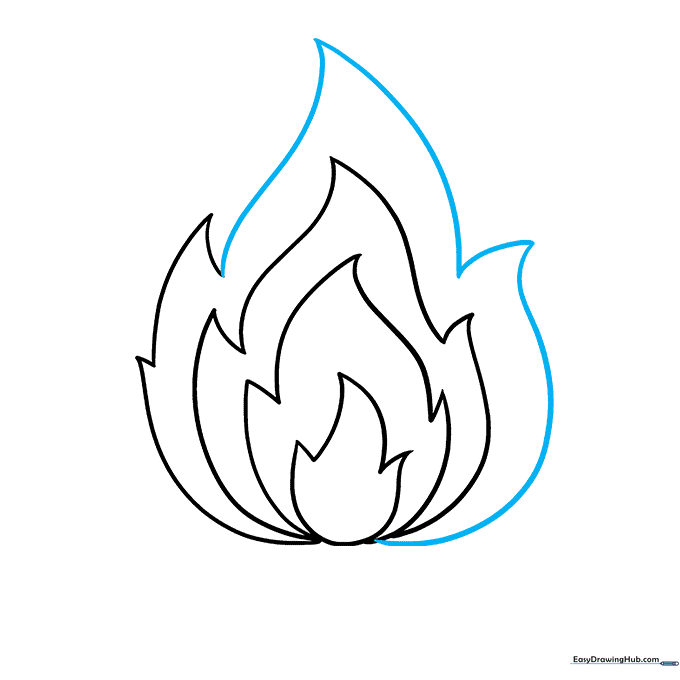
Connect all your lines to finish the main body of the fire. Ensure all points are sharp and clear. Tip: Erase any overlapping pencil lines inside the flames to keep the drawing clean.
Adding Floating Sparks
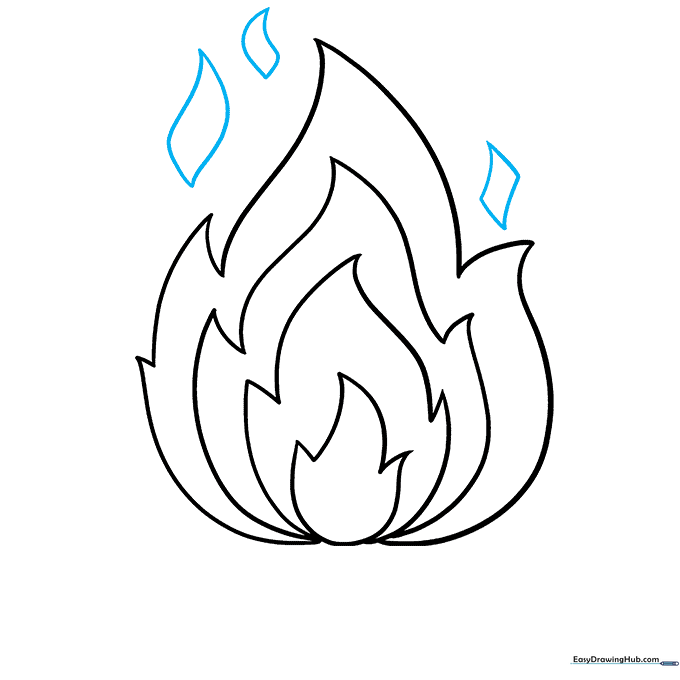
Draw a few small, double-pointed shapes floating above the main fire. These represent sparks or licking flames. Tip: Vary the sizes so it looks natural and dynamic.
Drawing the First Log
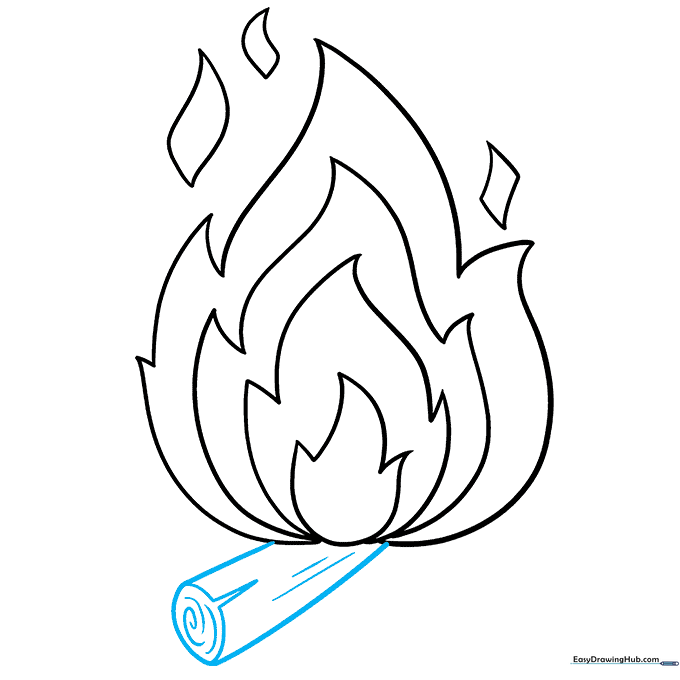
Draw a rectangle with rounded corners at the base. Add an oval to the end to make it look like a cylinder. Add small spiral lines for wood grain. Tip: Use a 'V' shape on the end to show the wood's texture.
Adding More Logs
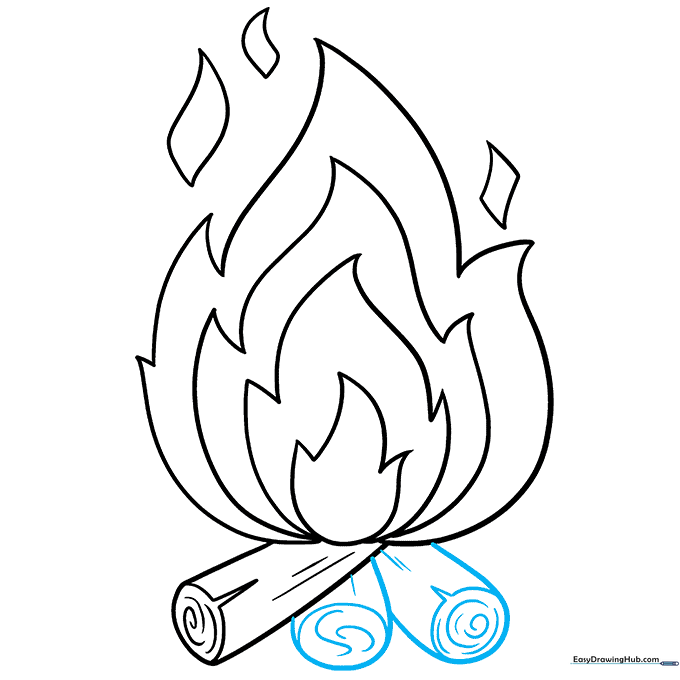
Draw two more logs crossing each other. Add ovals to the ends and texture them with curved lines. Tip: Keep the logs slightly messy to make the campfire look authentic.
Finalizing the Base
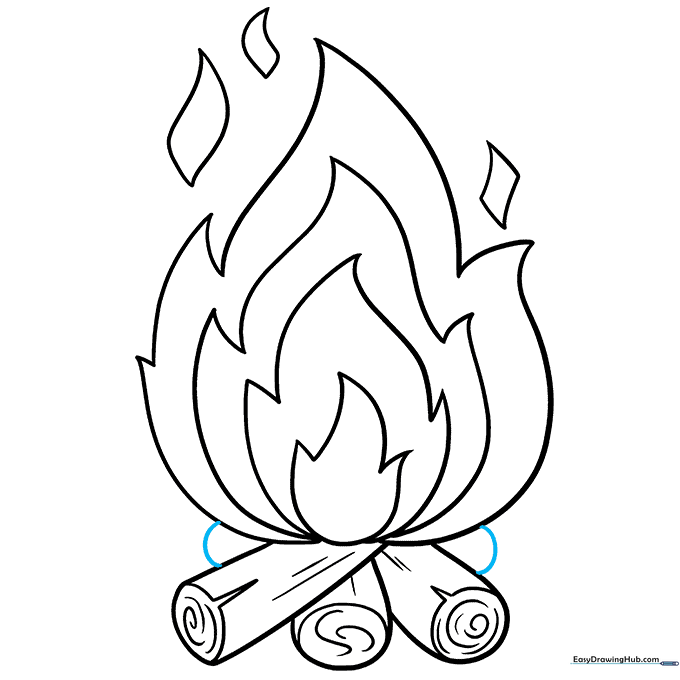
Add two more logs at the back to complete the pile. Use simple curved lines to show they are tucked behind the others. Tip: Use darker lines for logs in the front to create depth.
Coloring Your Masterpiece
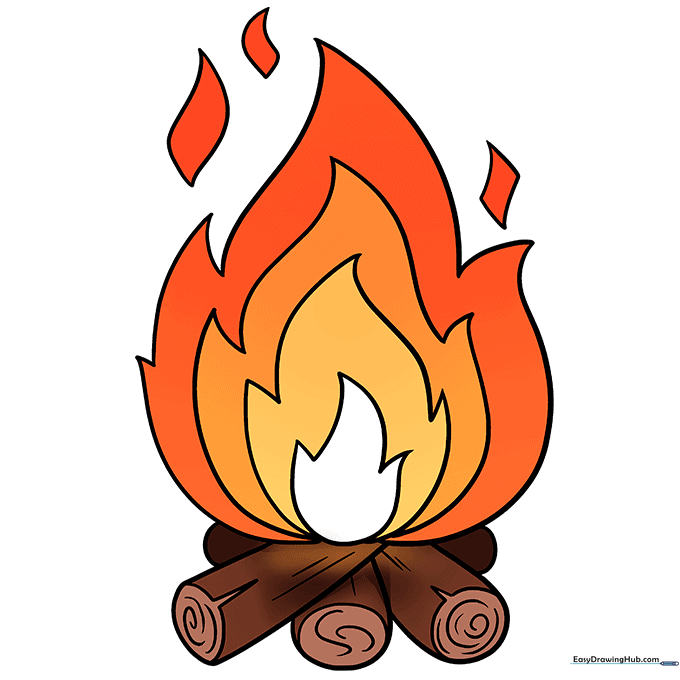
Time to bring it to life! Use yellow for the center, orange for the middle, and red for the outer edges. Color the logs in shades of brown. Tip: Leave a few tiny white spots in the flames to make them look extra hot!
More Tutorials


