How to Draw a Ferris Wheel: Easy 10-Step Guide
Bring the magic of the carnival to your sketchbook! This tutorial is perfect for young artists ages 6+ who want to practice drawing geometric shapes and symmetry. All you need is a pencil, an eraser, and a steady hand to create your own towering amusement park ride.
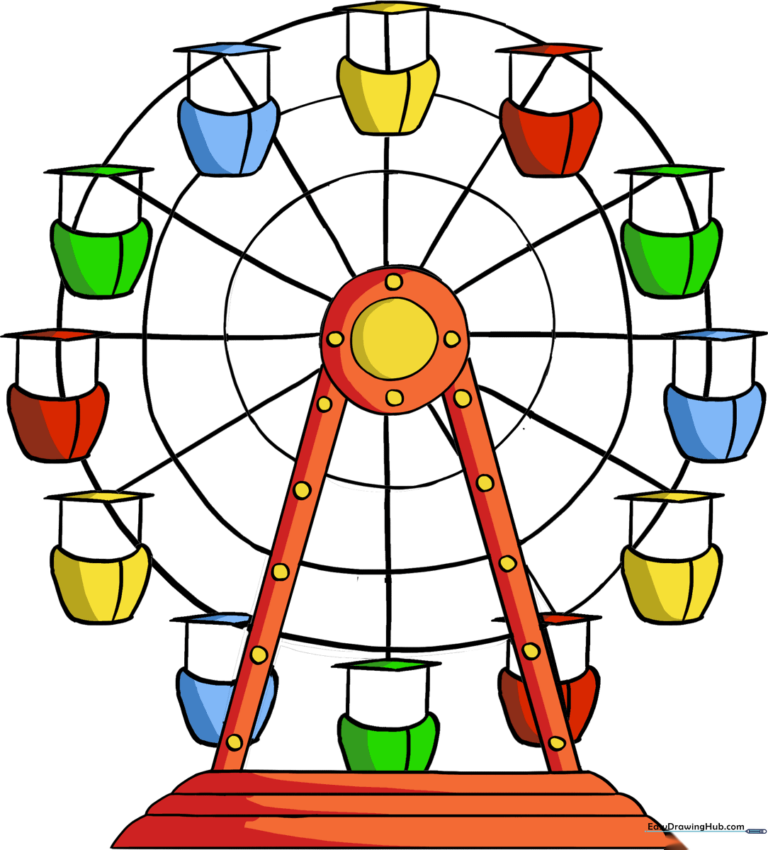
🎯 Final Result
Step-by-Step Instructions
Step 1: Sketching the Central Hub

Draw a small circle inside a slightly larger one to create the center hub. Teacher's Tip: Use a light touch with your pencil so you can easily erase the inner lines later if you want to add more detail.
Step 2: Drawing the Support Legs

Draw two sets of parallel lines extending downward from the hub at an angle. These form the sturdy A-frame legs. Tip: Use a ruler if you want perfectly straight lines, or practice freehand for a more organic look.
Step 3: Creating the Base
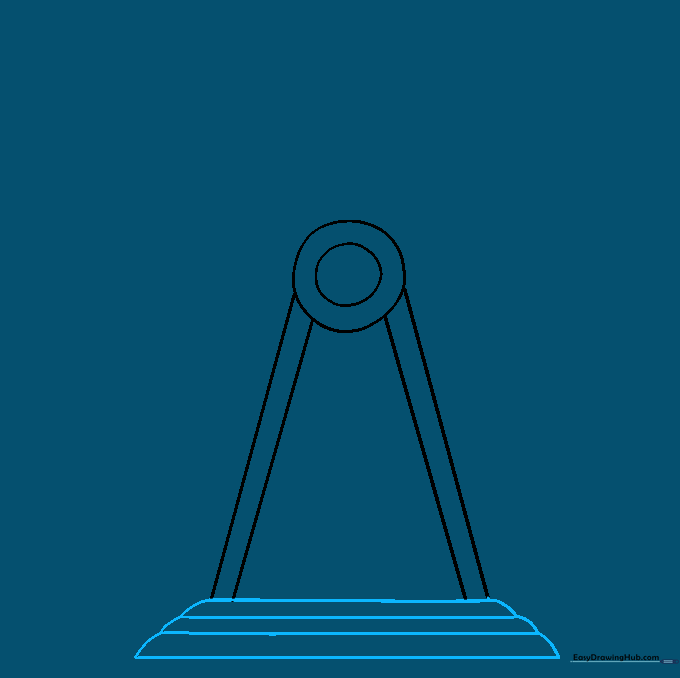
Draw a trapezoid at the bottom to connect the legs, then add horizontal lines across it. This grounds your drawing. Tip: Think of this as the foundation of a building—keep it wide to make the wheel look stable.
Step 4: Outlining the Wheel
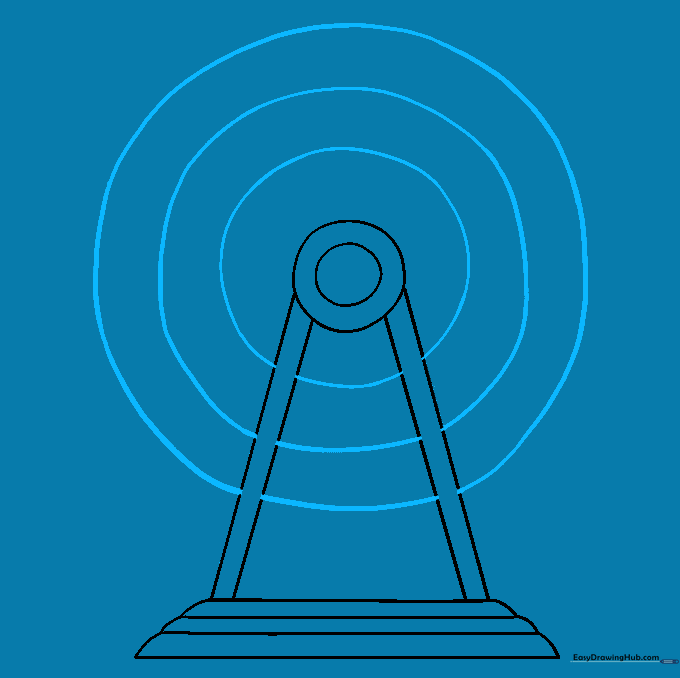
Draw three circles of increasing size around the center hub. Don't worry if they overlap the legs; you can erase the lines behind the support structure later. Tip: Rotate your paper as you draw to keep the circles smooth.
Step 5: Adding Spokes
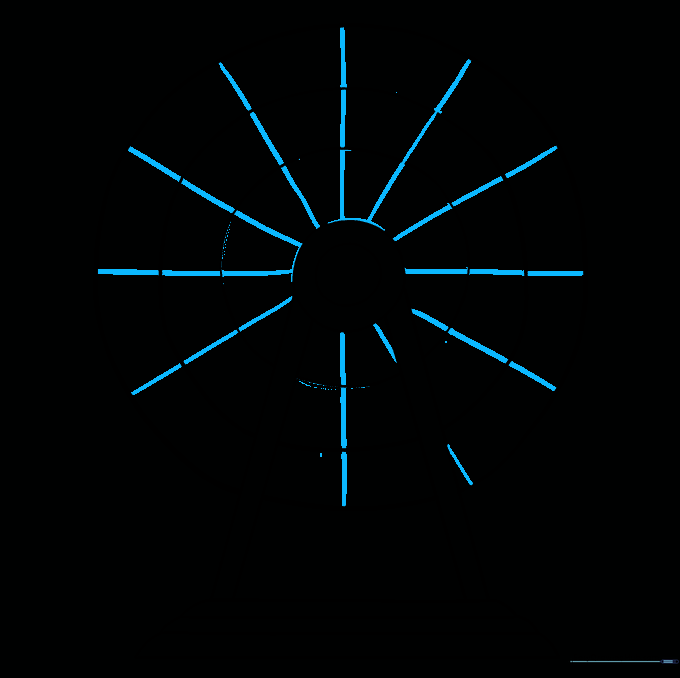
Draw straight lines radiating from the hub to the outer circle. These are your spokes. Tip: Imagine you are drawing the slices of a pizza to keep the spacing even.
Step 6: Drawing the First Car
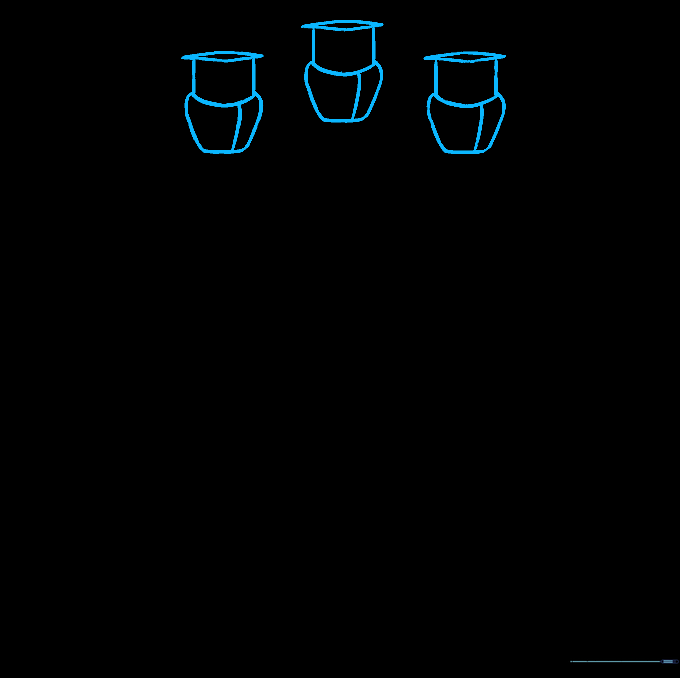
Create a passenger car by drawing a pointed oval shape with a cup-like bottom. Connect them with two short lines. Tip: Add a slight curve to the side of the car to give it a 3D, rounded look.
Step 7: Adding More Cars
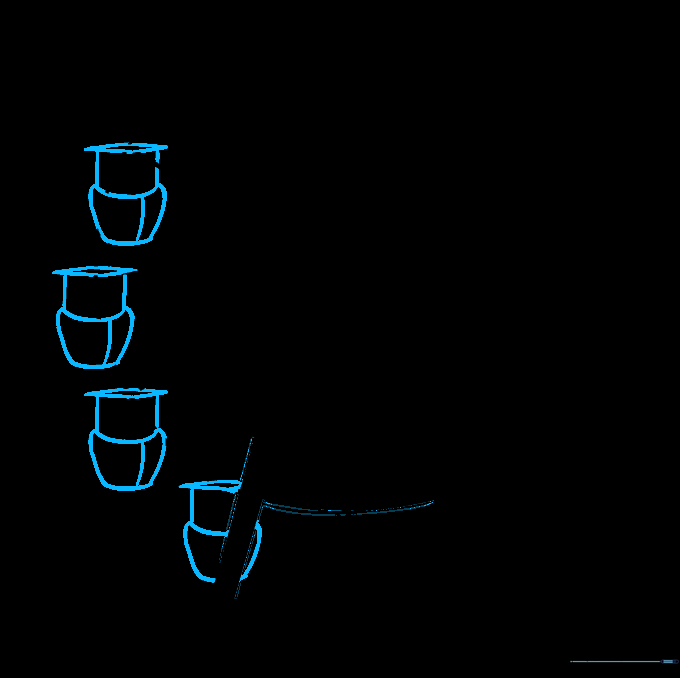
Repeat the process to add more cars around the wheel. Remember to hide the bottom-most car behind the support leg for a realistic perspective. Tip: Vary the placement slightly to make the wheel look busy and fun.
Step 8: Completing the Perimeter
Continue adding cars until the entire wheel is filled. Tip: Keep your spacing consistent so the Ferris wheel looks balanced.
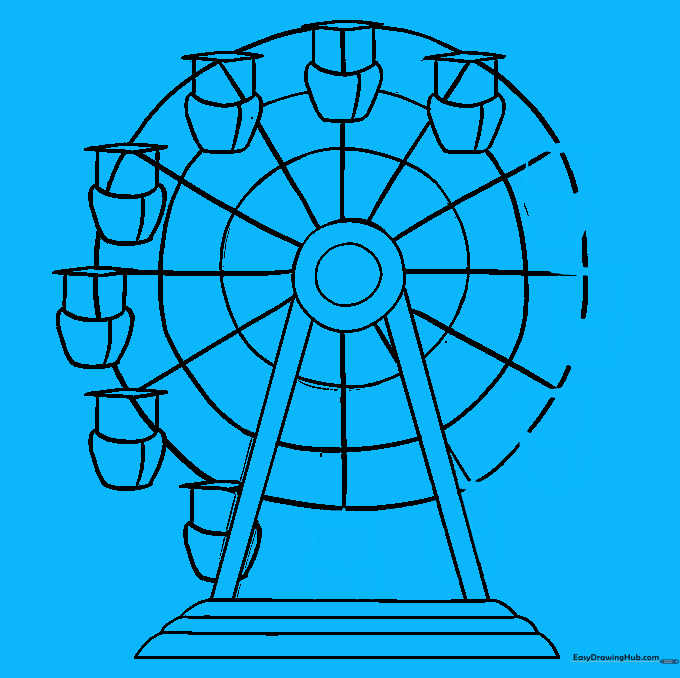
Step 9: Final Details

Add small circles along the legs and hub to represent bolts and rivets. These tiny details make your drawing look professional. Tip: Use a fine-liner pen to go over your pencil lines for a clean, crisp finish.
Step 10: Bring It to Life with Color
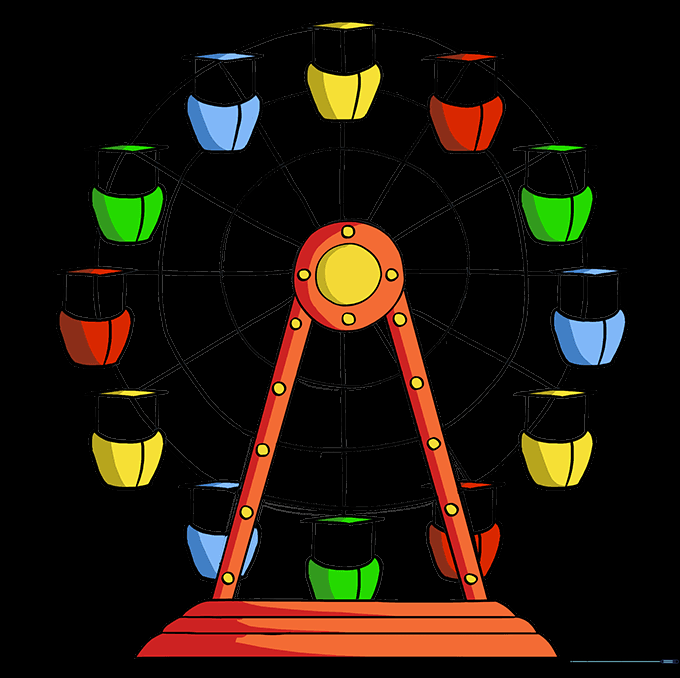
Time to color! Use bright, bold colors for the cars and a metallic gray or blue for the frame. Tip: Use colored pencils to shade the inside of the cars to make them pop.
More Tutorials


