How to Draw a Fence: Easy 10-Step Guide for Kids
This picket fence tutorial is a fantastic way for young artists to practice drawing straight, parallel lines and simple organic shapes like flowers and birds. You only need a pencil, an eraser, and a piece of paper to get started. By the end of this lesson, you will have a charming garden scene to color and share.
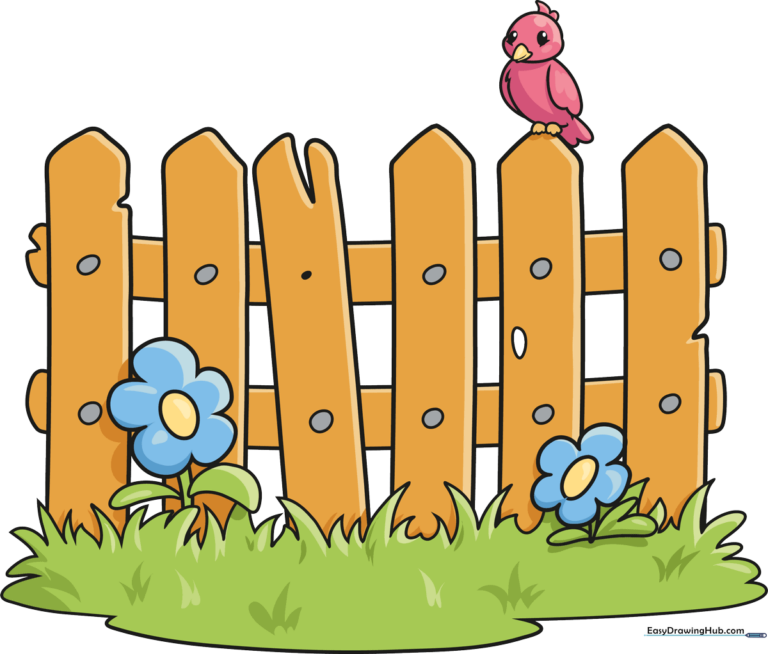
🎯 Final Result
Step-by-Step Instructions
Step 1: Sketching the Grass Base

Start by drawing the grass at the bottom of your page. Use a series of curved lines that meet at sharp points. Teacher's Tip: Vary the height of your grass blades to make the ground look natural and uneven, not like a straight ruler line!
Step 2: Filling in the Grass
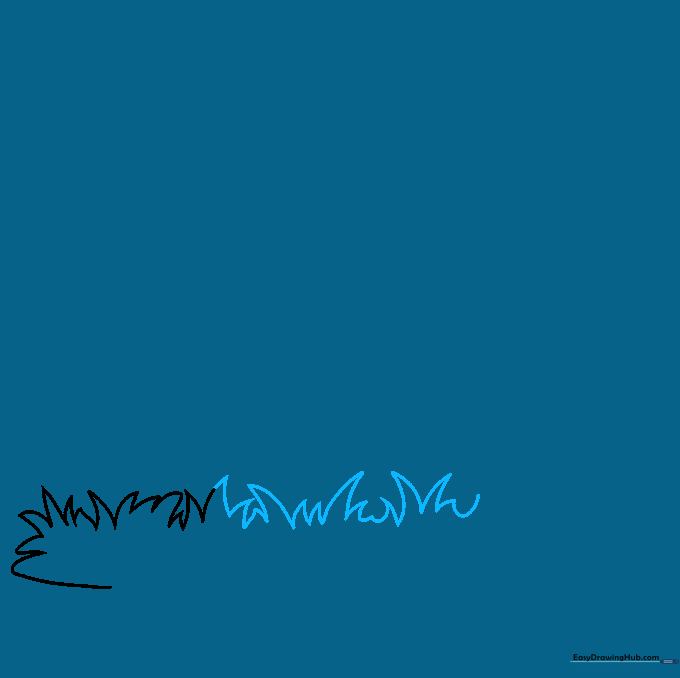
Continue adding more grass blades across the bottom of your paper. Use two curved lines that meet at a point for each blade. Tip: Don't worry about making them perfect; grass in nature is messy and wild!
Step 3: Defining the Ground Line

Extend a long, gentle curved line beneath your grass to ground your drawing. This creates the horizon line where the fence will sit. Tip: Keep your pencil pressure light here so you can easily erase any overlapping lines later.
Step 4: Drawing the First Pickets

Start your fence by drawing two vertical, parallel lines for each picket. Connect them at the top with a small curve or notch. Tip: If your lines aren't perfectly straight, that's okay! A slightly wobbly fence looks more rustic and charming.
Step 5: Adding More Pickets

Continue adding pickets side-by-side. Remember to use pairs of straight lines and add those little 'V' or curved notches at the top to show the wood grain. Tip: Try to space them out evenly to keep your fence looking tidy.
Step 6: Adding Cross Beams and Nails
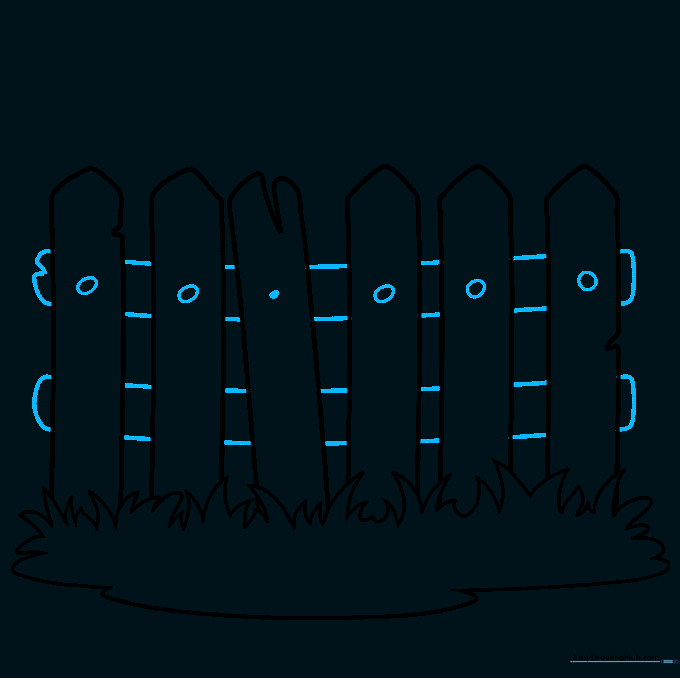
Draw two horizontal lines across the pickets to create the support beams. Add small circles where the beams meet the pickets to represent nails. Tip: Drawing these nails adds a great 'realistic' detail that makes your cartoon look professional!
Step 7: Drawing the First Flower
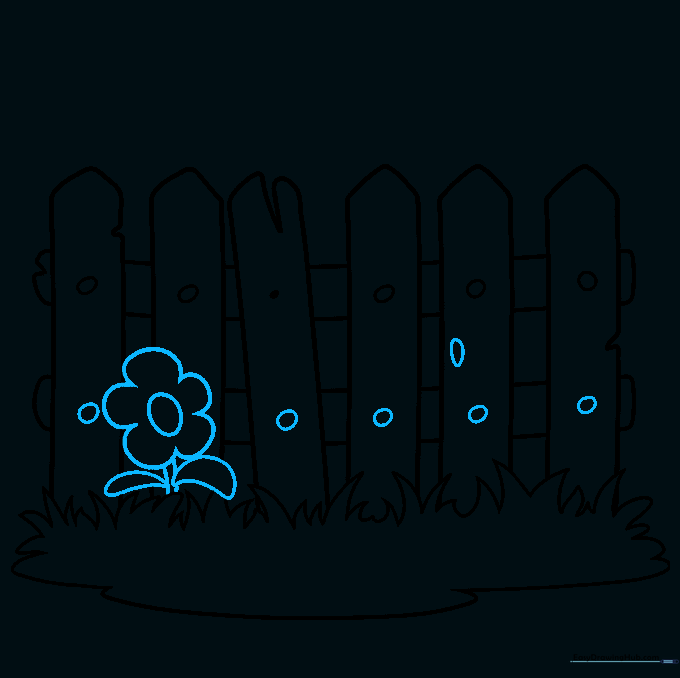
Draw a flower growing up against the fence. Use a simple stem, leaves, and 'U' shaped petals around a center circle. Tip: Flowers are great for practicing symmetry—try to make the petals on the left match the ones on the right.
Step 8: Adding a Second Flower and Bird

Add another flower to the other side. Then, sketch a small, rounded shape peeking over the top of the fence for your bird. Tip: Keep the bird's shape simple—a small circle for the head is all you need to start!
Step 9: Completing the Bird
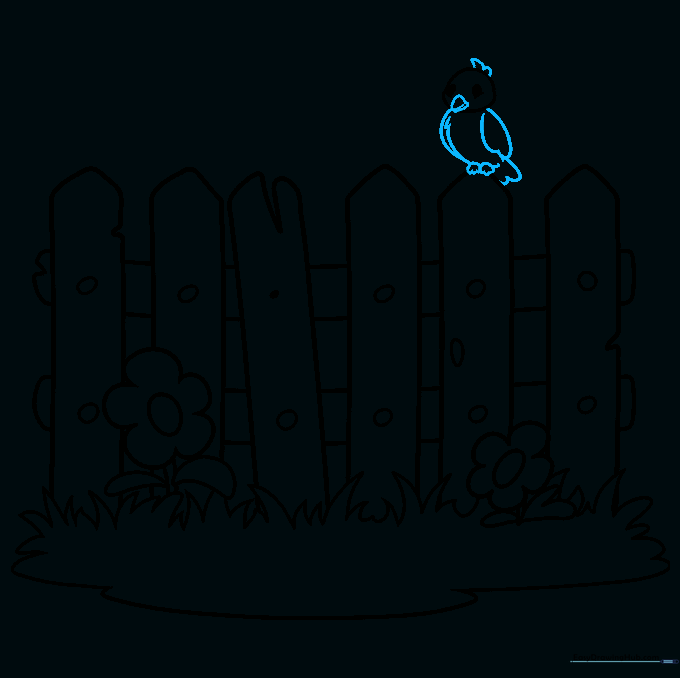
Finish your bird by adding a beak, wings, and a little tuft of feathers on its head. Tip: Use quick, light strokes for the feathers to give them a soft, fluffy texture.
Step 10: Bring Your Fence to Life with Color
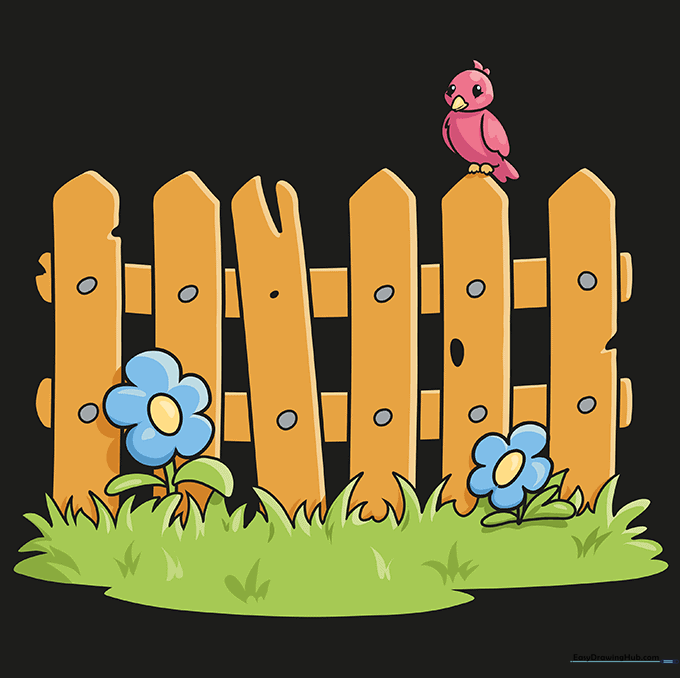
Time to color! Use warm browns for the wood, bright greens for the grass, and your favorite colors for the flowers and bird. Tip: Try using two shades of brown—a light one for the base and a dark one for the edges—to make the wood look 3D.
More Tutorials


