How to Draw a Father and Son: Easy 10-Step Guide
Capture a special family moment with this beginner-friendly drawing guide. Designed for children ages 6 and up, this project uses basic shapes to build confidence in character design. Grab your pencil, eraser, and paper to start creating your own heartwarming illustration.
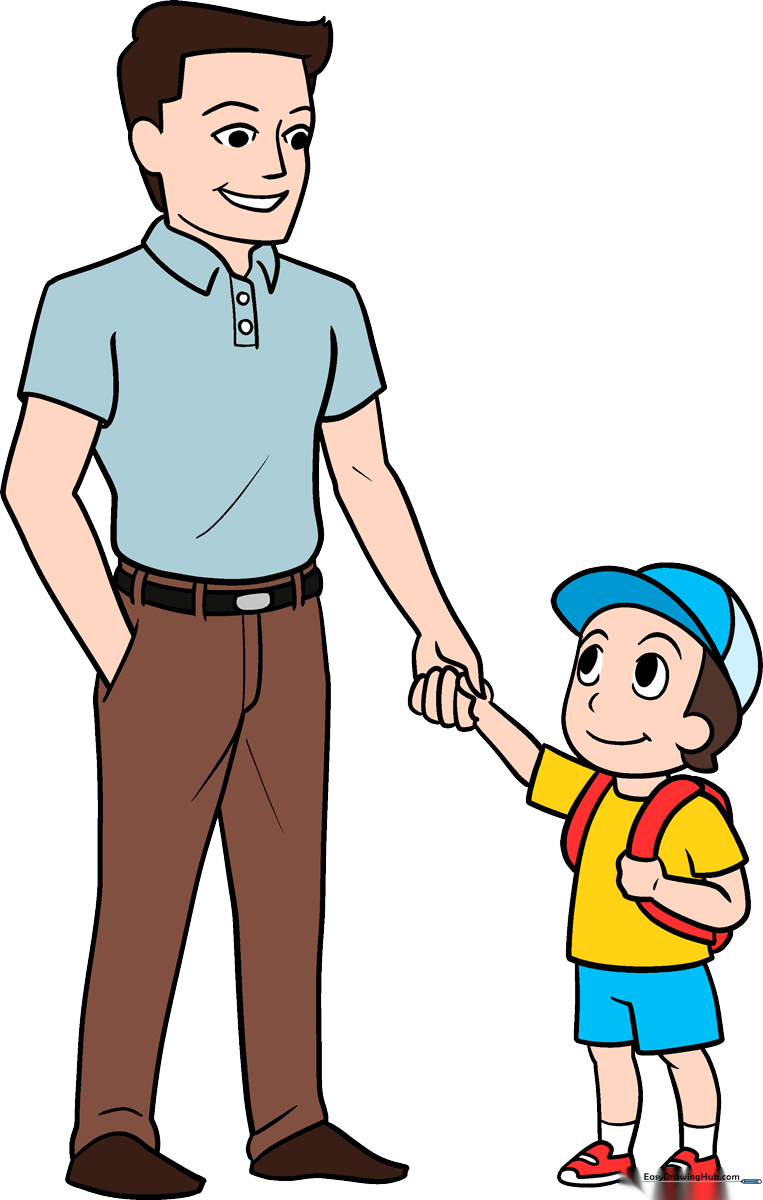
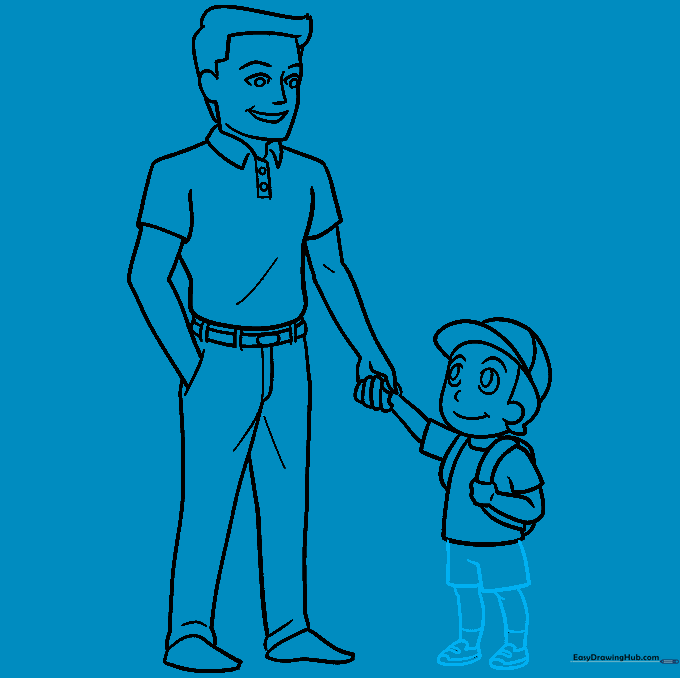
🎯 Final Result
Step-by-Step Instructions
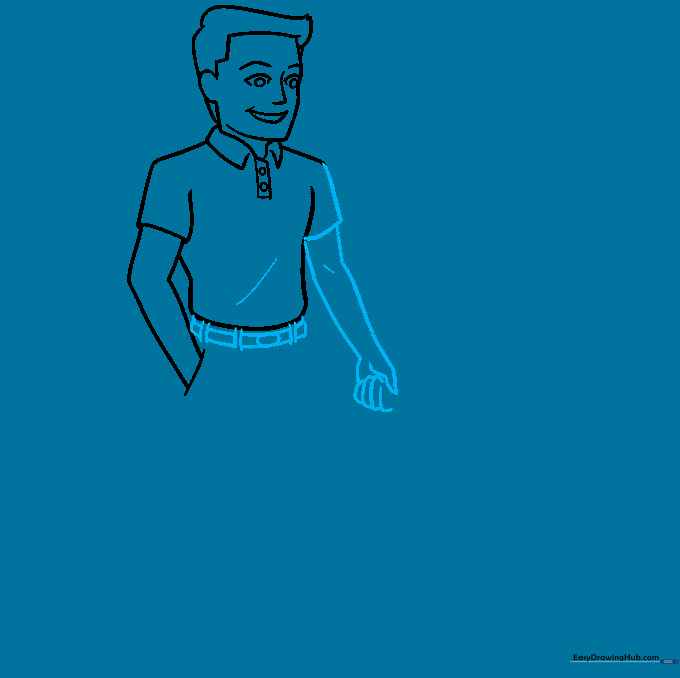
Step 1: Sketching the Father's Head

Start by drawing the dad's head using soft, curved lines for the chin and hairline. Tip: Keep your pencil pressure light so you can easily adjust the shape if needed. Add the facial features, keeping the pupils centered to give him a friendly, warm expression.
Step 2: Adding the Shirt Collar

Draw a small rectangle and triangle to form the collar of the shirt. Tip: Imagine the shirt is resting on his shoulders; draw the lines slightly wider than the neck to show the fabric's weight.
Step 3: Sketching the First Arm

Use smooth, curved lines to outline the sleeve and arm. Tip: To make it look like his hand is in his pocket, draw a simple straight line at the end of the arm to create a clean, tucked-in look.
Step 4: Detailing the Belt and Torso
Draw the second arm and add the belt using small rectangles and an oval buckle. Tip: Adding these small details like the belt buckle makes your character look more realistic and finished.
Step 5: Drawing the Legs
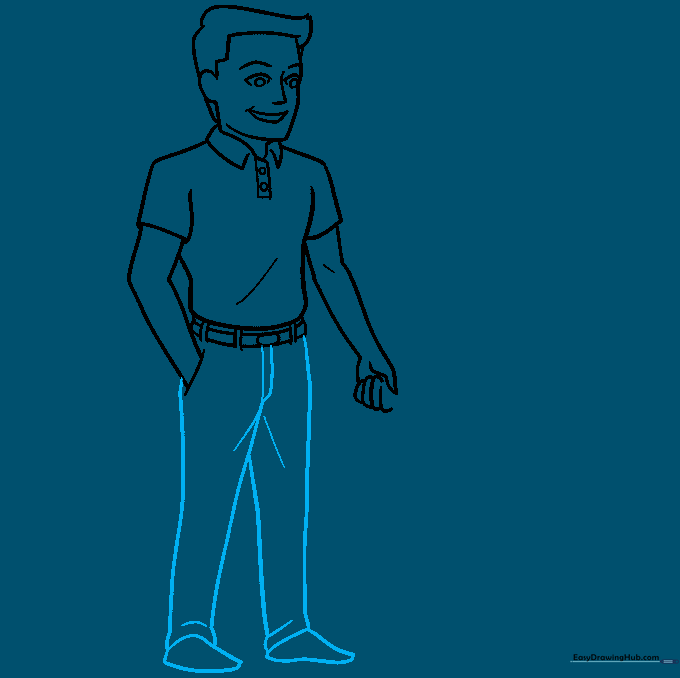
Draw the pants using long, vertical curved lines. Tip: Add a small 'V' shape near the top for the zipper to give the pants a more professional look.
Step 6: Starting the Son
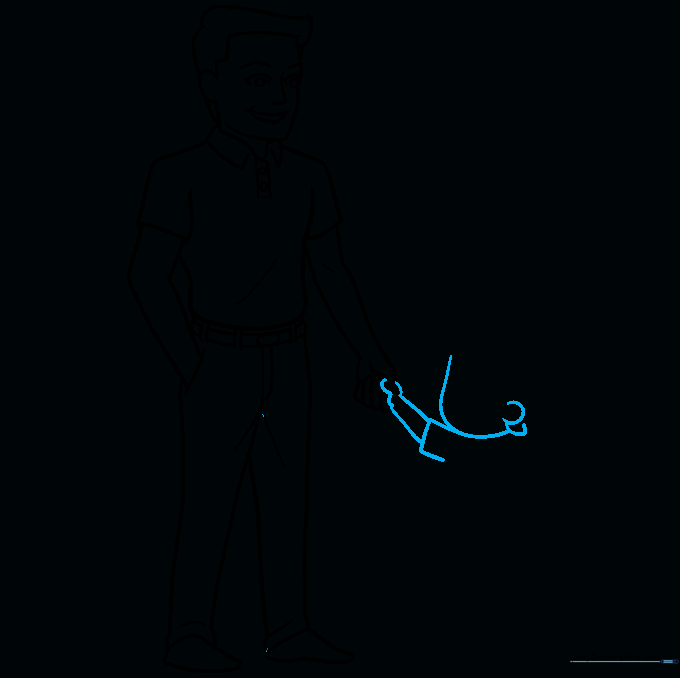
Begin the boy's figure next to the father. Use a 'C' shape for the ear and curved lines for his sleeve. Tip: Make the boy slightly smaller than the father to show the difference in age.
Step 7: The Son's Face and Cap

Draw the boy's hair and a baseball cap. Tip: Use short, quick strokes for the hair to give it a messy, youthful texture.
Step 8: Adding Backpack Details
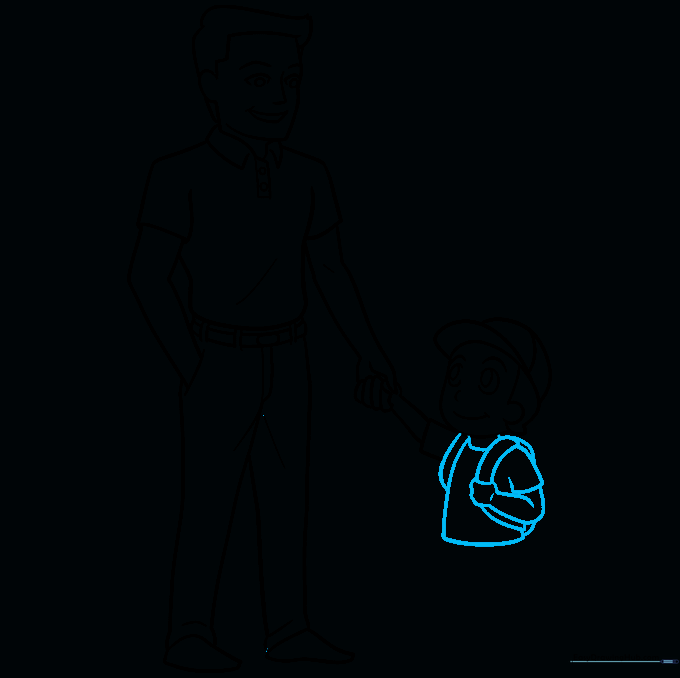
Outline the boy's torso and add backpack straps. Tip: Draw the straps as two parallel lines over the shoulders to make them look sturdy.
Step 9: Finishing the Legs and Shoes
Complete the boy's outfit by drawing his shorts and sneakers. Tip: Add small horizontal lines on the shoes to represent laces.
Step 10: Bringing it to Life with Color

Time to color! Use bright, cheerful colors for the boy's clothes and more muted tones for the dad to show their different styles. Tip: If you want to make it a themed drawing, add a Pokeball in the boy's hand for a fun, adventurous touch!
More Tutorials


