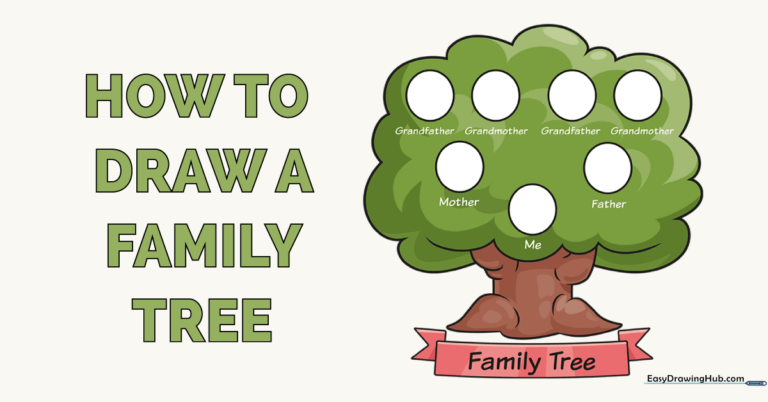
How to Draw a Family Tree: Easy Step-by-Step Guide
This family tree drawing guide is perfect for children ages 6+ looking to map out their heritage. You will need a pencil, eraser, and paper to complete this activity. By the end, you’ll have a personalized visual chart that builds fine motor skills and celebrates your family history.
🎯 Final Result
Step-by-Step Instructions
Step 1: Sketching the Root System

Start by drawing two curved lines for the base of the trunk, connecting them at the bottom with a series of small, wavy lines to form the roots. Teacher's Tip: Keep your lines loose and organic—roots aren't perfectly straight, so don't worry about making them symmetrical!
Step 2: Shaping the Trunk

Draw the main trunk using overlapping curved lines to suggest texture and a natural knot. Teacher's Tip: Adding a small 'knot' or circle on the side of the trunk gives your tree a realistic, aged look.
Step 3: Starting the Canopy

Extend the trunk upward and begin the leafy crown using a series of connected, cloud-like curved lines. Teacher's Tip: Don't press too hard; these 'cloud' lines are just a guide for the overall shape of the tree.
Step 4: Developing the Leafy Crown

Continue building the crown by using a series of 'U' shaped lines to create a full, bushy appearance. Teacher's Tip: Vary the size of your 'U' shapes to make the tree look more natural and less like a perfect circle.
Step 5: Adding the Title Banner

Finish the crown with more curved lines, then draw a horizontal rectangle beneath the tree for your banner. Teacher's Tip: Use a ruler if you want the banner to look extra neat, or keep it hand-drawn for a rustic feel.
Step 6: Placing Family Ovals

Draw several ovals inside the tree for photos, and add pennant shapes to the ends of your banner. Teacher's Tip: Make sure your ovals are spaced out enough so you have room to write names underneath them later.
Step 7: Customizing Your Tree

Add more ovals as needed and write 'Family Tree' inside your banner. Teacher's Tip: You can adjust the number of ovals to fit your specific family size—it's your tree, so make it your own!
Step 8: Labeling Grandparents
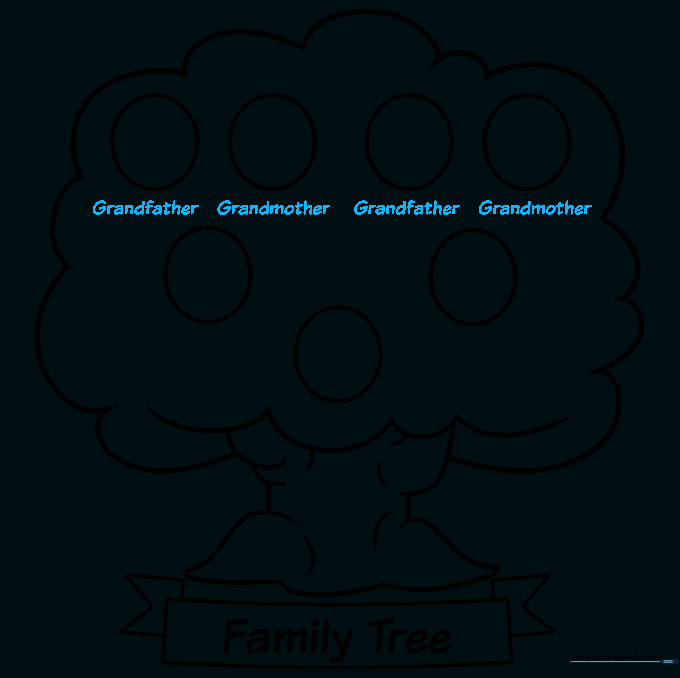
Write 'Grandfather' and 'Grandmother' under the top row of ovals. Teacher's Tip: Using your actual grandparents' names makes this project much more special and meaningful.
Step 9: Labeling Parents and Yourself
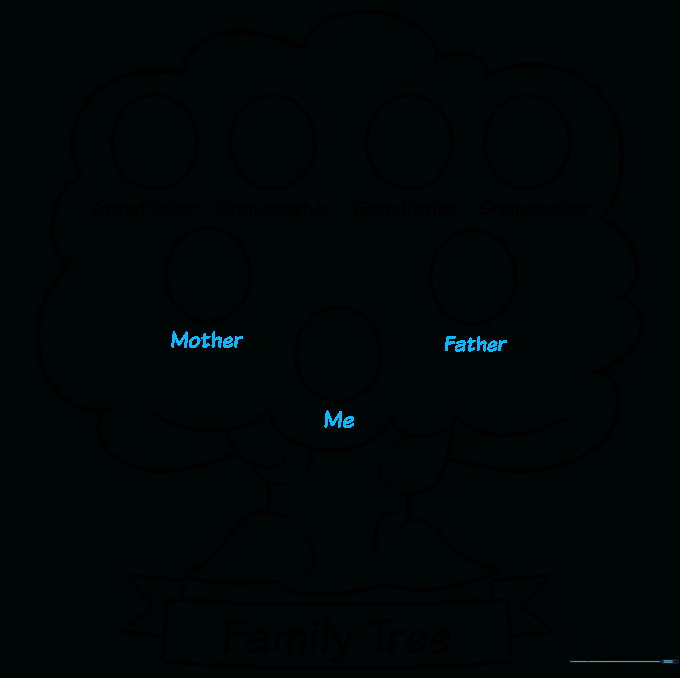
Add 'Mother', 'Father', and 'Me' to the remaining ovals. Teacher's Tip: Use a fine-tip pen for the names so they stand out clearly against the pencil drawing.
Step 10: Adding Color
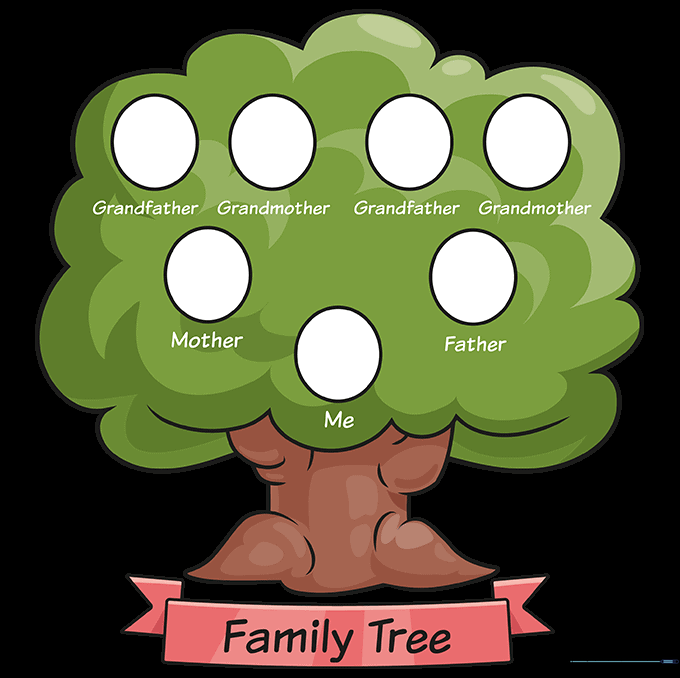
Bring your tree to life with color! Use greens for summer, or warm oranges and reds for an autumn-themed tree. Teacher's Tip: Use brown for the trunk and roots to create a nice contrast with the leaves.
More Tutorials


