How to Draw Fall Scenery: Easy 10-Step Landscape Guide
Capture the magic of autumn with this beginner-friendly landscape tutorial, perfect for artists ages 5 and up. All you need is a pencil, an eraser, and your favorite markers or crayons to bring this cozy scene to life. Follow along to master simple shapes and create a vibrant, seasonal masterpiece.
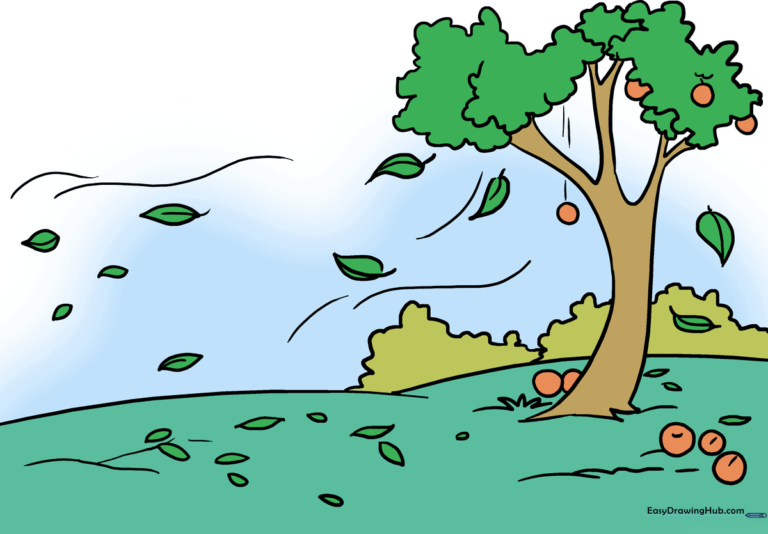
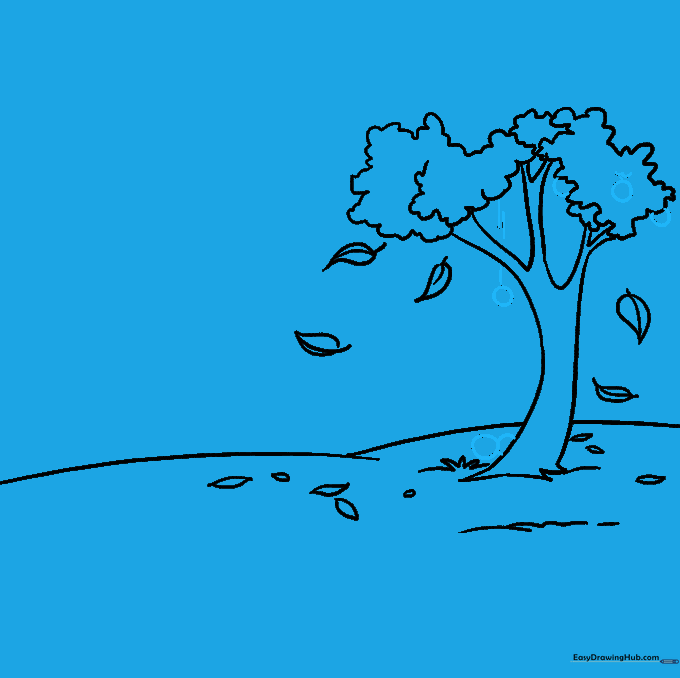
🎯 Final Result
Step-by-Step Instructions
Step 1: Sketching the Horizon Line

Draw two long, gentle curved lines to establish your horizon. Teacher's Tip: Keep your pencil pressure light here; this creates the 'ground' for your scene and helps you plan your composition without committing to dark lines yet.
Step 2: Forming the Tree Trunk
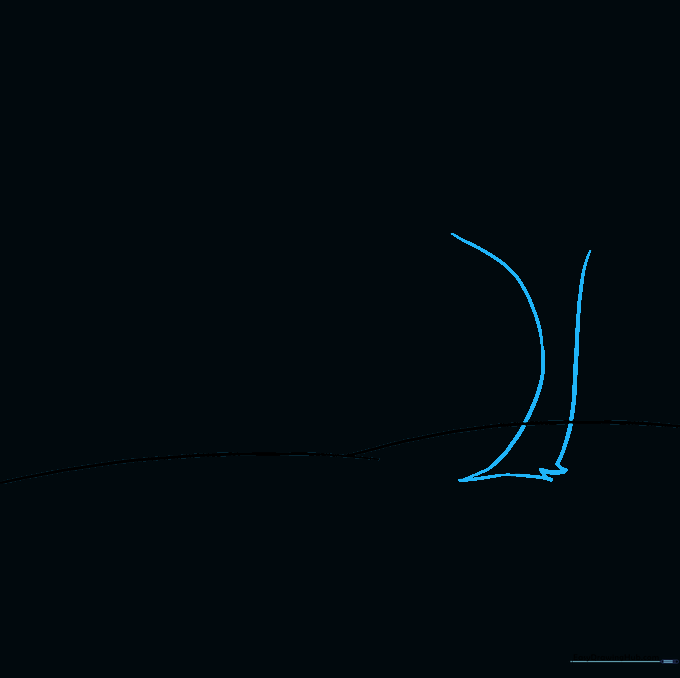
Draw two vertical, slightly curved lines to build the trunk, then add small, root-like curves at the base. Teacher's Tip: Trees aren't perfectly straight in nature, so don't worry if your lines wobble—it actually makes the tree look more realistic!
Step 3: Adding Branches and Foliage

Create 'U' shaped branches at the top, then use connected, cloud-like curves to form the leaf canopy. Teacher's Tip: Overlapping your leaf shapes creates a sense of depth, making your tree look full and healthy.
Step 4: Sketching Falling Leaves
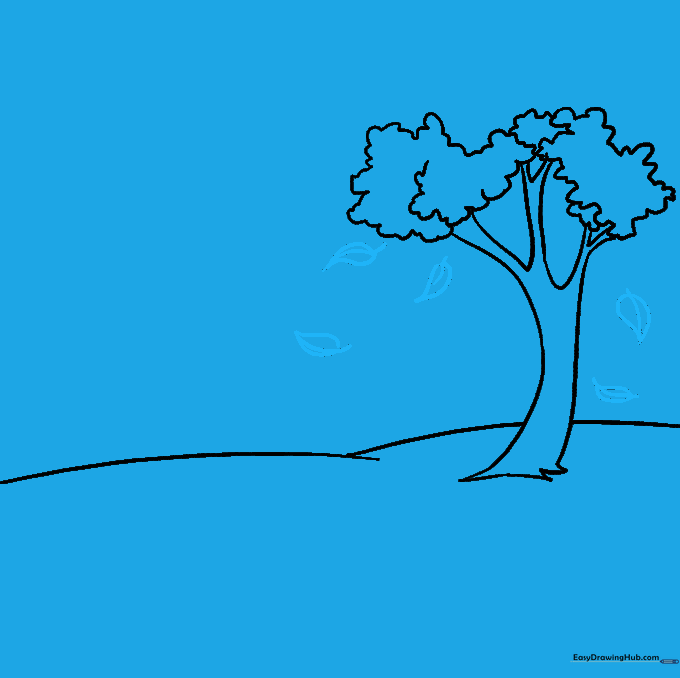
Draw small, pointed leaves drifting down. Start with a stem line, then outline the leaf shape around it. Teacher's Tip: Vary the angles of the leaves to show movement, as if a gentle autumn breeze is blowing them through the air.
Step 5: Texturing the Ground
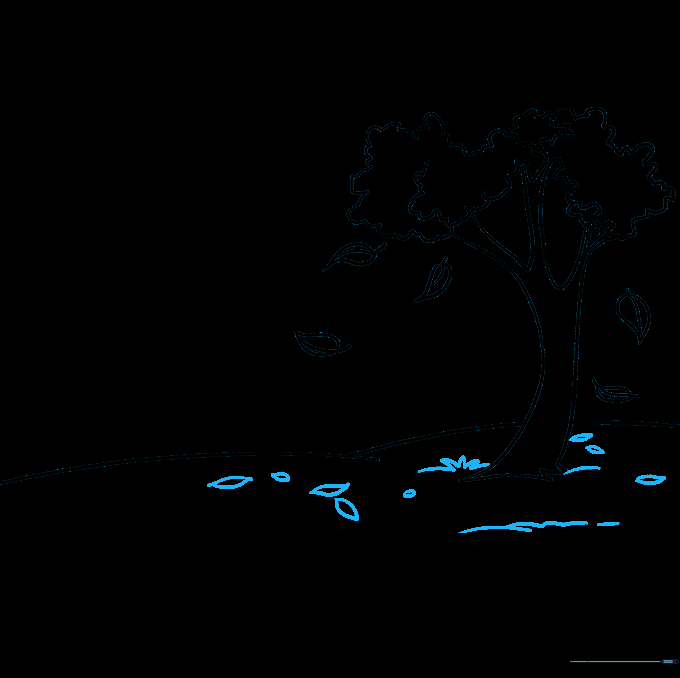
Add tufts of grass using short, jagged lines and scatter more leaves on the ground. Teacher's Tip: Use different sizes for the leaves on the ground to create a sense of perspective—larger ones are closer to the viewer!
Step 6: Adding Seasonal Fruit
Draw small circles to represent fruit on the tree and ground. Add a few vertical lines near one falling piece to show motion. Teacher's Tip: These little details are what make a drawing feel like a story—imagine the fruit is an apple or a pear!
Step 7: Detailing the Harvest
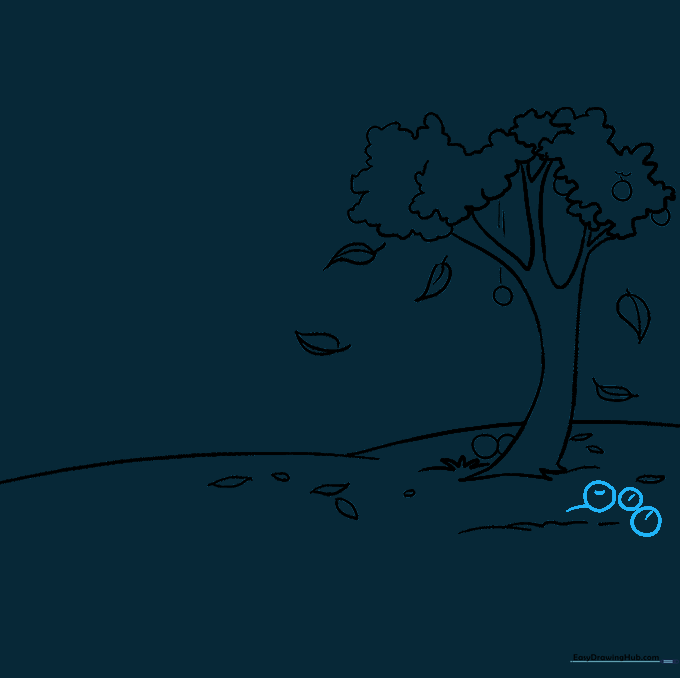
Add more fruit on the ground and use short, light lines to add texture to the fruit skins. Teacher's Tip: Keep your lines simple; you don't need to draw every detail, just enough to suggest the shape.
Step 8: Building the Background
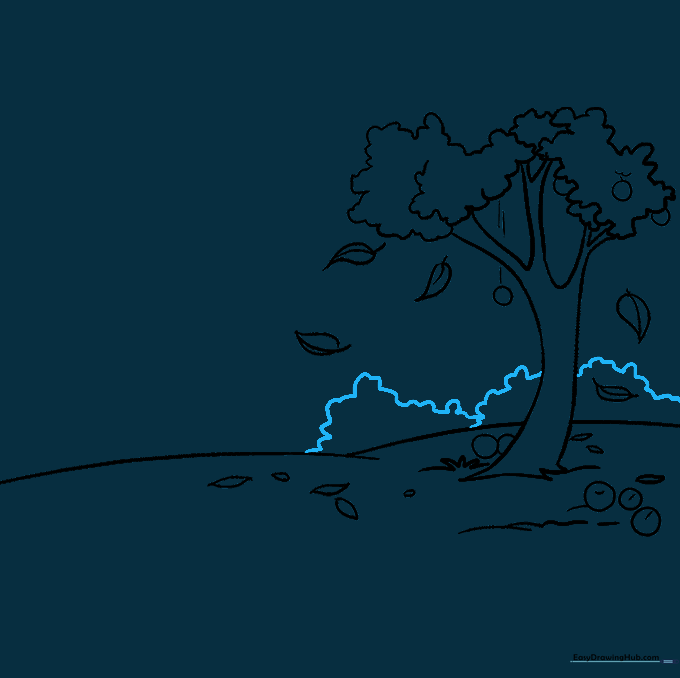
Fill the distance with cloud-like shrubbery shapes. Teacher's Tip: Draw these background elements smaller and higher up on the page to create the illusion of depth in your landscape.
Step 9: Final Touches and Wind
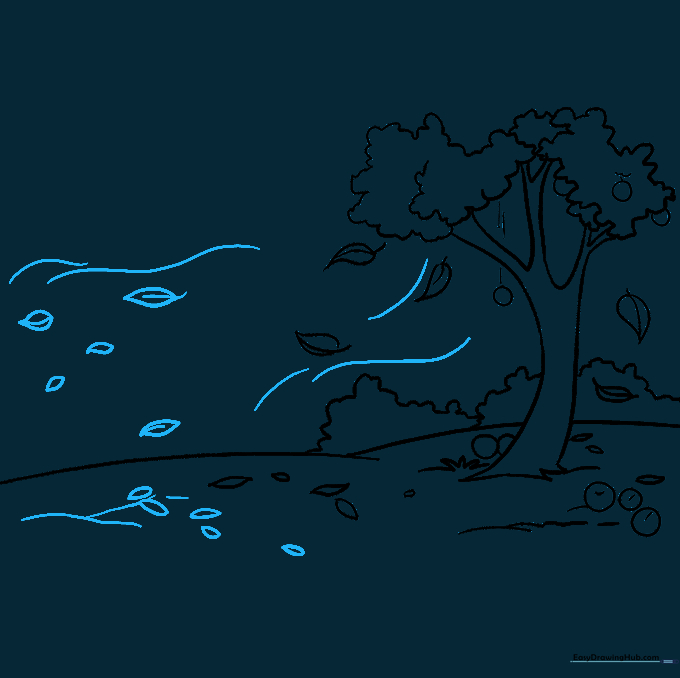
Add more leaves and draw wavy, flowing lines to represent the wind. Teacher's Tip: The wind lines should follow the same direction as your falling leaves to make the scene feel cohesive.
Step 10: Bringing it to Life with Color

Time to color! Use warm oranges, reds, and yellows for the leaves. Teacher's Tip: Try using two different shades of orange on the same leaf to give it a realistic, multi-tonal autumn look.
More Tutorials


