How to Draw a Falcon: Easy 10-Step Guide for Kids
Ready to bring a majestic bird of prey to life? This tutorial is perfect for young artists ages 6+ looking to practice their bird anatomy. All you need is a pencil, an eraser, and some paper to start sketching your own soaring falcon.
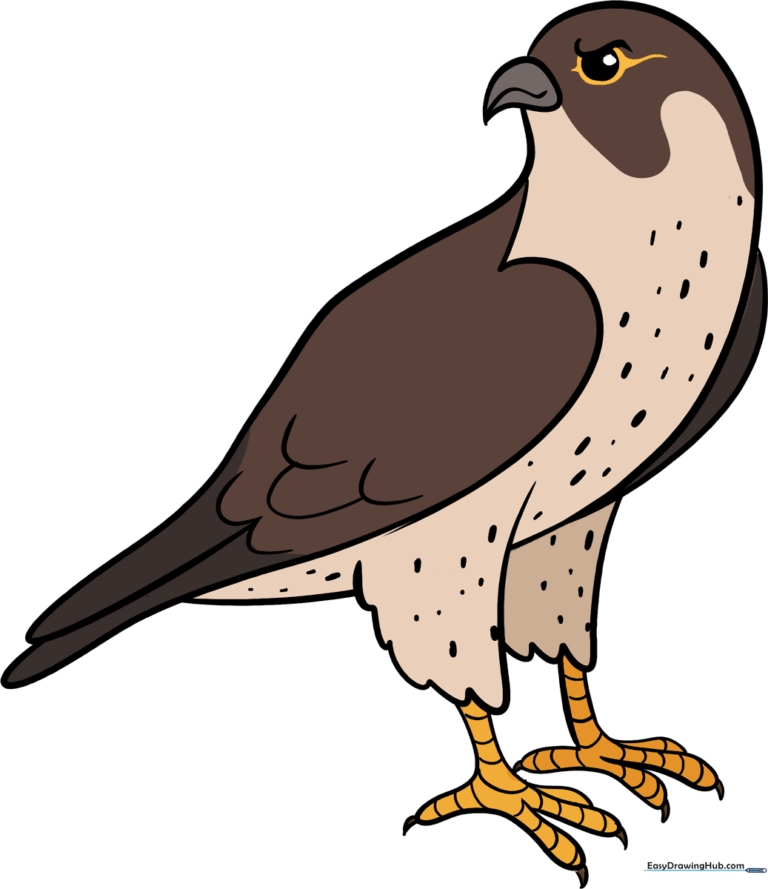
🎯 Final Result
Step-by-Step Instructions
Step 1: Sketching the Head and Neck

Draw a long, smooth curved line to outline the top of the head, neck, and belly. Teacher's Tip: Keep your pencil pressure light so you can easily adjust the shape if your falcon looks a bit too chunky!
Step 2: Defining the Back and Tail
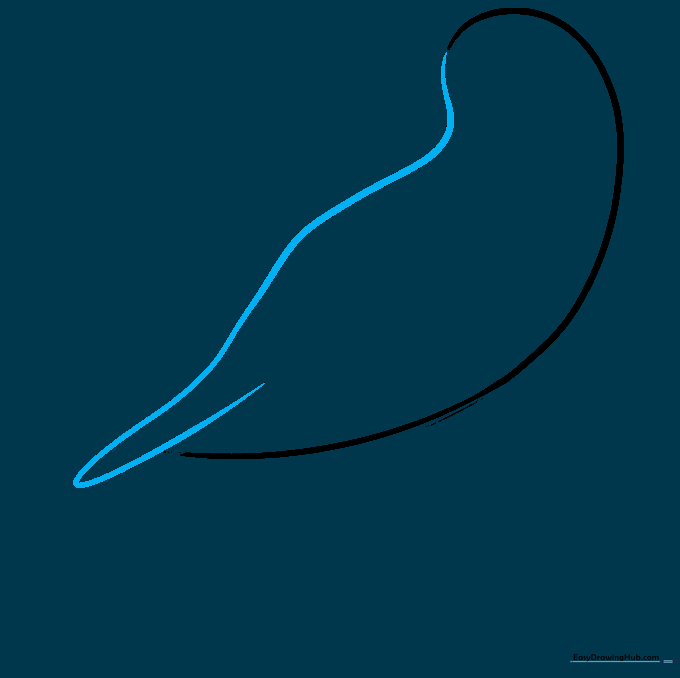
Extend a curved line from the top of the head to form the back, then loop it back on itself to create the tail feathers. Tip: Make the tail slightly pointed to give your falcon that aerodynamic, fast-flying look.
Step 3: Sketching the Wings
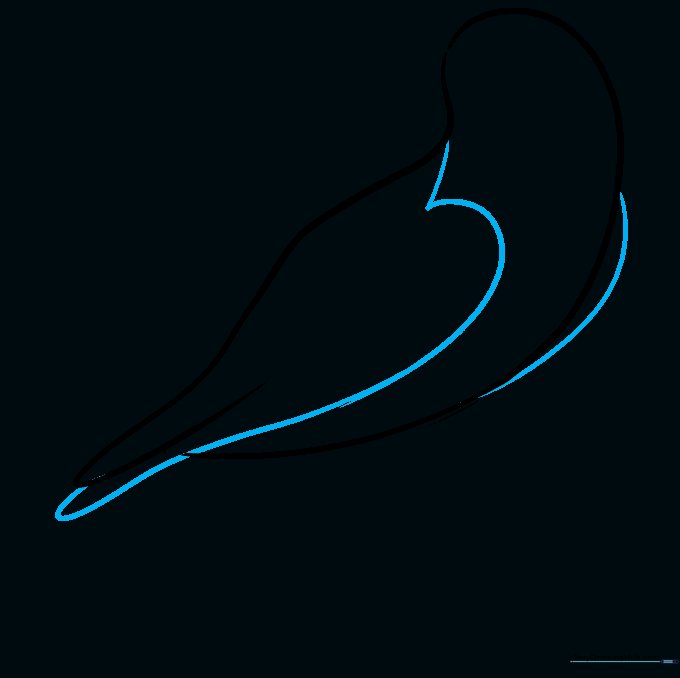
Draw a heart-shaped curve across the body to represent the folded wing. Connect the wing tip back to the tail. Tip: Imagine the wing is tucked tight against the body like a folded blanket.
Step 4: Adding the Beak and Eye
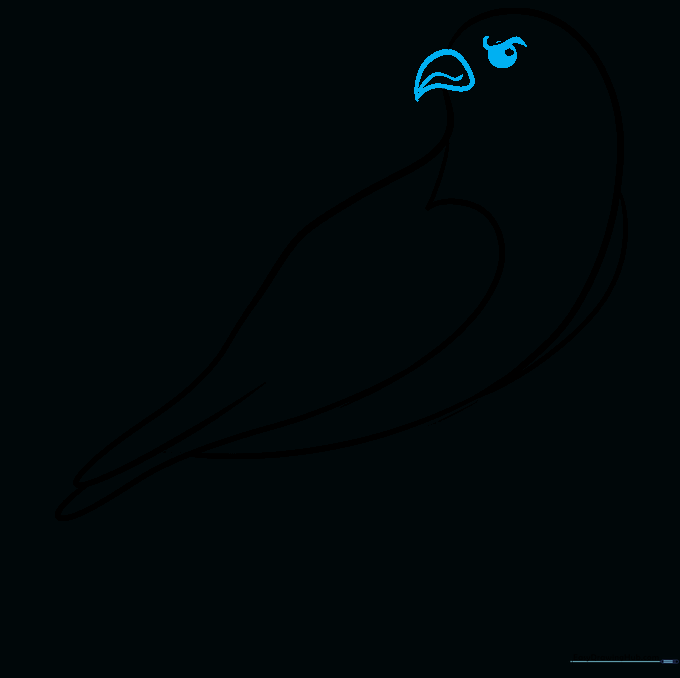
Draw a teardrop shape for the beak and a small circle for the eye. Shade the pupil inside. Tip: Falcons have a 'furrowed brow'—draw a small wavy line above the eye to give your bird a focused, intense expression.
Step 5: Drawing the Feathery Legs
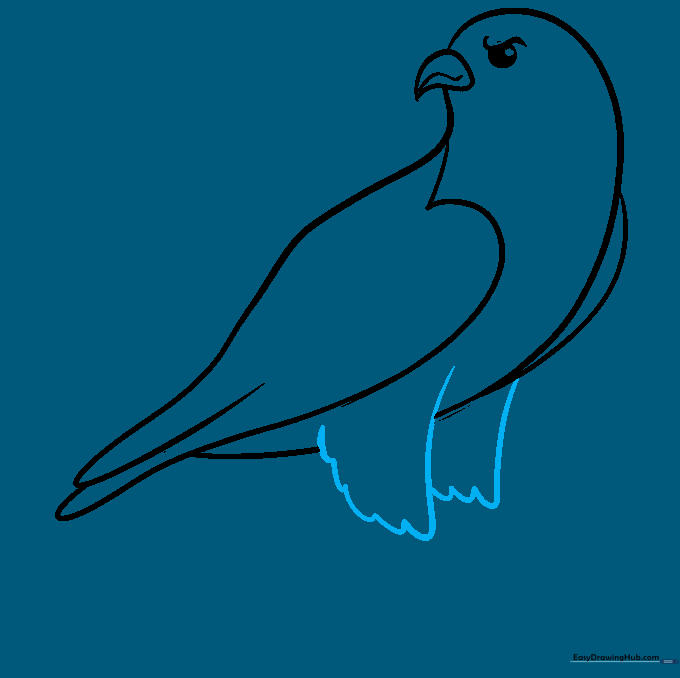
Draw the upper legs using curved lines, adding small 'U' shapes to represent fluffy feathers. Tip: These 'U' shapes are called 'flags'—they make the bird look soft and realistic.
Step 6: Sketching the Talons
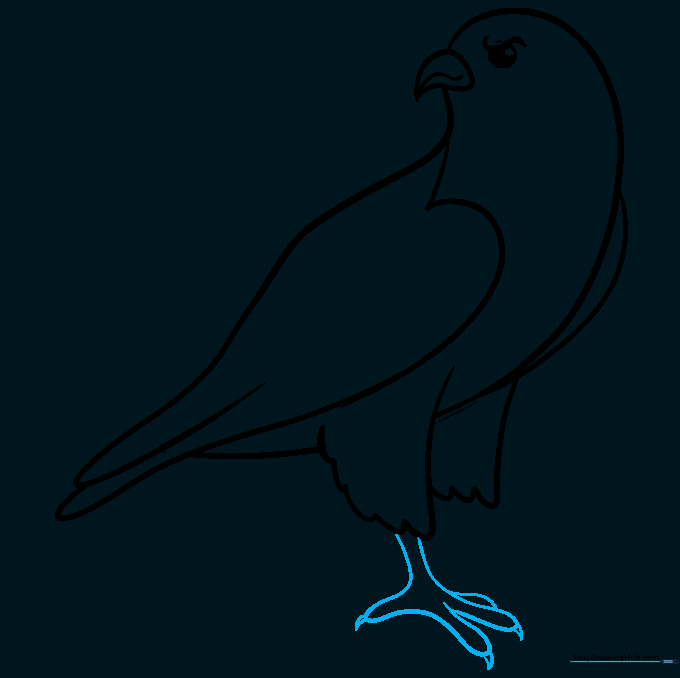
Draw the feet with curved lines and add small triangles at the tips for sharp talons. Tip: Keep the toes short and strong; falcons use these to grip their perches.
Step 7: Completing the Feet
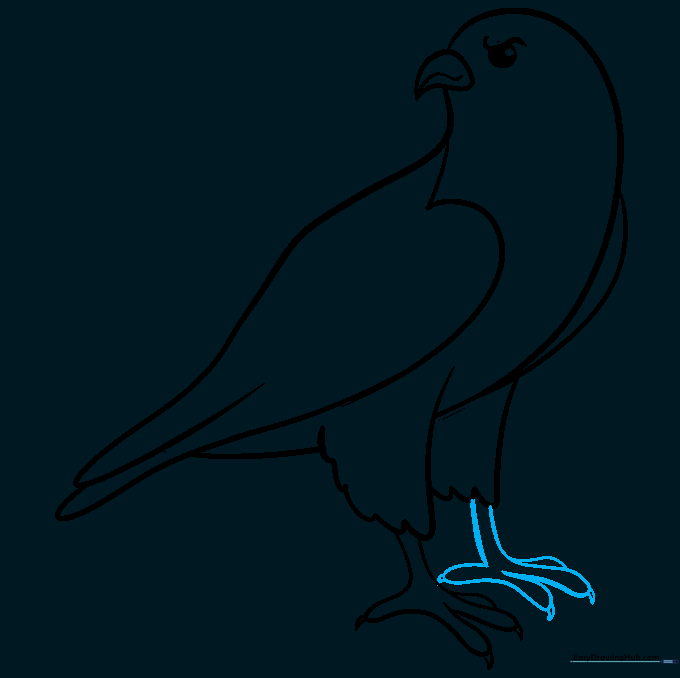
Draw the second foot tucked slightly behind the first. Tip: Don't worry if it looks a bit hidden—that adds depth to your drawing!
Step 8: Adding Feather Texture
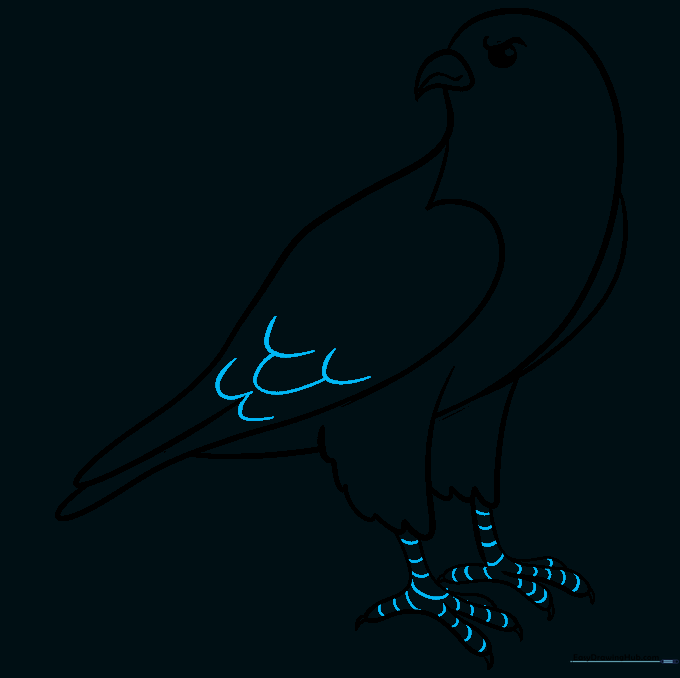
Add curved lines to the feet and 'U' shapes to the wing to show individual feathers. Tip: Vary the size of your 'U' shapes to make the feathers look natural and layered.
Step 9: Final Details
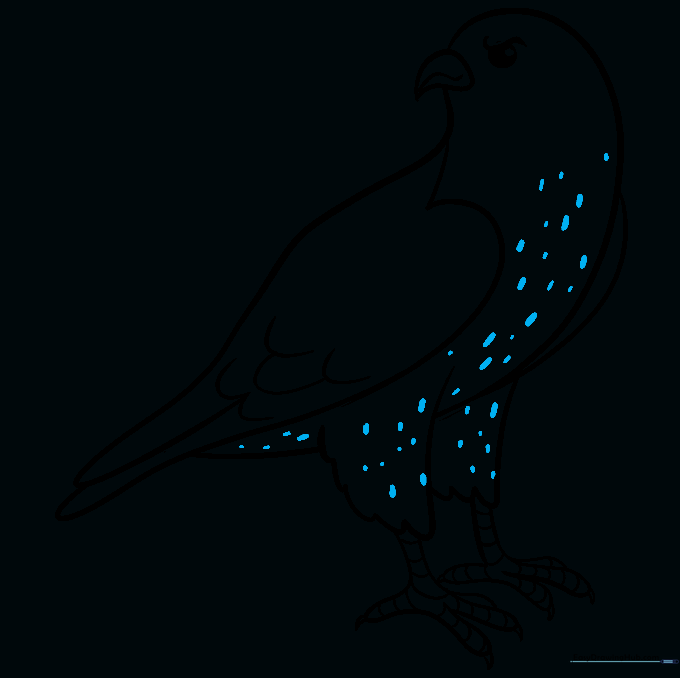
Add small shaded ovals across the chest and belly to represent the falcon's speckled feathers. Tip: Use a light touch with your pencil to create these spots so they don't look too heavy.
Step 10: Bring Your Falcon to Life with Color
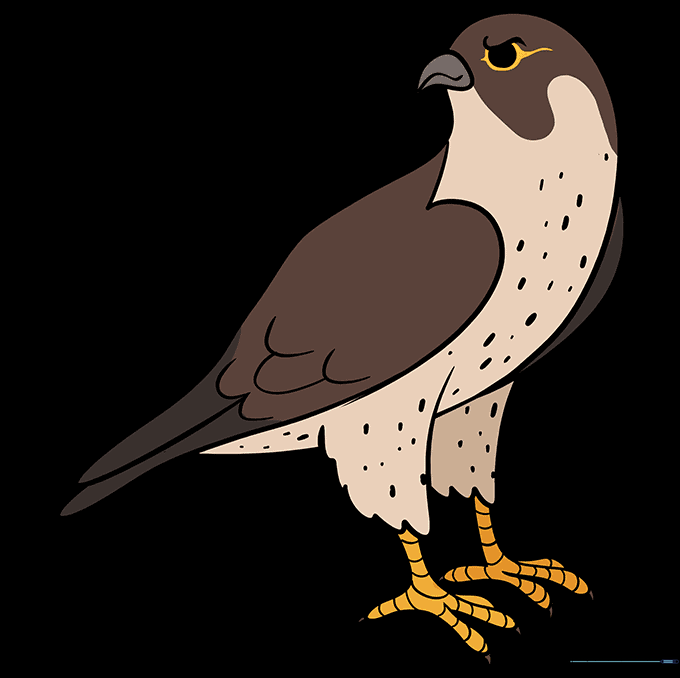
Time to color! Use dark browns, greys, or blacks for the back, and keep the belly creamy or white. Don't forget a bright yellow for the beak and feet. Tip: If you're feeling creative, try coloring a snowy white Gyrfalcon!
More Tutorials


