How to Draw a Fairy Face: Easy 10-Step Guide for Kids
Bring a touch of magic to your sketchbook! This tutorial is perfect for young artists ages 6+ who want to practice character design. You will need a pencil, an eraser, and your favorite coloring markers to complete this whimsical fairy face.
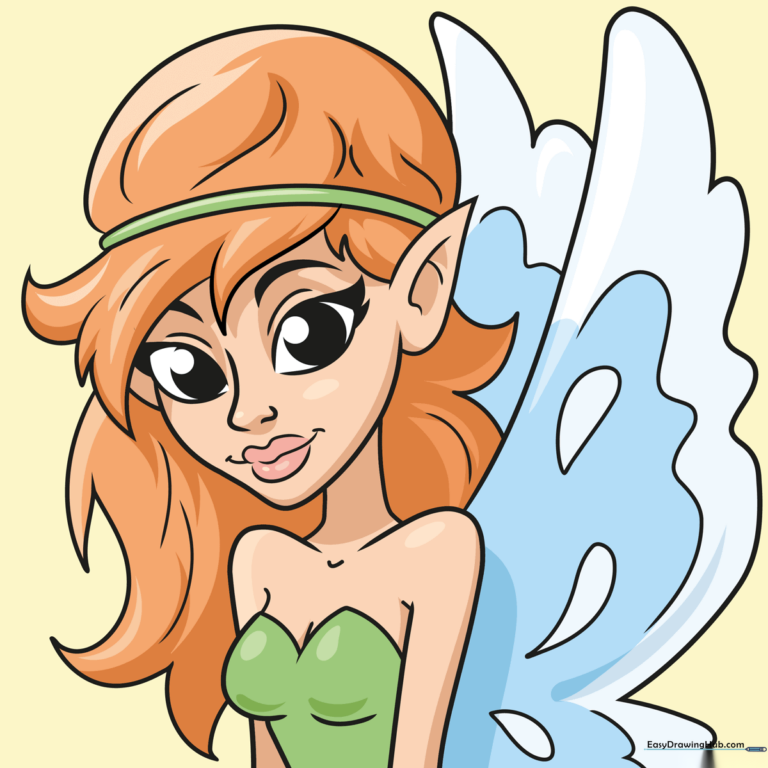
🎯 Final Result
Step-by-Step Instructions
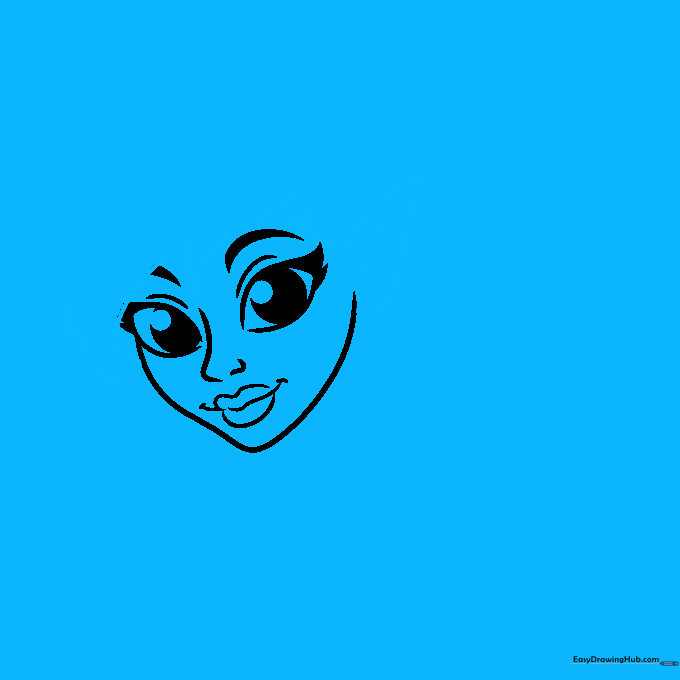
Step 1: Sketching the Expressive Eyes

Draw two lemon-shaped curves for the eyes. Add a circle inside each for the iris, then a smaller dark circle for the pupil. Tip: Keep your pencil lines light so you can easily adjust the shape if they look uneven!
Step 2: Adding Brows and Nose

Add thick, expressive eyebrows above the eyes. For the nose, sketch a small hook shape. Tip: A smaller nose helps keep the face looking youthful and cute.
Step 3: Defining the Face Shape
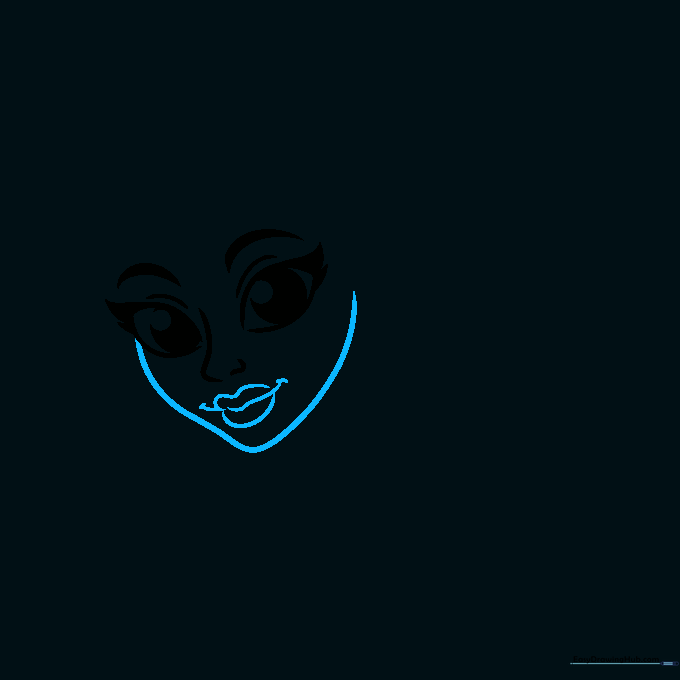
Draw a small, gentle mouth below the nose, then sketch the chin using the bottom half of a heart shape. Tip: Use a smooth, continuous motion for the jawline to make it look graceful.
Step 4: Sketching Hair and Pointy Ears
Draw flame-like, wavy lines for the hair. Add a pointed, triangular ear on the side to give her that classic fairy look. Tip: Use short, quick strokes to make the hair look soft and textured.
Step 5: Adding the Magical Hat
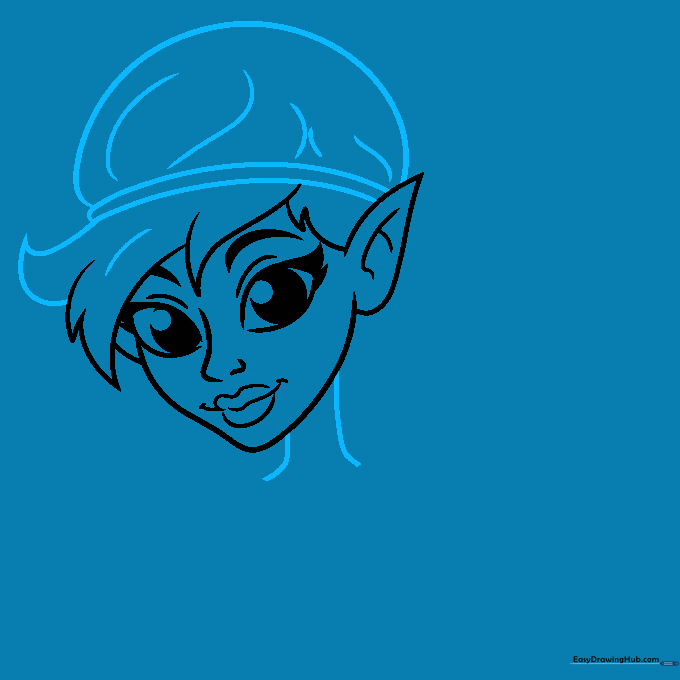
Draw a mushroom-cap shape on top of the head for a hat. Add a few swirls inside for detail. Tip: Don't worry about making the hat perfectly symmetrical; nature is often a bit wiggly!
Step 6: Shoulders and Neck
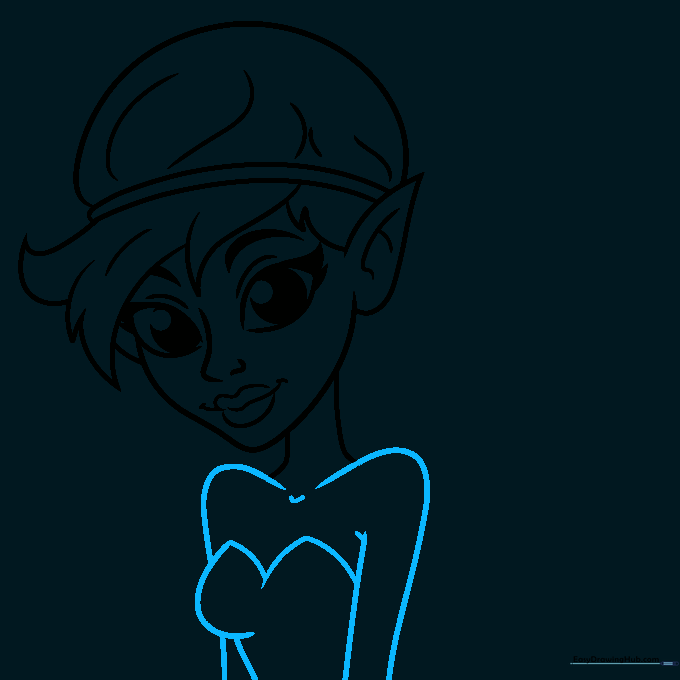
Add two curved lines for the neck and rounded shapes for the shoulders. Tip: Keep the neck lines slightly apart to create a natural-looking base for the head.
Step 7: Refining the Hair
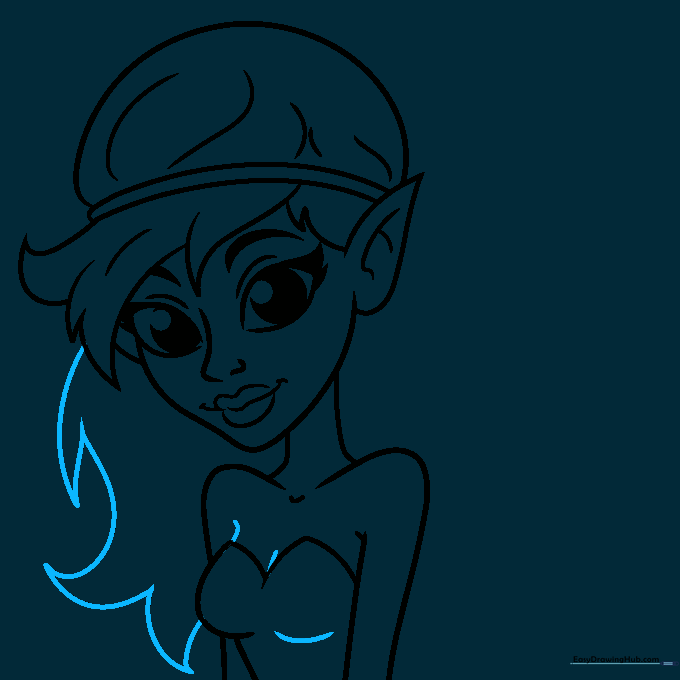
Add more loose, flowing lines to the hair to make it look full and voluminous. Tip: Vary the length of your lines to create a more natural, messy-fairy aesthetic.
Step 8: Final Hair Details

Add a few more wispy strands to the hair to complete the look. Tip: Use a lighter touch with your pencil here to create soft, wispy edges.
Step 9: Drawing the Fairy Wings

Sketch delicate, teardrop-shaped wings behind the shoulders. Tip: Use wavy lines for the edges of the wings to make them look light and airy.
Step 10: Bringing Your Fairy to Life with Color
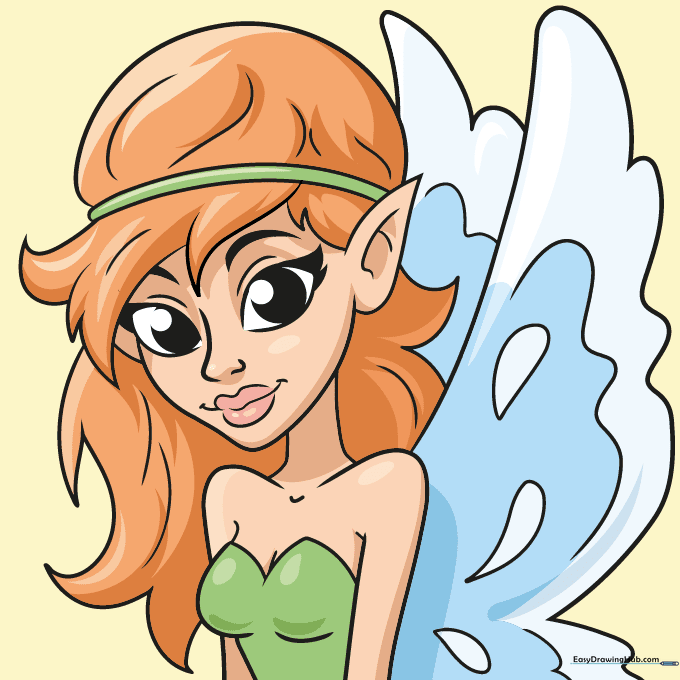
Time to color! Use bright greens for the clothing, soft blues for the wings, and your favorite shade for the hair. Tip: Use a darker shade of your color to add shadows under the chin and hair for a 3D effect.
More Tutorials


