How to Draw a Factory: Easy Step-by-Step Guide for Kids
Ready to build your own industrial skyline? This tutorial is perfect for young artists ages 5 and up who want to practice drawing geometric shapes like rectangles and cylinders. Grab your pencil, eraser, and paper to start constructing your very own cartoon factory today.
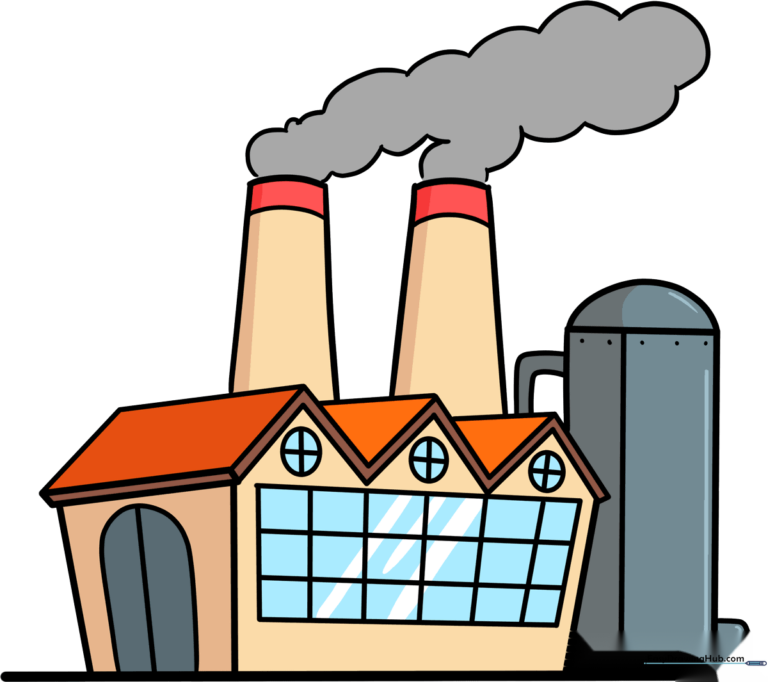
🎯 Final Result
Step-by-Step Instructions
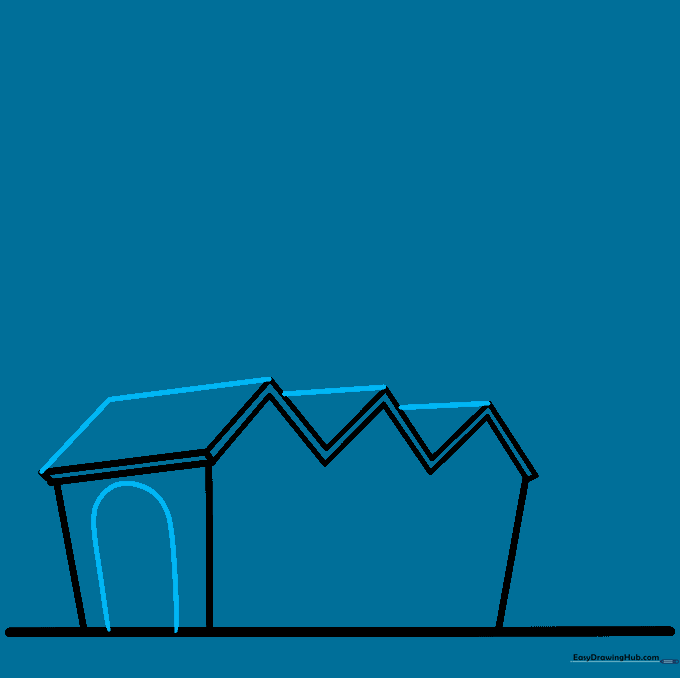
Step 1: Establishing the Foundation

Draw a long horizontal line for the ground. Above it, sketch a rectangle for the main building and a smaller, narrow rectangle on top for the roof. Teacher's Tip: Use a ruler if you want perfectly straight walls, but freehand lines give your drawing a charming, hand-drawn look.
Step 2: Adding Roof Texture

Draw two parallel zigzag lines on the roof to create a corrugated metal effect. Connect them at the ends and add a slanted line to define the side of the building. Teacher's Tip: Keep your zigzags consistent in size to make the roof look realistic.
Step 3: Defining the Structure and Door
Complete the roof sections using straight lines to form parallelograms. On the side wall, draw an inverted 'U' shape for the main entrance. Teacher's Tip: Ensure your 'U' shape is centered on the wall to keep the building looking balanced.
Step 4: Adding Windows
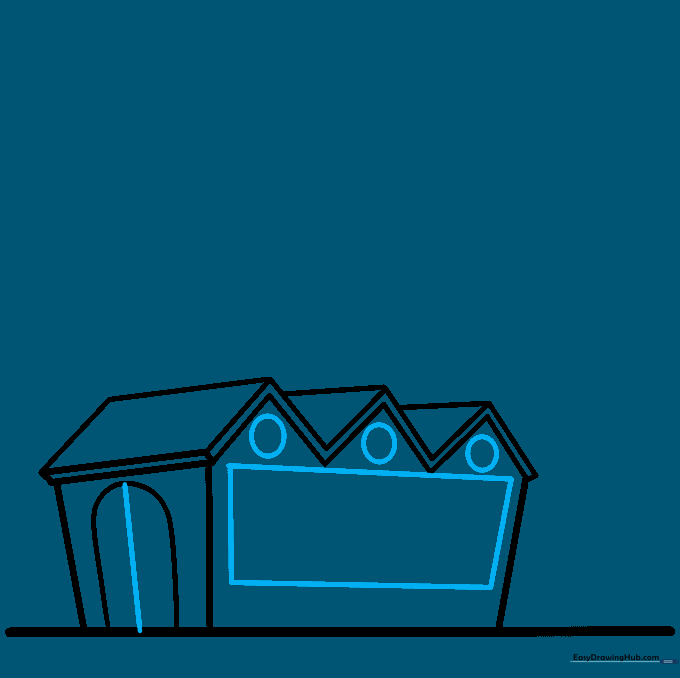
Divide the door with a vertical line. Add a large rectangle on the side wall and circular windows near the roof peaks. Teacher's Tip: If drawing perfect circles is tricky, trace around a small coin.
Step 5: Window Panes
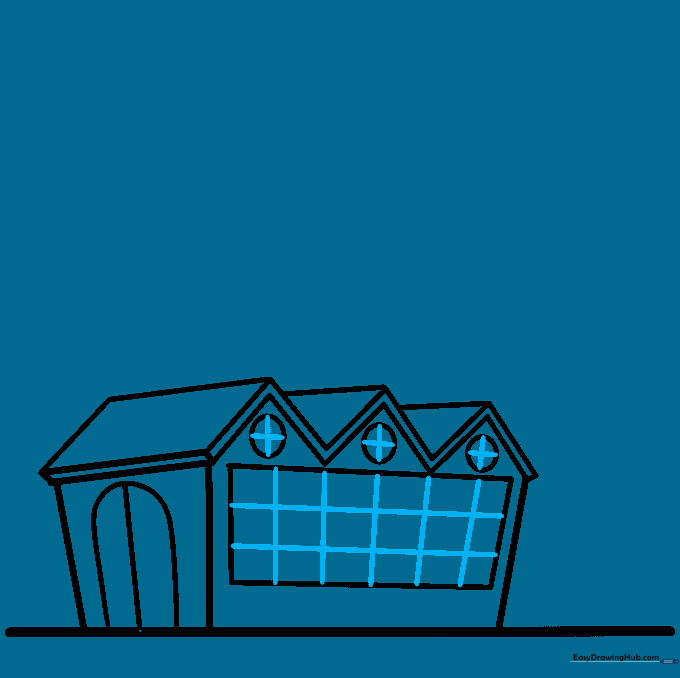
Draw horizontal and vertical lines inside the windows to create a grid or 'crossbar' effect. Teacher's Tip: Press lightly with your pencil so you can easily fix any lines that go outside the window frames.
Step 6: Smokestacks
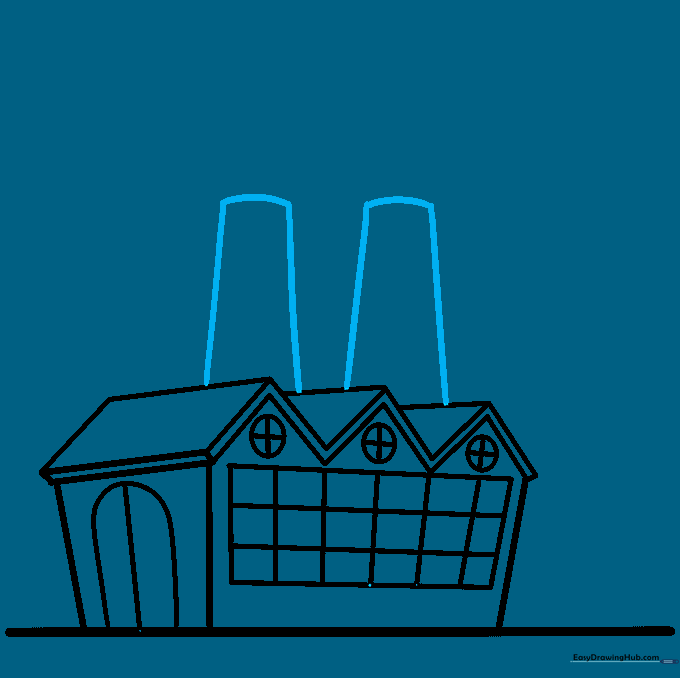
Draw two tall, slanted towers on top of the building. Connect the tops with curved lines. Teacher's Tip: These towers should look sturdy, so make sure the base lines are parallel.
Step 7: Storage Silo
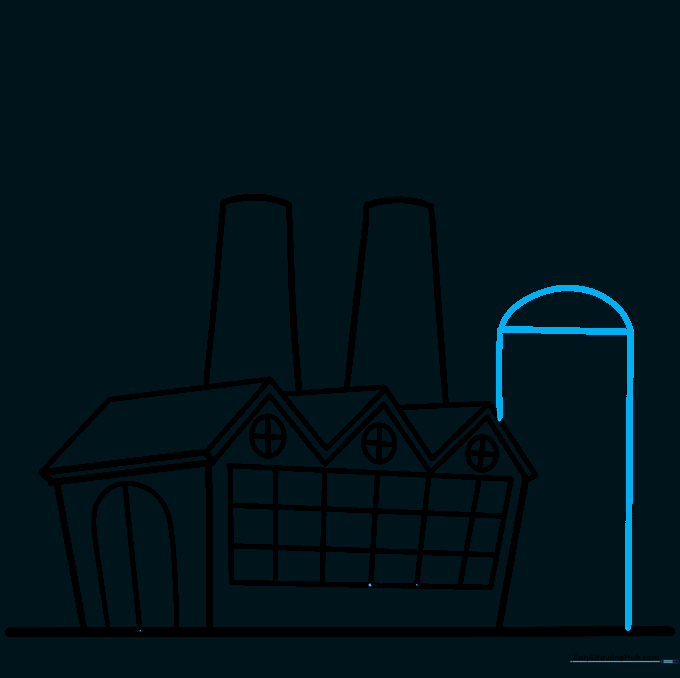
Draw a tall rectangle next to the main building with a semi-circular top to create a storage silo. Teacher's Tip: This adds depth to your drawing by showing different parts of the factory complex.
Step 8: Adding Industrial Details
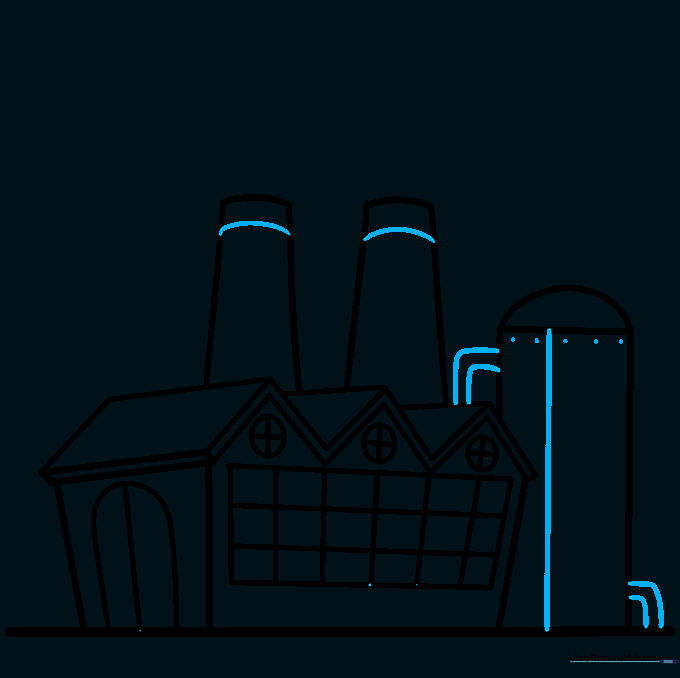
Add curved lines to the tops of the smokestacks and small dots on the silo to represent rivets. Draw connecting tubes between the structures. Teacher's Tip: Rivets are just tiny circles—don't worry about making them perfect!
Step 9: Smoke and Steam
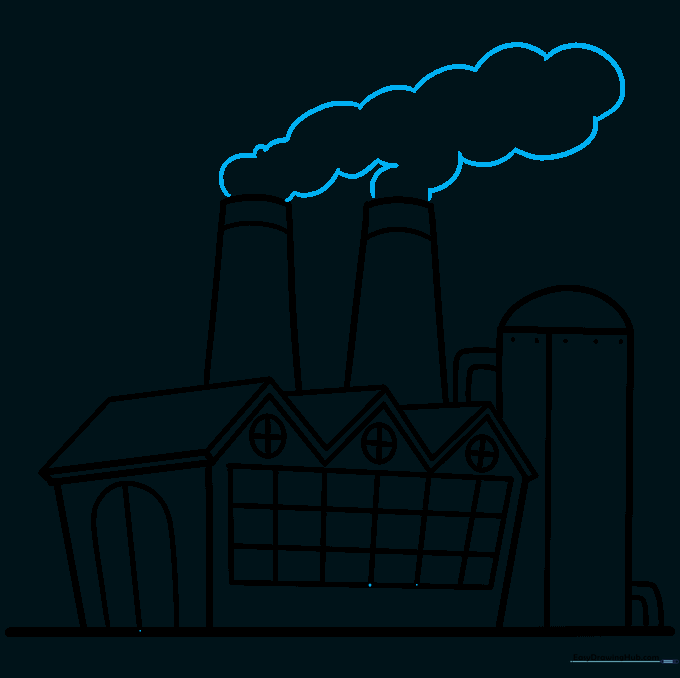
Use connected, wavy curved lines to draw clouds of smoke billowing from the tops of the smokestacks. Teacher's Tip: Make the smoke clouds look fluffy and irregular to show movement.
Step 10: Bring It to Life with Color
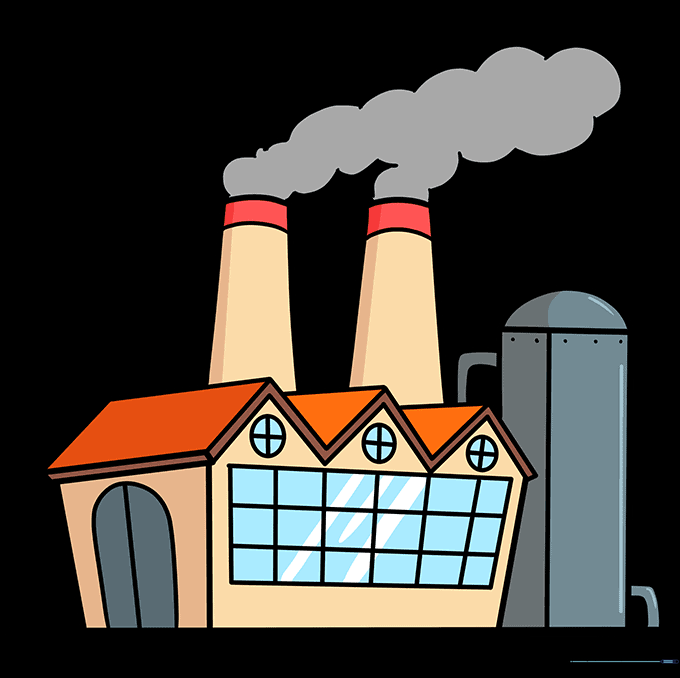
Color your factory! Use grays and metallic blues for the building, and perhaps some soft whites or grays for the smoke. Teacher's Tip: Use a darker shade to add a 'shadow' on one side of the building to give it a 3D look.
More Tutorials


