How to Draw a Face: Simple Step-by-Step Guide for Beginners
Ready to bring a character to life? This tutorial is perfect for artists ages 7 and up who want to master facial proportions. You will only need a pencil, an eraser, and a sheet of paper to get started. Follow along to build confidence in your portrait sketching skills.
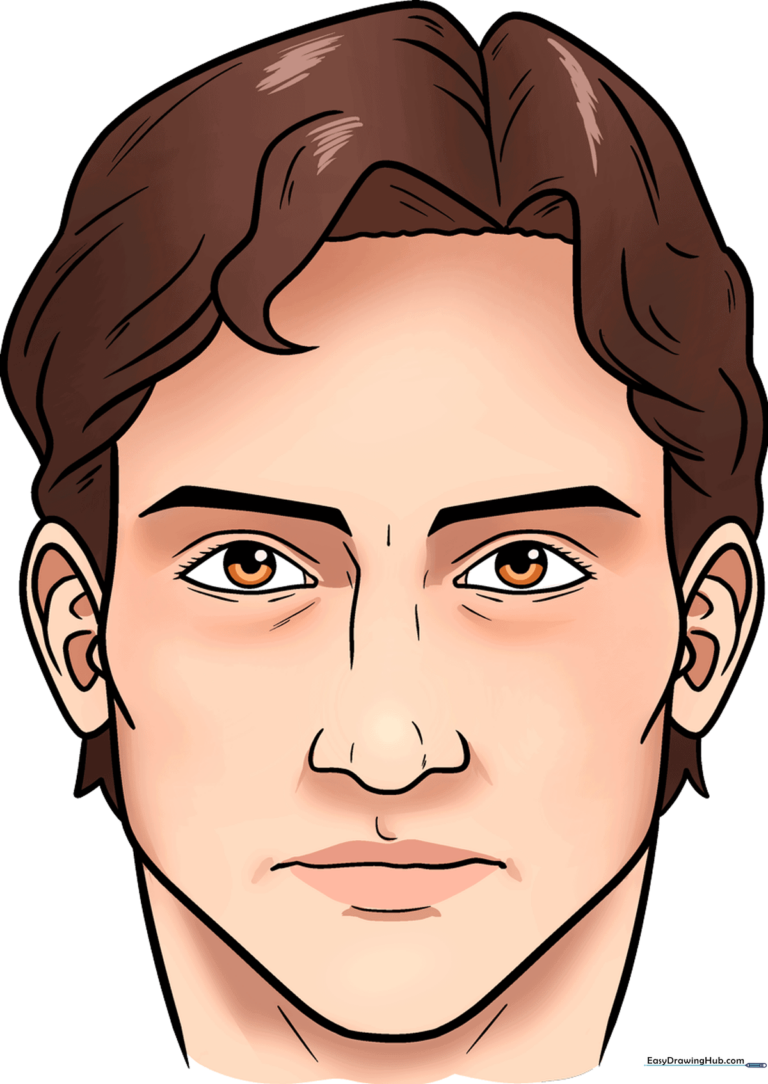
🎯 Final Result
Step-by-Step Instructions
Step 1: Sketching the Eyes
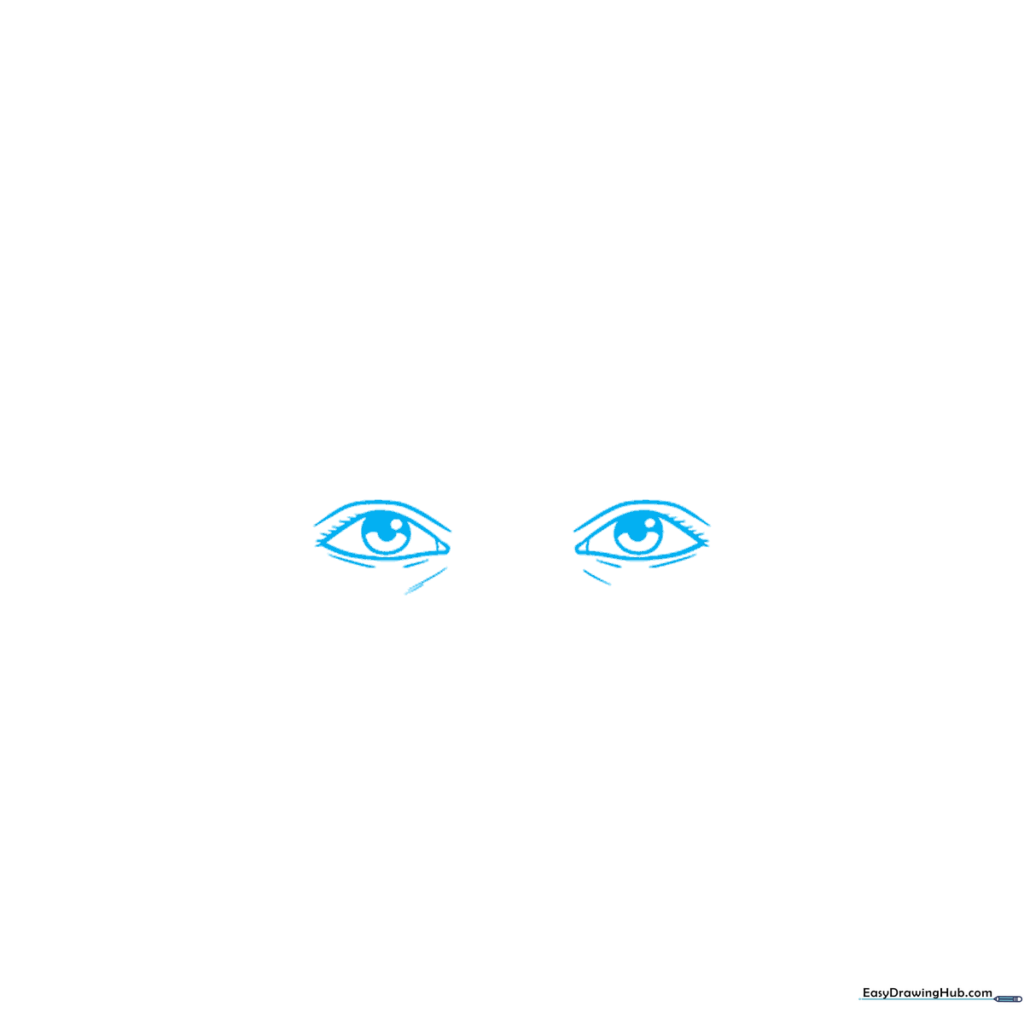
Start by drawing two almond-shaped outlines for the eyes. Add three circles inside each for the iris and pupil, then shade the top half of the iris. Tip: Keep your pencil pressure light so you can easily adjust the symmetry later.
Step 2: Brows and Nose Bridge
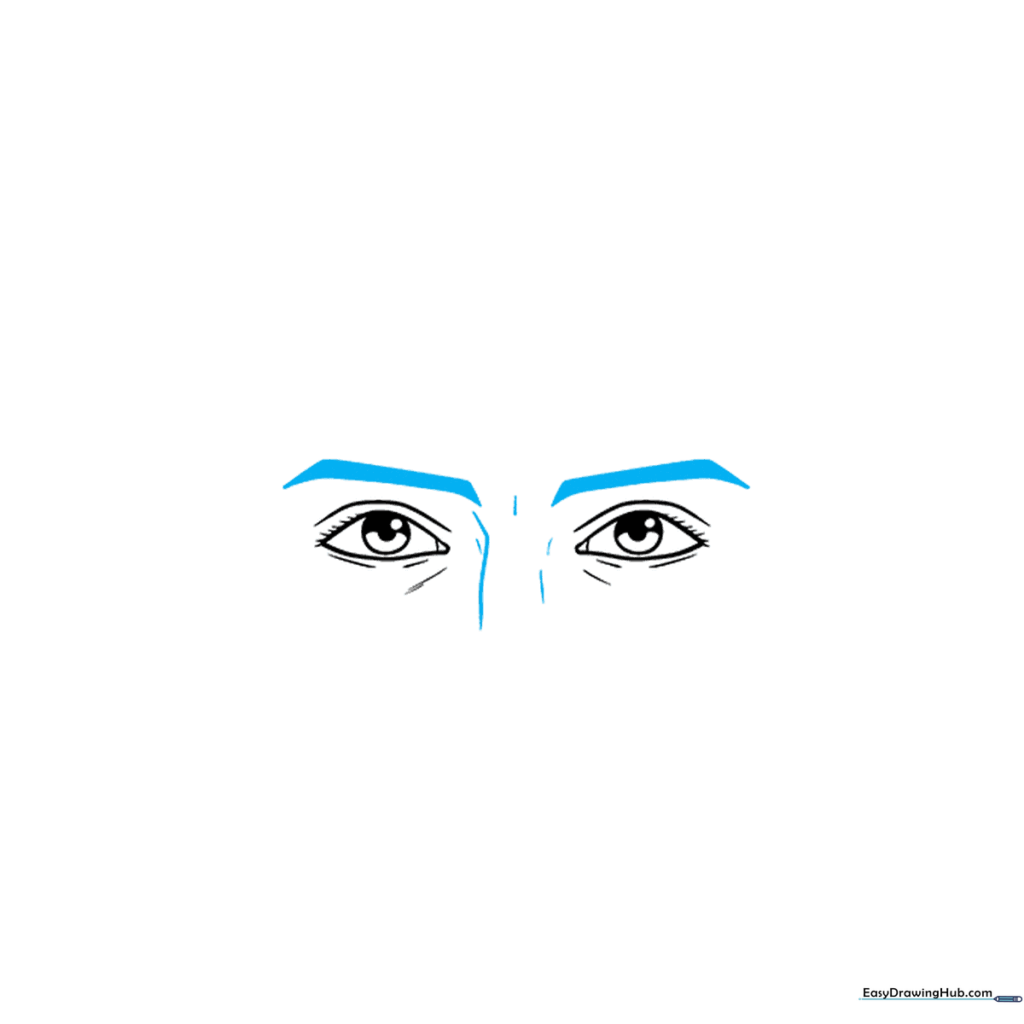
Draw thick, arched eyebrows above the eyes to give your character expression. Then, sketch the bridge of the nose using two soft, curved lines. Tip: The nose bridge should start right between the inner corners of the eyes.
Step 3: Defining the Nose and Mouth
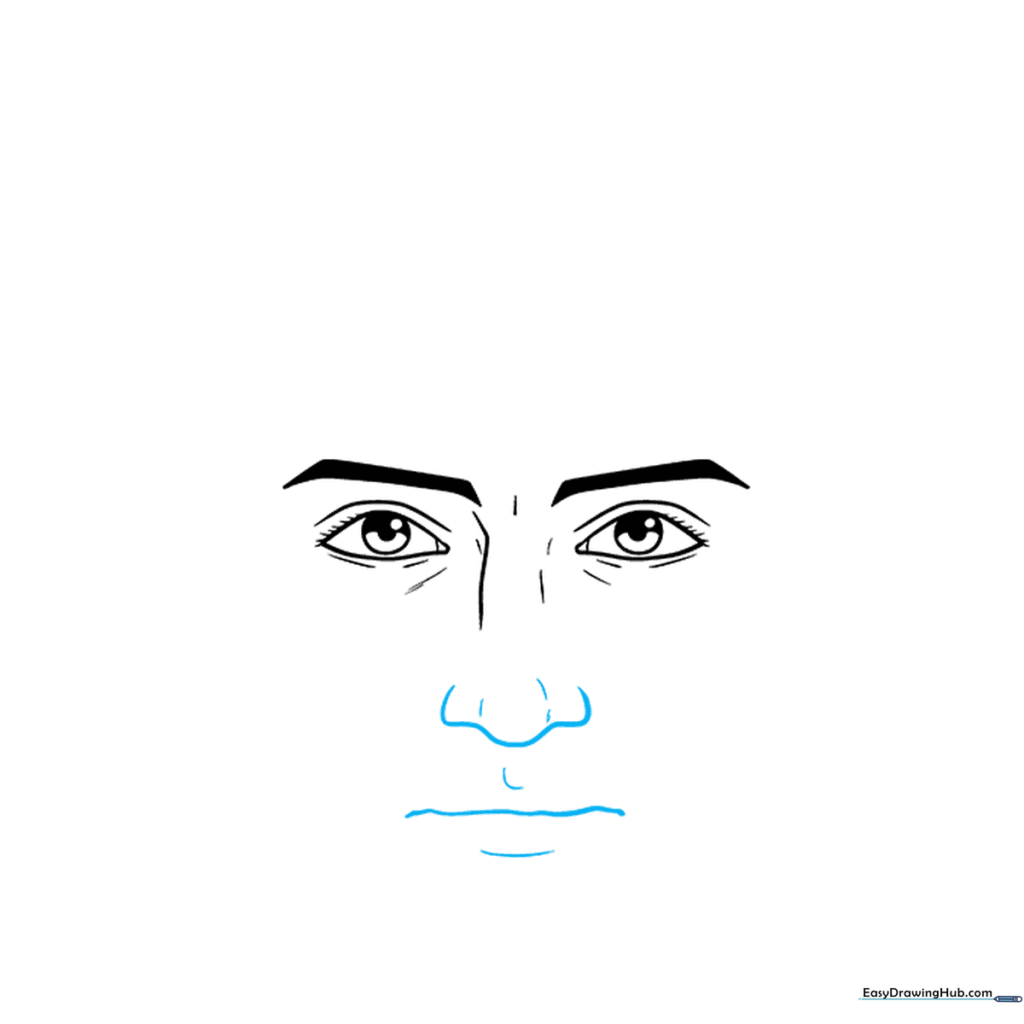
Add the nostrils with small curves and draw a simple, straight line for the mouth. Use short, light strokes to define the lips. Tip: Don't over-draw the lips; a simple line often looks more natural for beginners.
Step 4: Shaping the Jawline
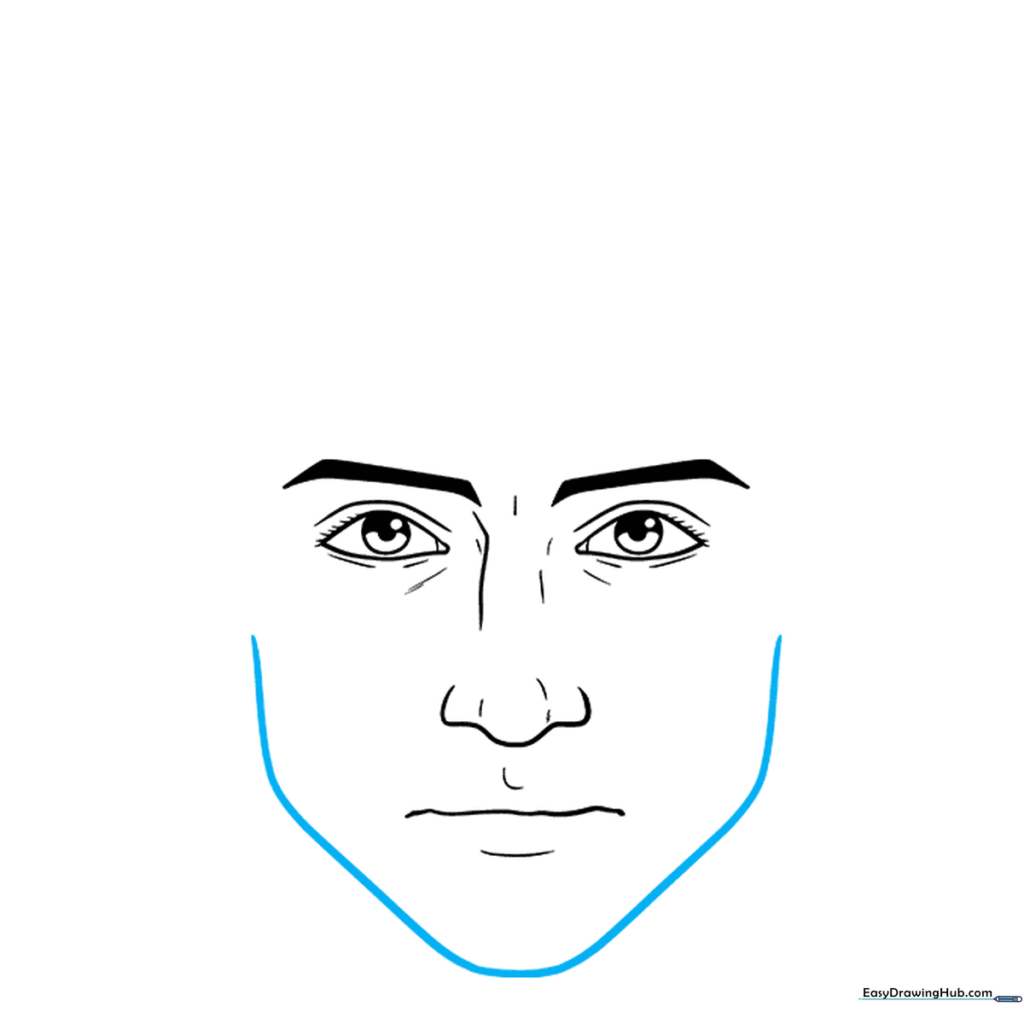
Draw a smooth, continuous curve to create the chin and cheeks. Tip: Imagine the shape of a rounded 'U' to get the chin just right.
Step 5: Adding the Ears
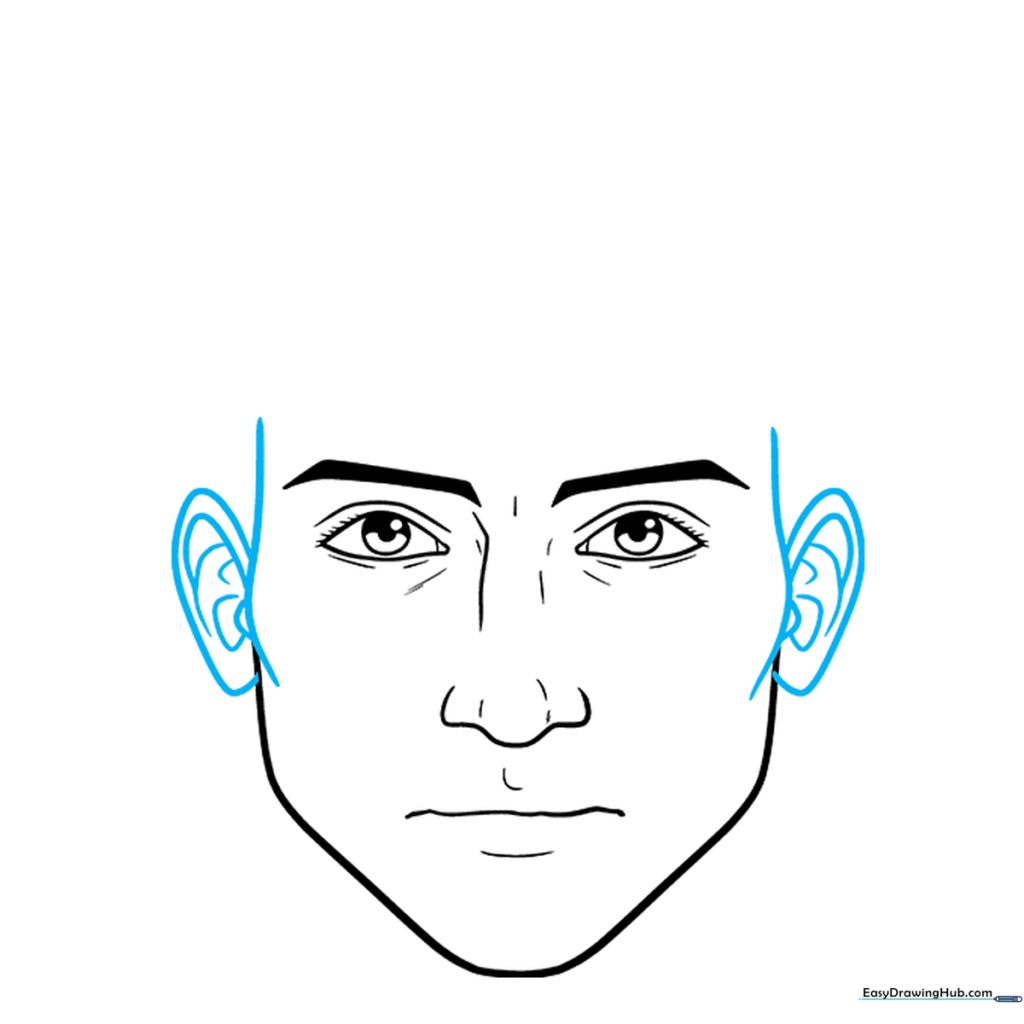
Draw two curved shapes on the sides of the head for the ears. Add internal lines to show the ear's structure. Tip: Ears usually align with the top of the eyes and the bottom of the nose.
Step 6: Starting the Hairline
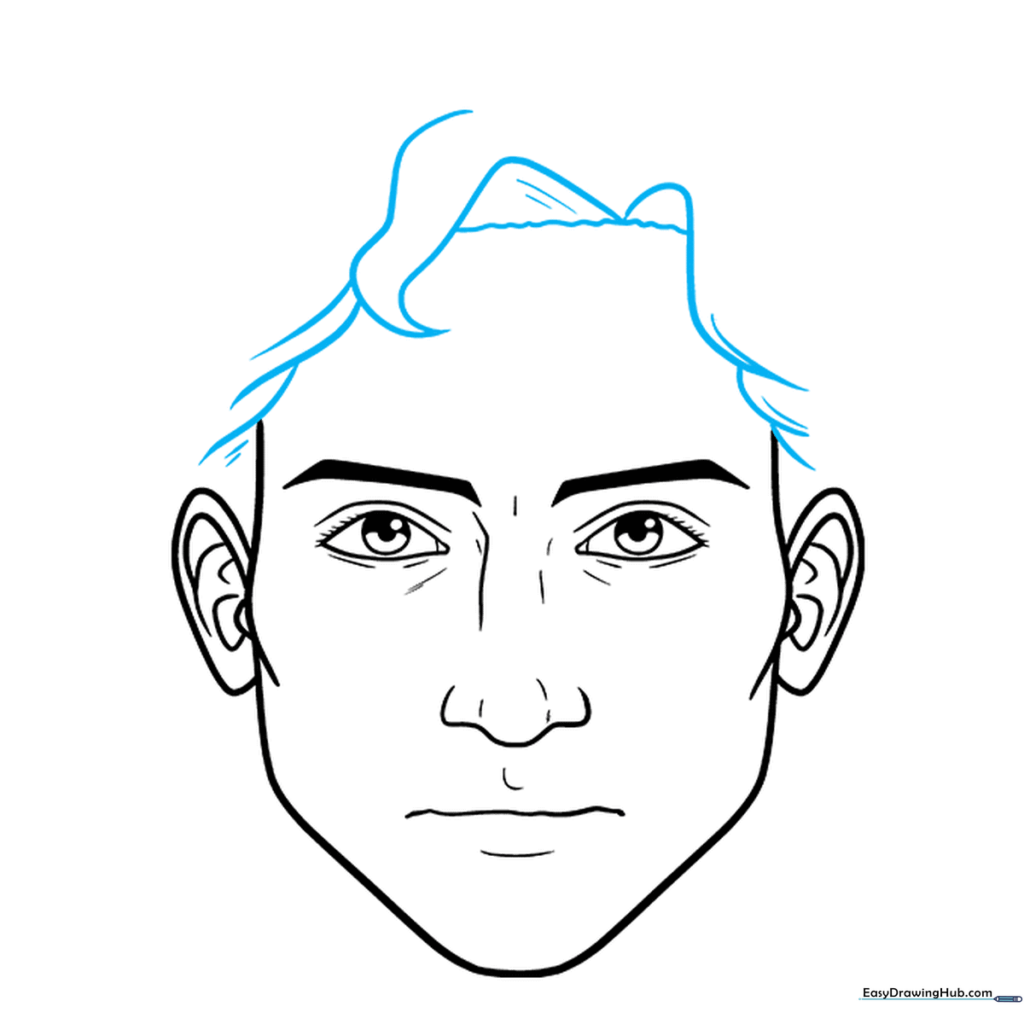
Sketch overlapping curved lines across the forehead to create the hair. Let some lines meet at a point to form a natural-looking lock of hair. Tip: Hair isn't a solid block; draw individual strands to make it look realistic.
Step 7: Building Hair Volume
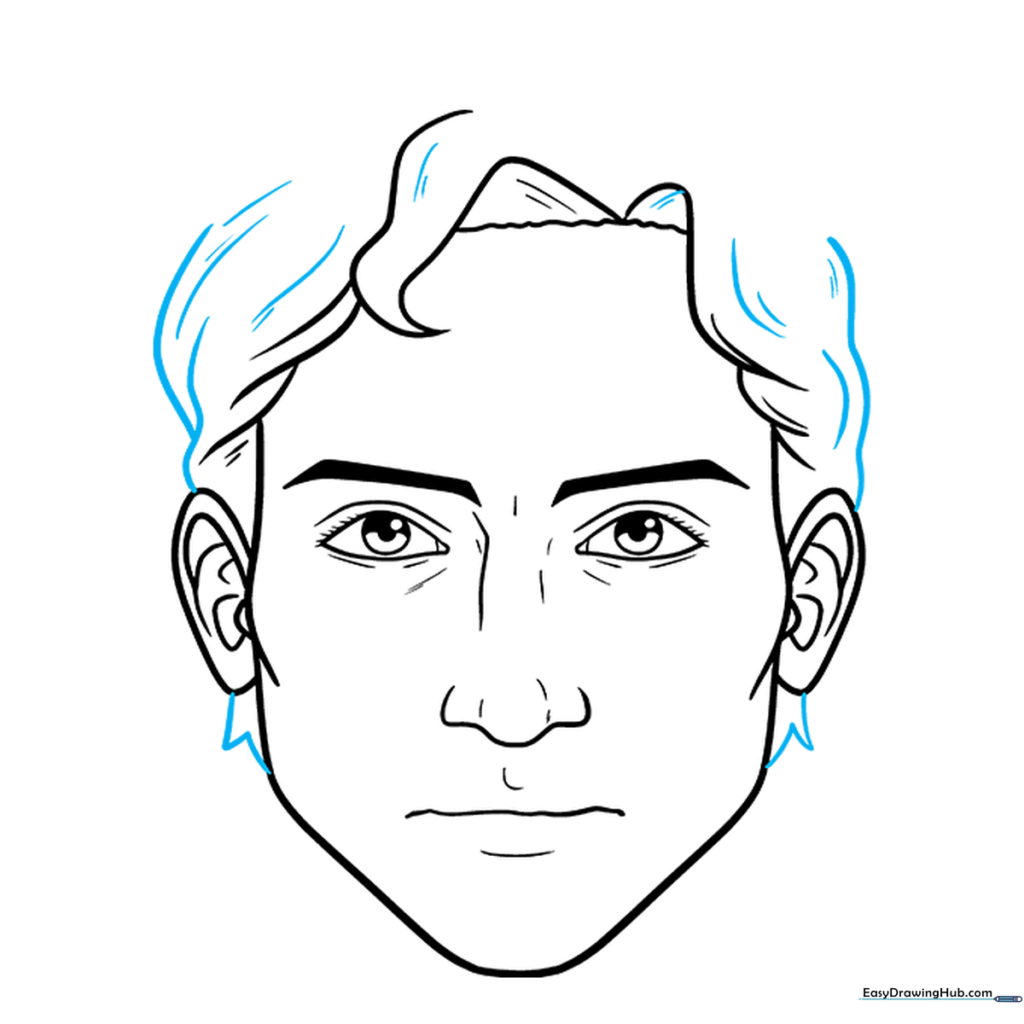
Continue adding curved lines to build up the hair around the sides and top of the head. Tip: Vary the length of your lines to give the hair texture and volume.
Step 8: Finalizing the Hair
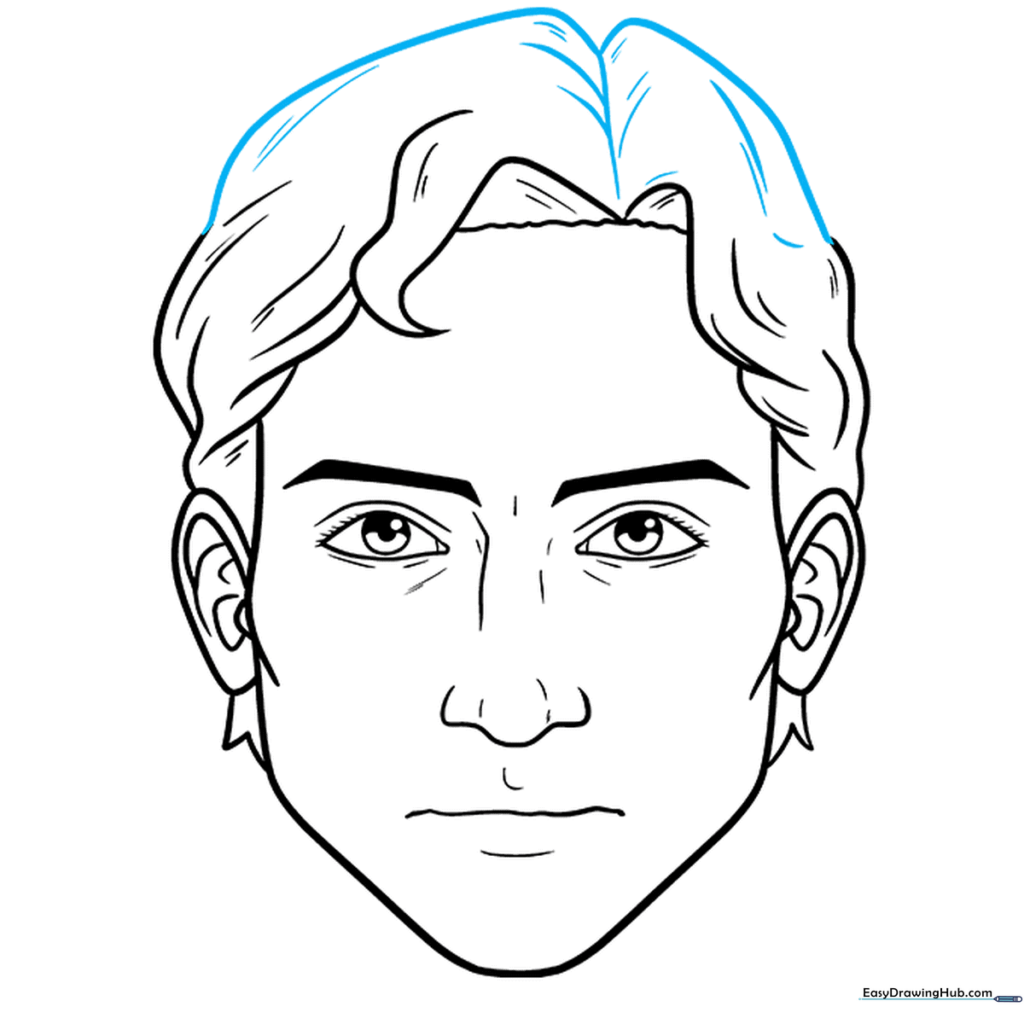
Complete the hair outline by connecting the lines on top of the head. Add a few extra strokes for texture. Tip: Use a darker pencil for the final outline to make the hair pop.
Step 9: Drawing the Neck
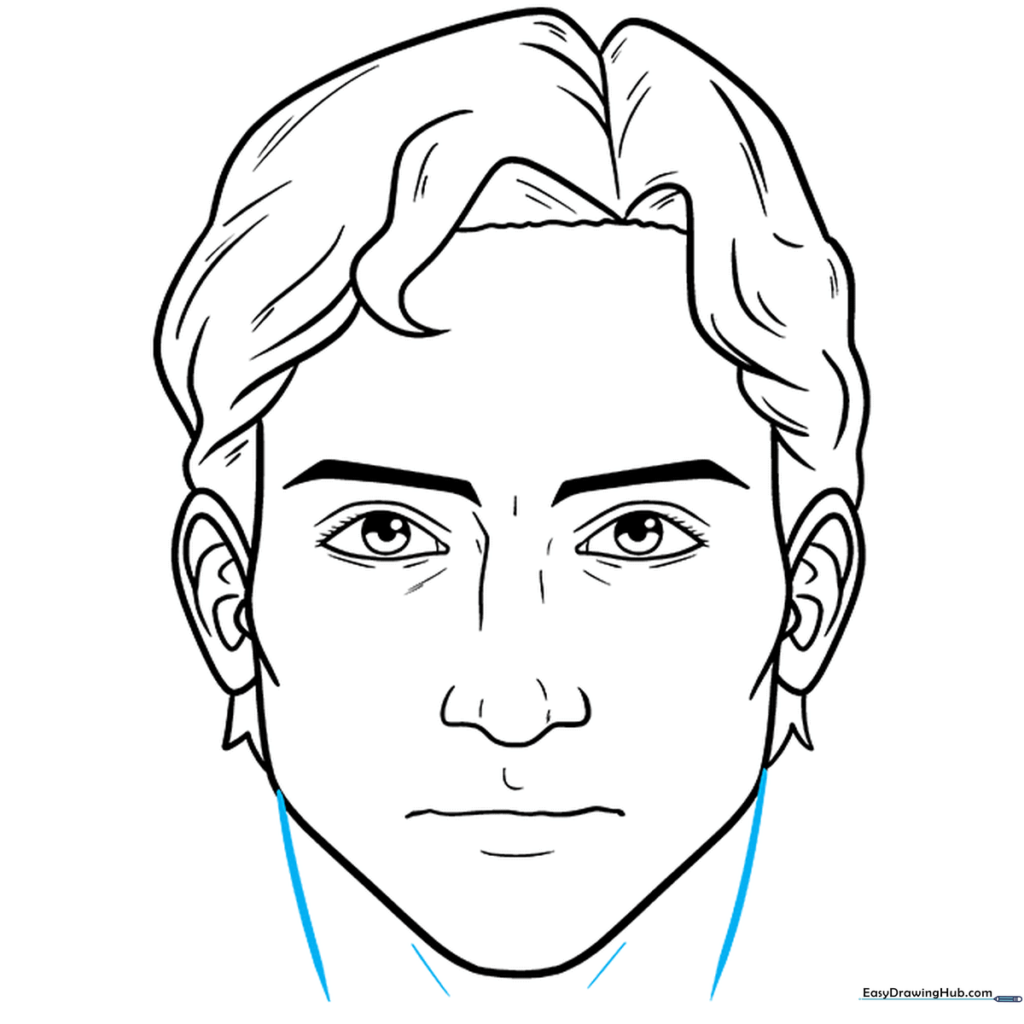
Extend two curved lines down from the chin to form the neck. Add subtle shading lines to show the neck's curve. Tip: Keep the neck lines slightly narrower than the jawline for a natural look.
Step 10: Adding Color
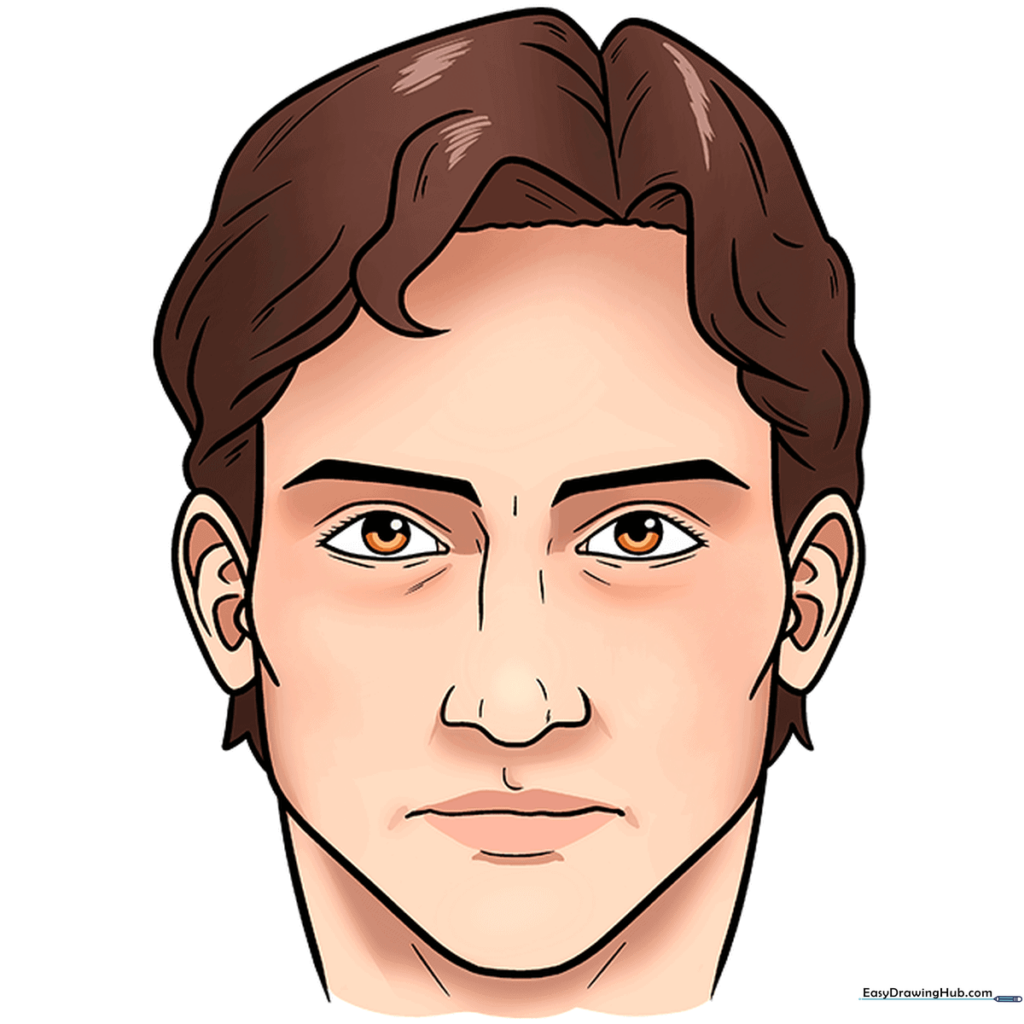
Your outline is finished! Now, use your favorite colors to bring your portrait to life. Tip: Use light skin tones first, then add darker shades to the edges of the face to create a 3D effect.
More Tutorials


