How to Draw a Drum: Easy 10-Step Guide for Kids
Ready to make some noise on paper? This tutorial is perfect for young artists ages 5 and up who want to learn how to draw a classic snare drum. All you need is a pencil, an eraser, and your favorite coloring supplies to bring this musical instrument to life.
🎯 Final Result

Step-by-Step Instructions
Step 1: Sketching the Drum Body

Start by drawing a large, wide oval for the drum's head. Add two parallel vertical lines descending from the sides, then connect them at the bottom. Teacher's Tip: Keep your lines loose and light—this is just the frame for your drum!
Step 2: Adding the Rim
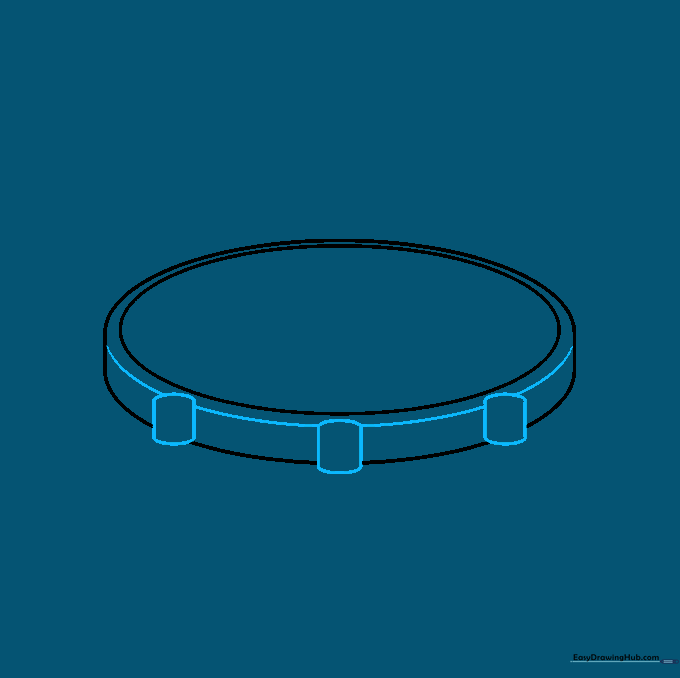
Draw a curved line inside the top oval to create the drum's rim. On the front face, sketch small cylinders. Tip: Make sure these cylinders slightly overlap the front edge to create a 3D effect.
Step 3: Defining the Edges
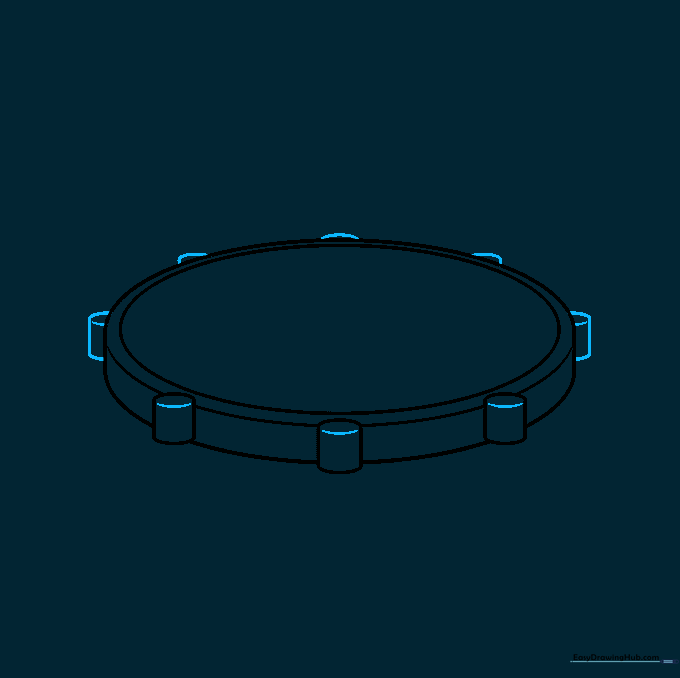
Add more cylindrical shapes along the edges of the drum. Use small curved lines to give these shapes depth. Tip: Think of these as the tension rods that hold the drum head tight!
Step 4: Creating the Base
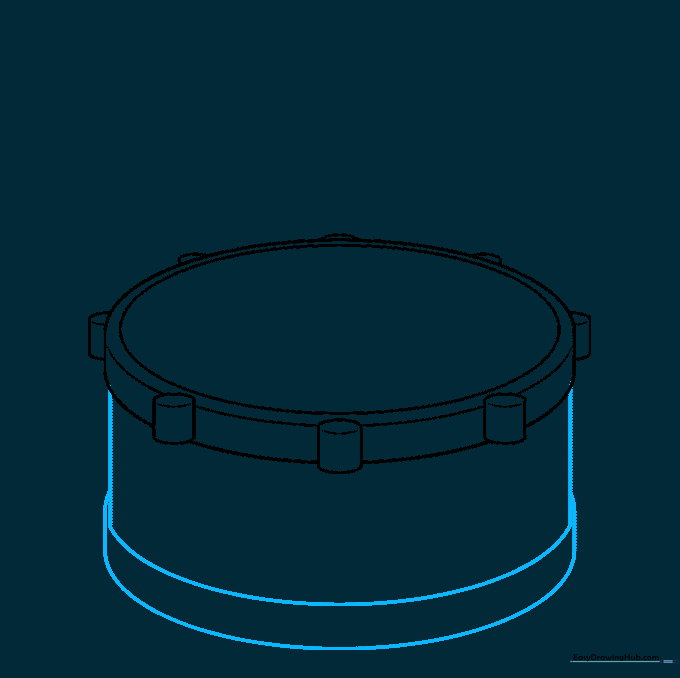
Draw two curved lines at the bottom, parallel to the top, to define the base. Connect them with straight lines. Tip: Keep your lines parallel to ensure the drum looks balanced and sturdy.
Step 5: Matching the Lugs
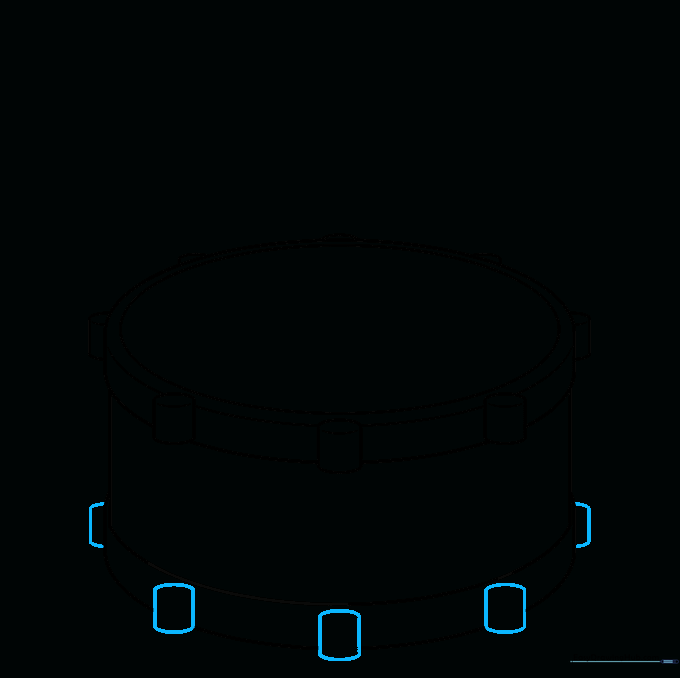
Add more cylinders to the bottom edge, mirroring the ones you drew on top. Tip: Use a ruler or your pencil to align them vertically with the top lugs for a professional look.
Step 6: Connecting the Hardware
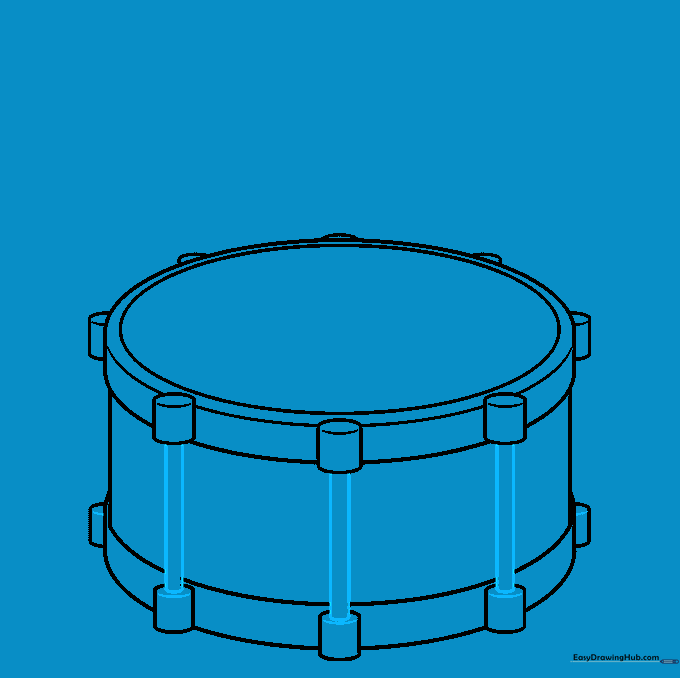
Connect the top and bottom lugs with three long, straight tubes. Tip: These represent the tension bolts that keep the drum sounding crisp.
Step 7: Adding Decorative Detail
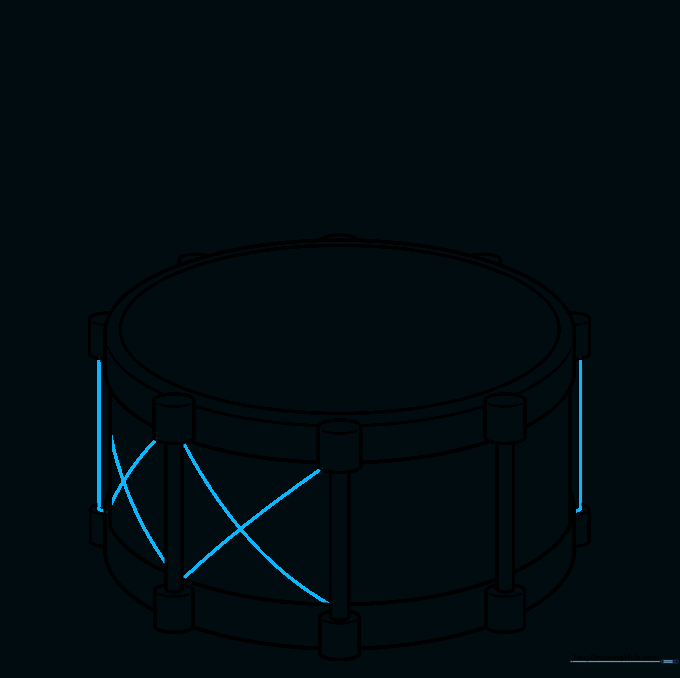
Add more tubes on the sides, then sketch 'X' shapes in the first two sections. Tip: The 'X' adds a classic, decorative pattern often found on marching drums.
Step 8: Drawing the Drumsticks
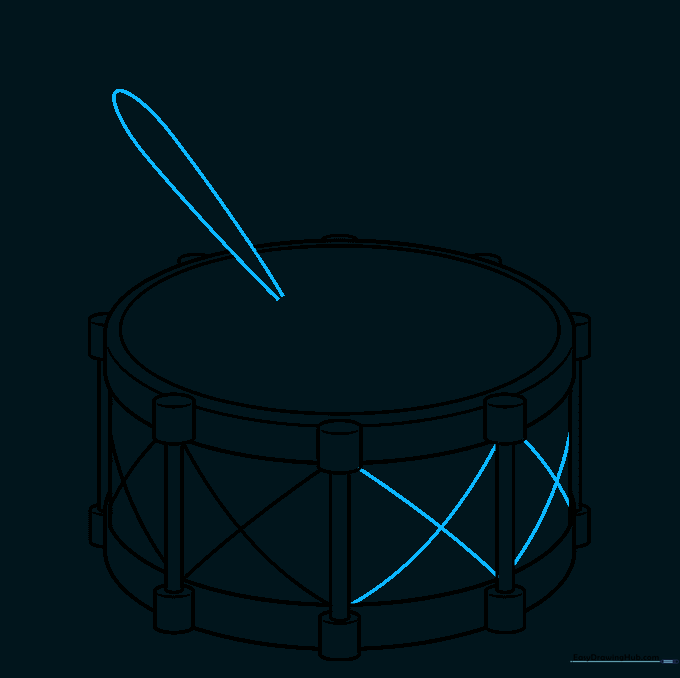
Complete the 'X' patterns, then draw a long, stretched-out teardrop shape resting on top of the drum. Tip: Make sure the stick overlaps the rim to show it's resting on the surface.
Step 9: Finalizing the Drumsticks
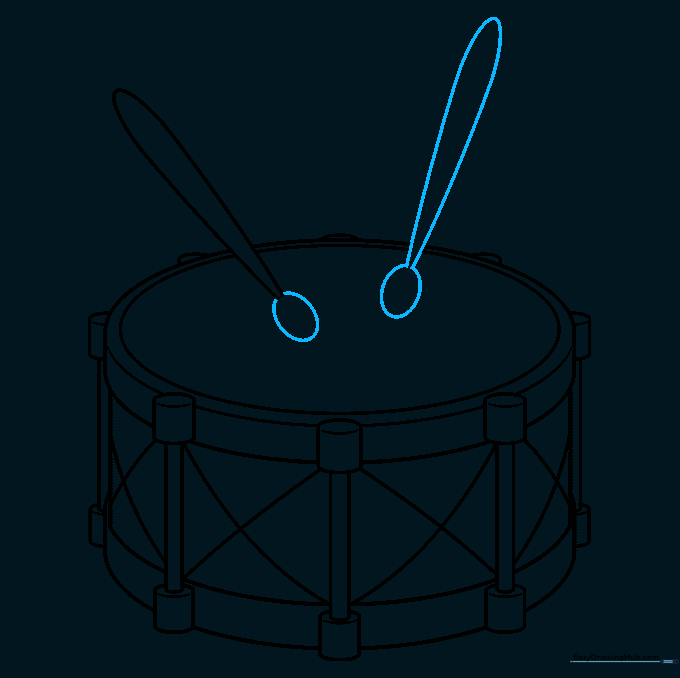
Add the second teardrop shape and draw small ovals at the ends to look like the tips of the sticks. Tip: Think of these as 'spoon' shapes to get the proportions just right.
Step 10: Bringing it to Life with Color
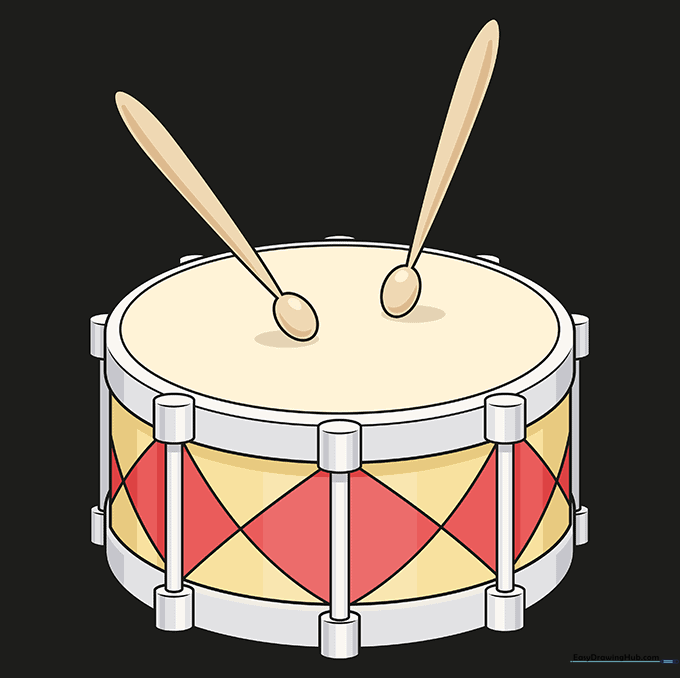
Outline your drawing with a dark pen and erase your guide lines. Color the sticks light brown, using darker shades for shadows. Use grey for the metal hardware and bright red and yellow for your 'X' design. Tip: Use a circular motion when coloring the drum head to make it look smooth and tight!
More Tutorials


