How to Draw a Dress: Easy 10-Step Guide for Beginners
Ready to design your own fashion? This tutorial is perfect for young artists ages 5 and up. All you need is a pencil, an eraser, and a piece of paper to bring this elegant dress to life.
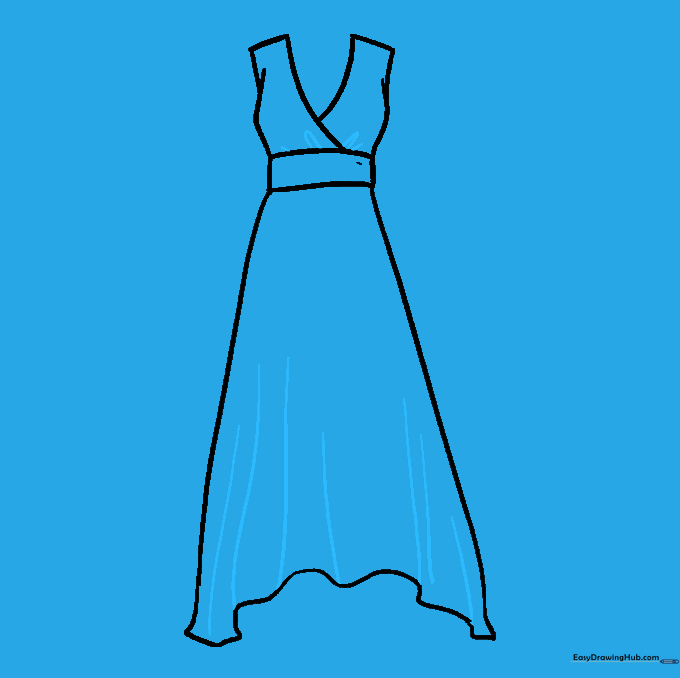
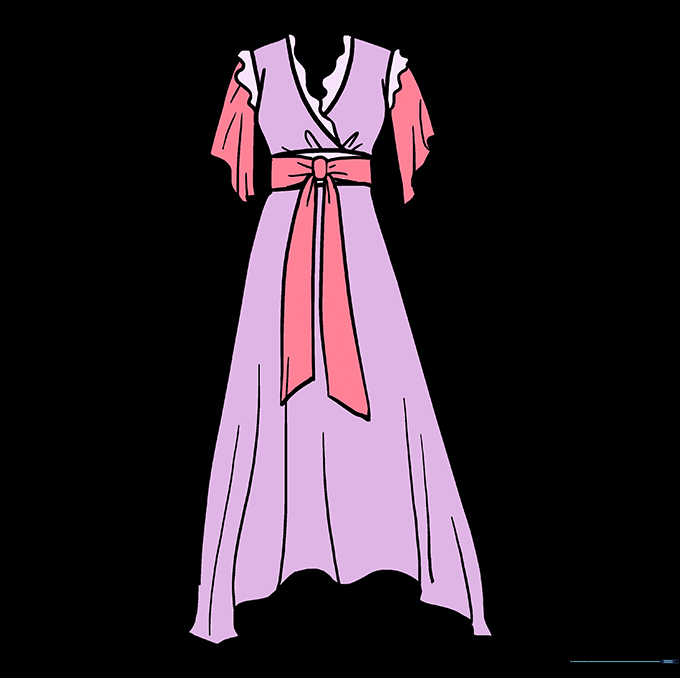
🎯 Final Result

Step-by-Step Instructions
Sketching the Bodice
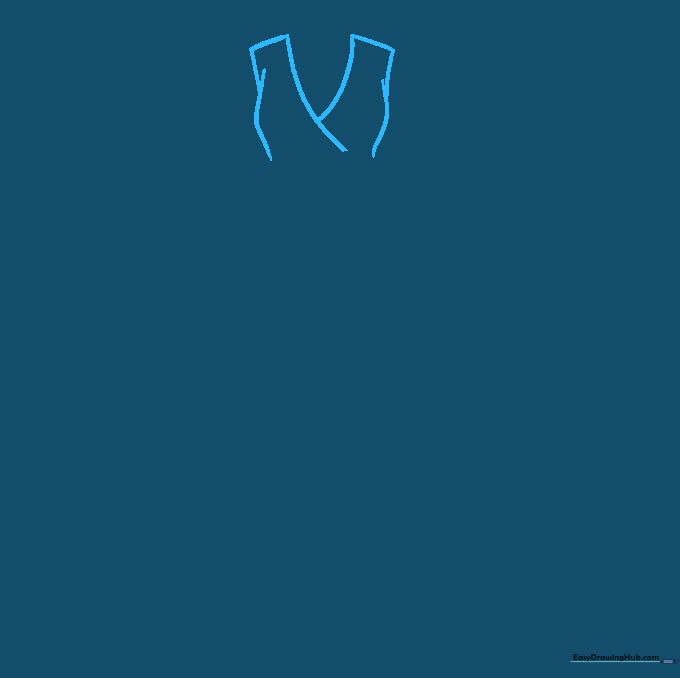
Start by drawing a 'V' shape for the neckline. Extend one line slightly lower than the other, then add short lines outward to form the shoulders. Teacher's Tip: Keep your pencil pressure light here; these are just your structural guidelines.
Defining the Waistline
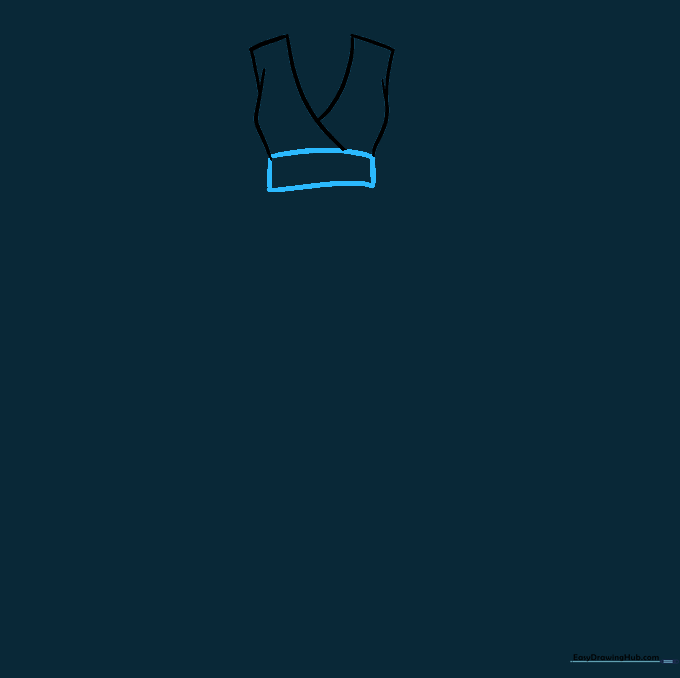
Draw a curved line across the bottom of the bodice and connect it with a rectangular shape to create the waistband. Tip: Imagine you are drawing a belt; keep the corners slightly rounded for a natural fabric look.
Forming the Skirt
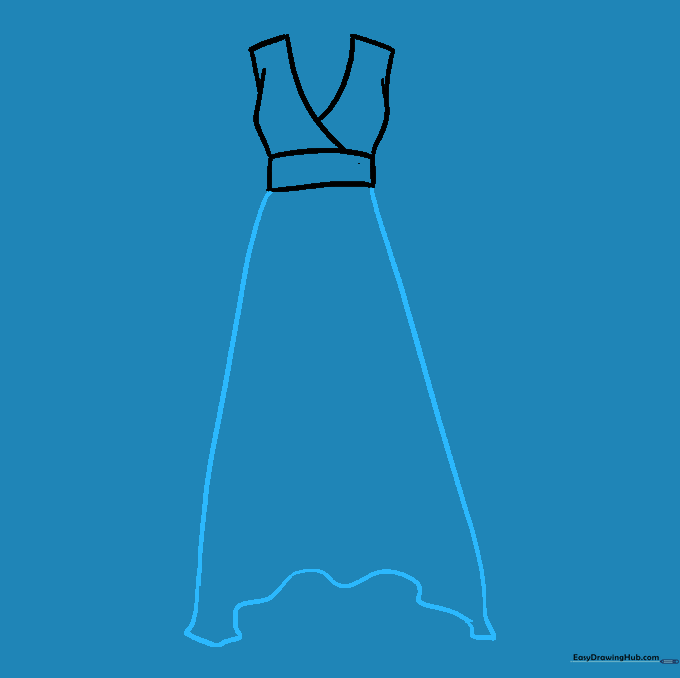
Extend long, curved lines from the belt to create the skirt, connecting them at the bottom with a wavy line. Tip: A wavy bottom edge helps the dress look like it has movement or flow.
Adding Fabric Folds
Add small, curved lines upward from the hem to suggest fabric folds. Tip: These small details add depth and make your drawing look more professional and realistic.
Drawing the Belt Bow
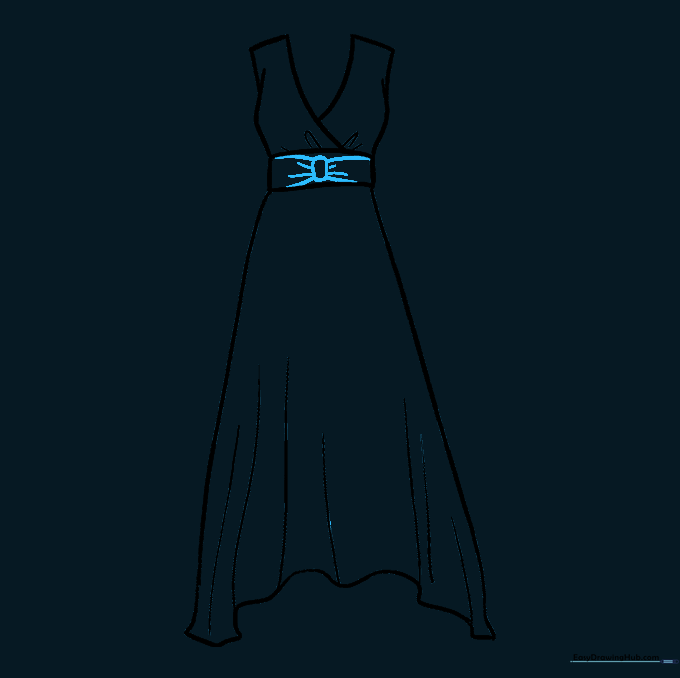
Draw an oval in the center of the belt for the knot, then add two loops on either side. Tip: If the bow looks too big, use your eraser to gently adjust the size before darkening your lines.
Adding Ribbon Tails

Extend two curved lines downward from the bow to create ribbon tails. Tip: Add a few tiny lines near the knot to show where the fabric bends.
Adding Sleeve Ruffles
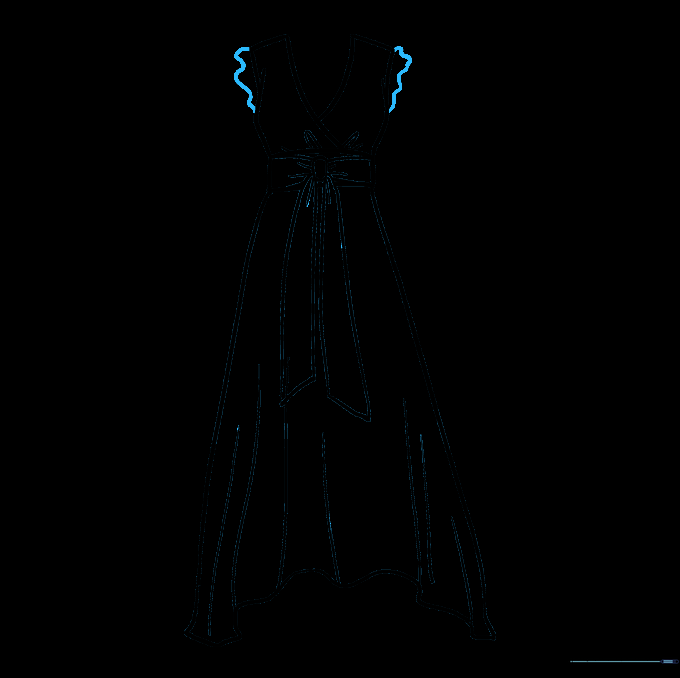
Use a wavy line to add delicate ruffles to the shoulder area. Tip: Vary the size of your waves to make the ruffles look soft and natural.
Completing the Sleeves
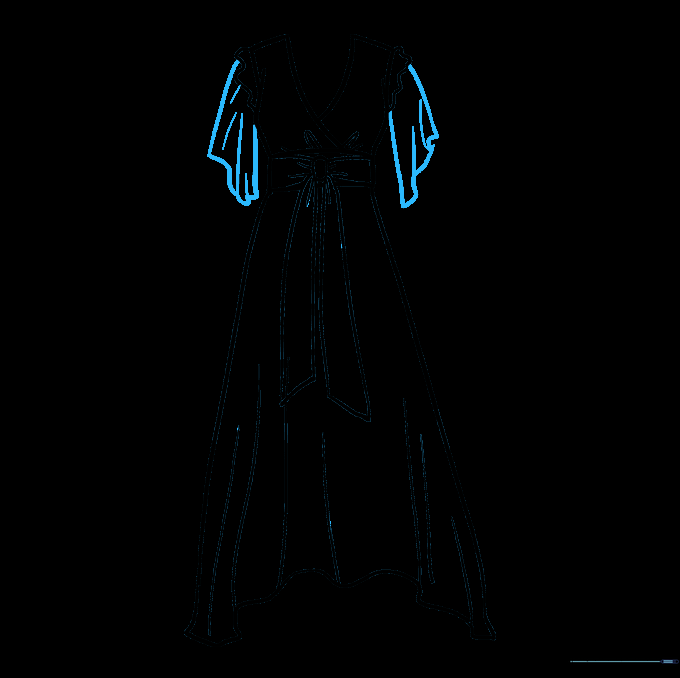
Draw the sleeves extending from the shoulders, finishing with a curved line. Add a few lines on the sleeves to show fabric folds. Tip: Make sure the sleeves look symmetrical on both sides.
Final Touches
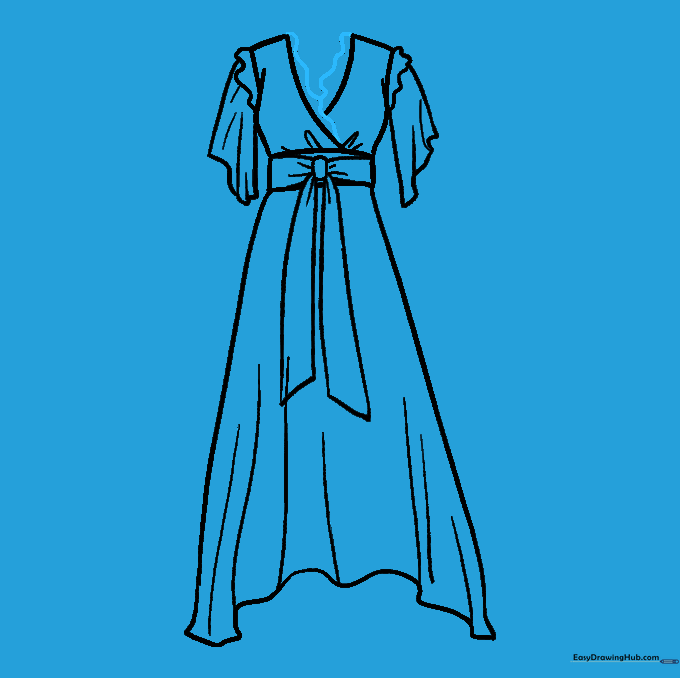
Add a wavy lace trim around the neckline. Now, take your eraser and clean up any overlapping guide lines. Tip: A clean drawing makes coloring much easier later!
Bring Your Dress to Life with Color
Choose your favorite colors to fill in the dress. Think about the texture—is it silk, cotton, or velvet? Use light and dark shades to show shadows. Tip: Don't be afraid to add patterns like stars or flowers to make it unique!
More Tutorials


