How to Draw a Dress: Easy Fashion Design Guide for Kids
Ready to design your own fashion collection? This tutorial is perfect for young artists ages 6+ who want to learn how to draw a flowing dress. All you need is a pencil, an eraser, and a piece of paper to start bringing your style ideas to life.
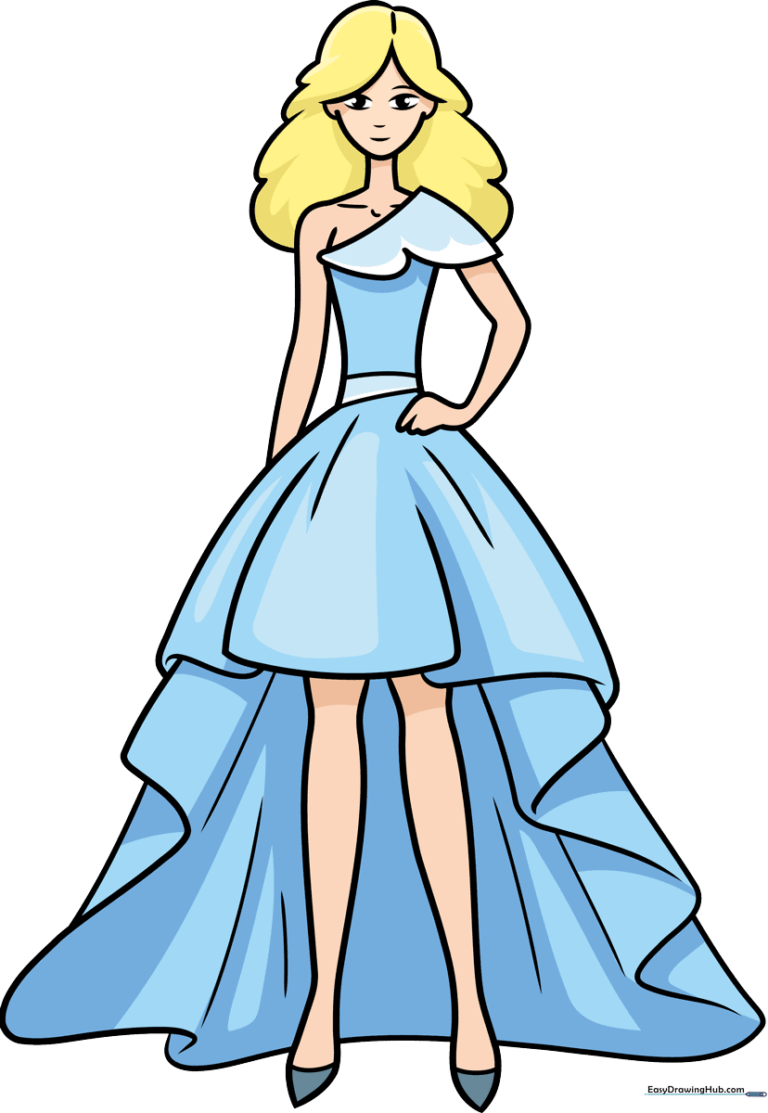
🎯 Final Result
Step-by-Step Instructions
Step 1: Sketching the Face
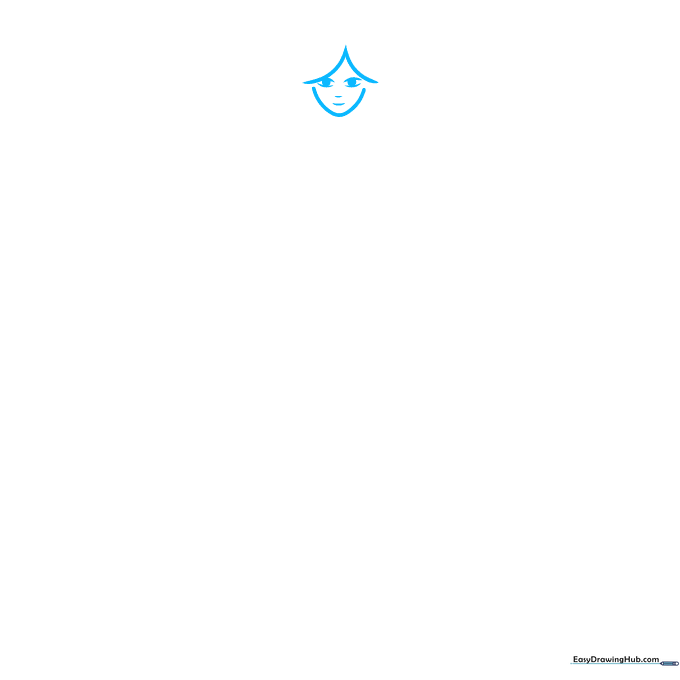
Start by drawing the model's face using three soft, curved lines. Add simple shapes for the eyes, nose, and mouth. Teacher's Tip: Keep the eyes small and centered to maintain a balanced, cute cartoon style.
Step 2: Adding Hair and Neck
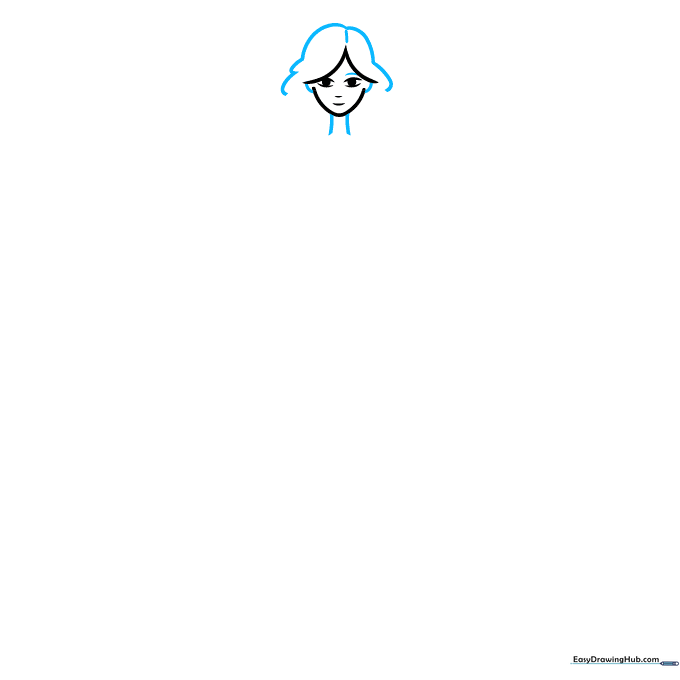
Use gentle, sweeping curves to trace the hair framing the face, the ears, and the neck. Tip: Draw the hair in large sections rather than individual strands to keep the drawing looking clean.
Step 3: Shoulders and Collar
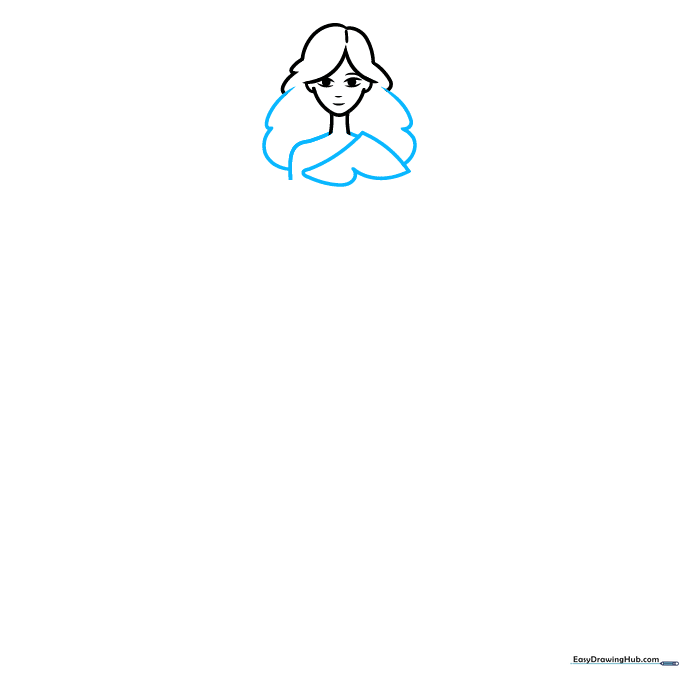
Sketch the shoulders and the irregular shape of the collar. Connect the hair lines down to the shoulders to create a natural flow. Tip: Use a light touch here so the collar looks soft and fabric-like.
Step 4: Torso and Arm
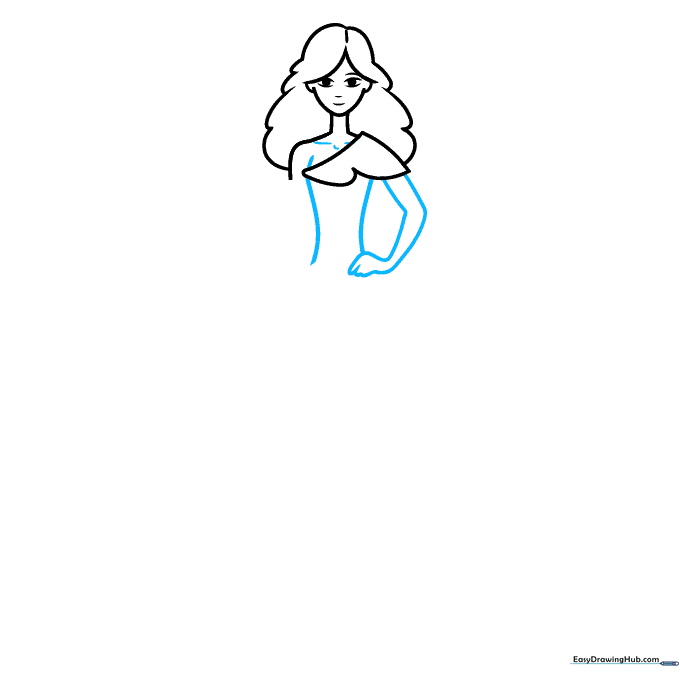
Extend curved lines from the top of the dress to outline the torso. Add the collarbones and sketch the arm with a hand resting on the hip. Tip: Imagine the hand is a simple 'C' shape to make it easier to draw.
Step 5: Sketching the Skirt
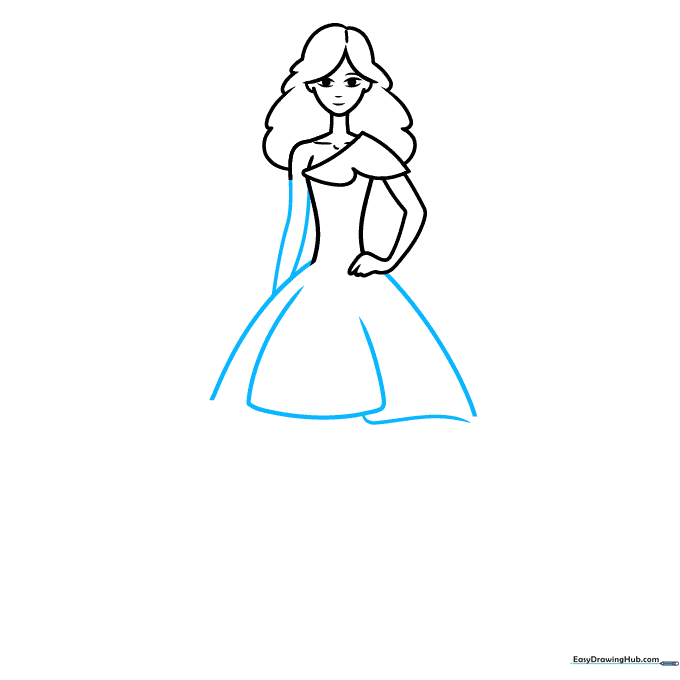
Draw long, sweeping curves from the waist to form the skirt. Use overlapping lines at the hem to create a ruffled, irregular look. Tip: The more curves you add, the more 'flowy' the dress will look!
Step 6: Waist and Leg
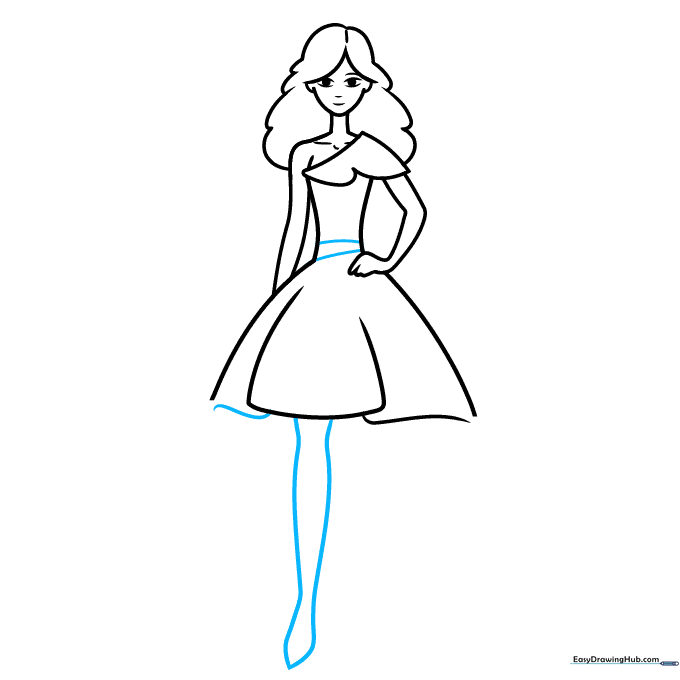
Define the waist with two lines. Extend a long curved line from the skirt to form the leg. Tip: Doubling the line back on itself helps create the shape of the leg without needing to draw complex anatomy.
Step 7: Shoes and Details
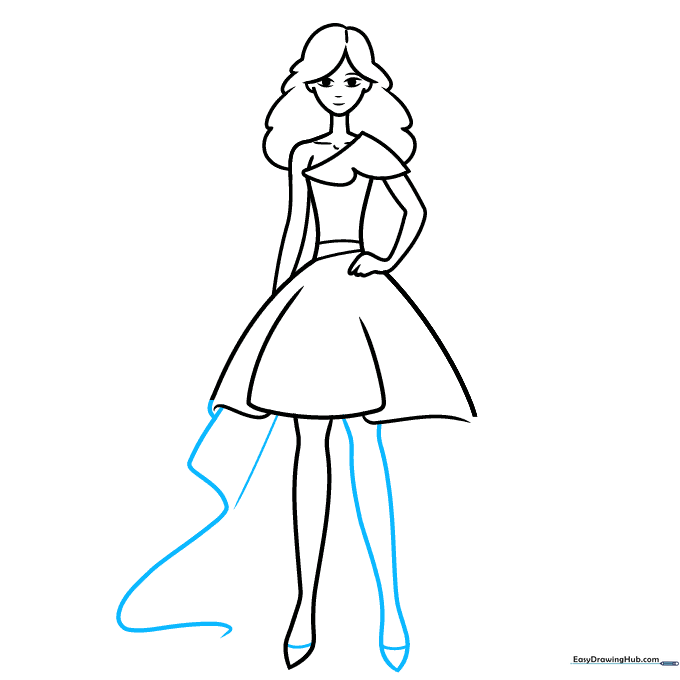
Draw the second leg and add a small curved band at the bottom of each foot to represent high-heeled shoes. Add a wavy line to the skirt to show fabric movement. Tip: Keep the shoe lines simple—a small 'U' shape works perfectly.
Step 8: Adding Texture
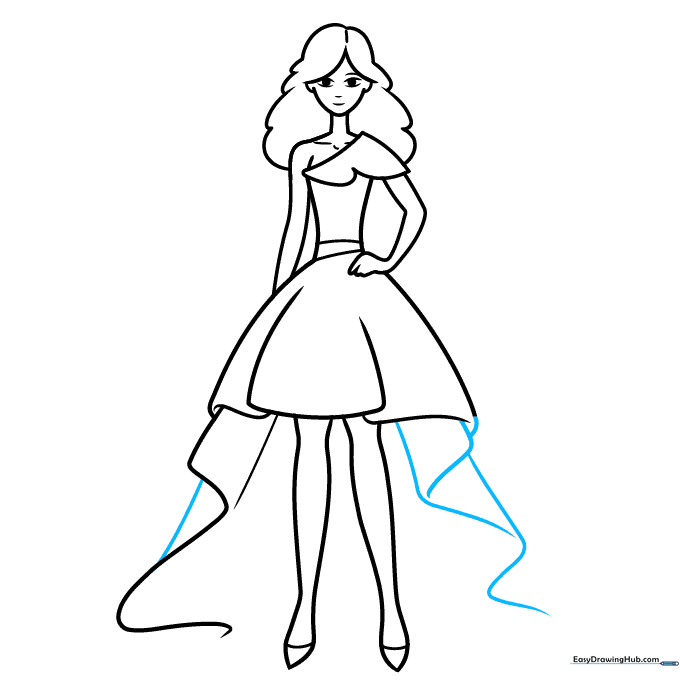
Add more wavy lines to the opposite side of the skirt to create depth and shadow. Tip: Think of these lines as 'folds' in the fabric—they make your drawing look more realistic.
Step 9: Finalizing the Outline
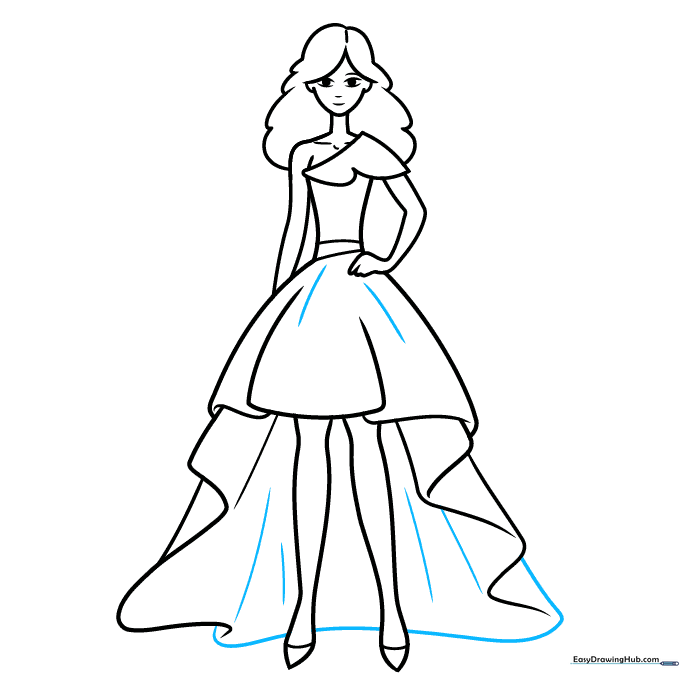
Use a long, smooth curved line to finish closing the skirt hem. Add a few final contour lines to the fabric. Tip: Check your work and erase any overlapping guide lines to make the final drawing stand out.
Step 10: Color Your Creation
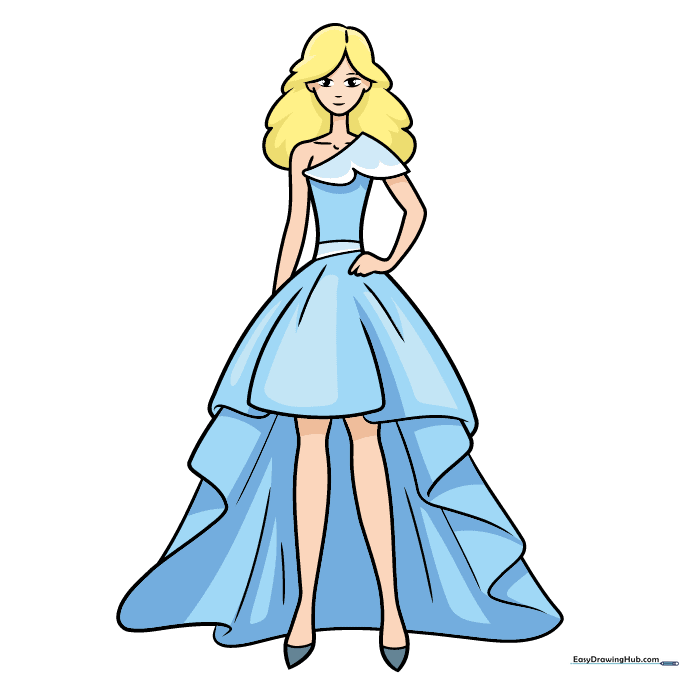
Your dress design is ready for color! You can choose any palette you like. Tip: Try using lighter shades for the folds and darker shades for the shadows to give your dress a 3D effect.
More Tutorials


