How to Draw a Dragon Skull: Easy 10-Step Guide
Ready to bring a mythical creature to life? This tutorial is perfect for young artists and fantasy fans ages 7+ looking to practice structural sketching. All you need is a pencil, an eraser, and a piece of paper to build this detailed dragon skull from the ground up.
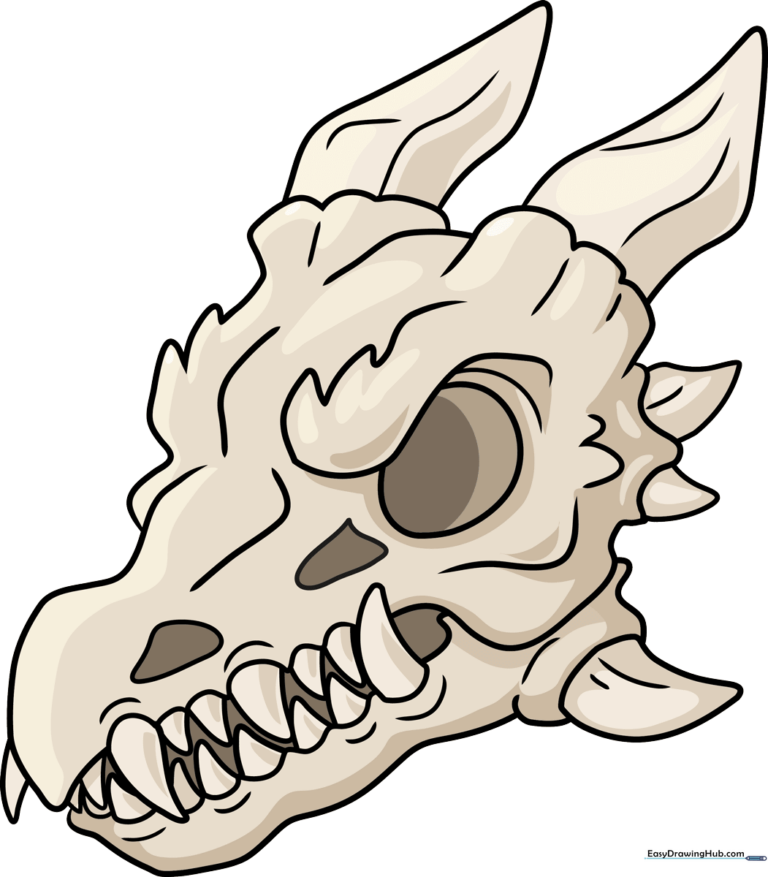
🎯 Final Result
Step-by-Step Instructions
Sketching the Eye Socket

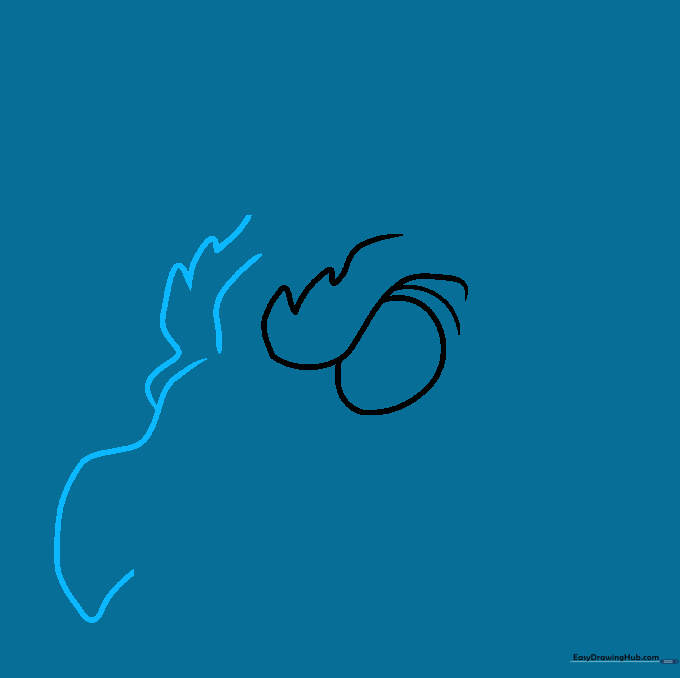
Draw a rounded egg shape to serve as the eye socket. Add a curved line above it that dips downward, then flick your pencil upward to create flame-like triangular spikes. Teacher's Tip: Keep your pencil pressure light here so you can easily adjust the shape later.
Forming the Snout
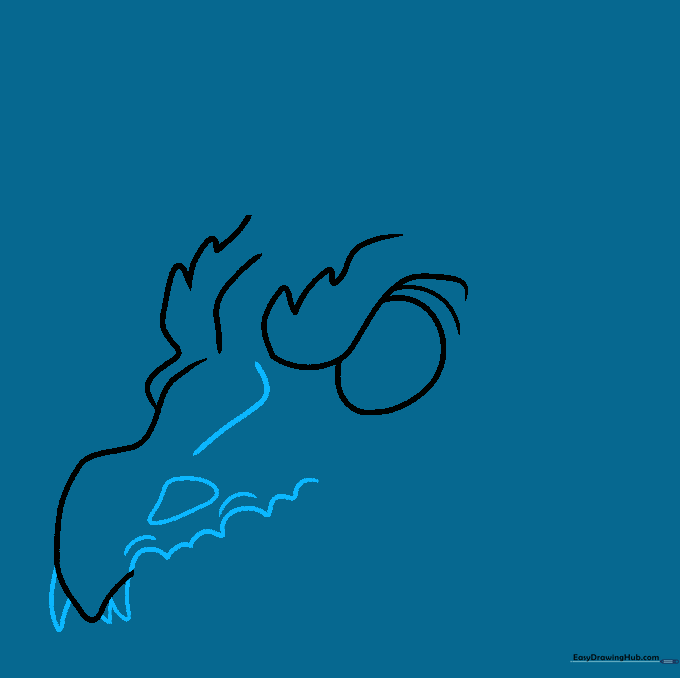
On the left, sketch an uneven, flame-like loop and connect it with an arrow-shaped line. For the snout, draw a loose 'M' shape—think of it like a bird silhouette—and finish it with a sharp, pointed hook. Tip: Use quick, confident strokes to give the bone a weathered, ancient look.
Adding Nostrils and Teeth
Use jagged lines to define the upper jawline. Add a triangle for the nostril and three smaller triangles for the front teeth. Sketch an upside-down 'L' shape near the center to establish the skull's depth. Tip: Vary the size of your triangles to make the teeth look more natural and menacing.
Refining the Upper Jaw
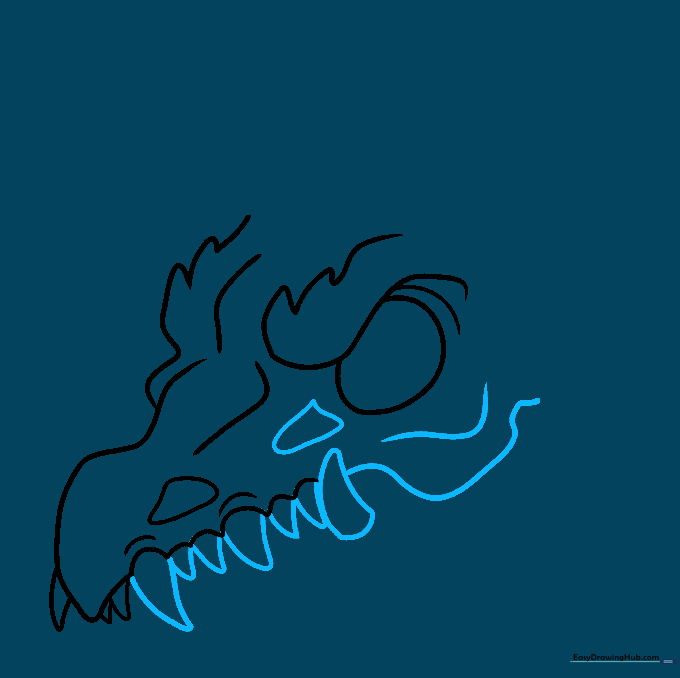
Draw curved triangles for the teeth. Above them, add a 'Hershey's kiss' shape. Complete the top jaw with a bent, wire-like line and add another 'L' shape above it. Tip: If the lines look too perfect, add a slight wobble to mimic the texture of aged bone.
Extending the Jawline
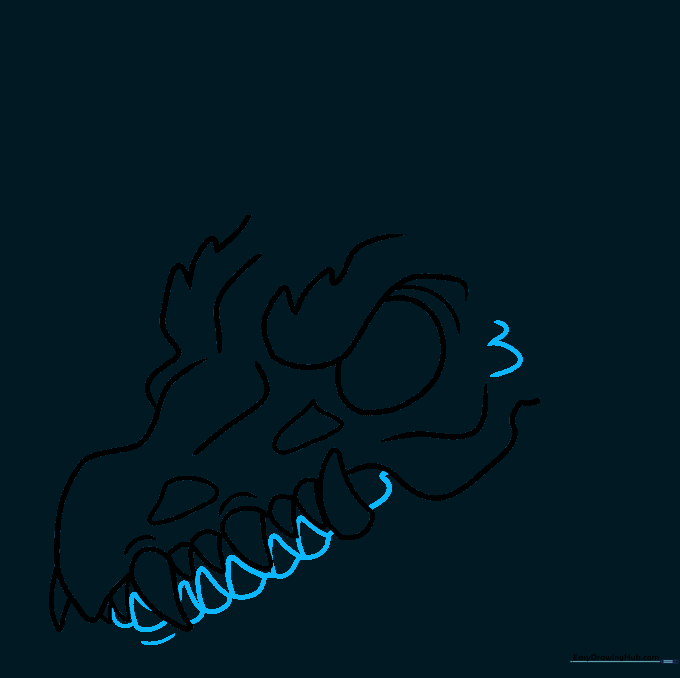
Add a squiggly line to the right side to extend the jaw, then sketch additional triangles for the back teeth. Tip: Ensure the teeth overlap slightly to create a realistic, interlocking bite.
Defining the Lower Jaw
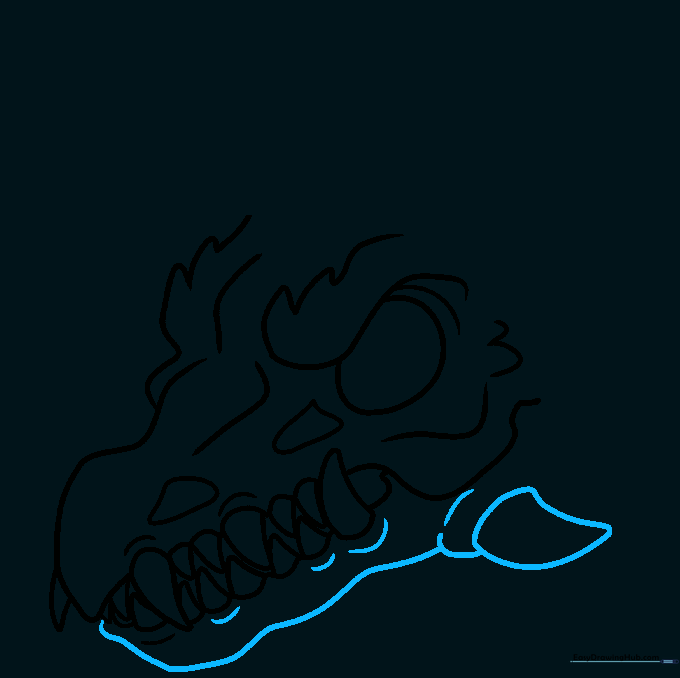
Draw a loose, uneven line for the bottom jaw. Sketch a large triangle on the right and add curved lines to create depth and volume. Tip: Imagine the jaw has weight; draw the bottom line slightly thicker to ground the drawing.
Adding the First Horn
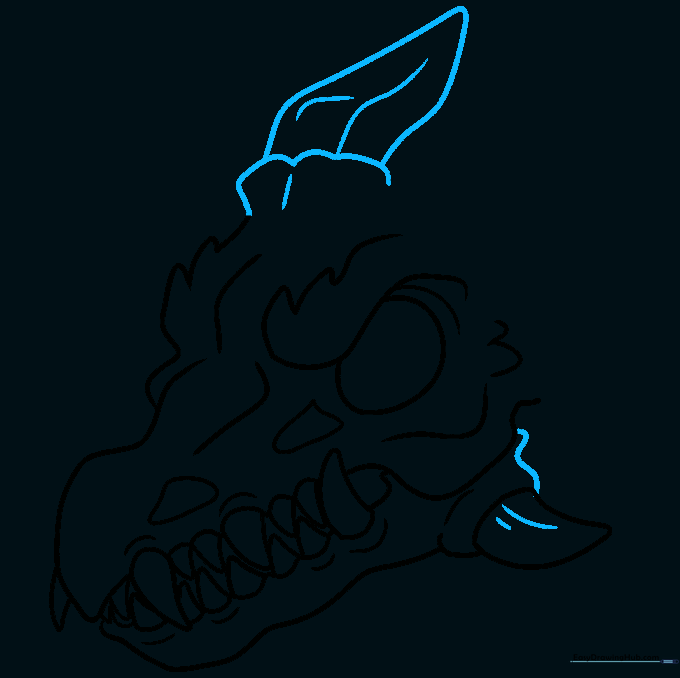
Start the left horn with a scalloped, shell-like edge, then use straight lines to taper it to a sharp point. Add small hatch marks for texture. Tip: Horns are organic, so don't worry if the lines aren't perfectly straight!
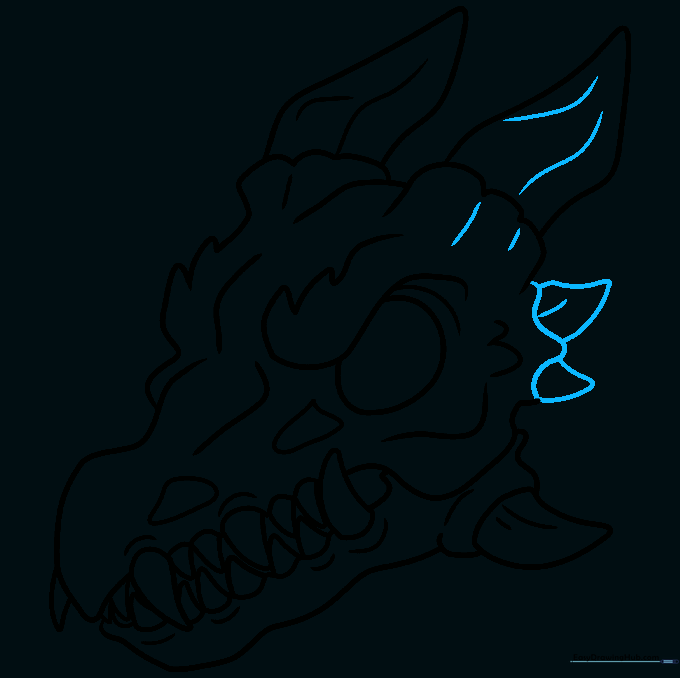
Adding the Second Horn
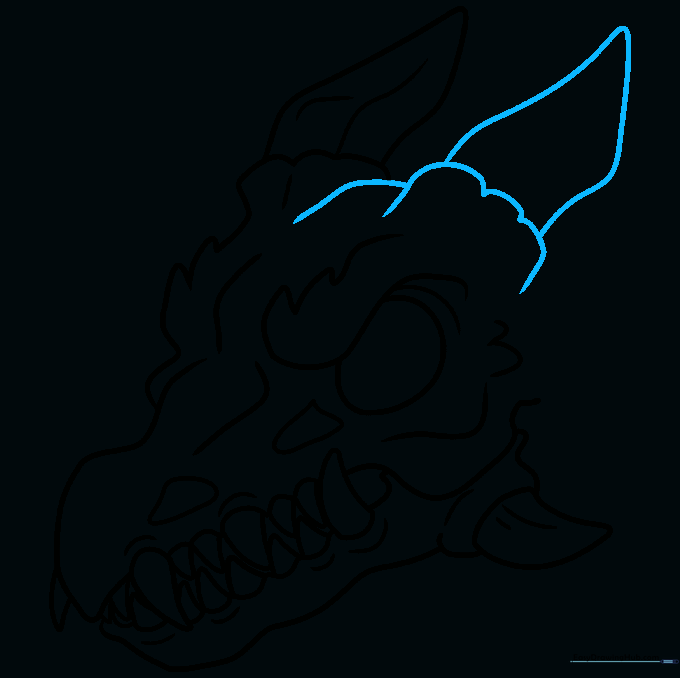
Repeat the process for the right horn, ensuring it mirrors the angle of the first. Sketch a connecting line in the middle to bridge the two shapes. Tip: Use a slightly darker pencil stroke for the horn edges to make them pop.
Finalizing the Outline
Draw a final wavy line on the right and add two more small triangles. Add extra detail lines across the skull to show cracks or age. Now, go over your final lines with a black marker or pen. Tip: Use a steady hand for the outline to keep the drawing clean.
Adding Color and Depth

Bring your skull to life with shades of grayish-brown. Use darker tones in the deep crevices and eye socket to create a 3D effect. Tip: Leave a few white spots uncolored to act as highlights, making the bone look smooth and polished.
More Tutorials


