How to Draw a Dragon: Easy Step-by-Step Guide for Kids
Ready to bring a mythical creature to life? This tutorial is perfect for young artists ages 6+ who want to master a classic dragon silhouette. All you need is a pencil, an eraser, and a piece of paper to start building your fantasy masterpiece.
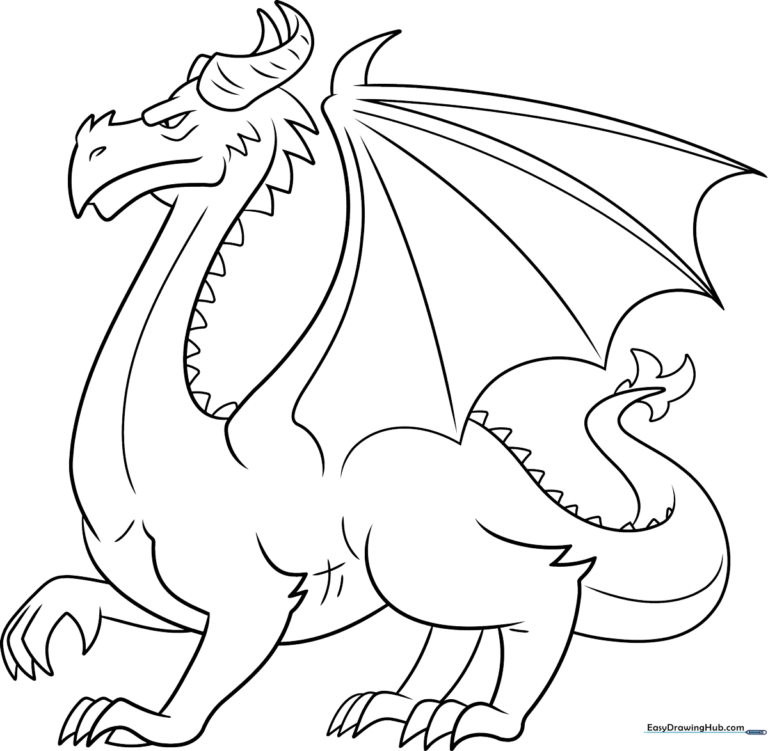
🎯 Final Result
Step-by-Step Instructions
Step 1: Sketching the Dragon's Head

Start by drawing the dragon's face using curved lines that meet at sharp points for the snout and nostrils. Add a curved shape for the brow and eye. Teacher's Tip: Keep your pencil pressure light here so you can easily adjust the shape of the snout later.
Step 2: Adding Horns and Jaw
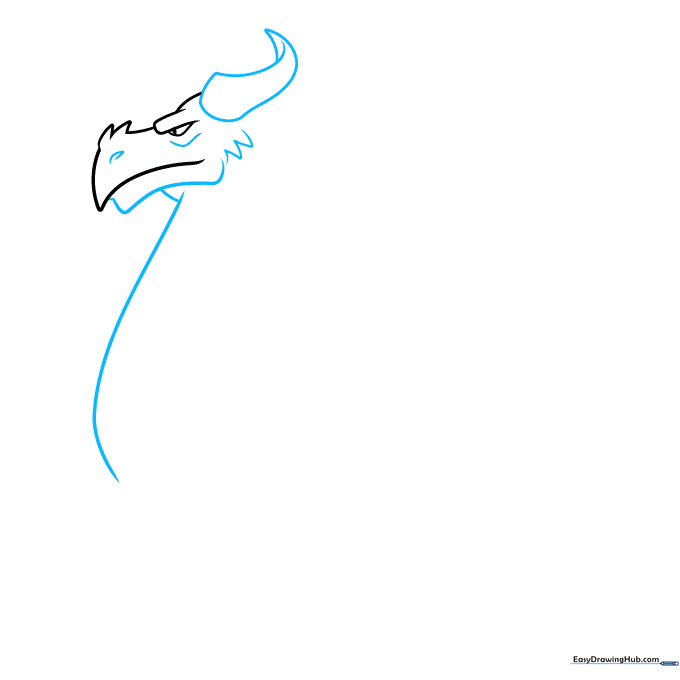
Draw a triangular horn on top of the head using overlapping curved lines to give it depth. Sketch the lower jaw and neck, adding 'V' shaped spikes for extra detail. Tip: Overlapping lines are the secret to making your drawing look 3D instead of flat!
Step 3: Forming the Neck and Chest
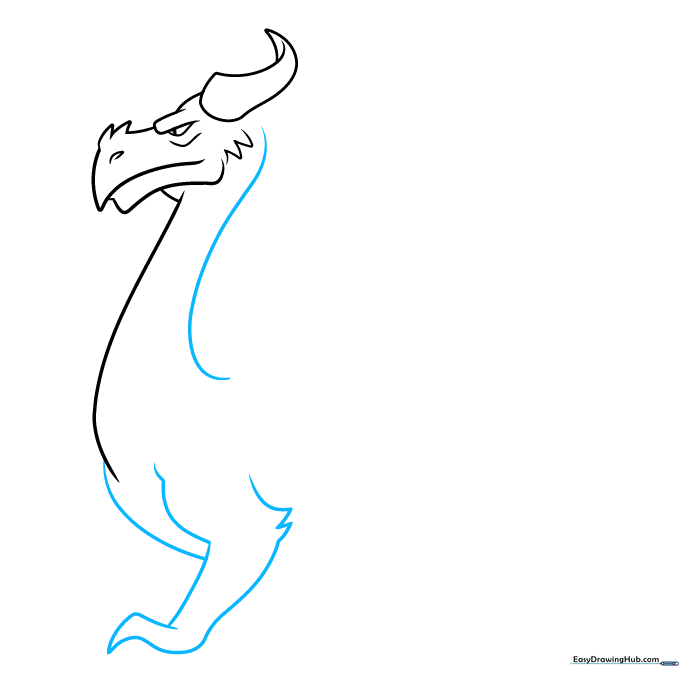
Use a long, graceful curved line to create the back of the neck. For the chest and foreleg, use overlapping lines that meet at sharp points to suggest bony spikes. Tip: Think of the neck as a long, flexible snake shape.
Step 4: Sketching the Belly and Rear Leg
Draw the toes using small, pointed curves. Continue the belly line and add the rear leg, including the triangular spikes on the ankle. Tip: Keep the toes rounded at the base to make them look like strong claws.
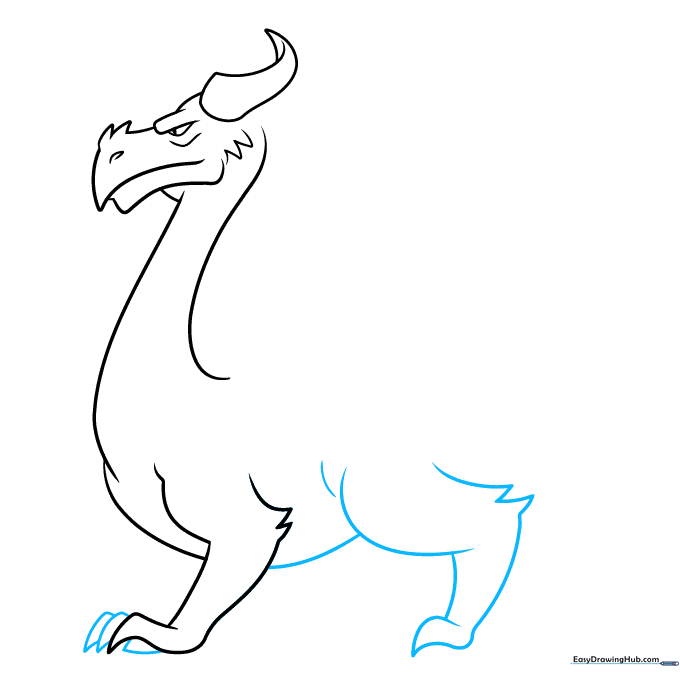
Step 5: Defining the Feet
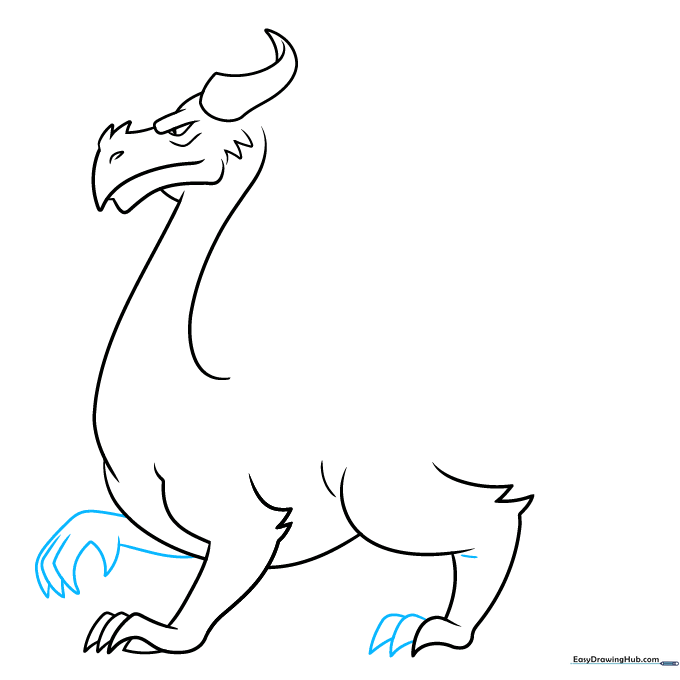
Add the remaining toes on the rear foot and the forefoot. Make sure the front foot looks like it is mid-step. Tip: Vary the size of the toes slightly to give the foot a more natural, organic look.
Step 6: Drawing the Wing Base
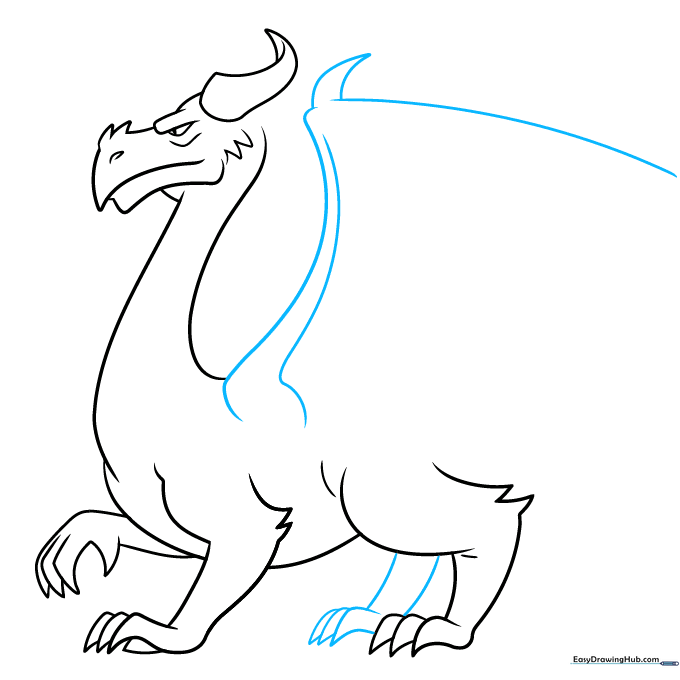
Draw the final rear leg and claws. Then, begin the wing by drawing the leading edge with a long, curved line ending in a sharp claw. Tip: The wing should look like a large, leathery arm extending from the back.
Step 7: Completing the Wing
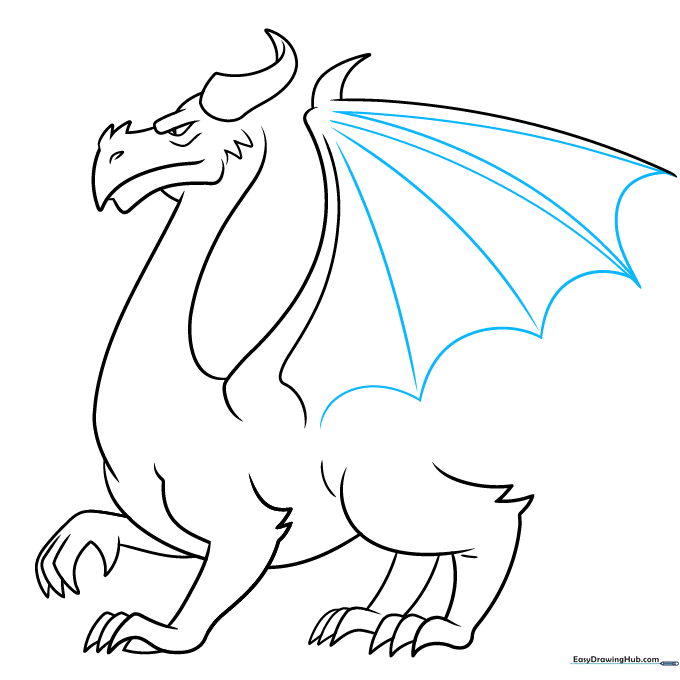
Add the wing bones using slightly bent lines. Connect these with curved lines to form the wing membrane. Tip: Think of the wing like a bat's wing—the lines represent the 'fingers' of the wing.
Step 8: Adding the Tail
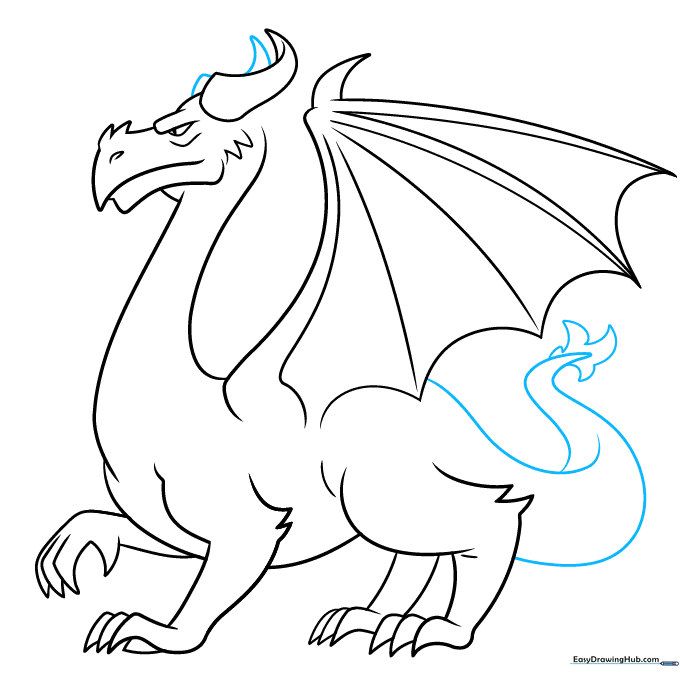
Sketch the long, sweeping tail using overlapping lines. Add a flamelike tuft at the end and an extra horn on the head. Tip: Make the tail taper to a point to give it a sleek, powerful look.
Step 9: Final Details and Texture
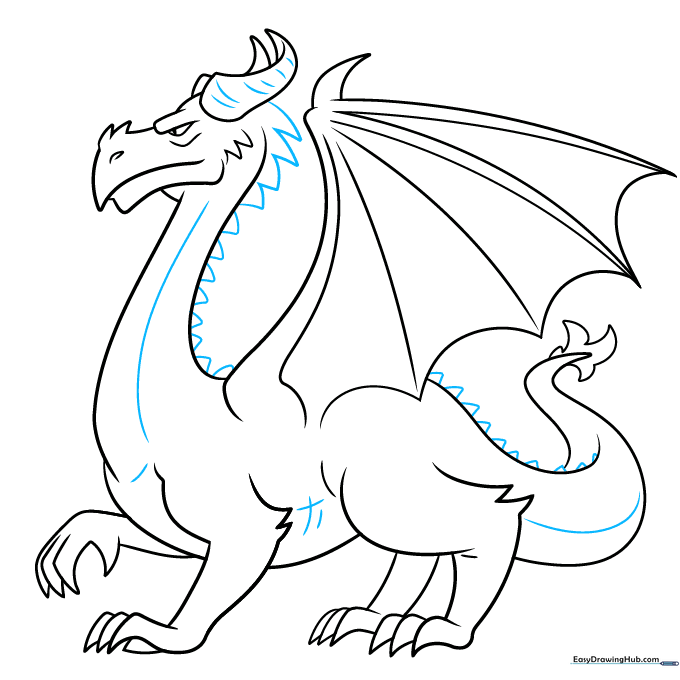
Draw the underbelly lines and add triangular stripes along the back. Use small curved lines to texture the horns and belly. Tip: These small details add character—don't rush this part!
Step 10: Color Your Creation
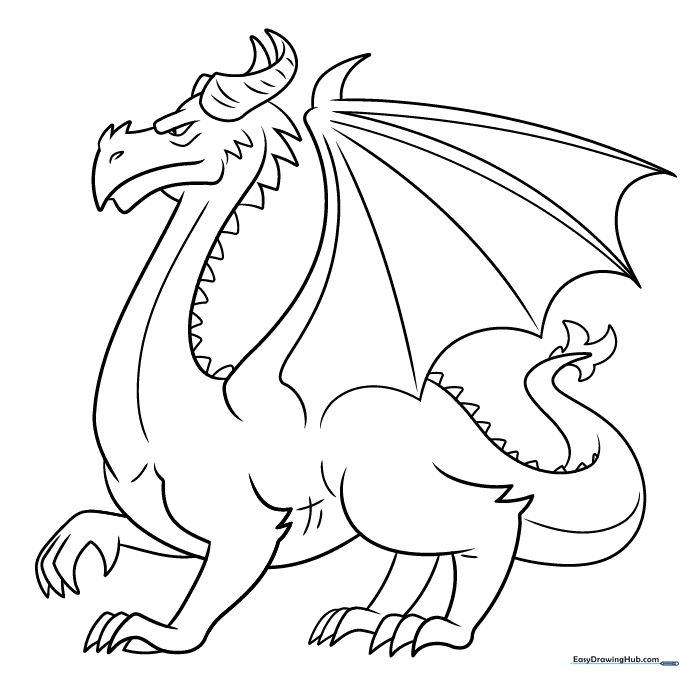
Your dragon is ready for color! Use bright, bold colors to make your mythical creature pop. Tip: Try using two shades of the same color to create shadows and highlights.
More Tutorials


