How to Draw a Dragon Egg: Easy 10-Step Guide for Kids
Bring a fantasy world to life with this fun, screen-free drawing activity perfect for young artists ages 5 and up. You will only need a pencil, an eraser, and a piece of paper to create your very own hatching dragon. Follow these simple steps to build confidence and master basic shapes while designing a mythical creature.
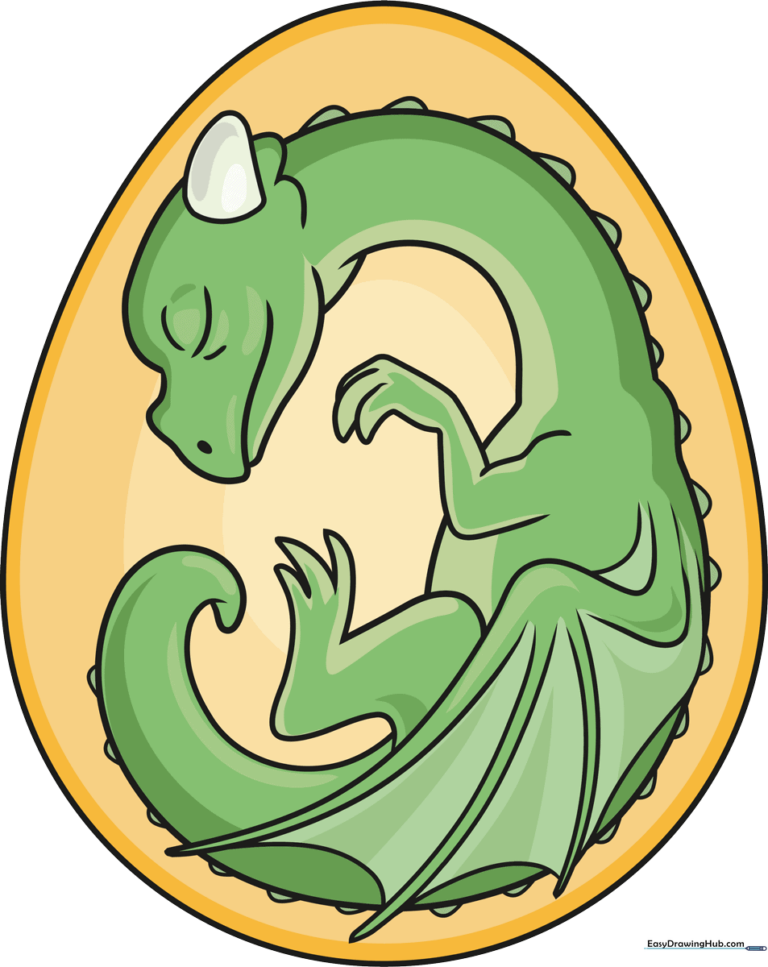
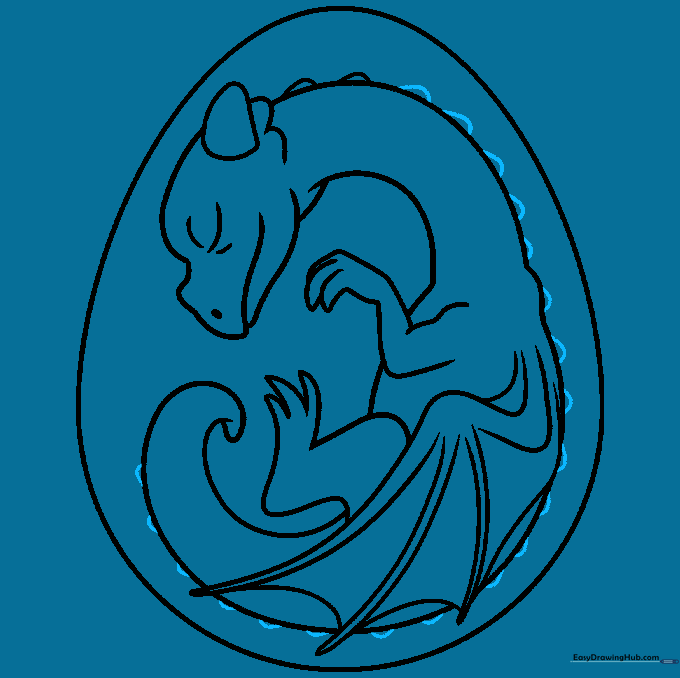
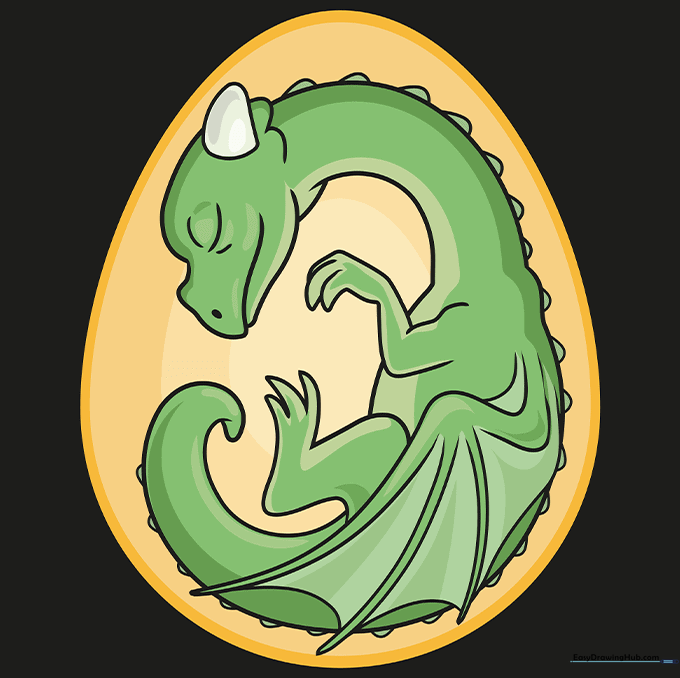
🎯 Final Result
Step-by-Step Instructions
Step 1: Sketching the Egg and Face

Start by drawing a large, smooth oval for the egg. Inside, draw a smaller curved line that doubles back to create the baby dragon's snout. Teacher's Tip: Keep your pencil lines very light so you can easily erase any overlapping marks later.
Step 2: Defining the Head and Horn

Add a lower jaw and a small oval for the nostril. Draw a rounded triangle on top of the head for the horn, then add a frilled edge to the back of the head. Tip: Use short, quick strokes for the frill to give it a textured, scaly look.
Step 3: Sketching the Neck and Limbs
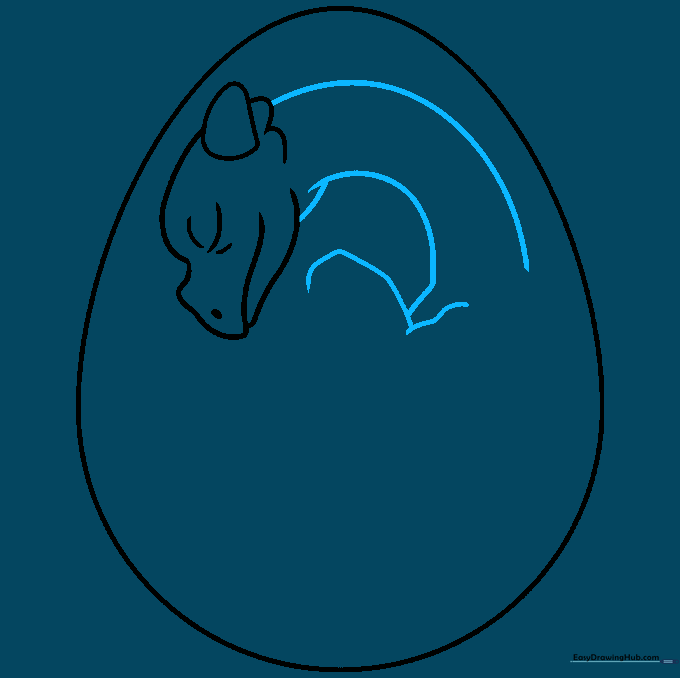
Draw two long, graceful curves for the neck, making it look like a friendly dinosaur. Add small curved shapes for the front legs. Tip: Think of the neck as a flexible 'S' shape to make it look more natural.
Step 4: Adding Legs and Belly
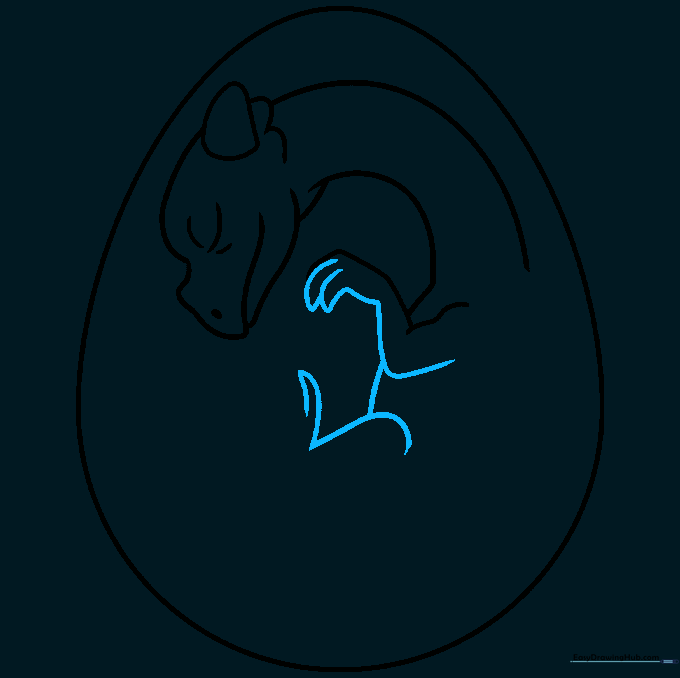
Complete the fingers with overlapping curves and sketch the rear leg using a 'V' shape. Connect the limbs with a soft curve to form the belly. Tip: Keep the belly line rounded to show the dragon is still curled up inside the egg.
Step 5: Refining the Legs and Wing
Add toes to the rear foot and start sketching the folded wing using a long, curved line that doubles back. Tip: Imagine the wing is like a folded umbrella tucked against the dragon's side.
Step 6: Drawing Wing Digits
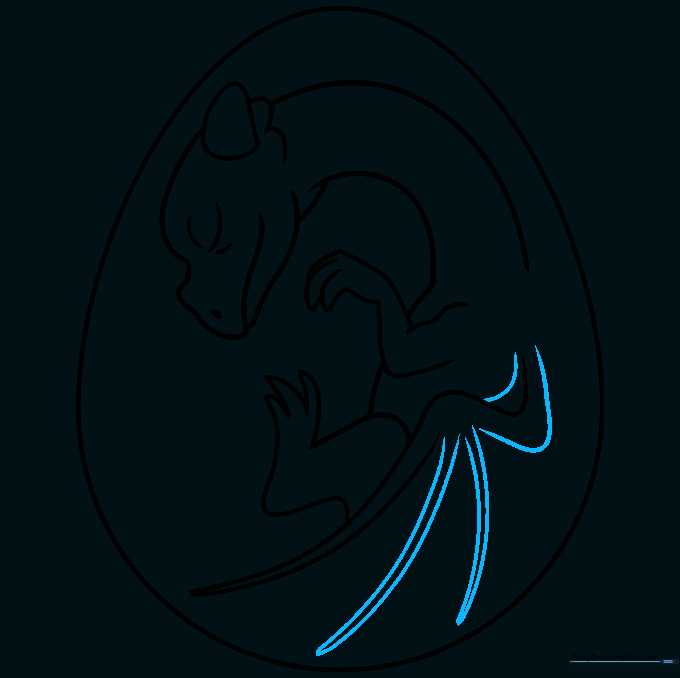
Draw the supporting bones of the wing using pairs of curved lines that meet at points. Tip: Keep these lines sharp to make the wings look strong and leathery.
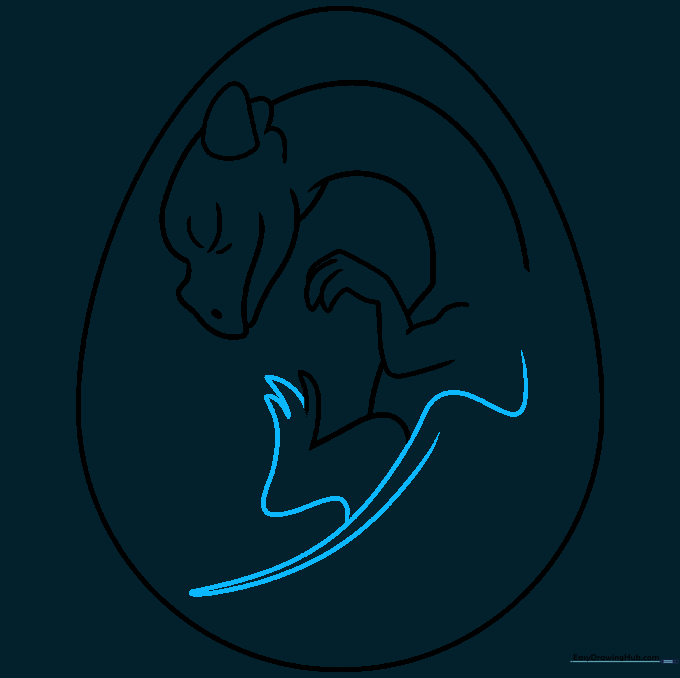
Step 7: Wing Membrane and Tail
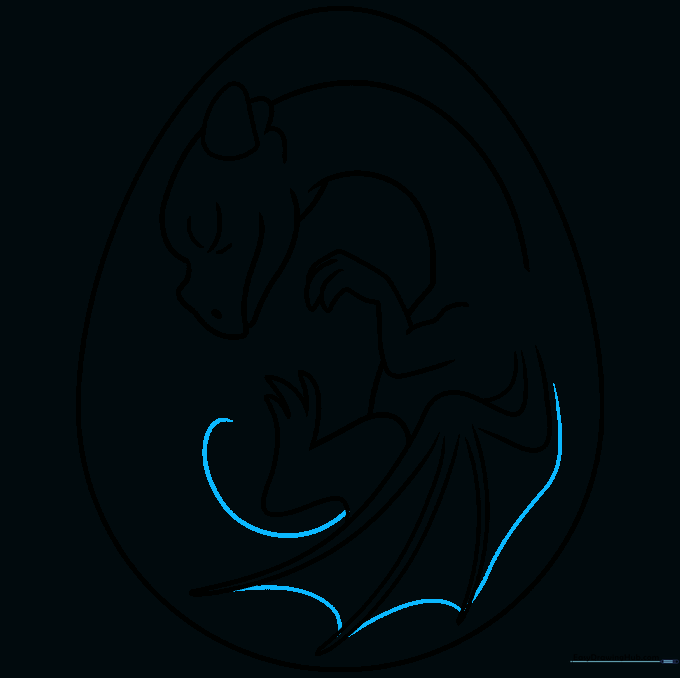
Connect the wing bones with curved lines to create the membrane. Then, extend a long, sweeping line to start the tail. Tip: The tail should curve naturally around the bottom of the egg.
Step 8: Finalizing the Tail
Bring the tail line from the neck, around the wing, and taper it to a point. Tip: Ensure the tail flows smoothly so it doesn't look like a separate piece.
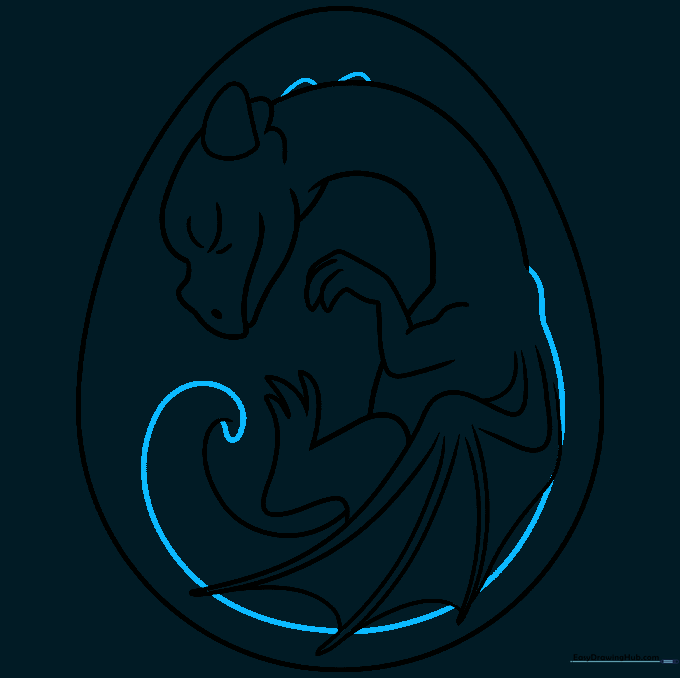
Step 9: Adding Spikes
Add small, triangular ridges or spikes along the back and tail to give your dragon a tough, mythical look. Tip: Vary the size of the spikes slightly to make them look more organic.
Step 10: Coloring Your Dragon
Time to bring your dragon to life with color! Choose vibrant scales or soft, earthy tones. Tip: Use colored pencils to layer different shades of the same color to create depth on the dragon's wings.
More Tutorials


