How to Draw a Donut: Easy 10-Step Guide for Kids
Ready to draw a tasty treat? This tutorial is perfect for young artists ages 5 and up. All you need is a pencil, an eraser, and your favorite markers or crayons to bring this sweet donut to life.
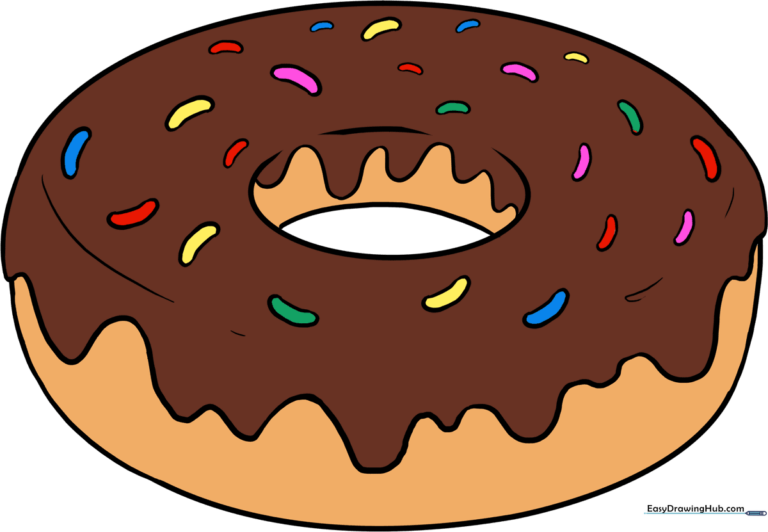
🎯 Final Result
Step-by-Step Instructions
Sketching the Base Oval

Start by drawing a large, wide oval. Teacher's Tip: Keep your pencil strokes very light so you can easily erase any extra lines later!
Defining the Center Hole
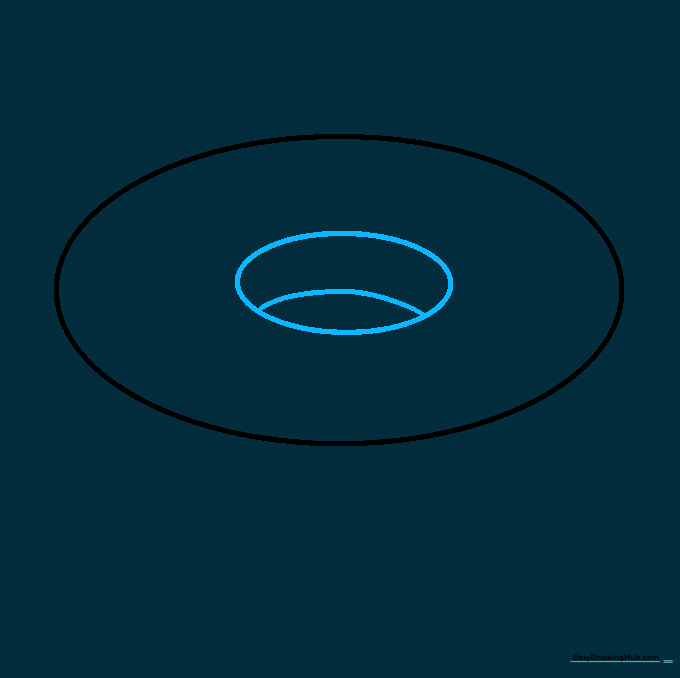
Draw a smaller oval inside the center. Add a curved line across the middle of this hole to show depth. Tip: Think of this as the 'tunnel' through the middle of the pastry.
Outlining the Donut Body
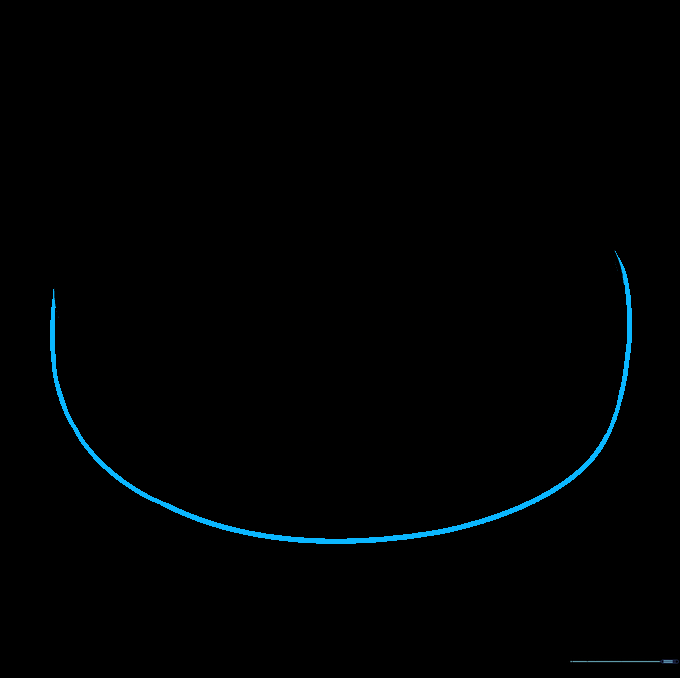
Draw a long, curved line beneath the main oval, connecting both sides. This creates the rounded bottom of the donut. Tip: Make sure your curve is smooth to keep the donut looking plump and round.
Adding Dripping Frosting
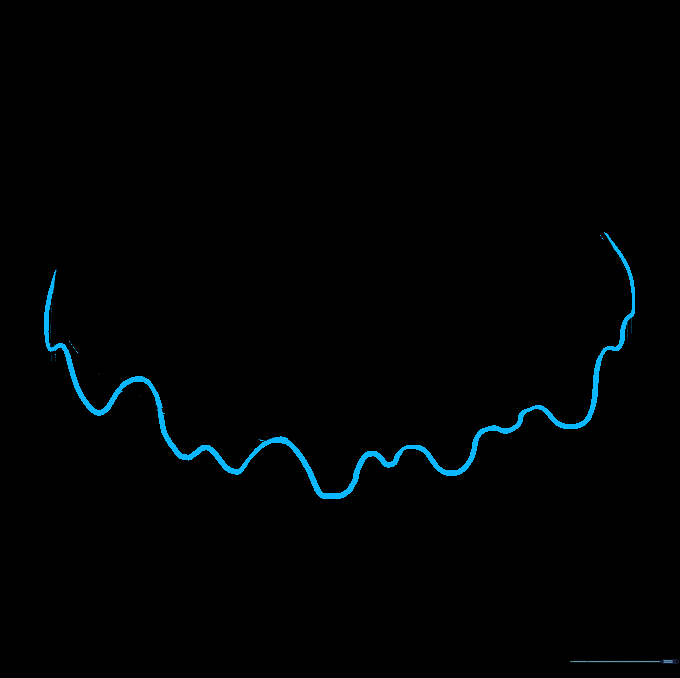
Draw a wavy line along the top edge of your donut. Vary the height of the waves to make it look like real, melting icing. Tip: Let the line dip into the center hole for a realistic effect.
Cleaning Up the Top

Carefully erase the original guide lines that are now covered by your wavy frosting line. Tip: Use a clean eraser to avoid smudging your drawing.
Frosting the Center
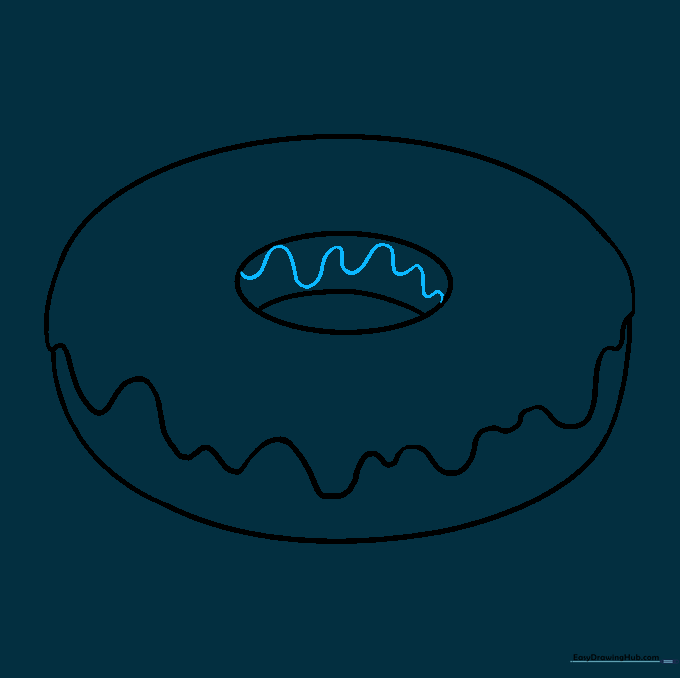
Add a small wavy line inside the center hole to show the frosting dripping down into the middle. Tip: Keep these waves small so they don't crowd the center.
Finalizing the Center

Erase any remaining guide lines inside the center hole. Now your donut looks clean and ready for toppings!
Adding Texture and Sprinkles
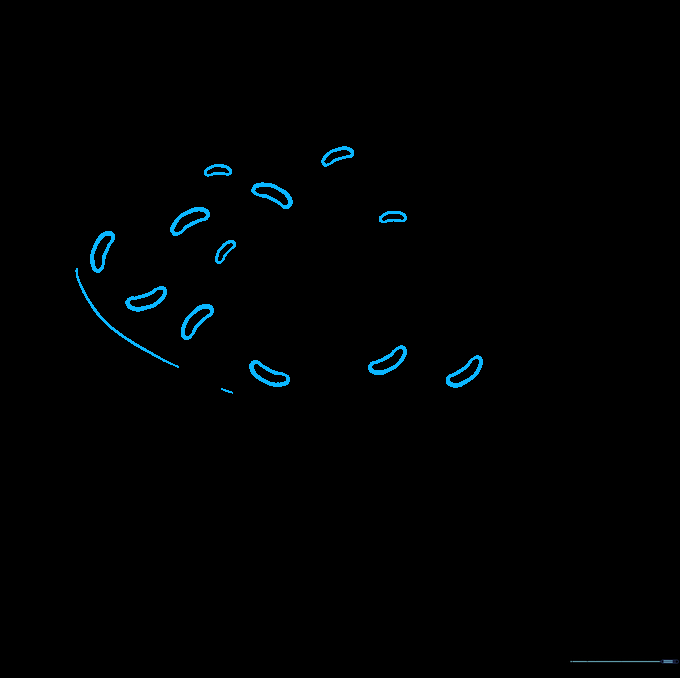
Draw a curved line near the frosting edge to add volume. Then, draw small, bean-shaped sprinkles on top. Tip: Vary the angles of your sprinkles so they look like they were scattered by hand.
Filling with Sprinkles

Keep adding sprinkles until the top of your donut is fully covered. Tip: Don't worry about making them perfect; real sprinkles are always a bit messy!
Adding Color

Time to decorate! Use your favorite colors for the frosting and the donut. Will you choose chocolate, strawberry, or vanilla? Tip: Use a darker shade of your frosting color near the edges to create a 3D shadow effect.
More Tutorials


