How to Draw a Jumping Dolphin: Easy 10-Step Guide
Ready to bring the ocean to life? This tutorial is perfect for young artists ages 5 and up. All you need is a pencil, an eraser, and a piece of paper to capture the graceful movement of a leaping dolphin.
🎯 Final Result

Step-by-Step Instructions
Step 1: Sketching the Head and Eye
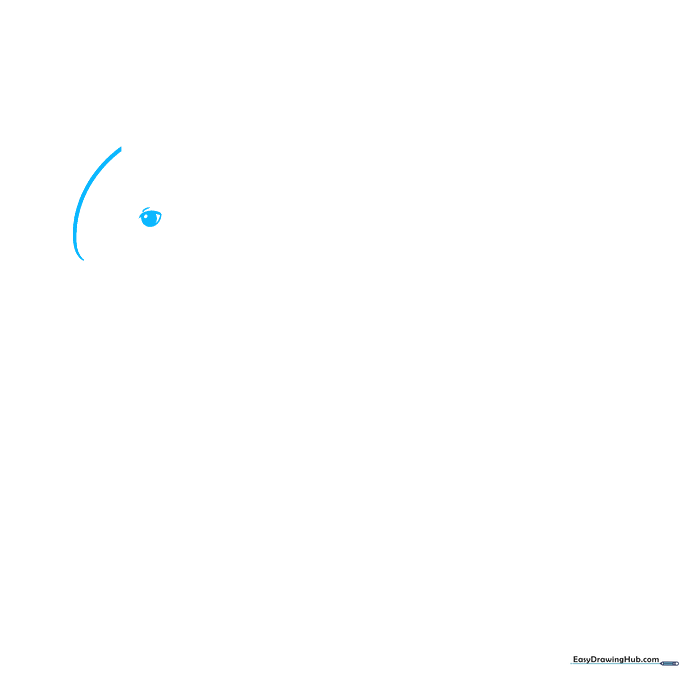
Start by drawing a soft, curved line for the dolphin's forehead. Add a small circle for the eye with a shaded pupil inside. Teacher's Tip: Keep the eye near the front of the curve to give your dolphin a friendly, alert expression.
Step 2: Defining the Beak
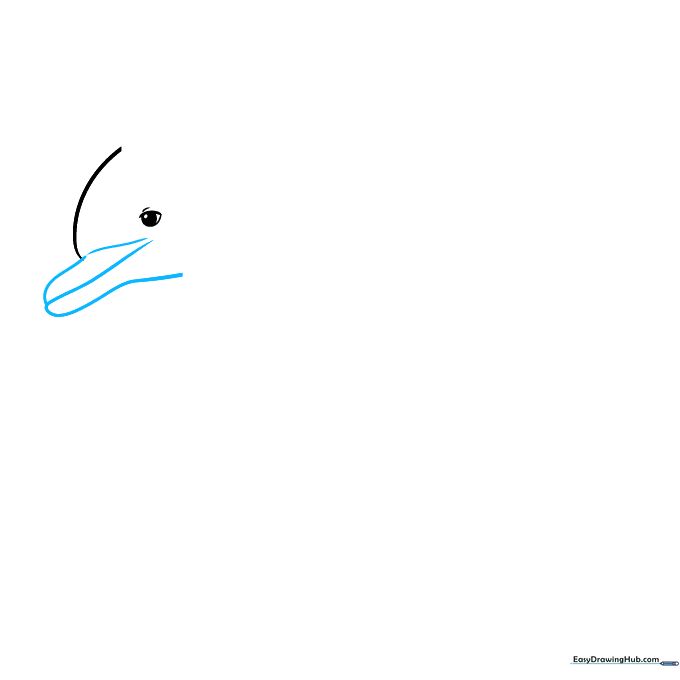
Use two overlapping curved lines to create the dolphin's beak. Tip: Think of this as a gentle 'smile' shape; keep the lines smooth to match the dolphin's sleek body.
Step 3: Outlining the Body and Fin
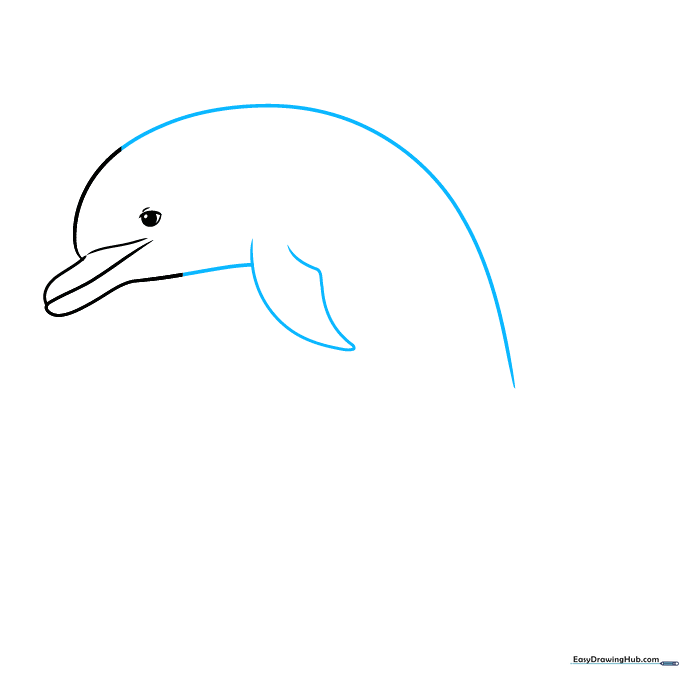
Extend the head line to form the back and the jaw line to form the chest. Add a triangular shape for the pectoral fin. Tip: Make the fin look like a rounded wing to show movement.
Step 4: Adding the Tail
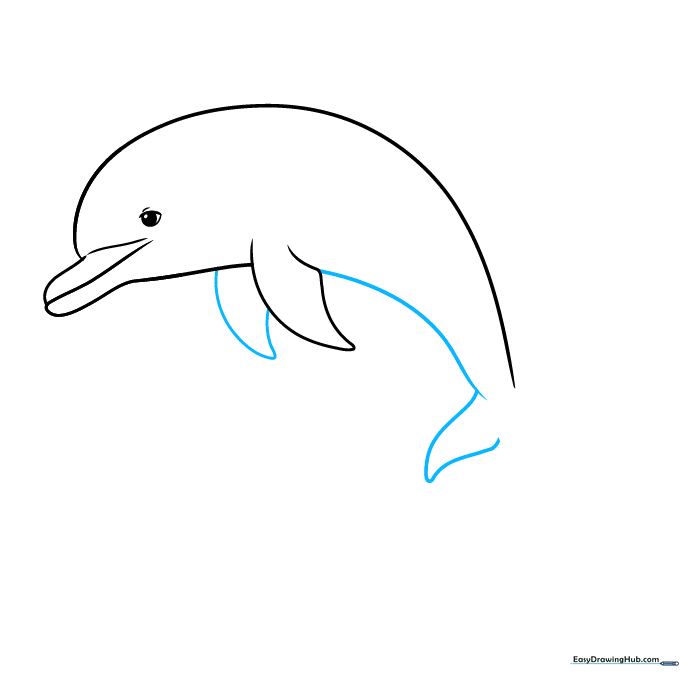
Draw the second fin, then extend the body into a long, graceful curve. At the end, create a 'Y' shape to form the tail fluke. Tip: Ensure the tail is wide to show the power the dolphin uses to jump!
Step 5: Dorsal Fin and Details
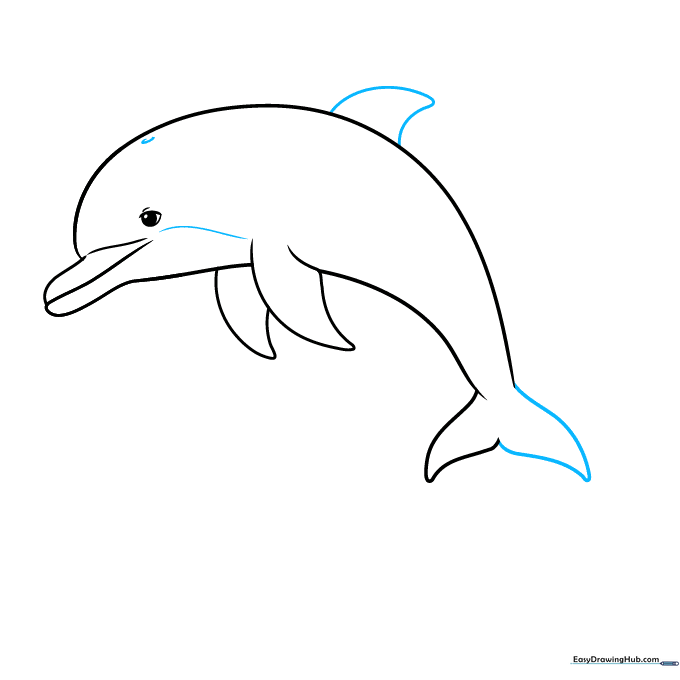
Add the dorsal fin on the back and a small curve for the blowhole. Tip: The dorsal fin should look like a shark's fin but with softer, more rounded edges.
Step 6: Creating the Splash
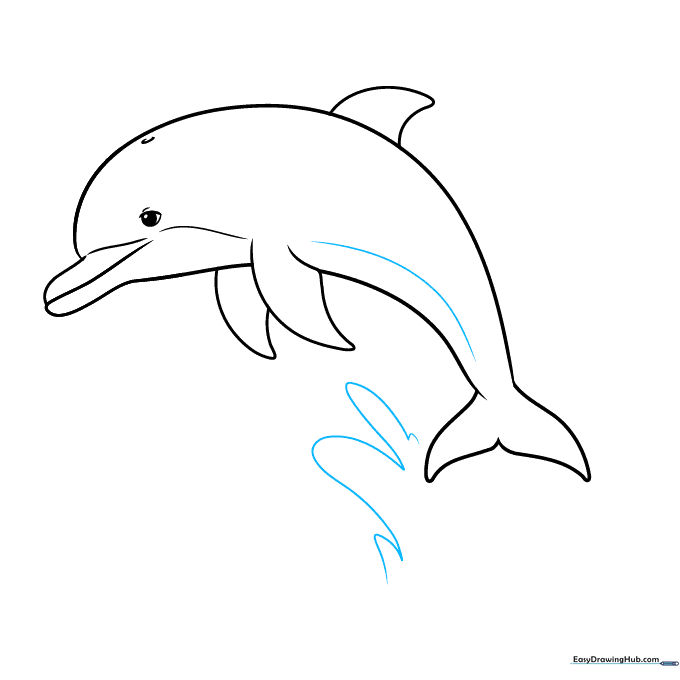
Draw a long line for the underbelly and start sketching the water splashing behind the dolphin. Tip: Use quick, jagged strokes to make the water look energetic.
Step 7: Refining the Splash
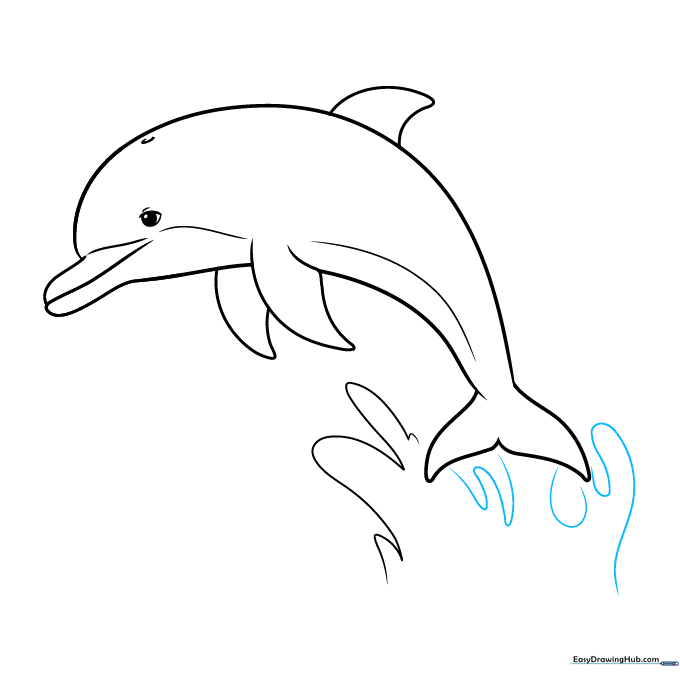
Add more curved lines to build up the volume of the splash. Tip: Vary the size of your curves to make the water look like it is spraying in different directions.
Step 8: Adding Water Surface Details
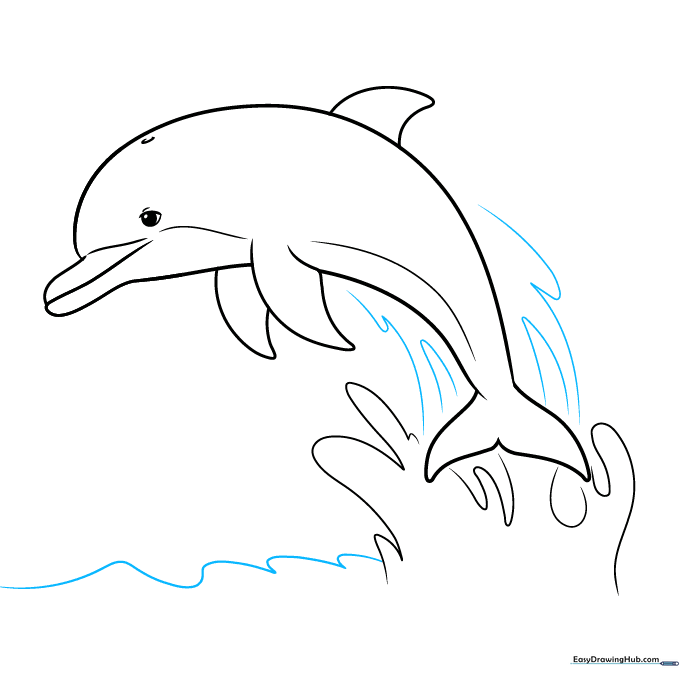
Use wavy lines to represent the surface of the water. Tip: Keep these lines horizontal to contrast with the vertical motion of the jumping dolphin.
Step 9: Finalizing the Splash

Add small oval shapes around the splash to represent flying water droplets. Tip: Place these randomly to make the splash look natural and messy.
Step 10: Coloring Your Dolphin
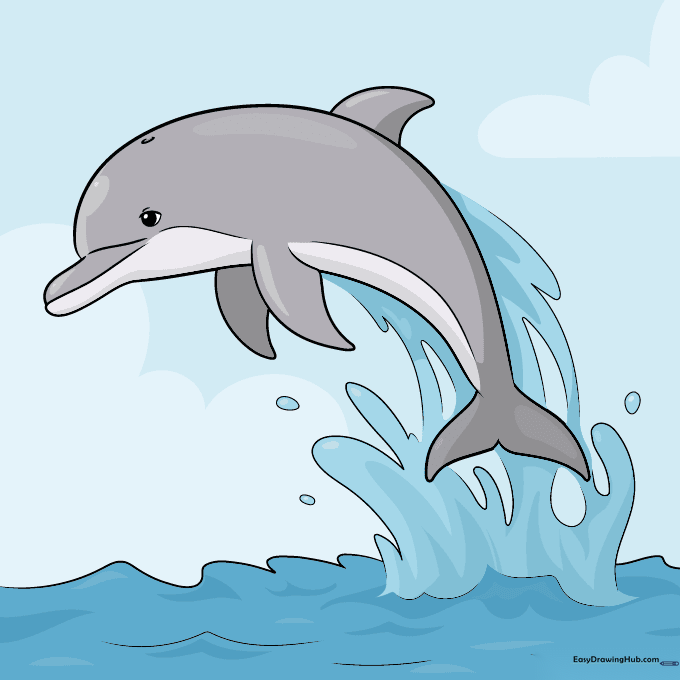
Time to bring your drawing to life! Use shades of grey for the body and a lighter color for the belly. Tip: Use a light blue for the water to make the grey of the dolphin pop.
More Tutorials


