How to Draw a Cute Doll: Easy 10-Step Guide for Kids
Bring your favorite toy to life on paper! This tutorial is designed for young artists ages 5 and up, using only a pencil, eraser, and paper. Follow these simple steps to build confidence and develop your drawing skills while creating a charming character.
🎯 Final Result

Step-by-Step Instructions
Step 1: Sketching the Head

Draw a light circle to serve as the doll's face. Teacher's Tip: Keep your pencil strokes very light so you can easily erase any guidelines later!
Step 2: Adding Pigtails
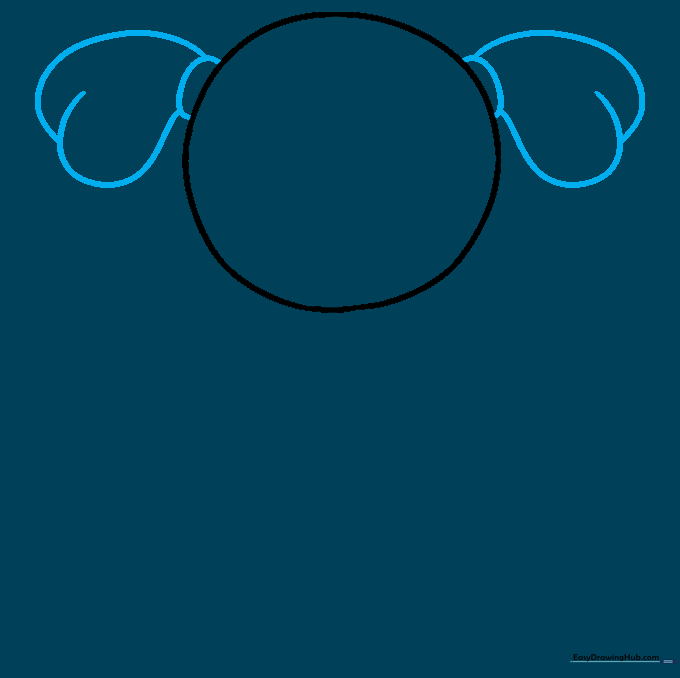
Draw a rounded shape on each side of the head for hair ties, then extend curved lines that overlap like a drooping heart to form the pigtails. Tip: Make the pigtails symmetrical to give your doll a balanced look.
Step 3: Defining the Hairline
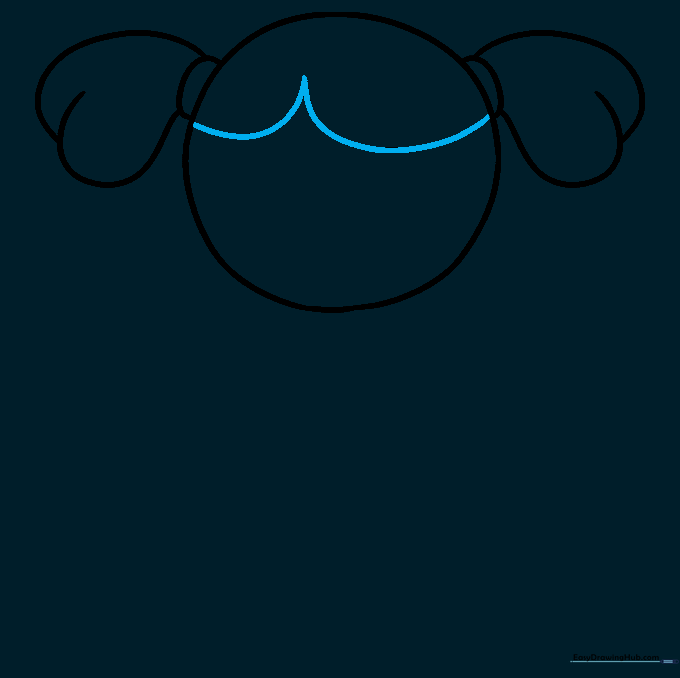
Draw a gentle 'W' shaped line across the top of the head to indicate the hairline. Tip: Keep the 'W' soft and rounded rather than sharp to make the hair look natural.
Step 4: Drawing the Face
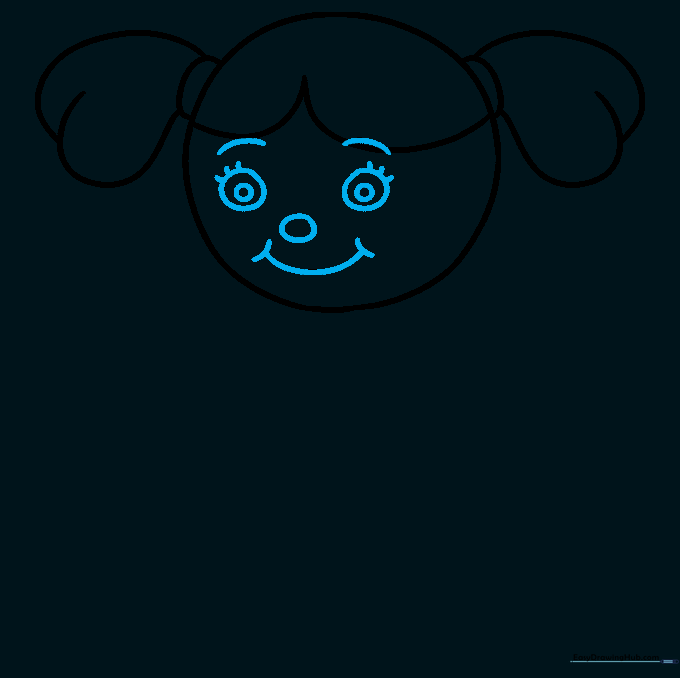
Add two circles for eyes with smaller pupils inside, short lines for lashes, curved brows, and a wide 'U' shaped smile. Tip: Use a steady hand for the smile to ensure the doll looks happy and friendly.
Step 5: Sketching the Body

Draw a 'U' shape for the neck, then extend a long, curved line that doubles back to form the dress shape. Tip: Keep the dress wide at the bottom to give the doll a stable base.
Step 6: Adding Arms
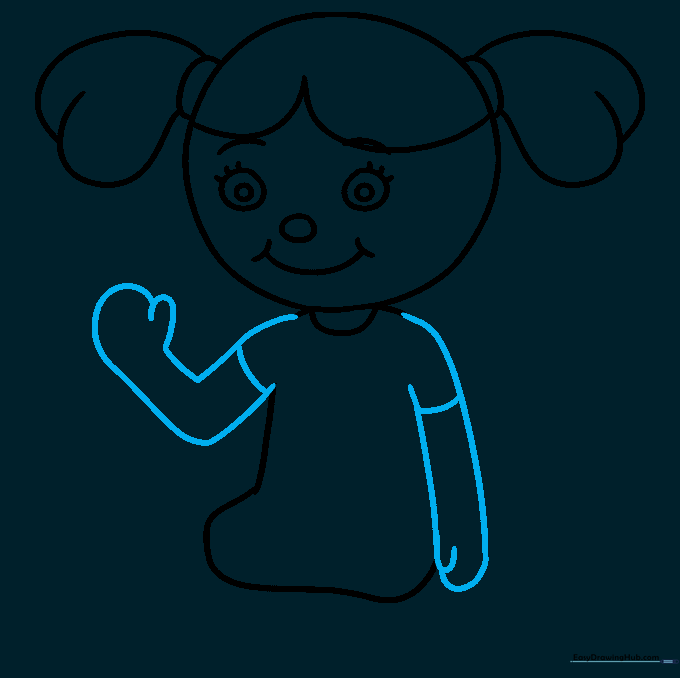
Erase small segments at the shoulders to attach sleeves, then draw the arms with a slight bend for the elbow. Tip: Use overlapping lines to suggest the hands are resting naturally.
Step 7: Drawing the Feet
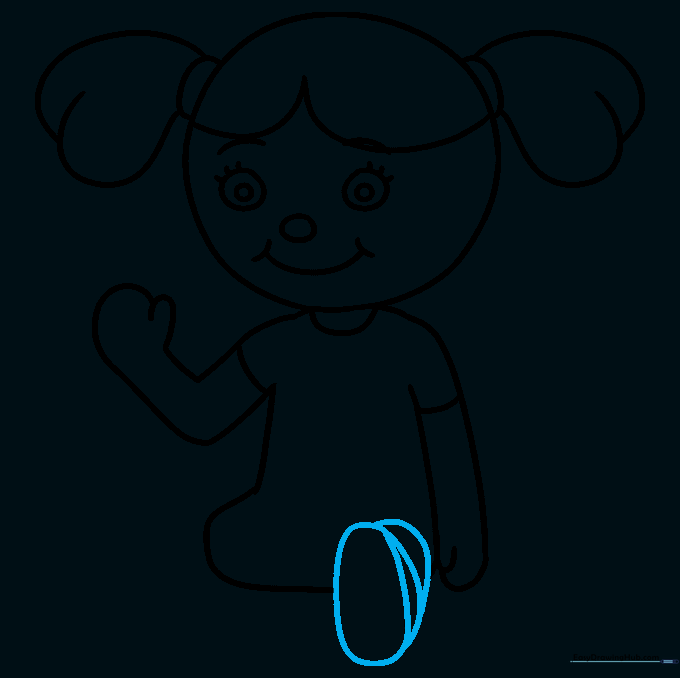
Erase a section at the base of the dress to draw an oval foot, adding curved lines to suggest the leg. Tip: Ensure the feet are placed symmetrically to make the doll look like she is standing.
Step 8: Completing the Dress
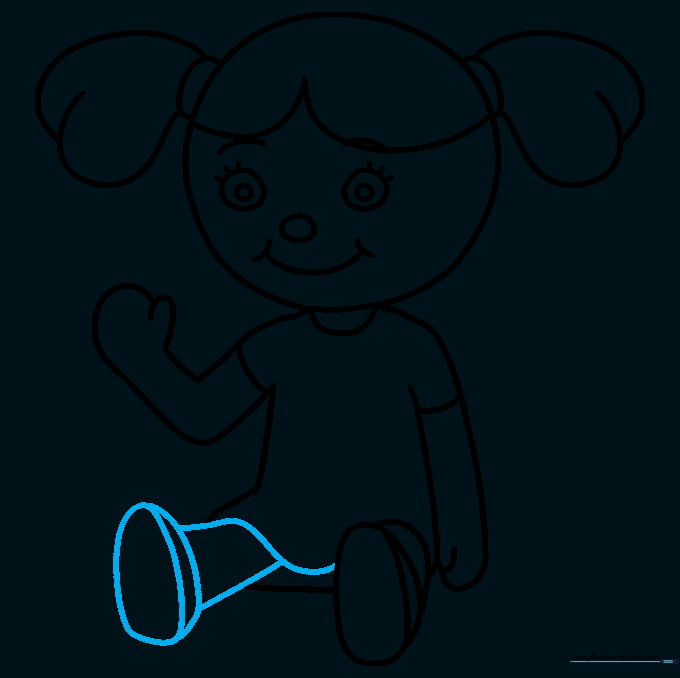
Add the second foot and connect the lines to form the hem of the dress. Tip: Use a continuous, flowing line for the hem to make the fabric look soft.
Step 9: Adding Details
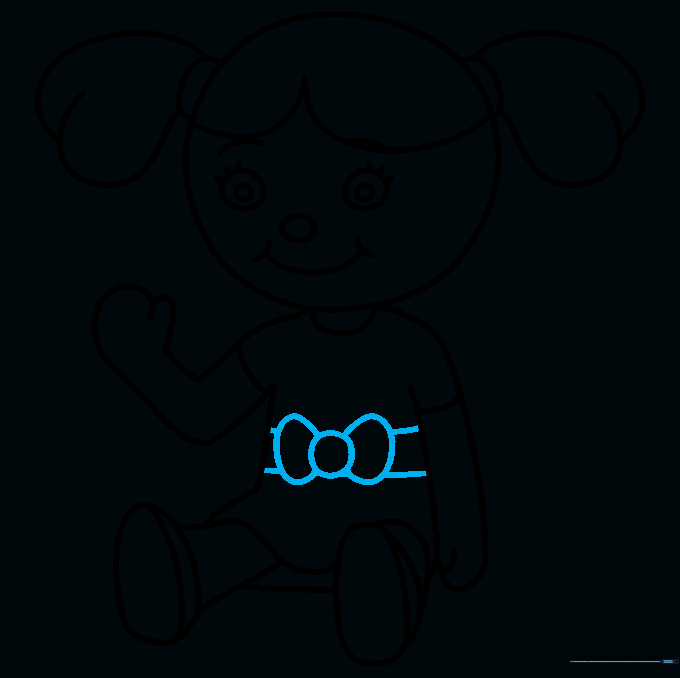
Draw a circle in the center of the torso with rounded shapes on each side to create a bow. Tip: Adding small details like a bow makes your drawing look more professional and personalized.
Step 10: Color Your Creation
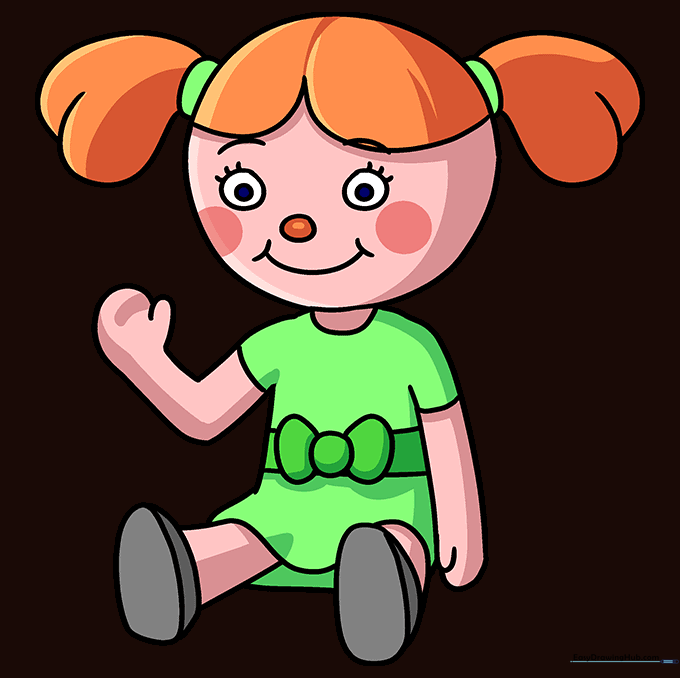
Bring your doll to life with your favorite colors! Tip: Use bright colors for the dress and hair to give your doll a fun, vibrant personality.
More Tutorials


