How to Draw a Dog Paw Print: Easy 10-Step Guide
Looking for a fun, quick art project? This step-by-step guide is perfect for young artists ages 5 and up to practice basic shapes. All you need is a pencil, an eraser, and a piece of paper to bring this classic paw print to life.
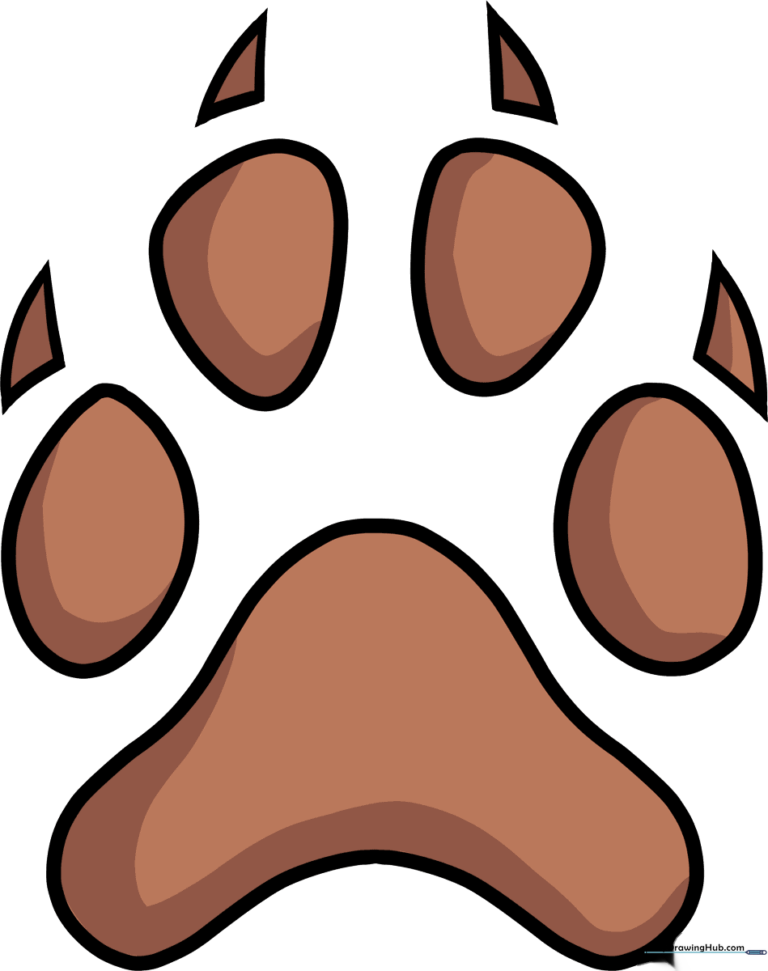
🎯 Final Result
Step-by-Step Instructions
Sketching the Central Pad

Draw a large, rounded triangle shape in the center of your page to form the main paw pad. Teacher's Tip: Keep your pencil strokes light and loose so you can easily adjust the shape if it looks a bit lopsided.
Adding the First Toe Pad
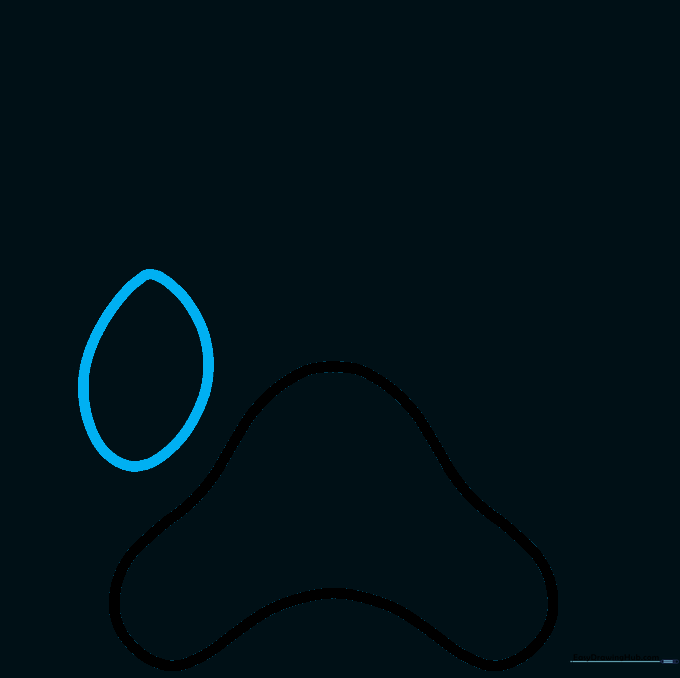
Draw a small oval shape above the main pad to create the first toe. Teacher's Tip: Think of these as 'toe beans'—they should be smaller than the main pad and slightly egg-shaped.
Drawing the Second Toe Pad
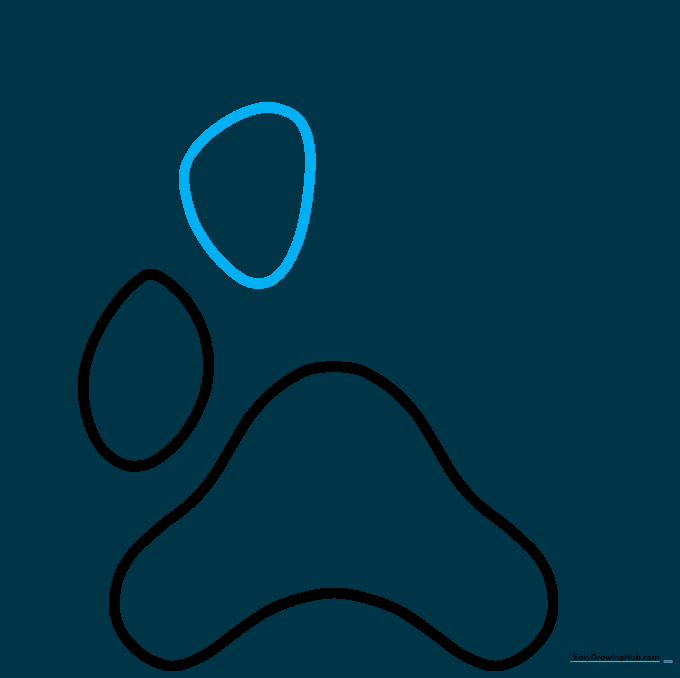
Add a second, slightly curved oval shape next to the first one. Teacher's Tip: Ensure there is a small gap between the toe pads so they don't look like they are melting together.
Drawing the Third Toe Pad

Sketch the third toe pad using another rounded, irregular oval. Teacher's Tip: It’s okay if they aren't perfectly symmetrical; real dog paws are organic and slightly uneven!
Completing the Toe Pads
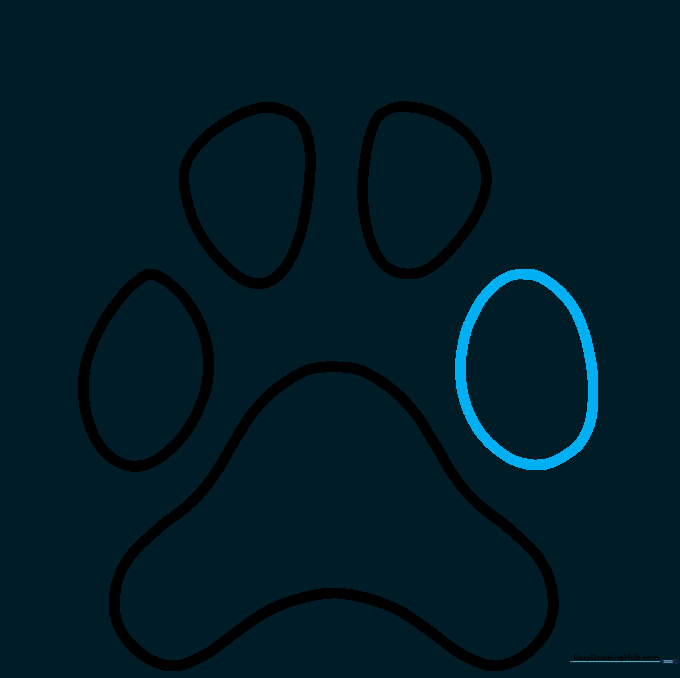
Draw the final, fourth toe pad to complete the top row. Teacher's Tip: Check your spacing—make sure all four toes look balanced across the top of the central pad.
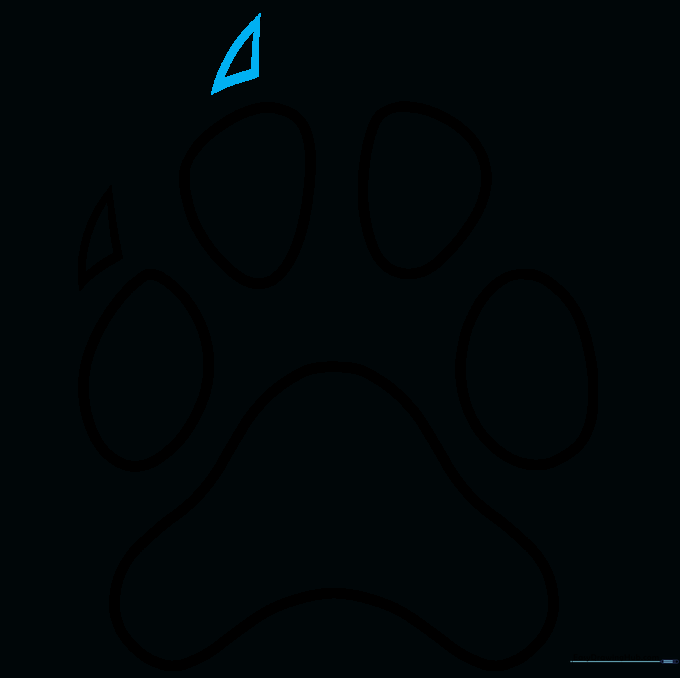
Sketching the First Claw

Draw a small, sharp triangle above the first toe pad to represent a claw. Teacher's Tip: Keep these small; they should look like little accents, not giant spikes.
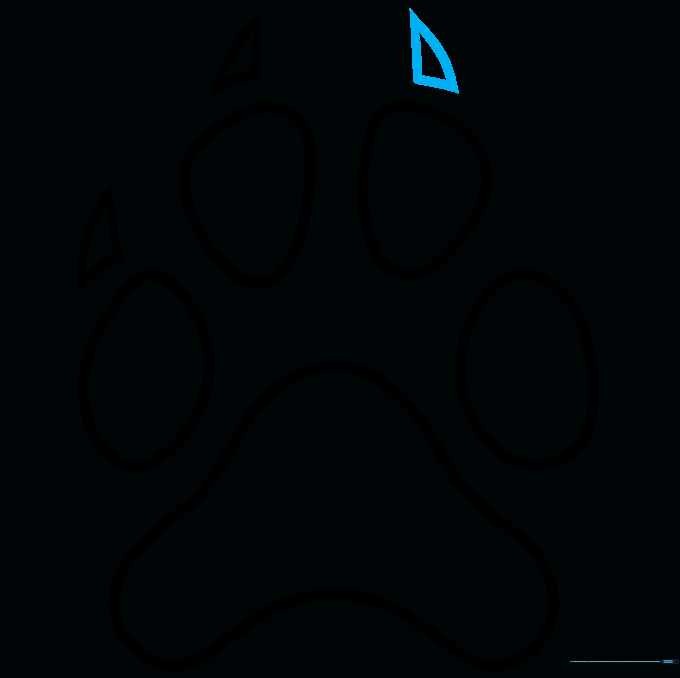
Adding the Second Claw
Repeat the process by adding a second small triangle above the next toe pad. Teacher's Tip: Point the claws slightly outward to give the paw a more natural, dynamic look.
Adding the Third Claw
Draw the third claw triangle. Teacher's Tip: If you make a mistake, don't worry! Use your eraser to gently lift the graphite before you move on to the final outline.
Finalizing the Claws
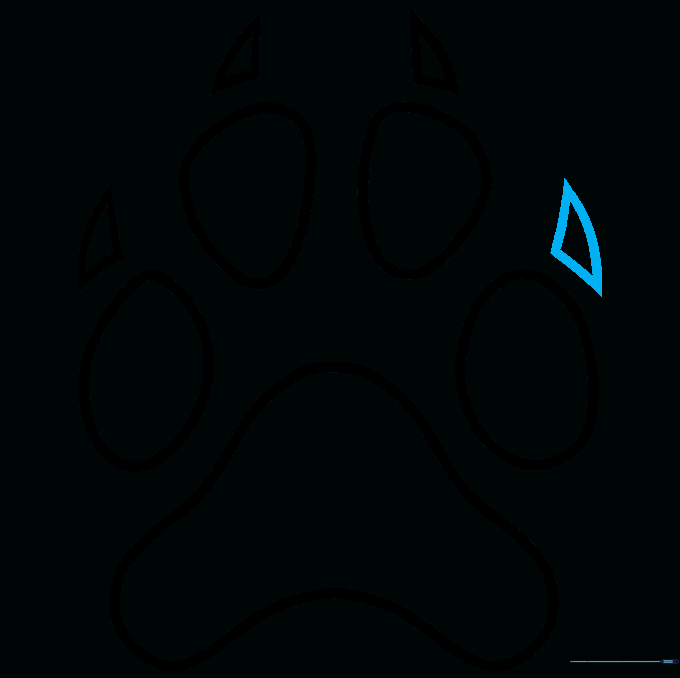
Draw the final claw triangle. Teacher's Tip: Now is the time to darken your final lines with a firmer hand, making the paw print pop off the page.
Adding Color and Character
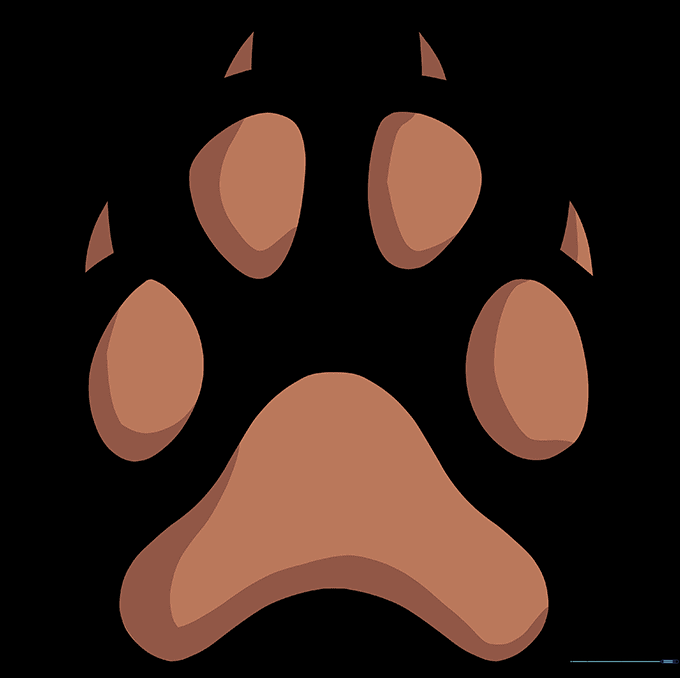
Time to color! Use warm browns or soft grays for a realistic look, or get creative with bright, fun colors. Teacher's Tip: Try using colored pencils to add a little shading on one side of the pads to give them a 3D effect.
More Tutorials


