How to Draw a Dog Outline: Easy 9-Step Guide
Looking for a fun, screen-free activity? This guide is perfect for young artists ages 5+ to practice basic shapes and line control. Grab a pencil, an eraser, and a piece of paper to create your own canine companion in just a few minutes.
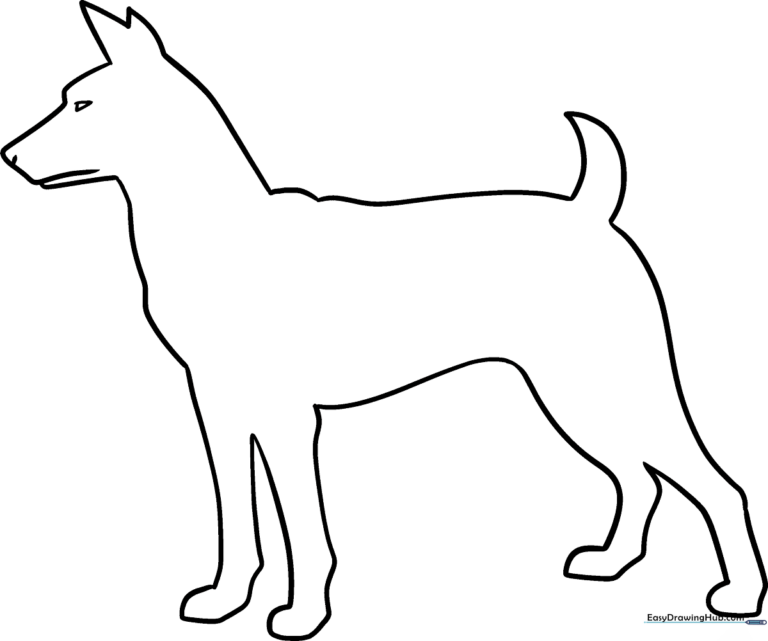
🎯 Final Result
Step-by-Step Instructions
Step 1: Sketching the Head and Snout
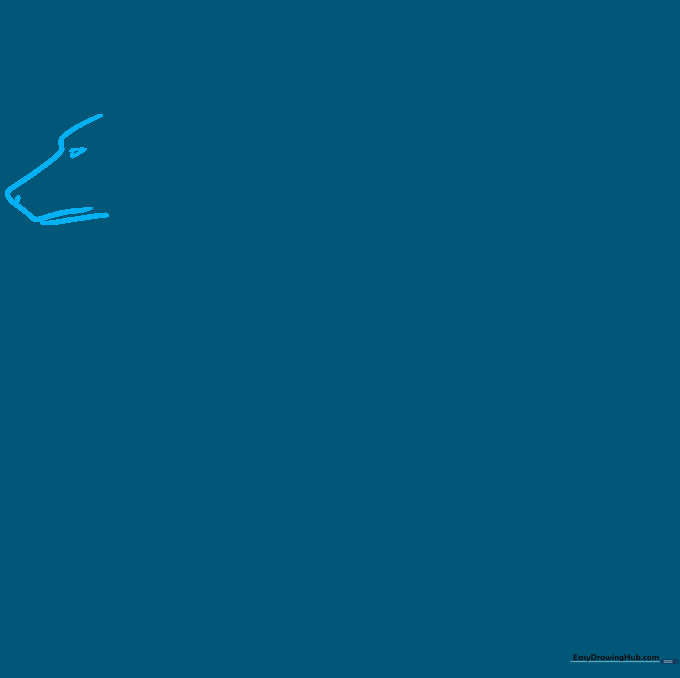
Start by drawing a soft, curved line for the forehead and snout, then add the lower jaw. Add a tiny triangle for the eye and a small dash for the nose. Teacher's Tip: Keep the eye small to give your dog a cute, friendly expression.
Step 2: Adding the Ears and Neck
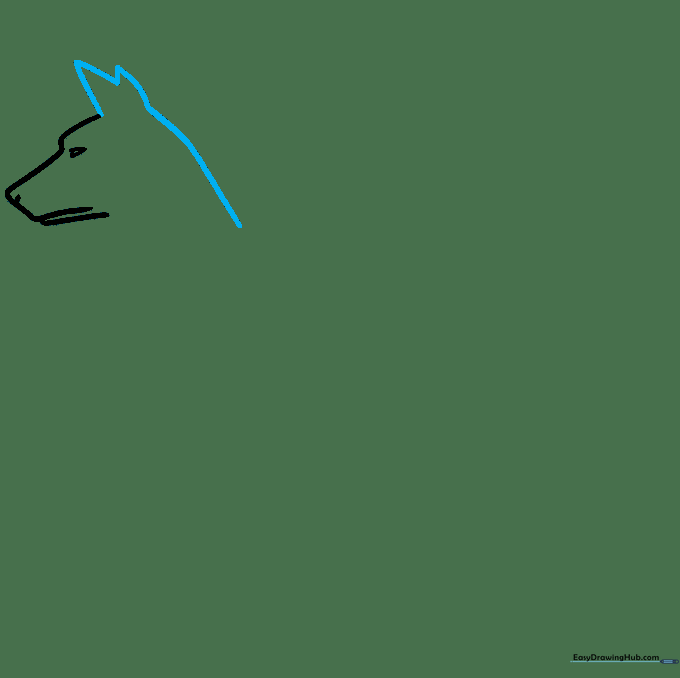
Draw two pointed shapes for the ears, making one slightly longer than the other for a playful look. Extend a line down from the head to start the neck. Teacher's Tip: Don't worry about perfect symmetry; real dog ears are often expressive and move around!
Step 3: Defining the Chest and Shoulders
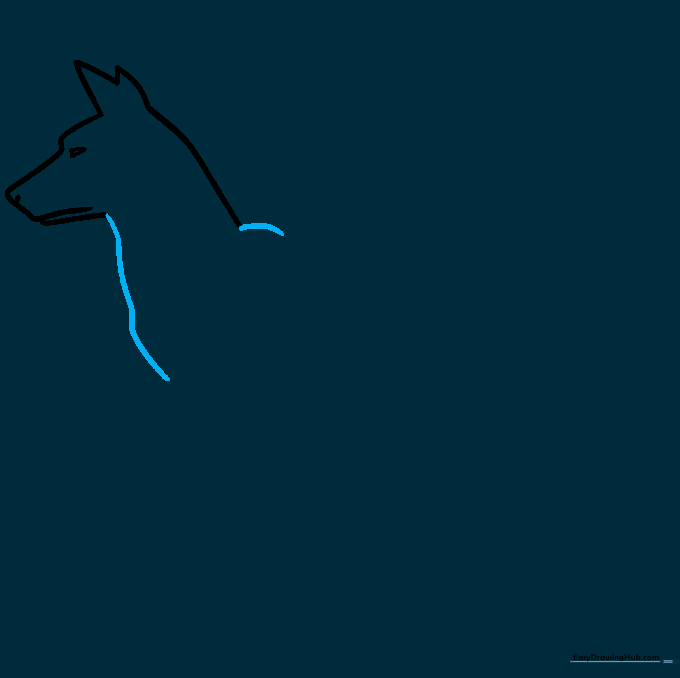
Continue the jawline down to form the chest, then draw a curved line on the back to represent the shoulder. Teacher's Tip: Use a smooth, sweeping motion for the chest to give your dog a sturdy appearance.
Step 4: Sketching the First Front Leg
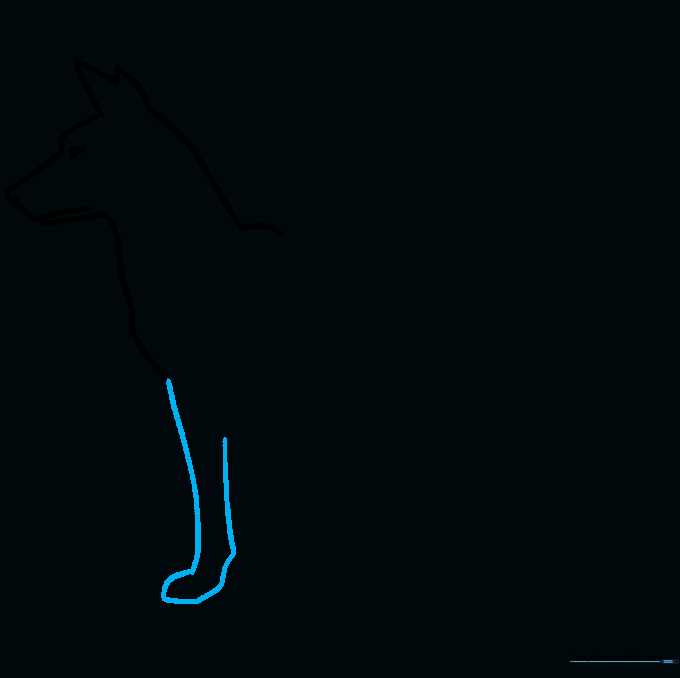
Use curved lines that double back to create the first front leg and paw. Teacher's Tip: Focus on the 'elbow' joint—a slight inward curve makes the leg look much more natural.
Step 5: Adding the Second Front Leg
Draw the second foreleg slightly behind the first using similar curved lines. Teacher's Tip: Since this leg is further away, try to keep it slightly higher on the page to create a sense of depth.
Step 6: Drawing the Belly
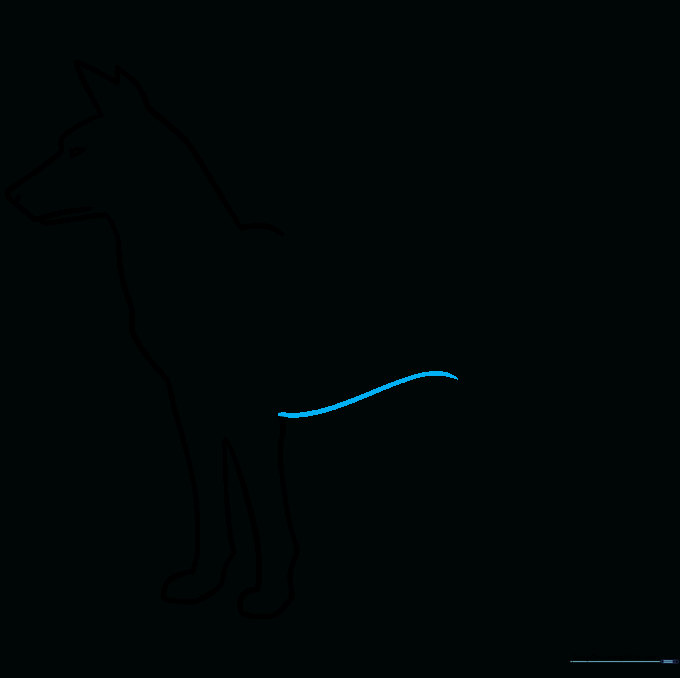
Extend a long, smooth curved line from the back of the front leg to form the dog's belly. Teacher's Tip: A gentle upward curve makes the dog look active and ready to play.
Step 7: The Back and Tail
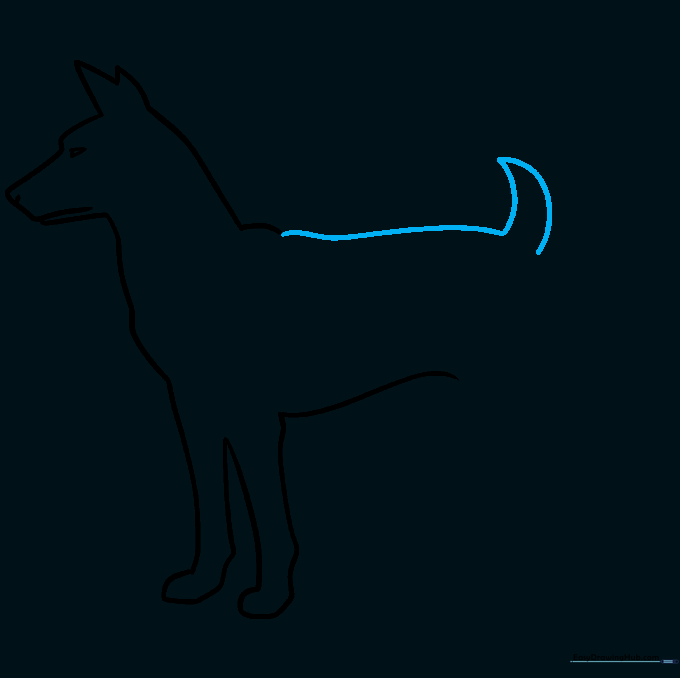
Draw a long line from the shoulder to the tail, then add a pointed tail shape. Teacher's Tip: Make the tail curve upward to show that your dog is happy!
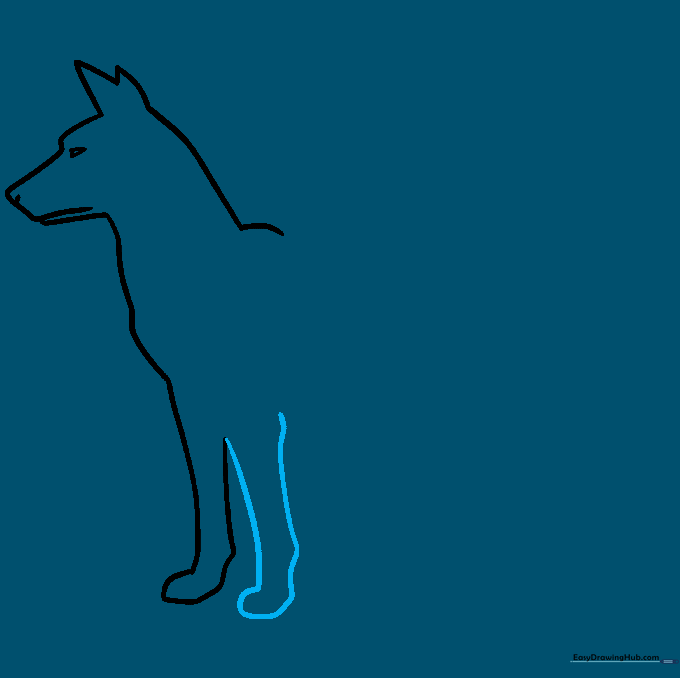
Step 8: Sketching the Rear Leg
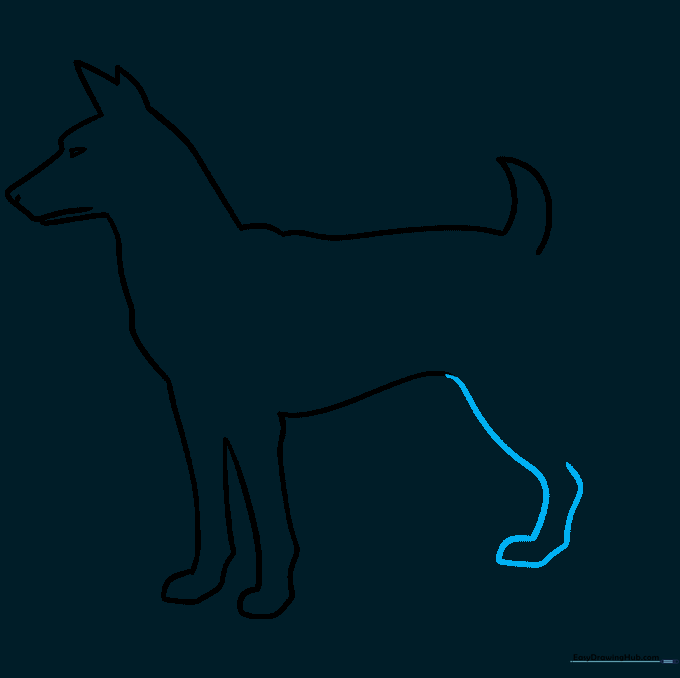
Add the rear leg by drawing a curved line that doubles back from the belly. Teacher's Tip: Rear legs are usually thicker at the top than front legs, so make this line a bit wider.
Step 9: Finalizing the Outline
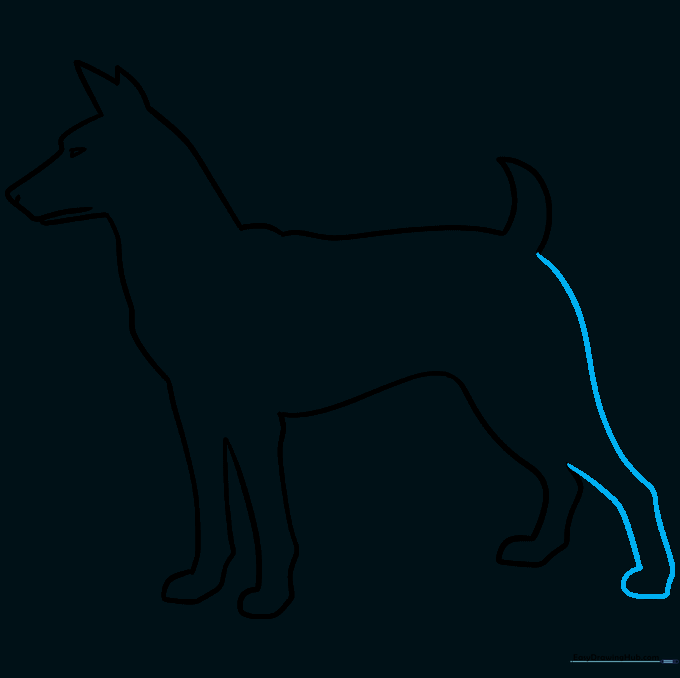
Complete the rear leg and ensure all your lines connect smoothly. Teacher's Tip: Go over your final lines with a darker pencil or marker to make the outline pop.
Step 10: Adding Color

Time to bring your dog to life! You can color it black for a classic silhouette or use browns and tans to match your favorite breed. Teacher's Tip: Use light pressure with your colored pencils to create soft shading, or press hard for bold, cartoon-style colors.
More Tutorials


