How to Draw a Dog House: Easy 10-Step Guide for Kids
Ready to build a home for your favorite pup? This drawing guide is perfect for budding artists ages 5 and up. All you need is a pencil, an eraser, and some paper to bring this cozy canine cottage to life.
🎯 Final Result

Step-by-Step Instructions
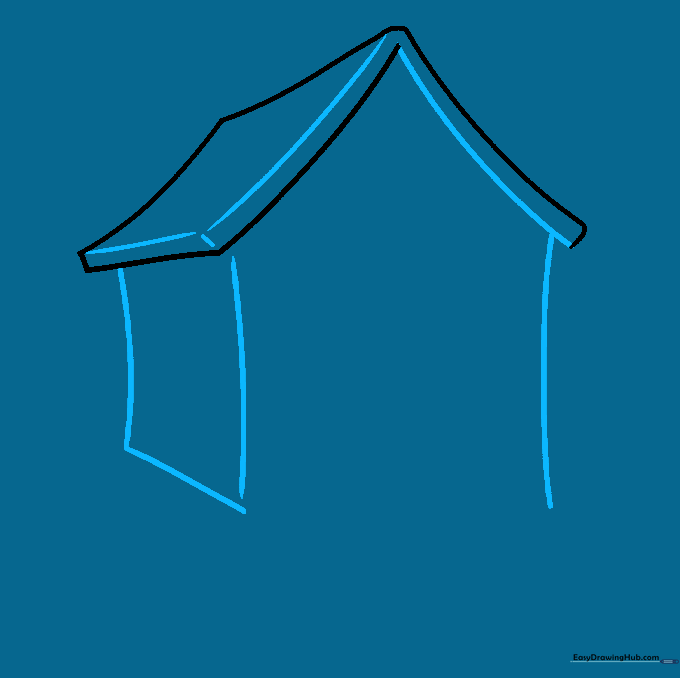
Step 1: Sketching the Roofline

Start by drawing the roof using curved lines to create a four-sided parallelogram. Teacher's Tip: Keep your pencil strokes light so you can easily adjust the angles if the roof looks a bit lopsided.
Step 2: Adding Depth to the Roof
Complete the roof by adding parallel lines to give it a 3D look, then sketch the rectangular frame of the house below. Teacher's Tip: Use a ruler if you want perfectly straight walls, or keep it freehand for a charming, rustic style.
Step 3: Creating the Entrance
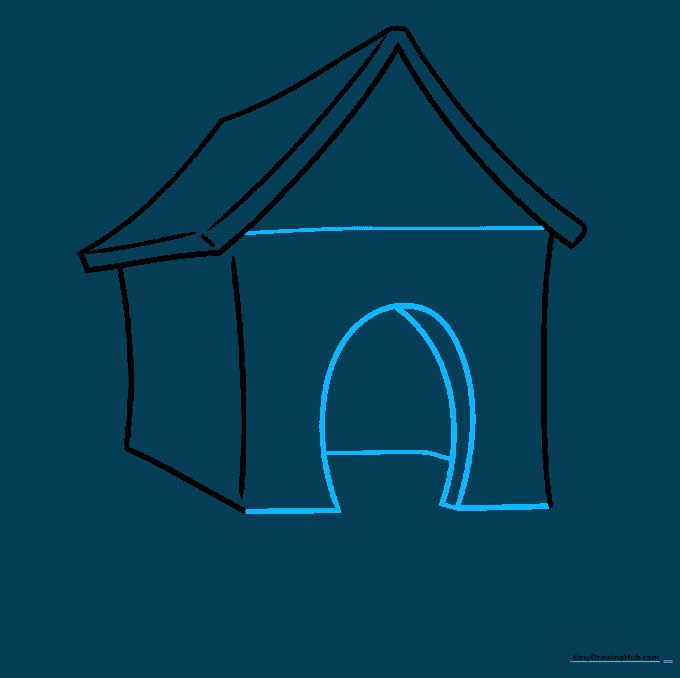
Draw a large inverted 'U' shape for the door and add a parallel line inside to show the thickness of the doorway. Teacher's Tip: Imagine a puppy walking through—make sure the door is tall enough!
Step 4: Adding Wood Texture
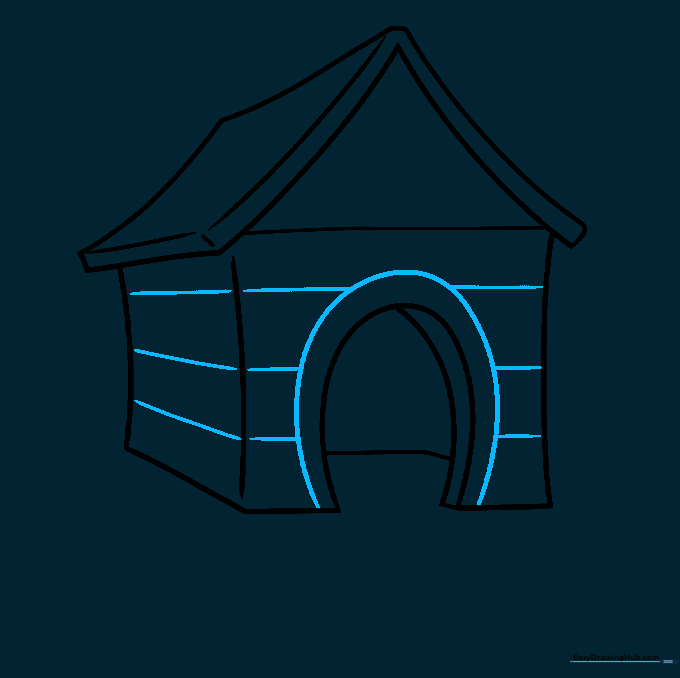
Draw horizontal lines across the front of the house to mimic wooden planks. Teacher's Tip: Don't worry about making them perfectly straight; wood grain is naturally uneven!
Step 5: Personalizing the House
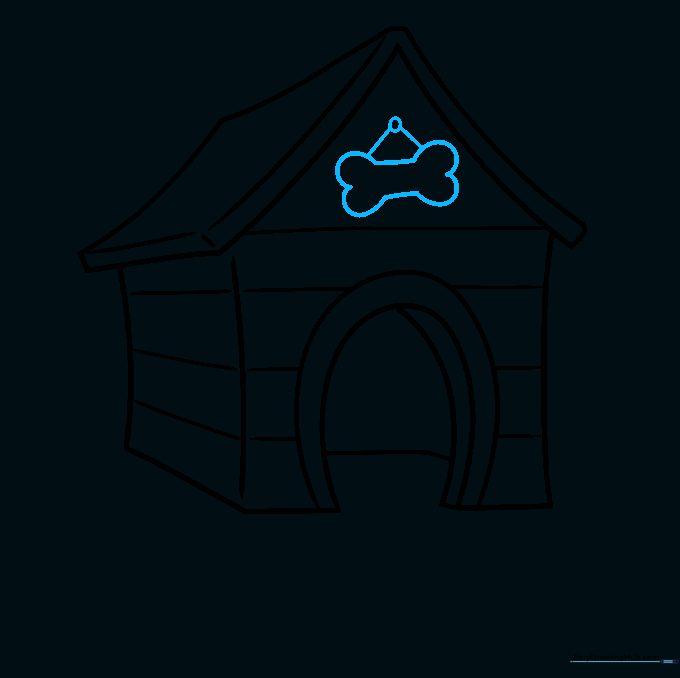
Draw a bone-shaped sign above the door, hanging from a small nail. Teacher's Tip: This is a great spot to write your own dog's name inside the bone!
Step 6: Adding Grass
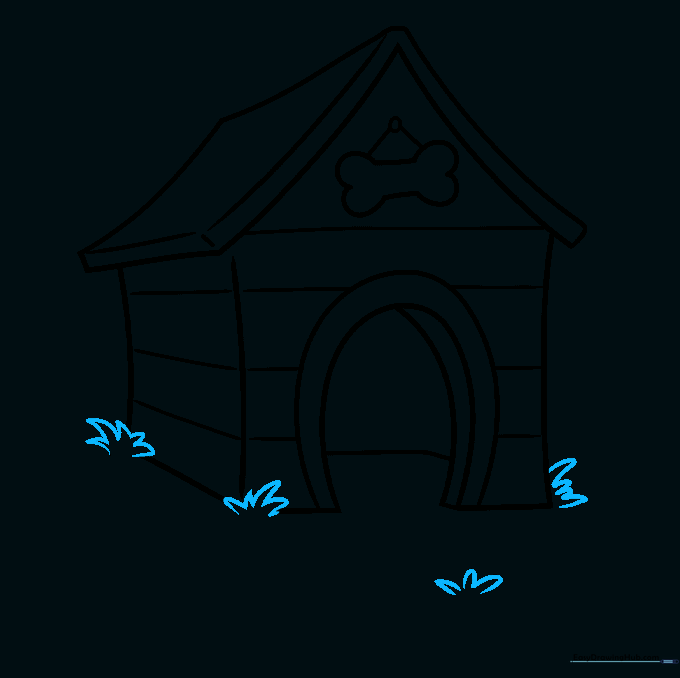
Use small 'U' shapes at the base of the house to create tufts of grass. Teacher's Tip: Vary the height of the grass tufts to make the ground look more natural.
Step 7: Drawing the Food Bowl
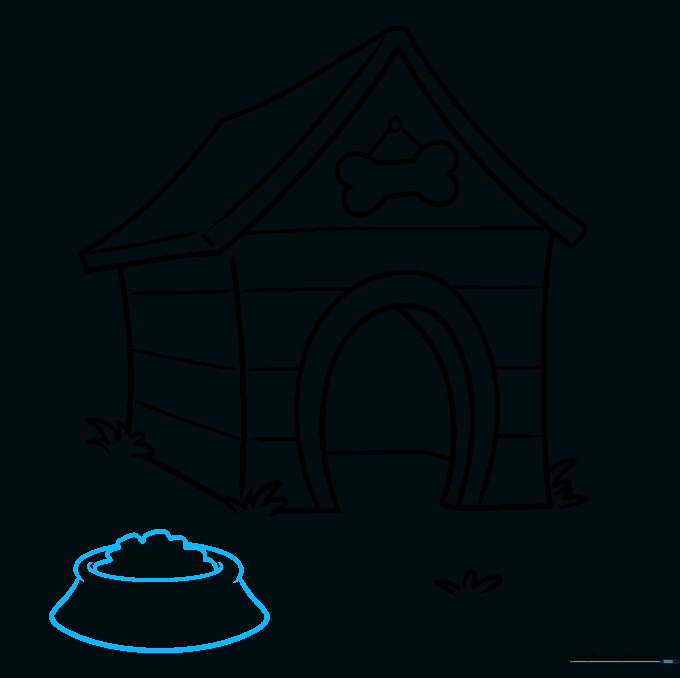
Sketch a small bowl near the house using curved lines for the rim and base. Teacher's Tip: Draw the kibble inside as small, irregular circles to make it look realistic.
Step 8: Adding a Toy

Draw a circle with curved lines across it to create a tennis ball. Teacher's Tip: Place it near the bowl so it looks like the dog just finished playing!
Step 9: Final Details
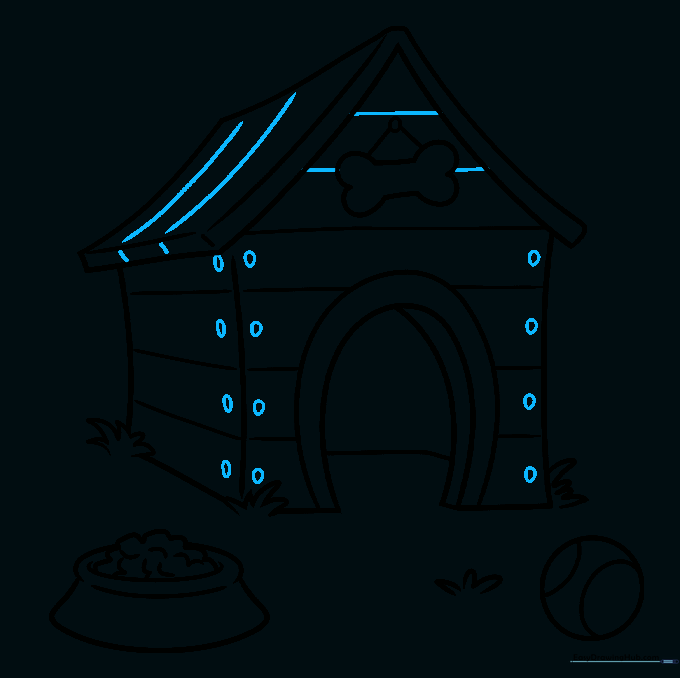
Add small circles for nails on the roof boards to finish the structure. Teacher's Tip: Use a darker pencil or marker to outline your final lines before erasing your initial sketch marks.
Step 10: Bring It to Life with Color
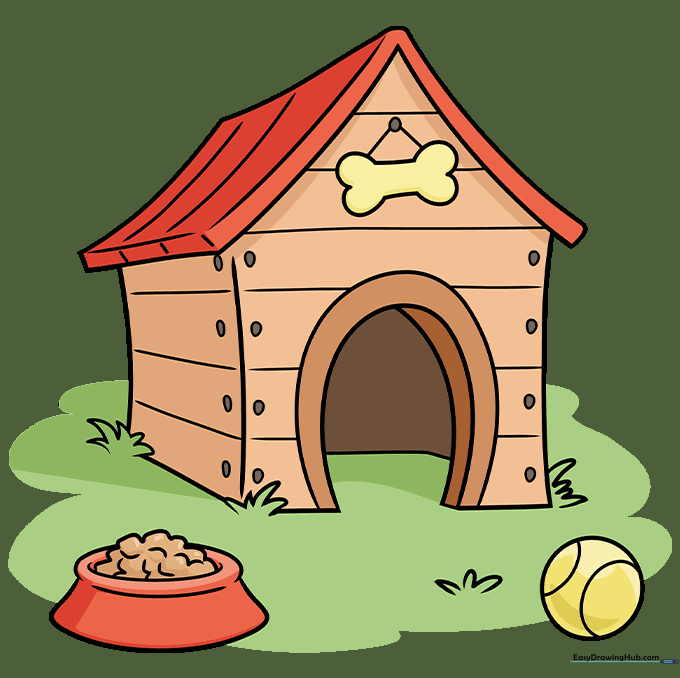
Time to color! Use warm browns for the wood and a bright red for the roof. Teacher's Tip: Try using colored pencils to add shading under the roof overhang for extra depth.
More Tutorials


