How to Draw a Dog Head: Easy 10-Step Guide for Kids
Looking for a fun, screen-free activity? This step-by-step guide is designed for young artists ages 5 and up to build confidence and fine motor skills. All you need is a pencil, an eraser, and a piece of paper to bring this happy pup to life.
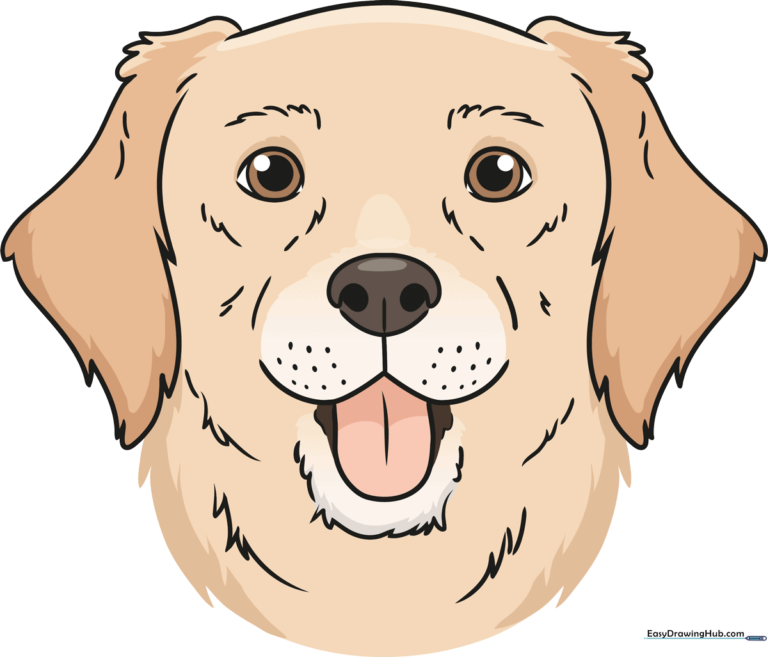
🎯 Final Result
Step-by-Step Instructions
Step 1: Sketching the Expressive Eyes

Start by drawing two gentle teardrop shapes for the eyes, making sure the outer corners are pointed. Inside each eye, draw two circles—one large and one small—and shade the inner circle to create a bright pupil. Teacher's Tip: Use light, short strokes for the brows above the eyes to give your dog a friendly, curious expression.
Step 2: Defining the Nose
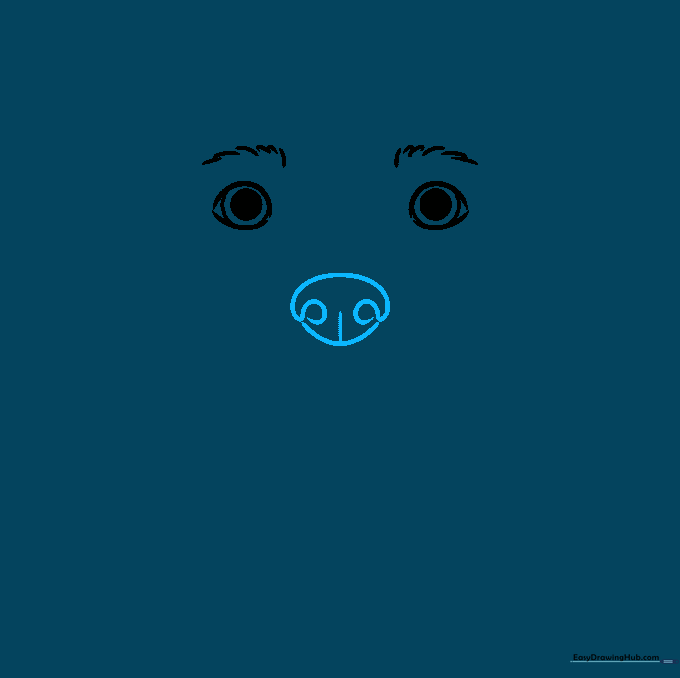
Draw a curved line for the top of the nose, adding small spirals at each end for the nostrils. Add a curved line underneath and a small vertical line to finish the shape. Teacher's Tip: Think of the nose as a rounded triangle; keeping it centered between the eyes helps maintain balance.
Step 3: Drawing the Mouth and Tongue
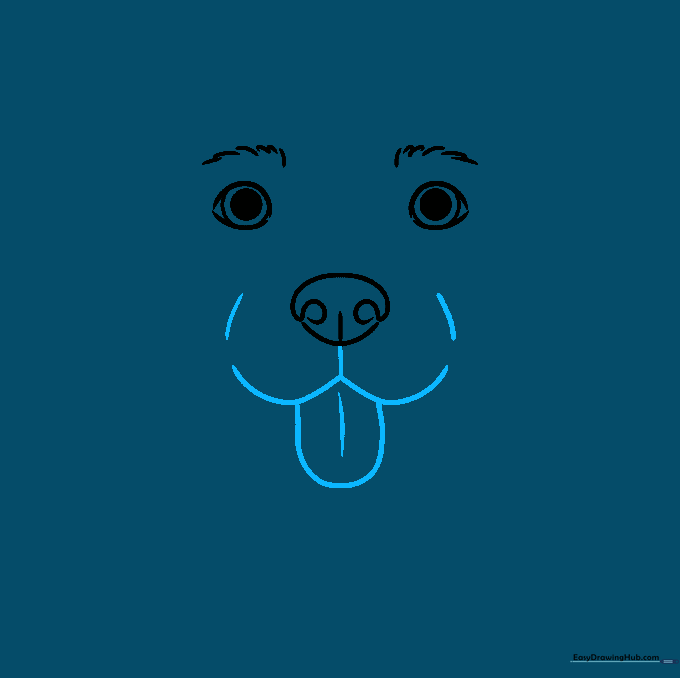
Draw a wide, curved 'W' shape beneath the nose. Add a small 'U' shape below it to represent the tongue. Teacher's Tip: Add a tiny curved line down the center of the tongue to give it a realistic, 3D look.
Step 4: Adding Texture and Whiskers
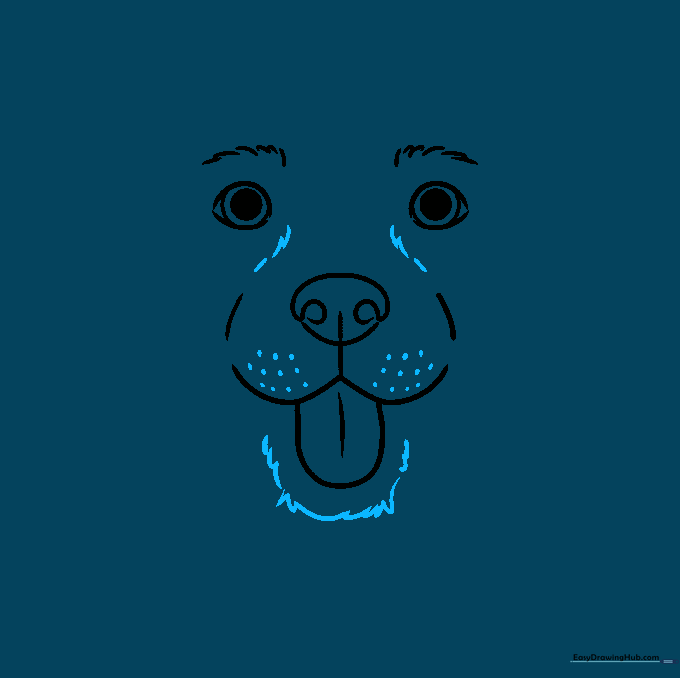
Use short, jagged lines around the nose and mouth to suggest soft fur. Add a few small dots on the muzzle for whiskers. Teacher's Tip: Don't make the dots too uniform; natural whiskers grow in random spots!
Step 5: Outlining the Face
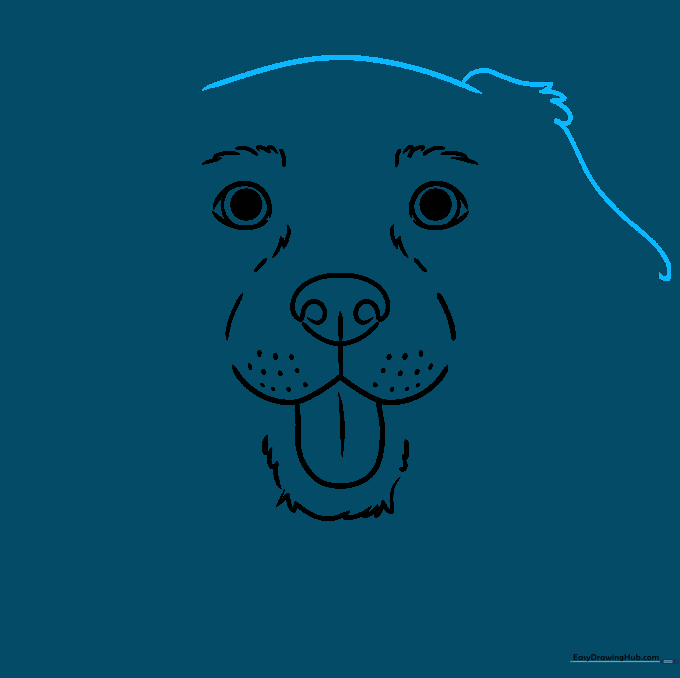
Use a mix of long and short lines to frame the head. The long lines define the shape, while the short, jagged lines create the look of fluffy fur. Teacher's Tip: Keep your wrist loose to make the fur lines look natural rather than stiff.
Step 6: Shaping the First Ear
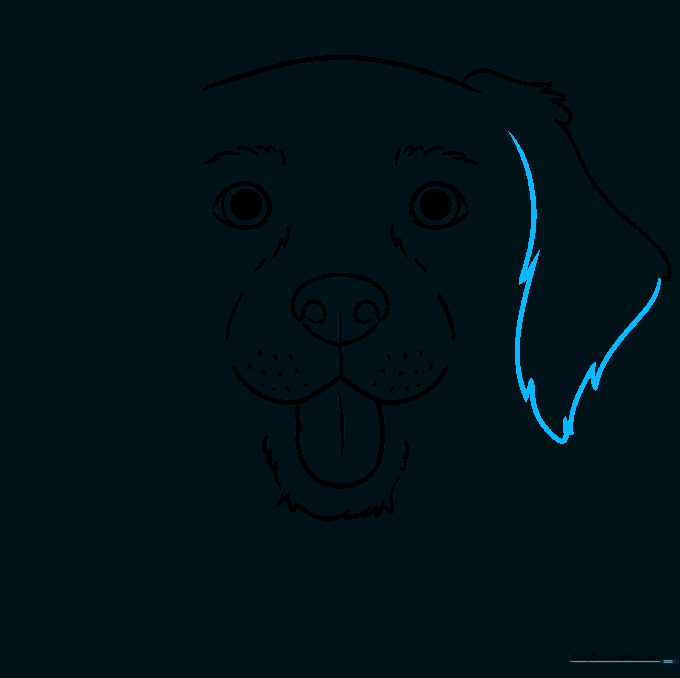
Complete the first ear using long, jagged lines that meet at points. This creates a soft, floppy ear appearance. Teacher's Tip: Imagine the ear is made of soft fabric; let the lines curve slightly to show movement.
Step 7: Adding the Second Ear
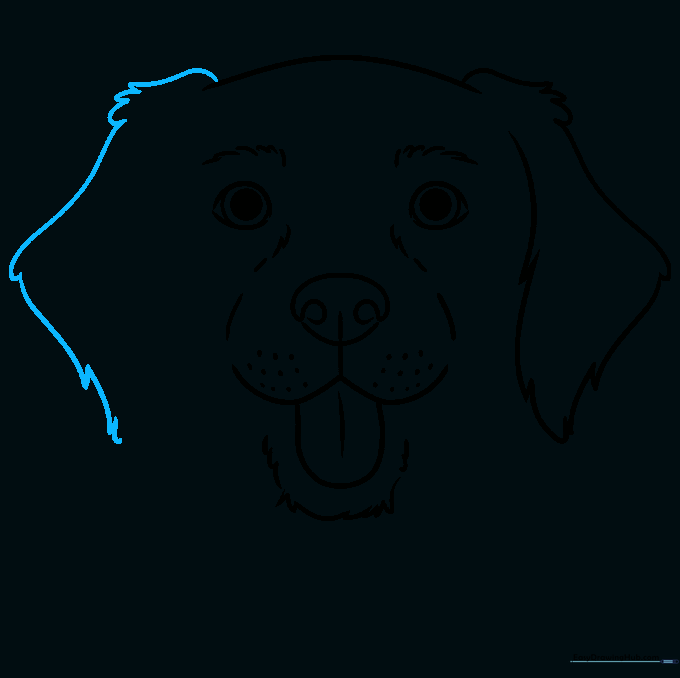
Repeat the process for the second ear on the opposite side. Use similar jagged lines to ensure the ears match in style. Teacher's Tip: If you want a 'goofy' look, try drawing one ear slightly higher than the other!
Step 8: Refining the Fur
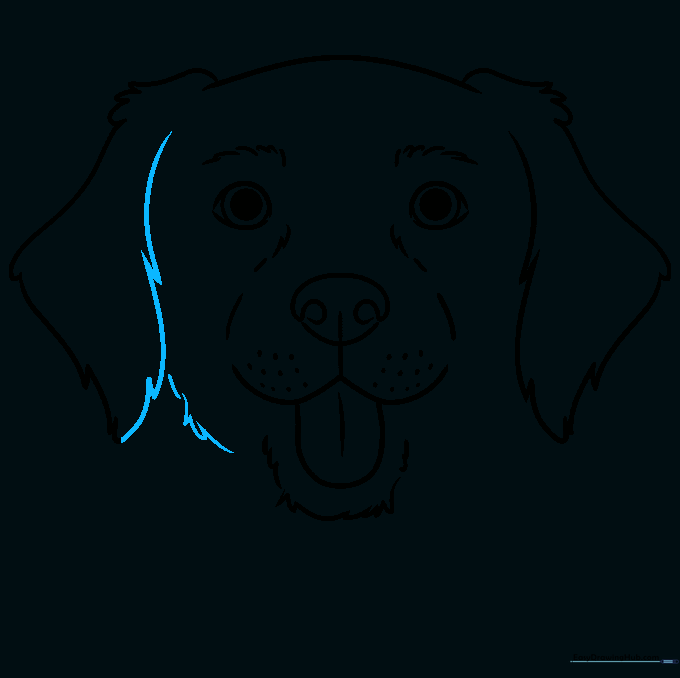
Use overlapping curved lines to connect the ears to the chin, creating a furry cheek effect. Teacher's Tip: Overlapping your lines makes the fur look thicker and more realistic.
Step 9: Finalizing the Neck
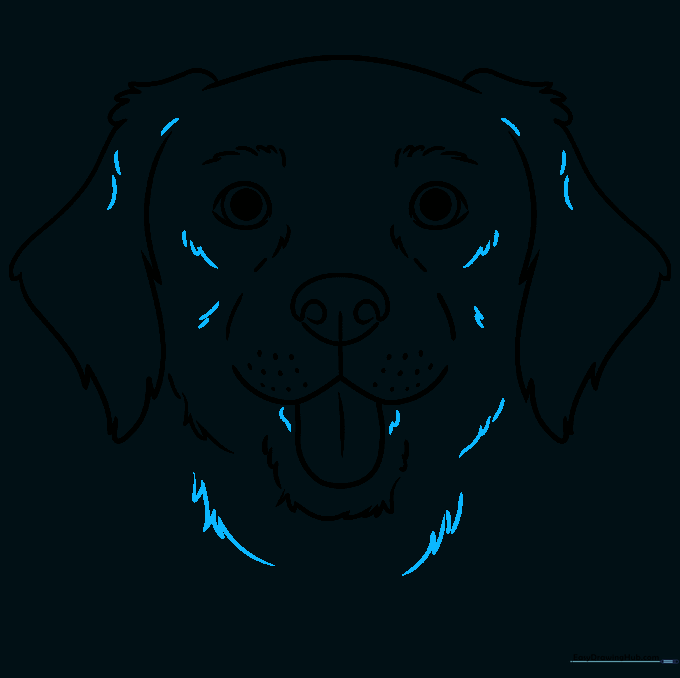
Draw the neck using curved, jagged lines to match the texture of the face. Teacher's Tip: Make the neck slightly wider at the bottom to give the dog a sturdy, healthy look.
Step 10: Bringing Your Dog to Life with Color
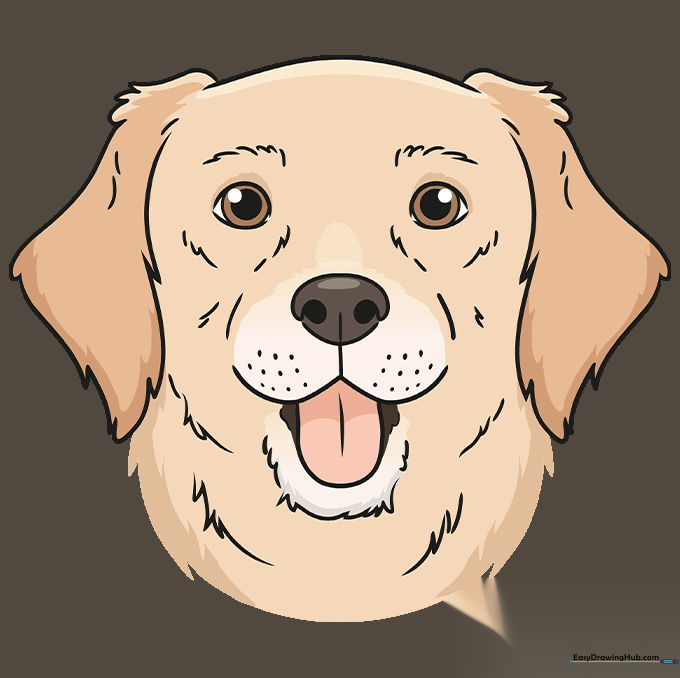
Time to color! You can use natural colors like brown, black, or gold, or get creative with your favorite colors. Teacher's Tip: Use light pressure with your colored pencils to blend colors together for a softer, more realistic fur texture.
More Tutorials


