How to Draw a Dog Face: Easy 5-Step Guide for Kids
Ready to bring a furry friend to life on paper? This tutorial is perfect for young artists ages 5 and up, requiring only a pencil, eraser, and paper. Follow these simple steps to master facial proportions and create a charming, expressive puppy face.
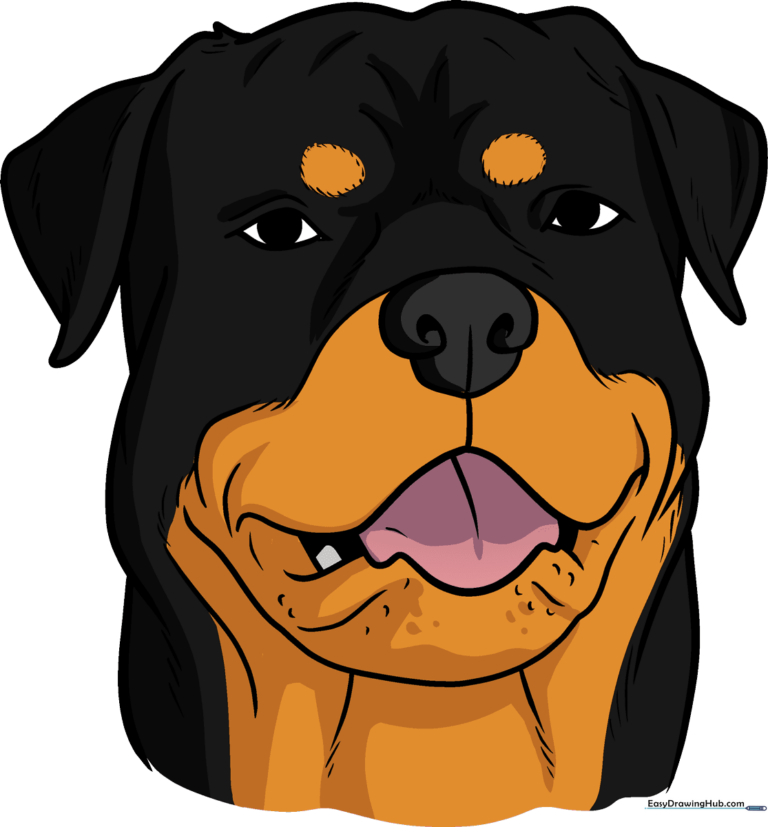
🎯 Final Result
Step-by-Step Instructions
Step 1: Sketching the Eyes

Draw two large, mountain-shaped curves for the eyes, then add small circles and triangles inside for pupils and highlights. Teacher's Tip: Keep your pencil strokes light so you can easily erase any mistakes as you build the structure.
Step 2: Defining the Snout
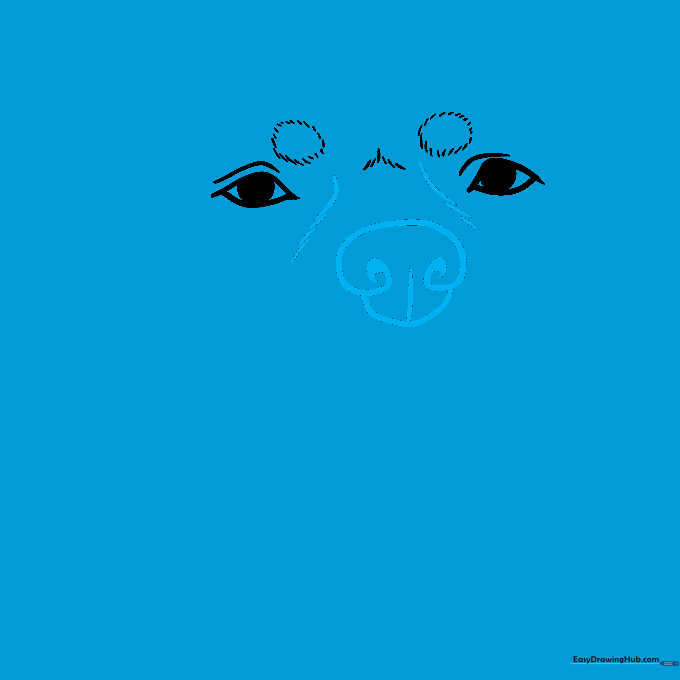
Sketch a loose cylinder shape beneath the eyes to form the snout, adding a rounded arrow shape for the nose. Teacher's Tip: Use small dashes between the eyes to guide your placement and keep the face symmetrical.
Step 3: Adding the Mouth and Tongue
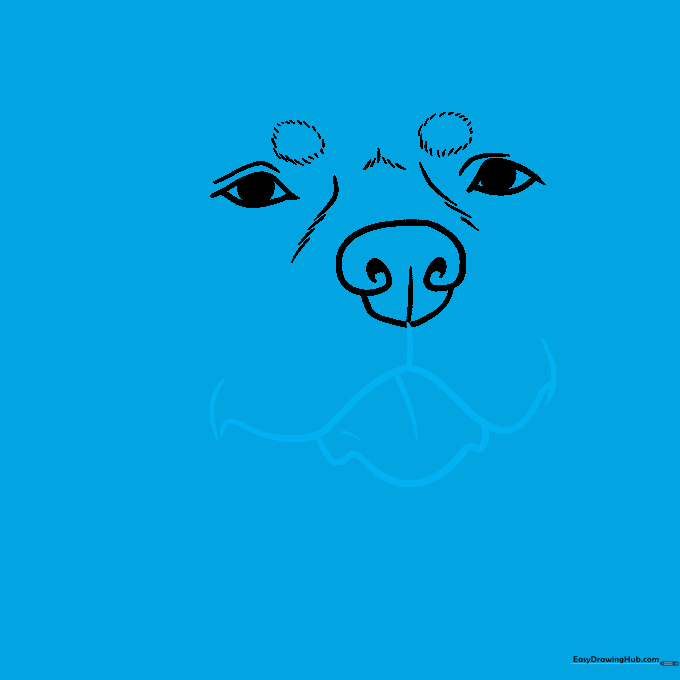
Draw a wavy 'W' shape for the mouth and add a curved tongue hanging out. Teacher's Tip: Make the tongue look soft by using rounded triangles at the corners; this gives your dog a happy, playful expression.
Step 4: Detailing the Teeth
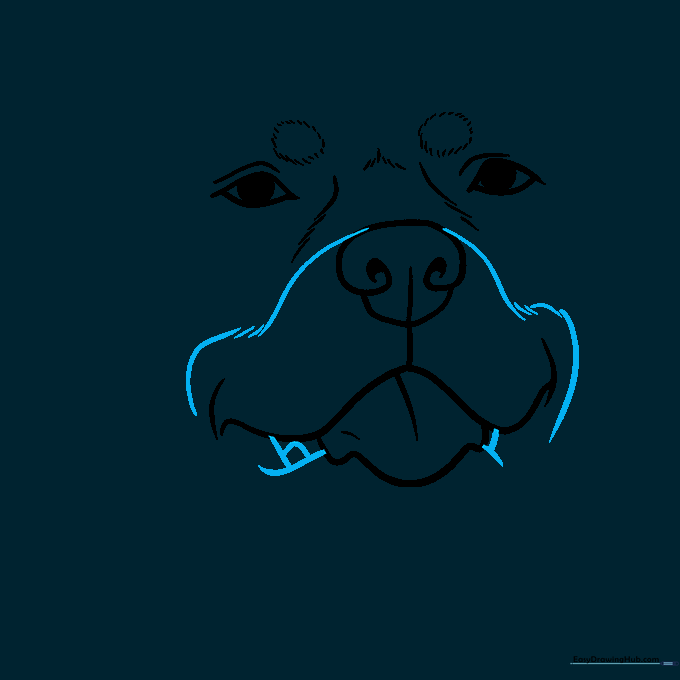
Add curves on the sides of the mouth and outline the teeth using small triangles. Teacher's Tip: Keep the teeth small and uniform to maintain the 'cartoon' style of the drawing.
Step 5: Shaping the Chin
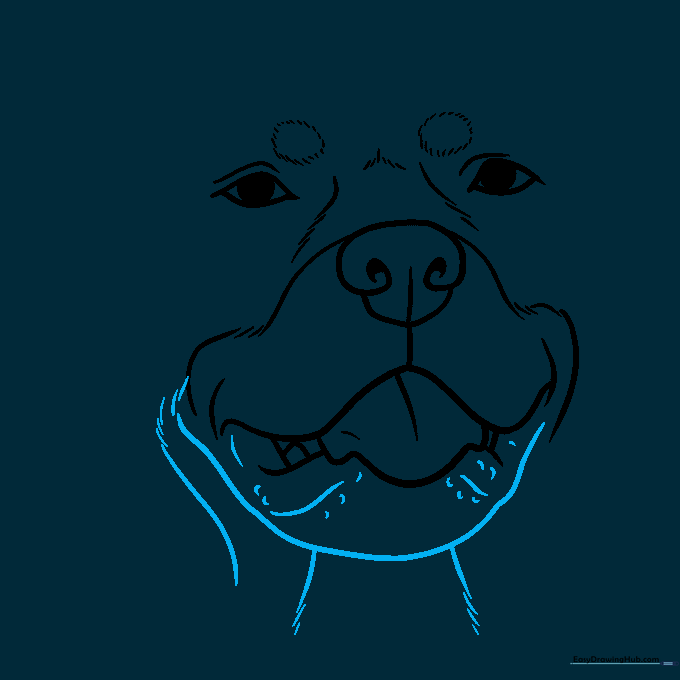
Draw an uneven curve for the chin and add small dashes to represent fur texture. Teacher's Tip: Use short, quick strokes for the fur to make it look soft and fluffy rather than stiff.
Step 6: Drawing the Right Side
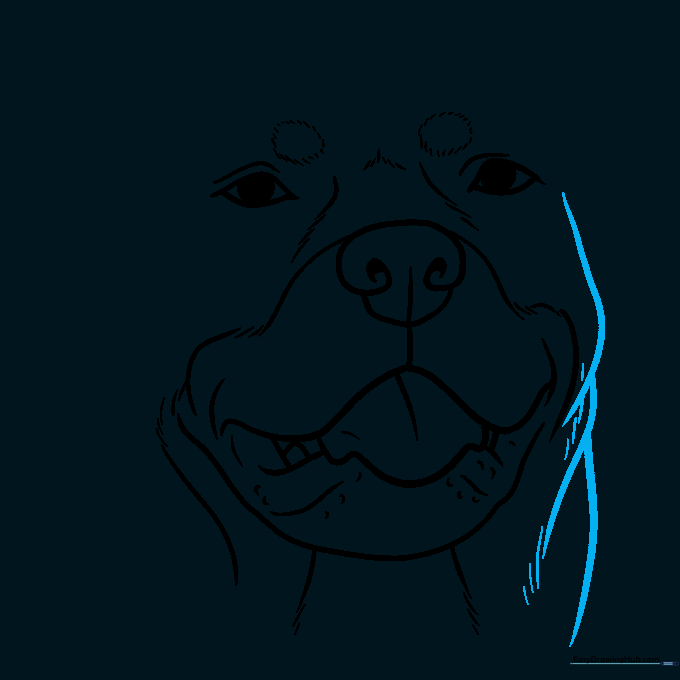
Add three swooping lines on the right side to create the cheek and ear area. Teacher's Tip: Vary the length of your lines to make the fur look natural and layered.
Step 7: Balancing the Left Side
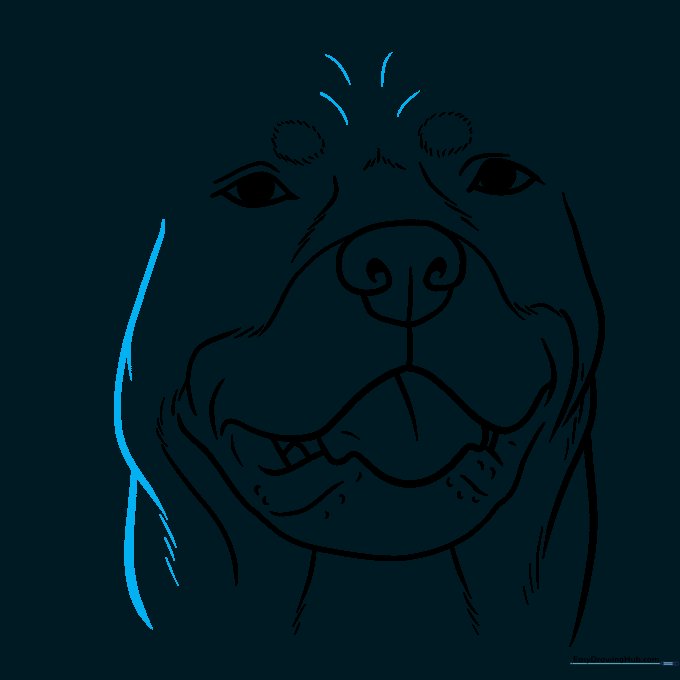
Repeat the swooping lines on the left side to mirror the right. Teacher's Tip: Don't worry about making it perfect; dogs have messy fur, so slight differences make it look more realistic!
Step 8: Adding the Ears
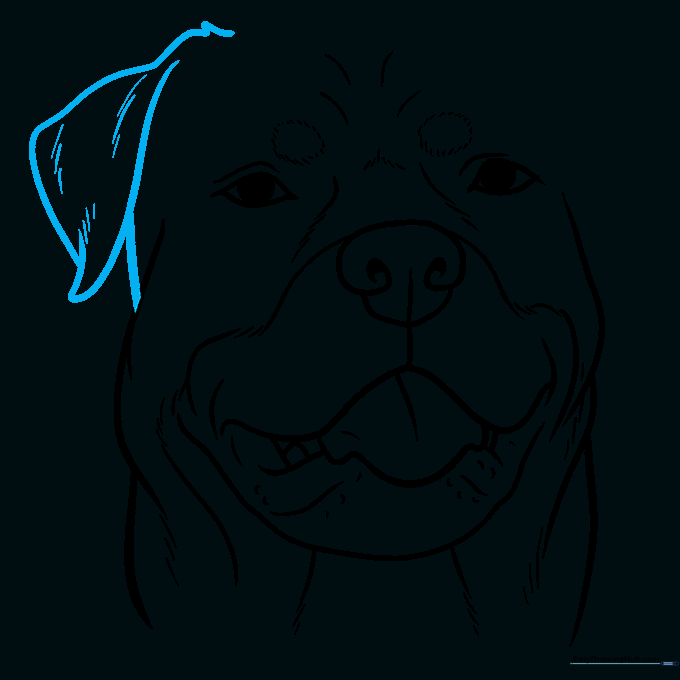
Outline the ear with a loose, uneven triangle and connect it to the head. Teacher's Tip: Add a few extra dashes inside the ear to suggest depth and shadow.
Step 9: Final Touches
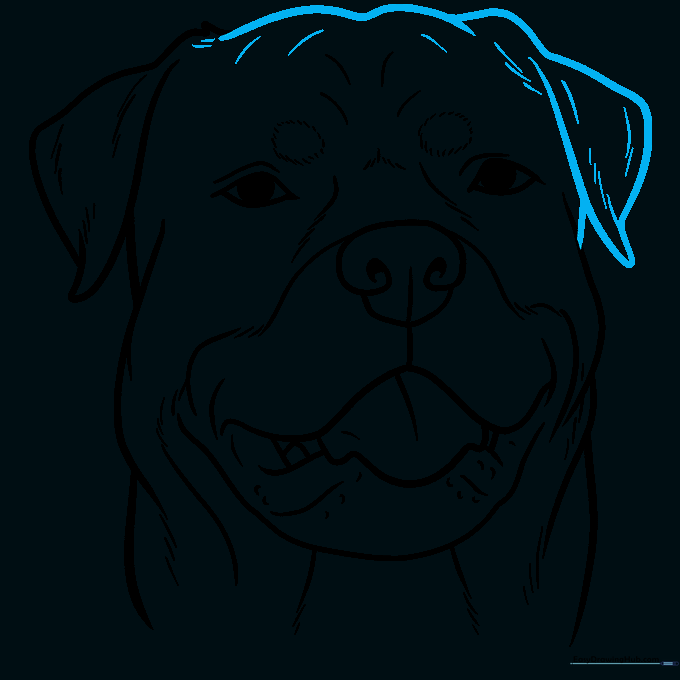
Add three 'hills' on top of the head for the crown and finalize your fur texture. Teacher's Tip: This is a great time to add a personal touch, like a small bone or paw print nearby!
Step 10: Coloring Your Masterpiece
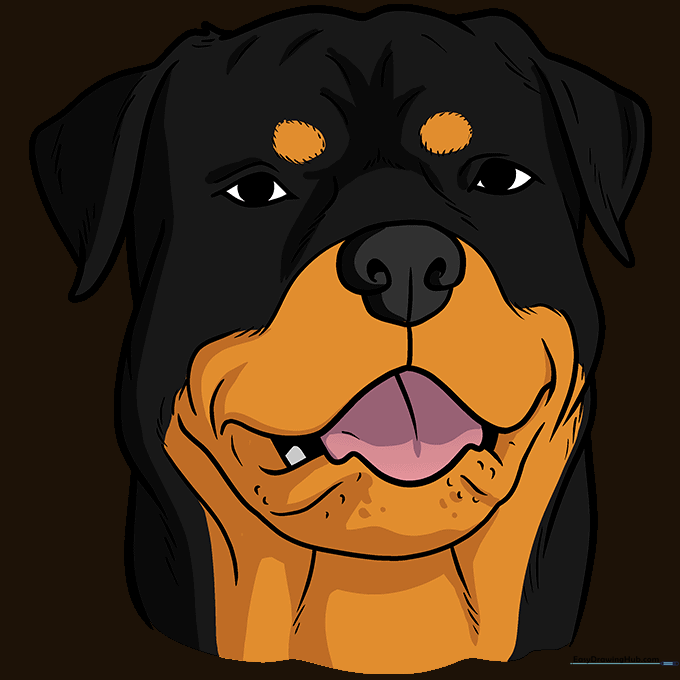
Use dark orange for the snout and spots, and gray with black shadows for the fur. Teacher's Tip: Use a white gel pen or leave small white spots in the eyes to create a 'sparkle' effect that makes the dog look alive.
More Tutorials


