How to Draw a Dog: Easy 5-Step Guide for Beginners
Looking for a fun, creative activity for your little artist? This guide is perfect for children ages 5 and up to learn the basics of character design. Grab a pencil, an eraser, and some paper, and follow along to bring this adorable puppy to life.
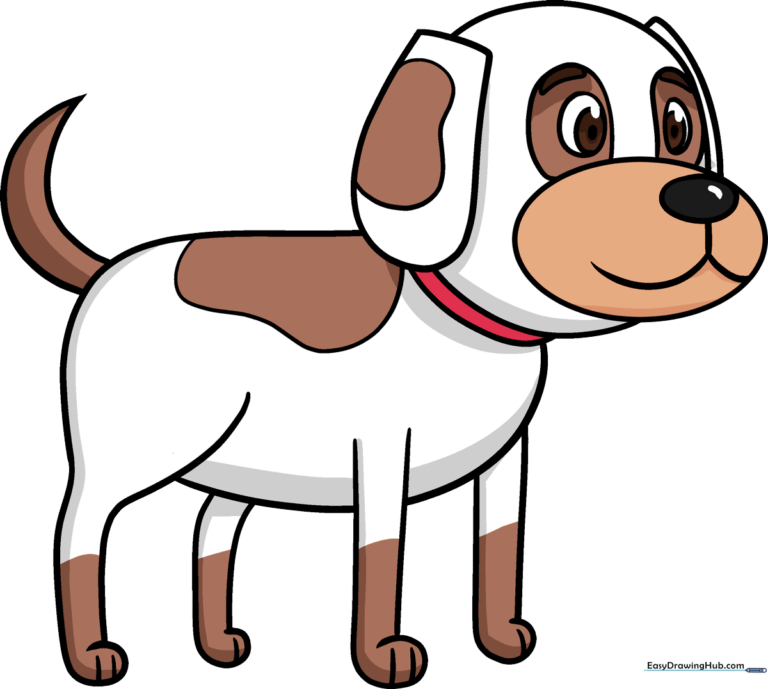
🎯 Final Result
Step-by-Step Instructions
Sketching the Muzzle and Nose

Start by drawing a soft oval for the muzzle. Inside, add a smaller oval for the nose and a wide, rounded 'W' shape underneath for the mouth. Teacher's Tip: Keep the muzzle oval slightly tilted to give your dog a curious expression!
Adding Eye Patches

Use two upside-down 'U' shapes above the muzzle to frame the eye patches. Add a small curved line at the top of each to represent the eyebrows. Teacher's Tip: Make these patches slightly uneven to give your dog a playful, scruffy look.
Drawing the Eyes

Place a small oval inside a larger one within each patch to create the eyes. Teacher's Tip: Leave a tiny white dot uncolored in the center of each eye to make them look bright and alert.
Adding Ears and Collar
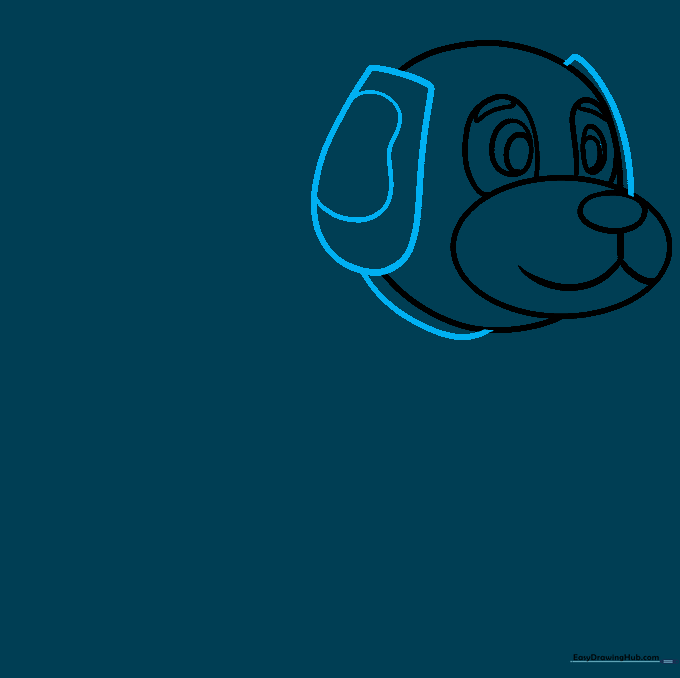
Draw floppy ears using large 'U' shapes on either side of the head. Add a simple curved line below the head to define the collar. Teacher's Tip: If you make one ear slightly floppier than the other, your dog will look extra friendly!
Outlining the Body
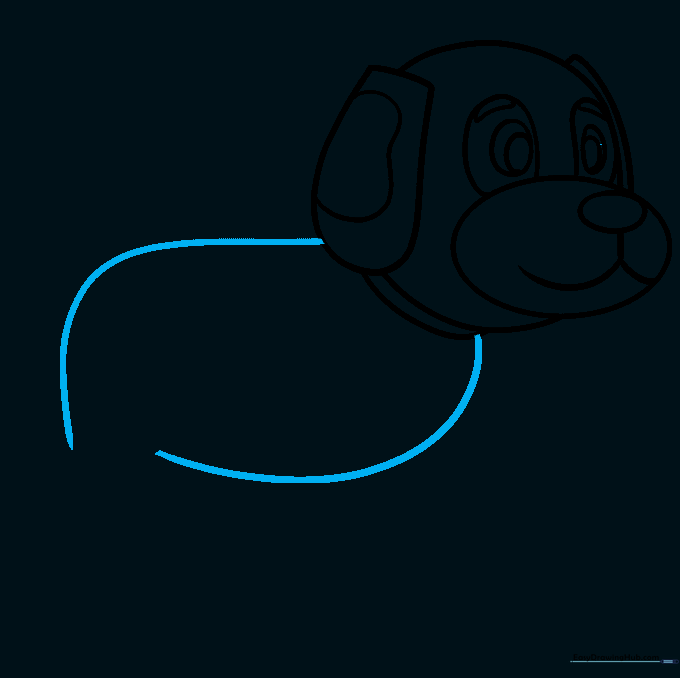
Connect two long, graceful curved lines from the collar to form the dog's back and chest. Teacher's Tip: Keep these lines smooth to make your dog look soft and cuddly.
Drawing the Front Leg

Extend two lines downward for the front leg, curving them at the bottom to form a rounded paw. Add small lines for the toes. Teacher's Tip: Use short, quick strokes for the toes to show detail without overcomplicating the drawing.
Adding the Rear Leg
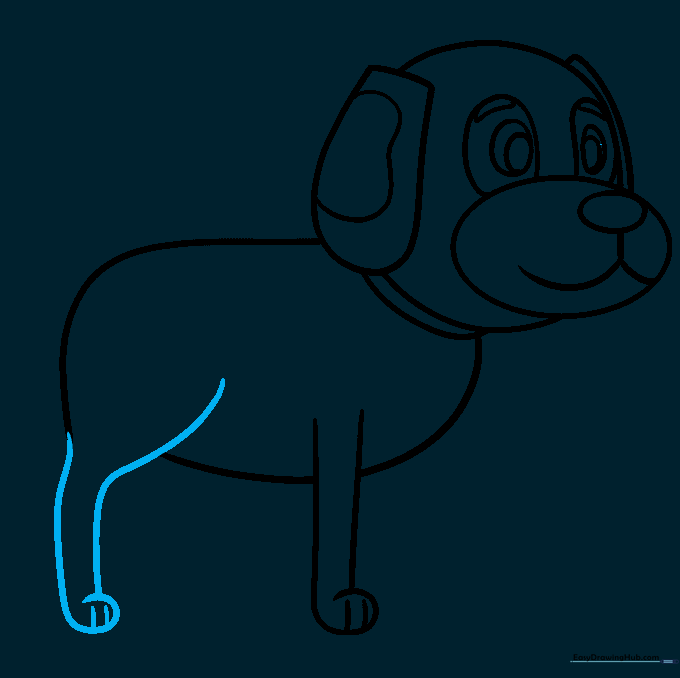
Draw the rear leg with a slight curve to show the dog is sitting. Add the paw and toes just like you did for the front leg. Teacher's Tip: Remember to erase any overlapping body lines inside the leg to keep the drawing clean.
Completing the Legs
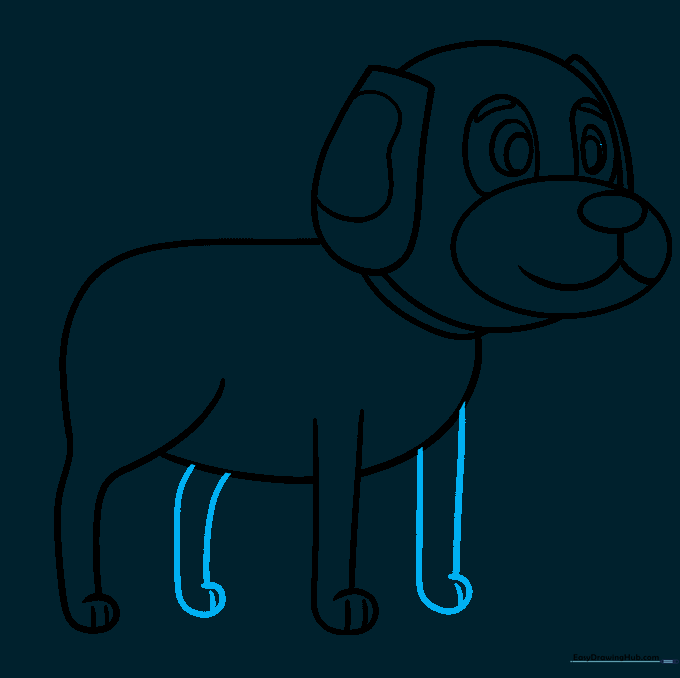
Add the remaining two legs peeking out from the other side of the body. Keep these slightly smaller to show perspective. Teacher's Tip: Drawing the legs slightly shorter creates the illusion that the dog is sitting comfortably.
Adding the Tail and Spots
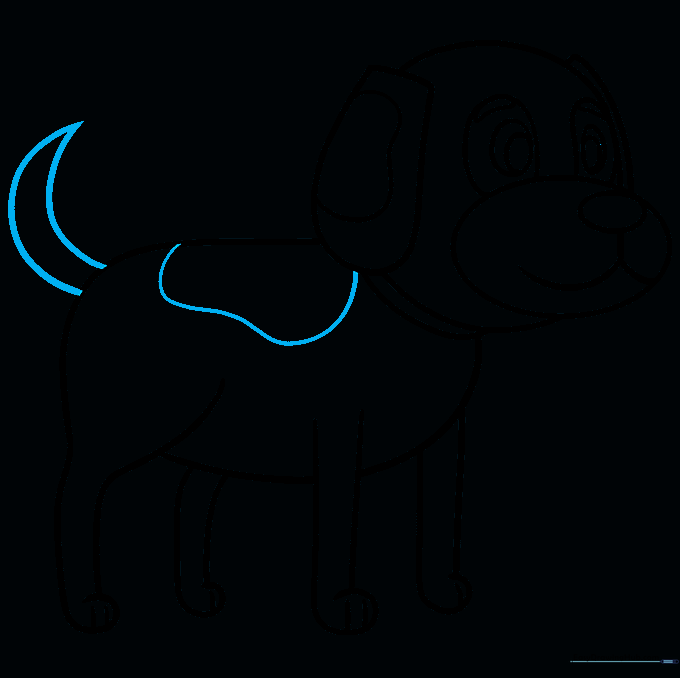
Draw a happy, pointed tail and add a few spots on the back to give your dog character. Teacher's Tip: A wagging tail shape is always a great way to show your dog is happy!
Coloring Your Puppy

Bring your drawing to life with color! Use brown for the spots, or get creative with your favorite colors. Teacher's Tip: Use light pressure with your crayons to create smooth, even color coverage.
More Tutorials


