How to Draw a Dog Bone: Easy 5-Minute Step-by-Step Guide
Looking for a fun, quick drawing project? This dog bone tutorial is perfect for young artists and beginners to practice basic shapes and symmetry. All you need is a pencil, an eraser, and a piece of paper to get started on this classic cartoon accessory.
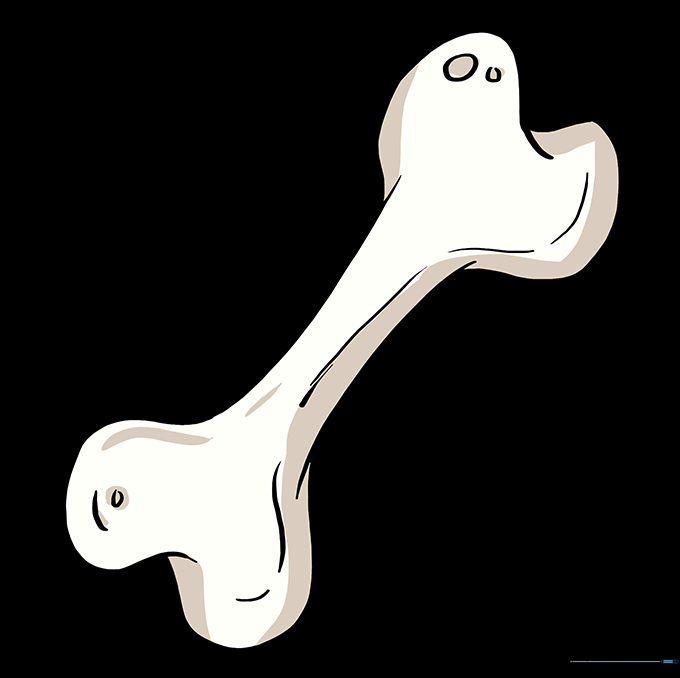
🎯 Final Result

Step-by-Step Instructions
Step 1: Sketching the First Curve

Start by drawing a gentle, diagonal curved line. Teacher's Tip: Keep your pencil grip loose to ensure the line stays smooth and light.
Step 2: Defining the Shaft

Draw a second curved line parallel to the first. This creates the center shaft of the bone. Tip: Try to keep the space between the lines consistent for a balanced look.
Step 3: Starting the Bone End

Draw a 'C' shaped line at the end of the shaft. This begins the rounded part of the bone. Tip: Think of this as drawing a small, rounded cap on the end of a stick.
Step 4: Adding the First Lobe

Add another curved line overlapping the end. This creates the first 'bump' or lobe of the bone. Tip: Don't worry if it's not perfect; bones in nature are organic and irregular!
Step 5: Closing the First End
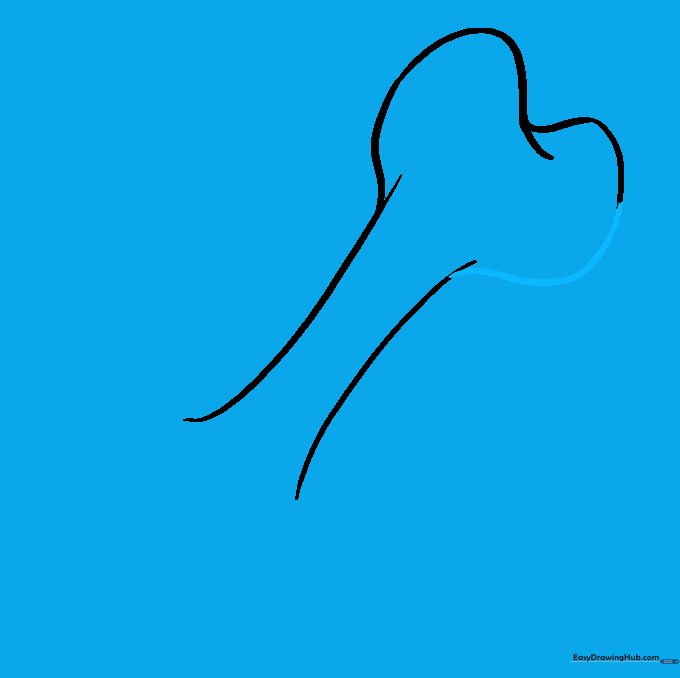
Draw a final curved line to close the shape of the first end. Tip: Ensure the line connects smoothly back to the shaft to make it look like one solid piece.
Step 6: Starting the Opposite End

Repeat the process on the other side of the shaft. Draw a curved line to start the second end. Tip: Try to match the size of this end to the first one for symmetry.
Step 7: Shaping the Second End
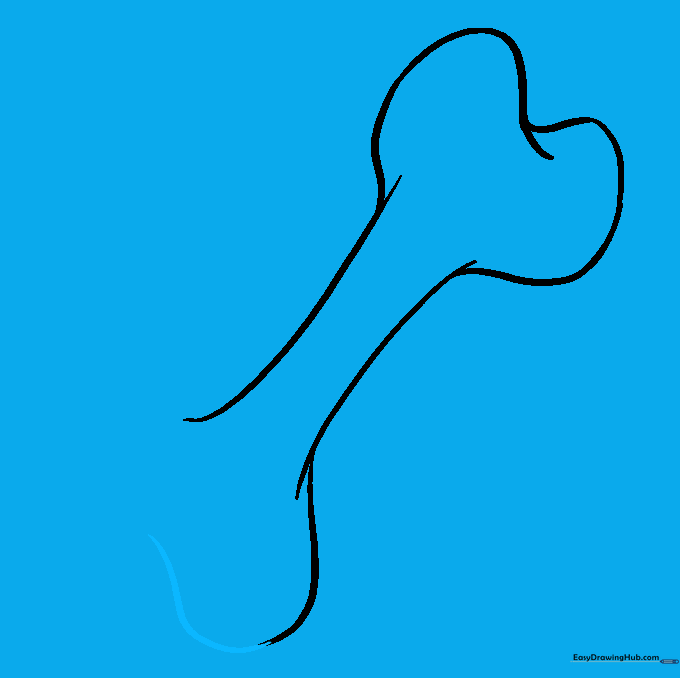
Continue adding curved lines to form the lobes on this side. Tip: Use short, quick strokes to help maintain control over the curve.
Step 8: Finalizing the Outline
Complete the second end by drawing a 'C' shaped line that connects back to the shaft. Tip: Check that your bone looks balanced before moving on to details.
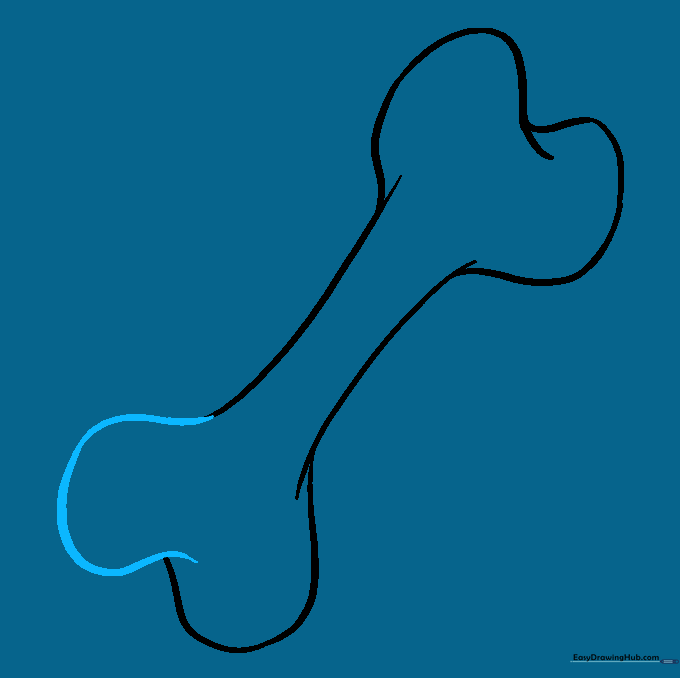
Step 9: Adding Texture and Detail
Add small curved lines and circles at the ends to give the bone a realistic, textured look. Tip: Keep these details subtle so they don't overpower the main shape.
Step 10: Bringing it to Life with Color
Time to color! Use light tans or creams for a natural look, or keep it classic white. Tip: Use a slightly darker shade on one side to create a shadow effect.
More Tutorials


