How to Draw a Doctor: Easy 10-Step Guide for Kids
This friendly doctor drawing guide is perfect for budding artists ages 5 and up. You will only need a pencil, an eraser, and some paper to bring this helpful character to life. Follow along to practice basic shapes and build confidence in your character design skills.
🎯 Final Result

Step-by-Step Instructions
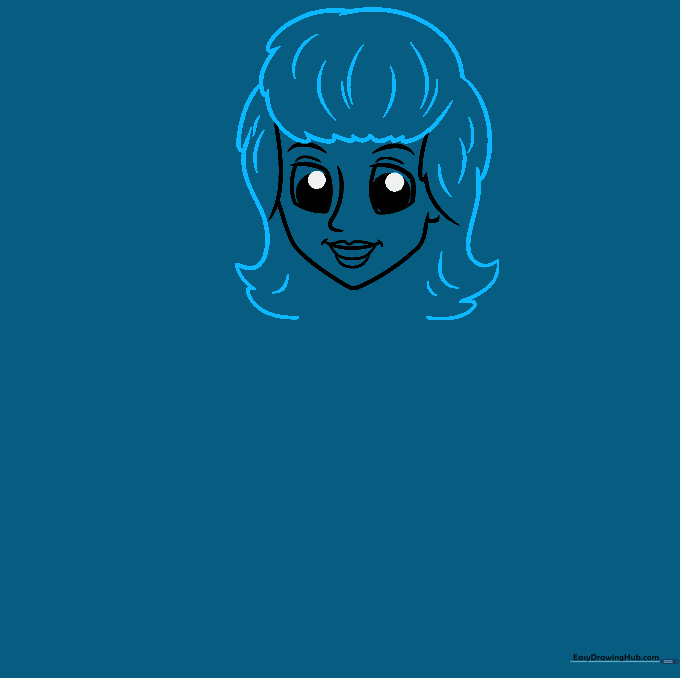
Step 1: Sketching the Expressive Eyes

Draw two rounded shapes for the eyes, adding curved lines above for eyelids and eyebrows. Inside, draw a small circle for the pupil and shade it in. Teacher's Tip: Keep your pencil pressure light here so you can easily adjust the expression if the eyes look a bit uneven.
Step 2: Shaping the Face and Smile

Outline the hair on both sides of the face using soft, curved lines. Draw a smooth curve for the chin and a small 'C' shape for the ear. Add a gentle, smiling mouth. Teacher's Tip: Use short, overlapping strokes for the hair to give it a natural, textured look.
Step 3: Adding Hair Details
Use long and short curved lines to define the hair, creating a distinct section for the bangs. Add small upturned points at the ends for style. Teacher's Tip: Varying the length of your lines makes the hair look much more realistic and less like a solid block.
Step 4: Drawing the Lab Coat Collar
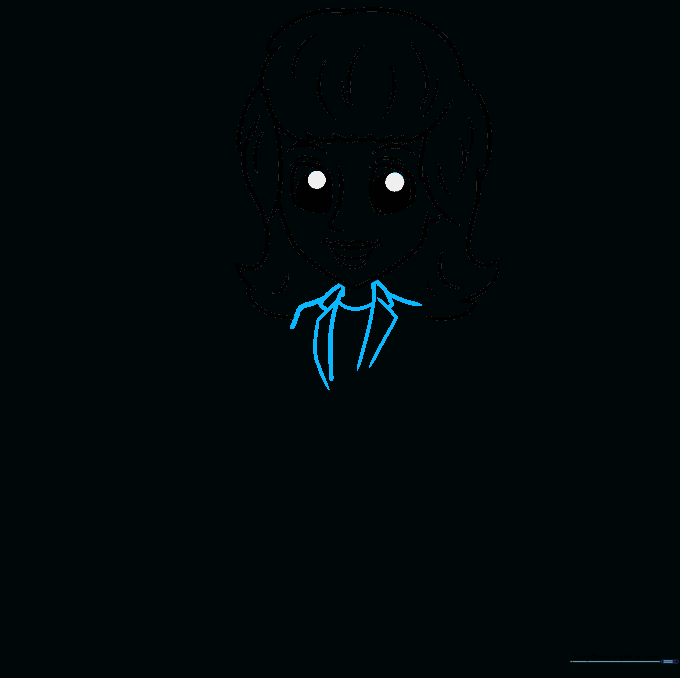
Draw the neck and the wide collar of the lab coat using large, curved triangles. Extend these lines outward to form the shoulders. Teacher's Tip: Make sure the collar is wide enough to look like a professional coat, not a regular shirt.
Step 5: Sketching the Stethoscope
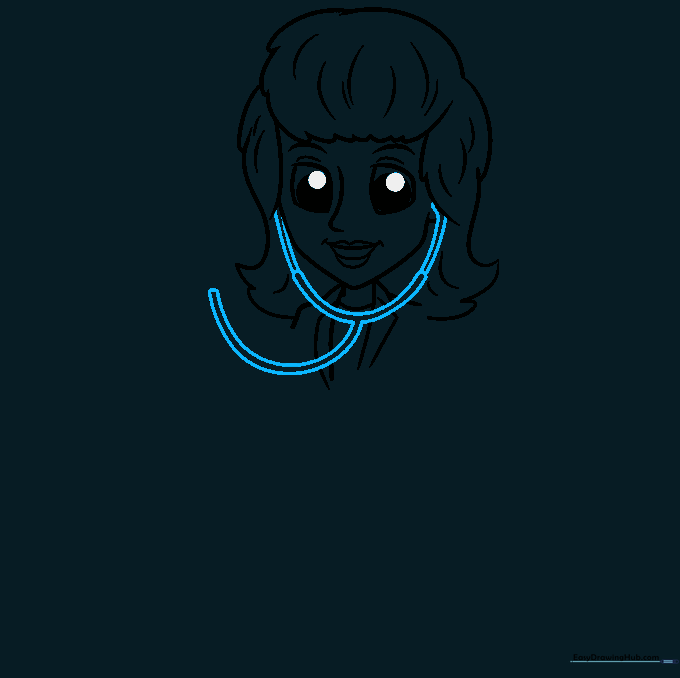
Draw two lines descending from the ears that meet in a 'Y' shape. Add small bands along the tube for detail. Teacher's Tip: If you make a mistake, use your eraser to gently lift the graphite before moving on to the next part.
Step 6: Adding the Stethoscope Bell and Arms
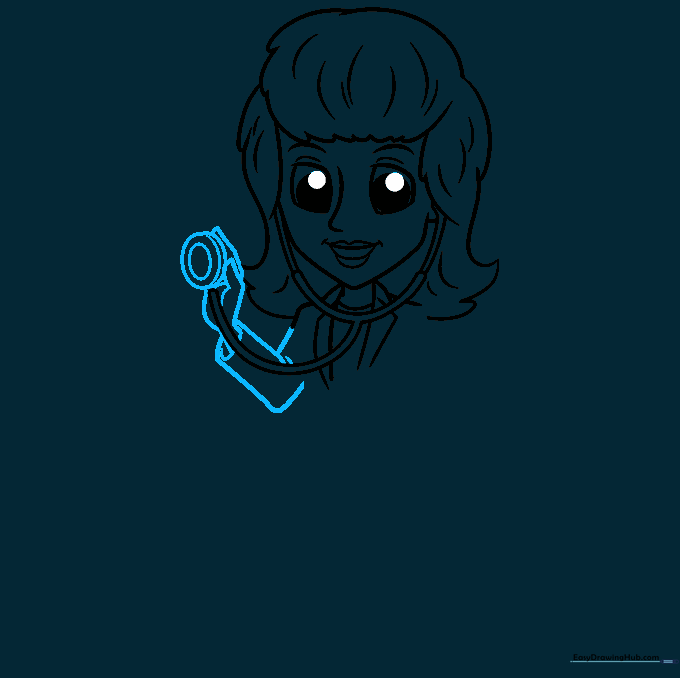
Draw an oval at the end of the tube to form the bell. Sketch the arms using pairs of lines and add a simple hand shape. Teacher's Tip: Adding a small curved line inside the bell gives it a 3D, professional look.
Step 7: Drawing the Second Sleeve
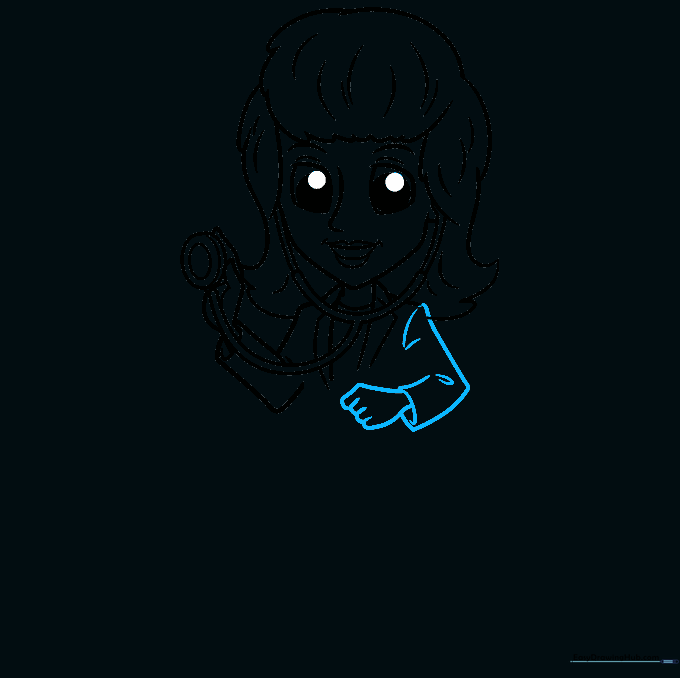
Sketch the other sleeve and hand. Add small lines near the elbow and shoulder to show folds in the fabric. Teacher's Tip: Folds in clothing are just simple, short 'V' shapes—they add a lot of life to your drawing!
Step 8: Adding the Clipboard
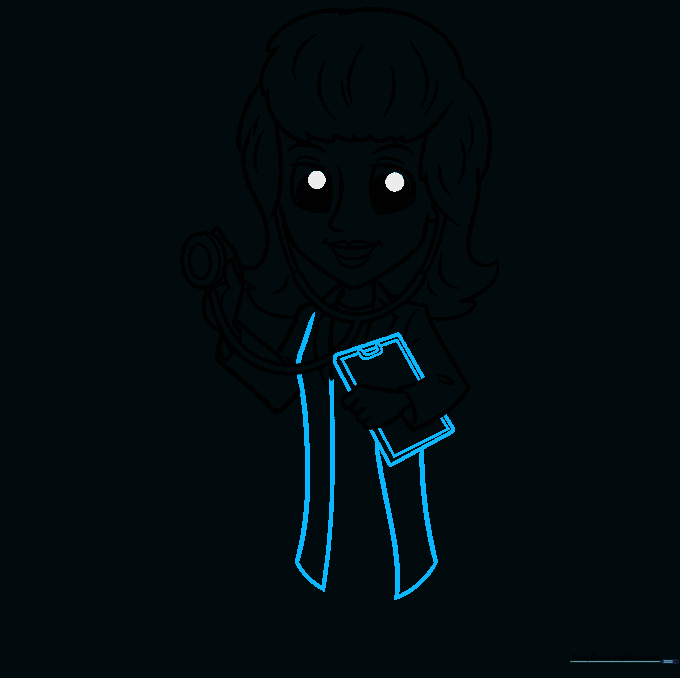
Draw a rectangle behind the hand to represent the clipboard, adding a small 'C' shape at the top for the clip. Extend the lab coat lines downward. Teacher's Tip: Keep the clipboard lines straight to contrast with the curved lines of the doctor's body.
Step 9: Completing the Outfit
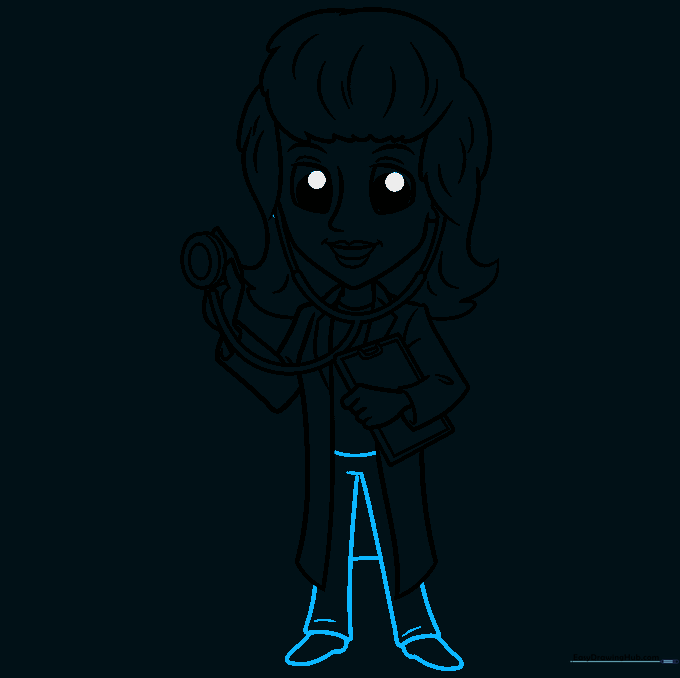
Draw the bottom of the shirt, the pants, and the shoes. Use an inverted 'V' shape for the pants legs. Teacher's Tip: Ensure the shoes are rounded to match the cartoon style of the rest of the figure.
Step 10: Bring Your Doctor to Life with Color

Time to color! Use bright, cheerful colors for the scrubs and a clean white or light blue for the lab coat. Teacher's Tip: Use your drawing to say 'thank you' to a healthcare worker in your life—it makes a great handmade card!
More Tutorials


