How to Draw a Dock: Easy 10-Step Landscape Guide
Bring a peaceful lakeside scene to life with this step-by-step drawing tutorial. Designed for young artists and beginners, this project uses basic shapes to build a realistic dock and canoe. Grab your pencil, eraser, and paper to practice your perspective and landscape composition skills.
🎯 Final Result

Step-by-Step Instructions
Step 1: Sketching the Riverbank
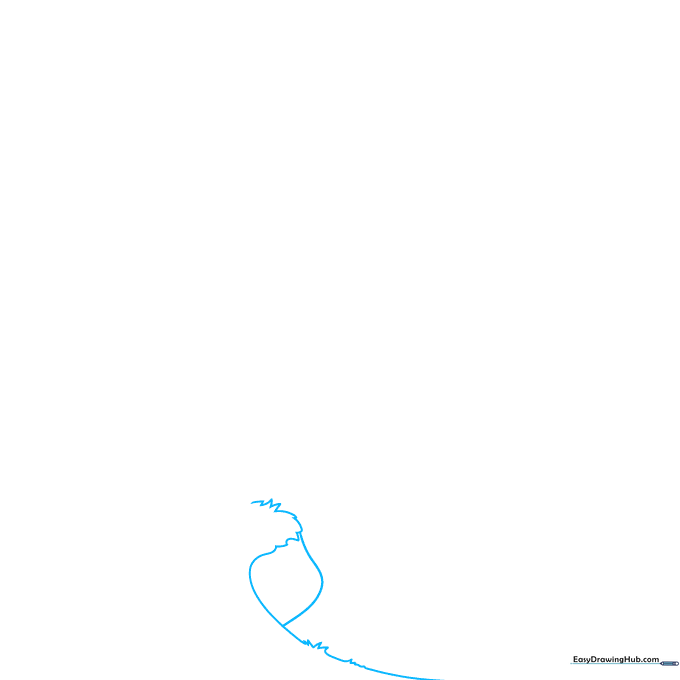
Start by drawing the riverbank using short, jagged lines to create an organic, grassy texture. Connect these with a gentle 'S' curve to define the shoreline. Teacher's Tip: Keep your hand loose—grass isn't perfectly straight, so let your pencil wiggle a bit!
Step 2: Placing the Dock Pilings
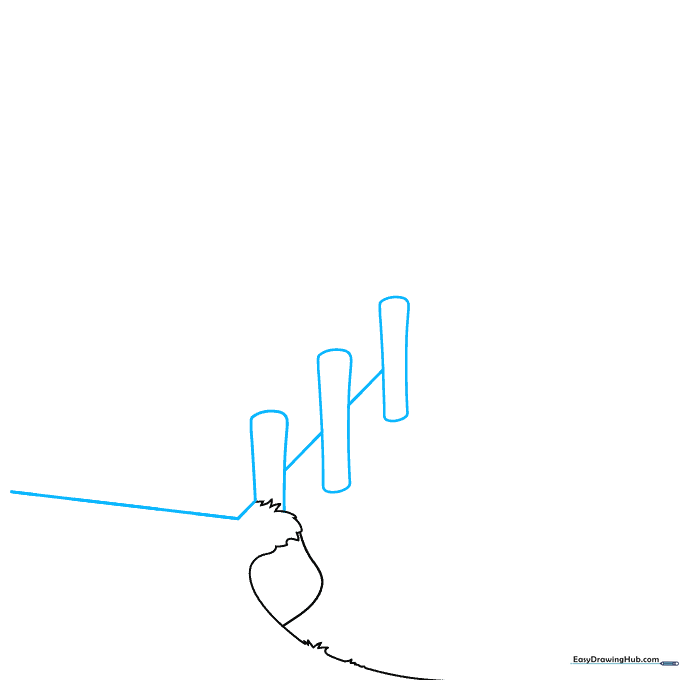
Draw the vertical posts (pilings) that hold the dock up by sketching rounded rectangles. Use straight lines to outline the top surface of the dock. Teacher's Tip: Ensure your rectangles are slightly tilted to suggest depth.
Step 3: Detailing the Pilings

Add three curved lines near the top of each piling to represent the wood grain or bands. Complete the rectangular dock shape and add three more pilings on the opposite side. Teacher's Tip: Keep the lines parallel to make the wood look sturdy.
Step 4: Adding Depth and Ropes
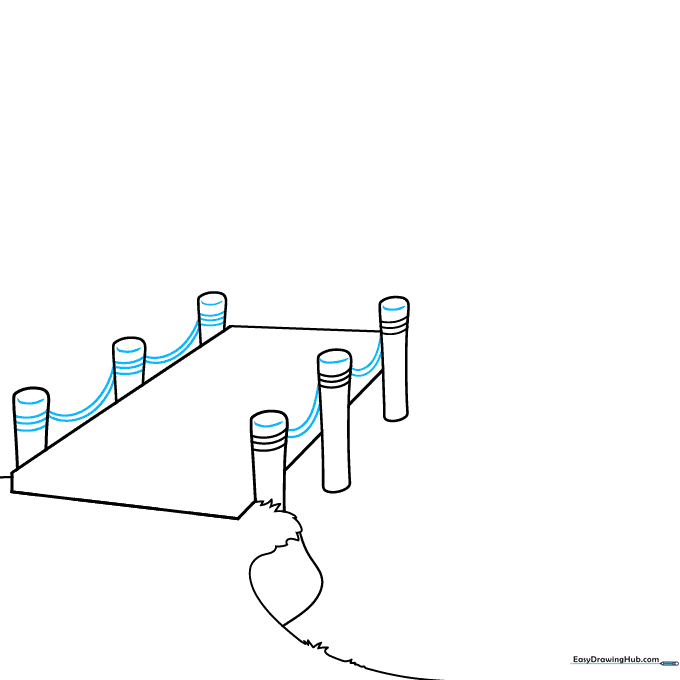
Give the pilings a 3D look by adding a small 'C' shape to the top of each. Connect the posts with double-curved lines to create the look of thick mooring ropes. Teacher's Tip: The ropes should sag slightly to look realistic.
Step 5: Dock Planks and Canoe Base
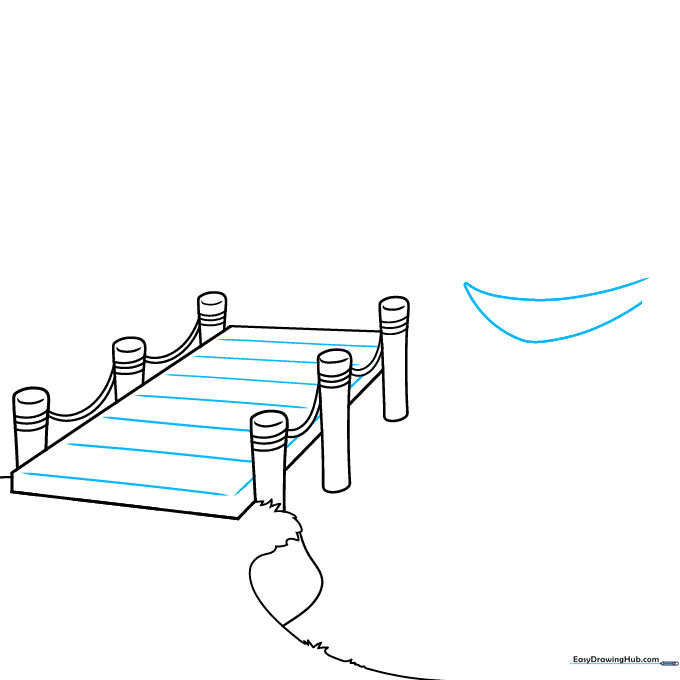
Draw straight, parallel lines across the dock to create the look of wooden boards. Then, sketch the pointed base of a canoe in the water. Teacher's Tip: Space your board lines evenly to keep the perspective consistent.
Step 6: Canoe Details
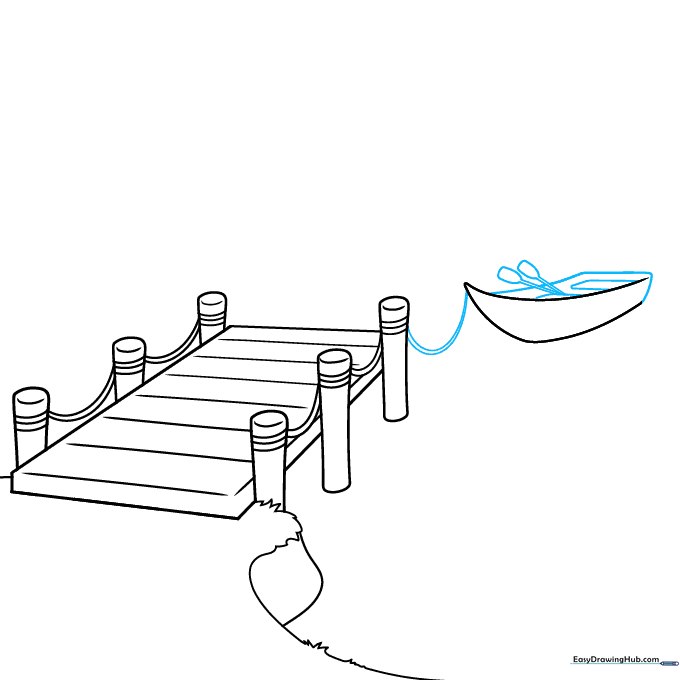
Finish the canoe shape with jagged points and add small parallelograms inside for seats. Sketch paddles using rounded rectangles and connect the boat to the dock with a rope. Teacher's Tip: Don't worry if the paddles look simple; small shapes are best for this scale.
Step 7: Horizon and Landscape
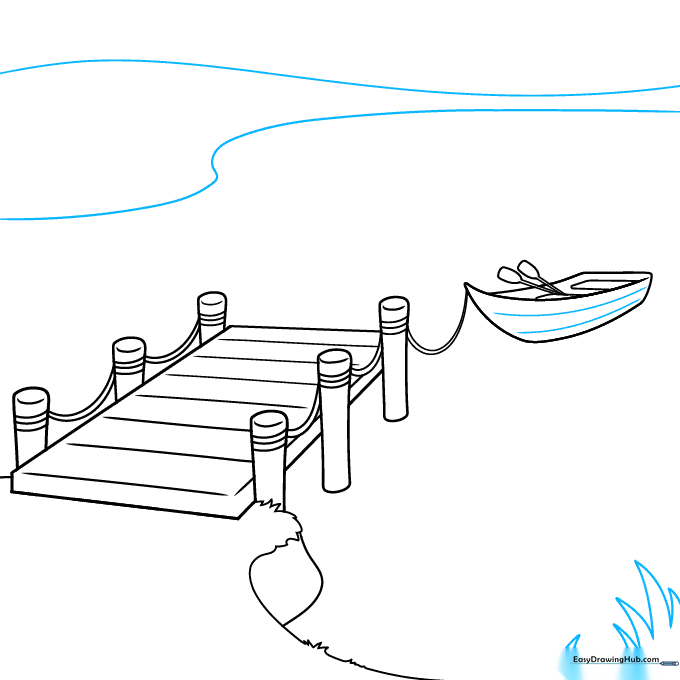
Draw a long, sweeping line for the horizon and the far side of the lake. Add texture to the canoe with curved lines to show the wood grain. Teacher's Tip: A simple horizon line helps ground your entire drawing.
Step 8: Sky and Cattails
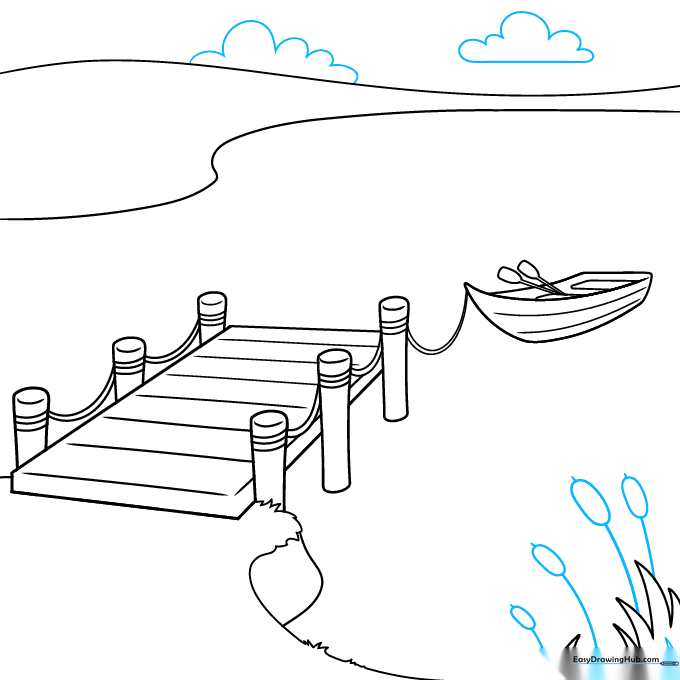
Add fluffy clouds using connected 'U' shapes. Draw cattails along the bank by sketching ovals on thin stems. Teacher's Tip: Vary the height of your cattails to make the scene look natural.
Step 9: Water Ripples
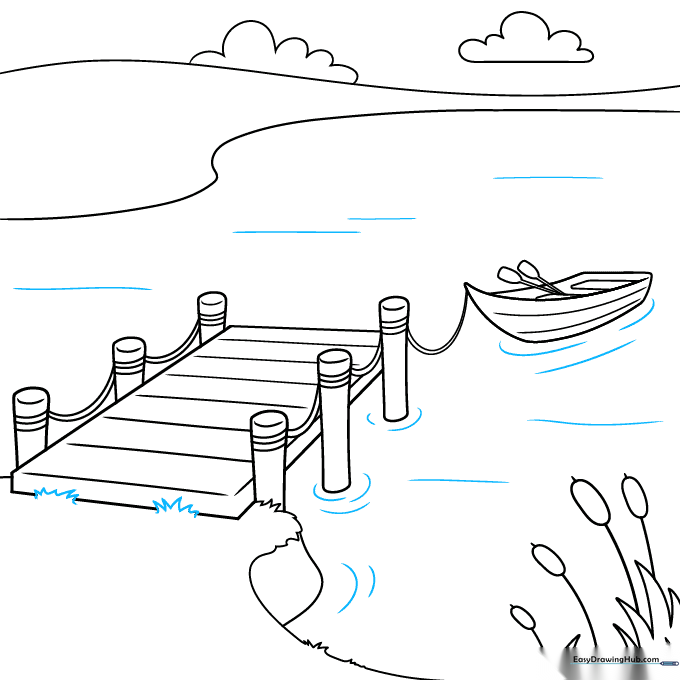
Add gentle, curved lines around the pilings and the boat to represent water ripples. Clean up any stray pencil marks. Teacher's Tip: Use very light pressure for the water lines so they look soft and fluid.
Step 10: Final Coloring
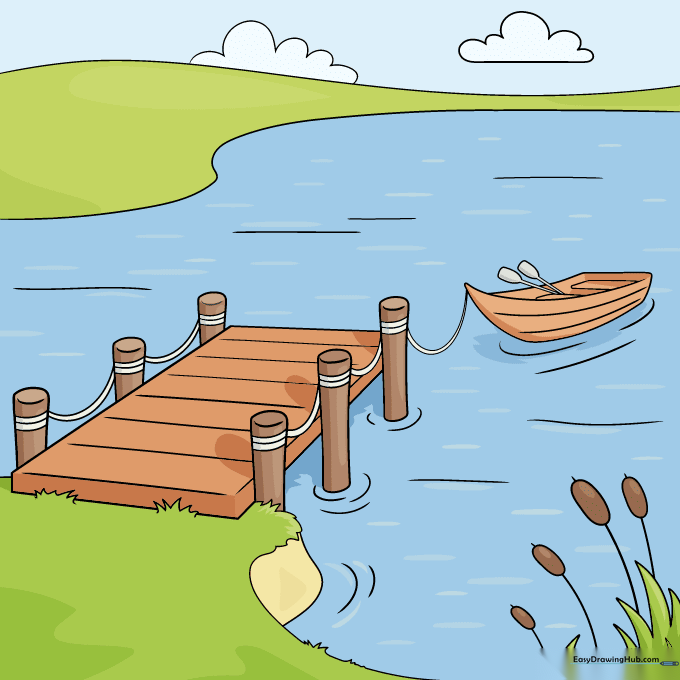
Bring your drawing to life with color! Use blues for the water and sky, greens for the grass, and warm browns for the wooden dock and canoe. Teacher's Tip: Use a darker brown for the shaded side of the posts to create a sense of light source.
More Tutorials


