How to Draw a Disgusted Face: Easy 9-Step Guide
Capturing complex emotions like disgust is a fantastic way for young artists to practice facial expressions. This tutorial is perfect for ages 6+ and requires only a pencil, eraser, and paper. Follow these steps to master the subtle lines that turn a neutral face into a funny, scrunched-up expression of disgust.
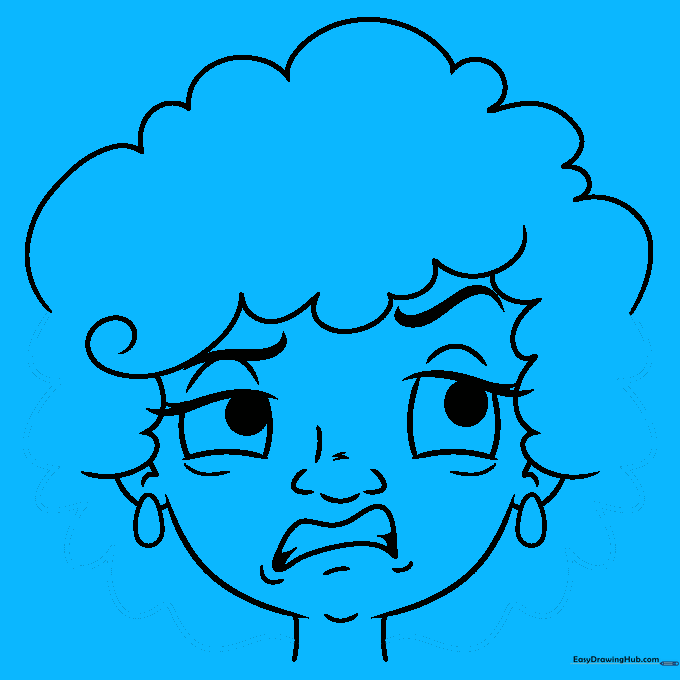
🎯 Final Result

Step-by-Step Instructions
Step 1: Sketching the Eyes
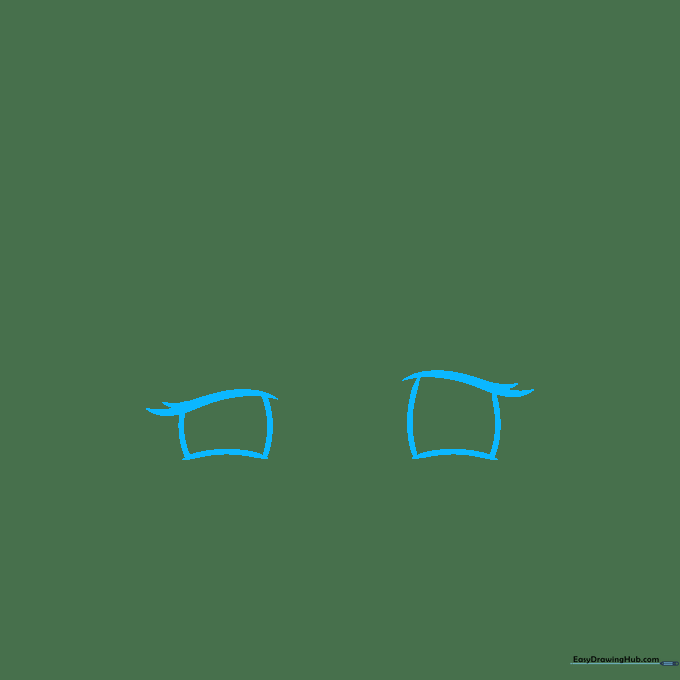
Draw two rounded rectangular shapes for the eyes. Teacher's Tip: Make one eye slightly larger or higher than the other to give the face a more dynamic, 'squinting' look. Don't forget the thick, pointed lines for the eyelashes!
Step 2: Adding Pupils and Brows
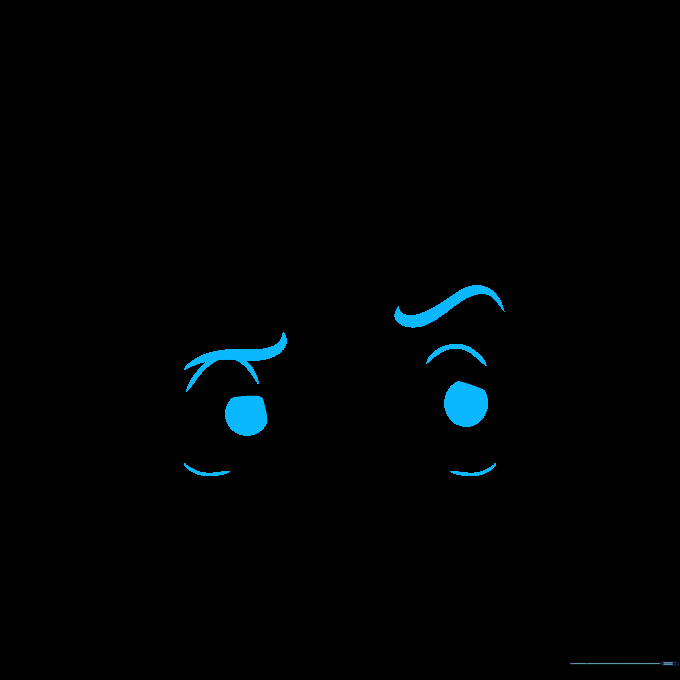
Add circular pupils inside the eyes and draw the upper and lower eyelids. Use 'S' shaped lines for the eyebrows, angling them downward toward the nose. Tip: The lower the eyebrows sit, the more 'disgusted' the character will look.
Step 3: Defining the Nose

Sketch the nose using short, curved lines for the bridge and nostrils. Add tiny wrinkles near the top of the nose bridge. Tip: Keep these lines light; they represent the 'scrunch' of the nose when we smell something unpleasant.
Step 4: Drawing the Twisted Mouth
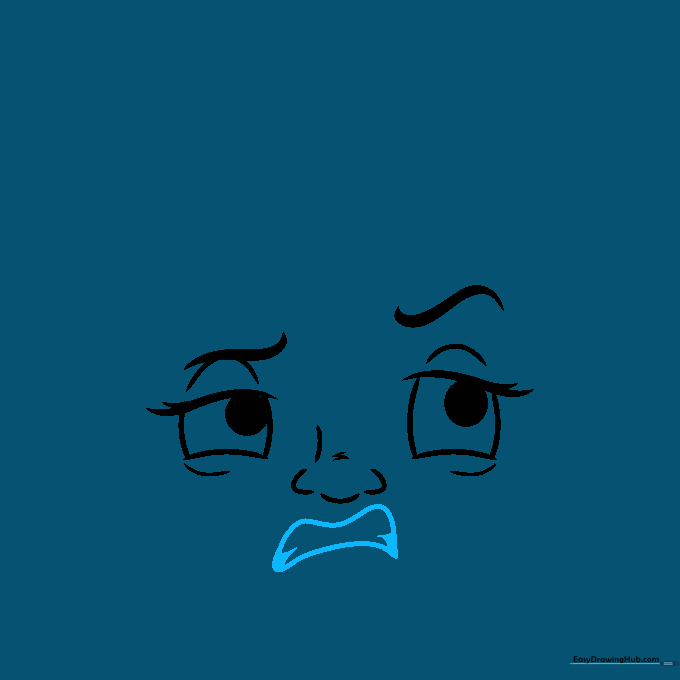
Draw an 'M' shaped line for the top of the mouth, then connect it with a curved line below. Shade small triangles in the corners to suggest teeth. Tip: By making the mouth asymmetrical, you make the disgust look much more realistic.
Step 5: Shaping the Face and Neck
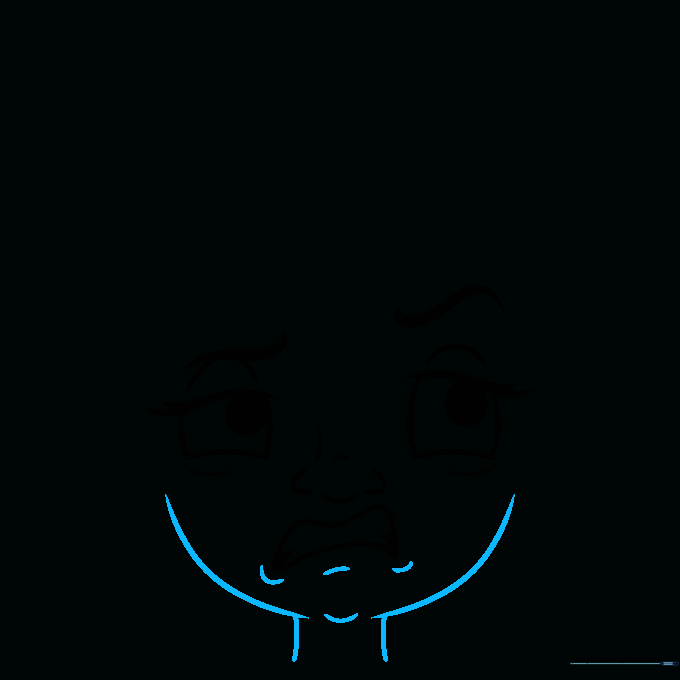
Draw the jawline and neck using smooth, curved lines. Add a few short contour lines under the chin to add depth. Tip: Use a light touch here so the jawline doesn't look too heavy or sharp.
Step 6: Starting the Hair
Use a series of 'U' shapes and spirals to frame the face with curly hair. Tip: Don't worry about making every curl perfect; hair is naturally messy, so overlapping lines actually look more realistic.
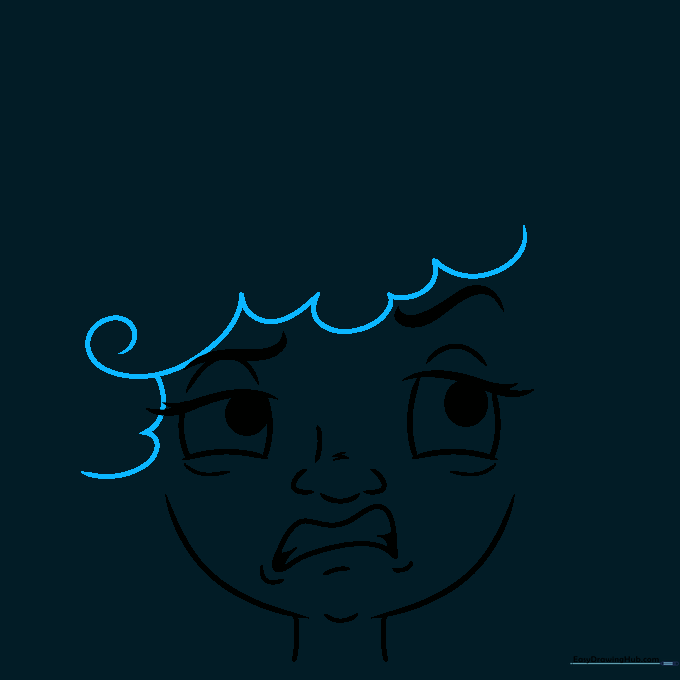
Step 7: Adding Ears and Earrings
Continue the hair and draw the ear with inner contour lines. Add an egg-shaped earring on the lobe. Tip: The ear should align roughly between the eye level and the nose level.
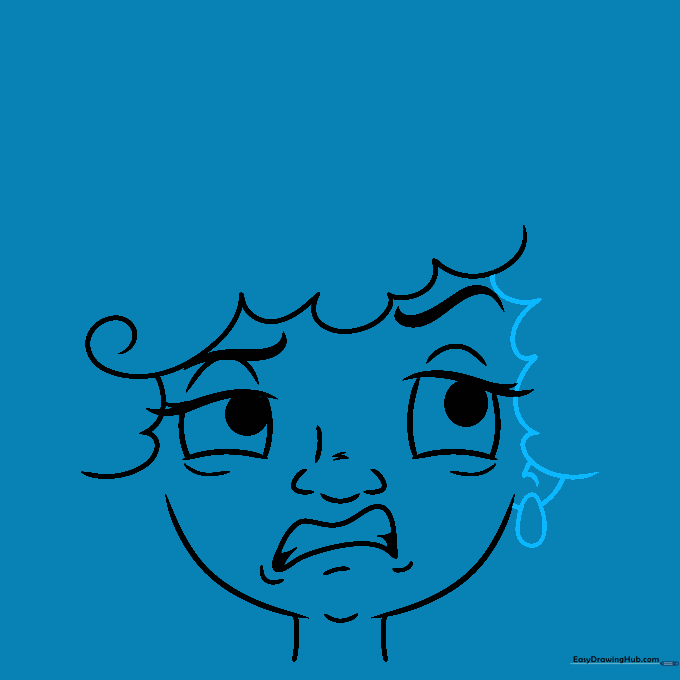
Step 8: Refining the Hair
Draw the second ear and complete the top of the hair with cloud-like, connected curves. Tip: Vary the size of your 'cloud' curves to make the hair look voluminous and natural.
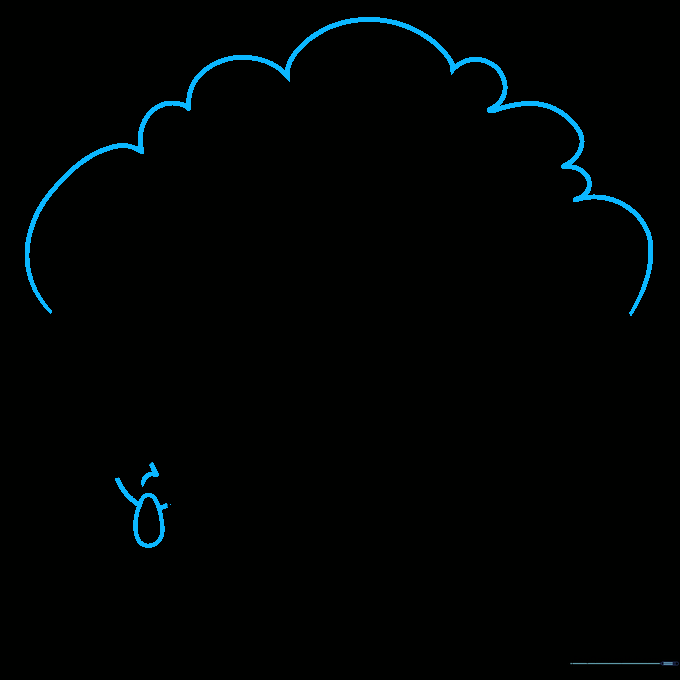
Step 9: Finalizing the Outline
Finish the hair at the back of the head using wavy lines. Once you are happy with the outline, erase any stray pencil marks. Tip: Use a darker pencil or fine-liner to go over your final lines for a clean, professional look.
Step 10: Adding Color

Bring your character to life with color! You can use skin tones and hair colors of your choice. Tip: Try using a slightly darker shade of your skin color to add shadows under the chin and nose to make the face pop.
More Tutorials


